Silver Decals for Cars: Best Designs and How to Apply Them
Choose silver vinyl decals that match the panel’s brightness or stand off it by at least one shade, and use simple shapes on curved bodywork; For beginners, cast vinyl with air-release channels is commonly the safest choice. Bad sizing or weak prep can trap bubbles, lift edges, and leave residue that costs time and repaint-level cleanup. This guide covers the best silver decal styles for different paint colors and panel shapes, plus a clean application method.
Silver decal basics


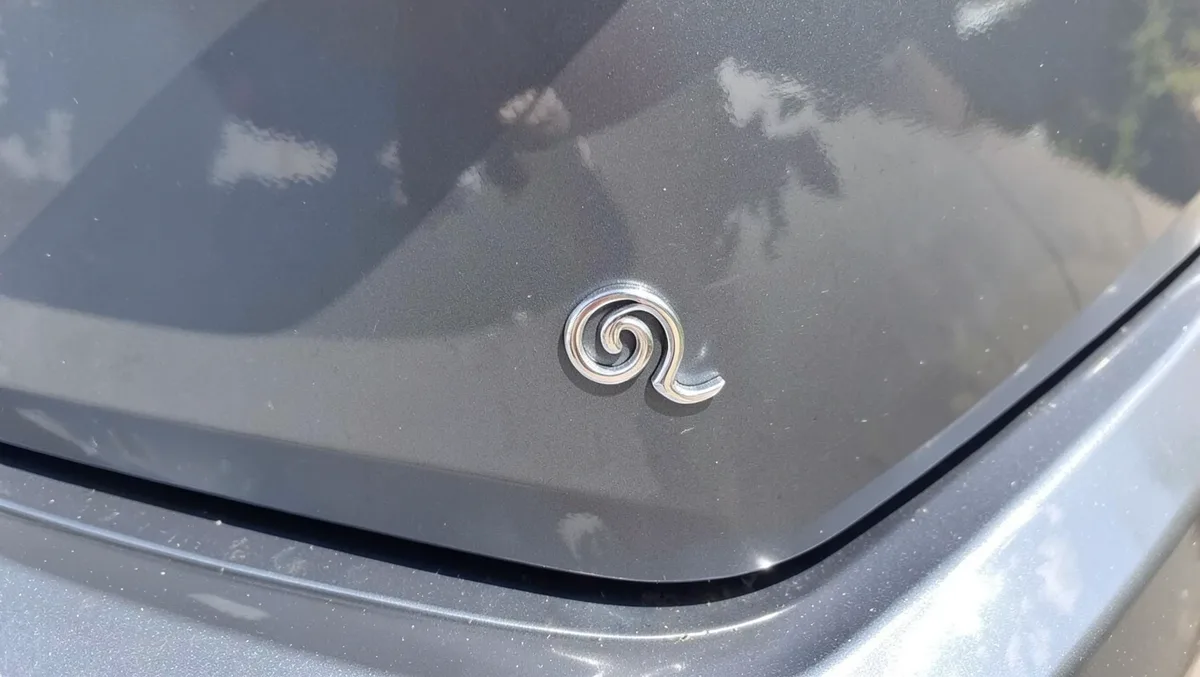
Silver car decals are adhesive graphics made from outdoor-grade vinyl built for car exteriors and glass. That includes windows, doors, bumpers, hoods, and side panels. The practical choice is the finish, because silver can read as bright, soft, or nearly invisible depending on the paint under it.
Finish choice changes visibility. On a dark car, silver usually needs more brightness or reflectivity to stand off the paint. On a light car, a flatter or muted silver can avoid looking washed out. The same decal shape can feel bold on black and weak on white.
What vinyl decals
Vinyl decals are cut or printed adhesive graphics made from outdoor-grade film. They are used on painted panels and glass because they hold up to weather, sunlight, and washing without metal fasteners. A good decal should survive rain and UV exposure, then remove cleanly before the adhesive ages too far.
Why silver finish changes visibility
Silver is not one look. Metallic gloss gives a reflective finish that reads clearly under hard light. Matte silver cuts glare and usually sits more quietly against bright paint. Silver-on-clear uses transparent carrier areas to reduce visible background, which helps small graphics sit closer to the panel shape without a boxed-in look.
Where silver decals fit on a car
Silver decals work best where the panel is smooth and the edges are easy to follow. Flat doors, hood sections, and rear quarter panels are easier than tight curves or textured plastic. Windows are also fair game when the decal is sized for glass and the adhesive is intended for that use.
Which silver finish should you choose?
Pick metallic gloss when you want the decal to read clearly from a distance, matte silver when the car already has a bright finish and you want a quieter accent, and silver-on-clear when the design needs to disappear around the edges. The right choice depends on paint color, panel shape, and how much contrast you want.
Metallic gloss on dark paint
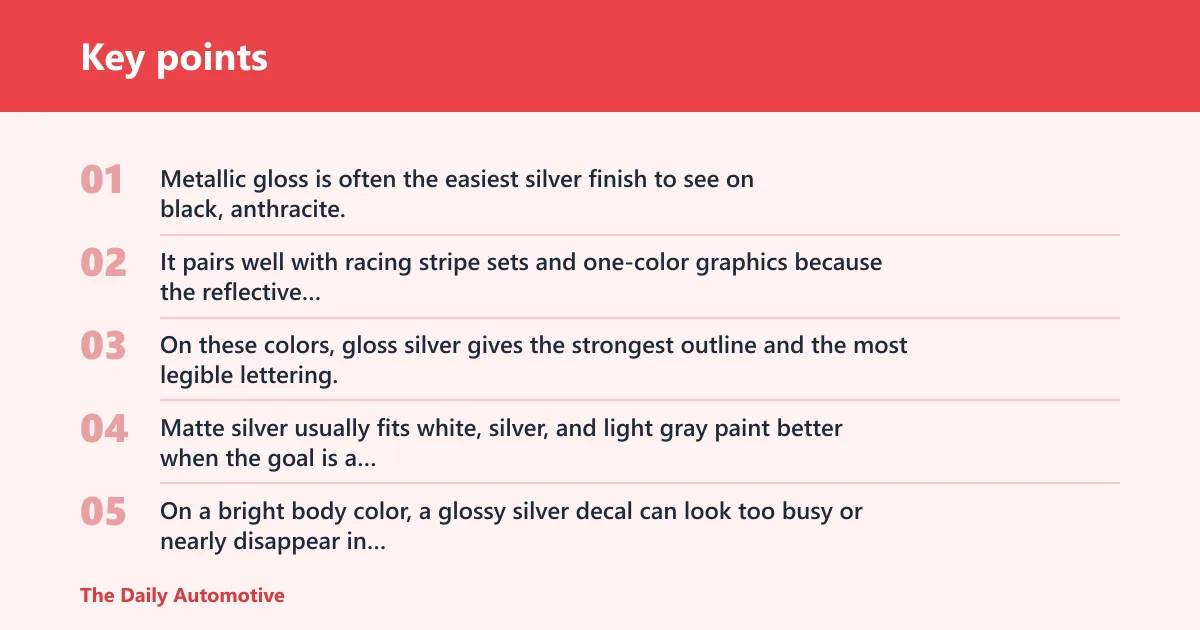
Metallic gloss is often the easiest silver finish to see on black, anthracite, and dark gray paint. It pairs well with racing stripe sets and one-color graphics because the reflective finish picks up light at different angles. On these colors, gloss silver gives the strongest outline and the most legible lettering.
Matte silver on bright paint
Matte silver usually fits white, silver, and light gray paint better when the goal is a restrained look. On a bright body color, a glossy silver decal can look too busy or nearly disappear in strong sun. Matte silver keeps the graphic visible without a mirror-like flash.
Silver-on-clear for subtle graphics
Silver-on-clear is the better choice for small badges, thin lettering, and low-profile branding. The clear carrier area reduces visual clutter on glass or painted panels, which helps the design feel intentional instead of pasted on. It is especially useful when the decal wraps around a panel edge or sits near body lines.
Best silver styles by paint color
Use the paint color as the first filter, then check the panel shape. A color that offers enough contrast on a flat door may fail on a curved bumper because the light shifts across the panel. A good rule is to favor stronger contrast on curves and softer contrast on flat sections.
| Paint color | Recommended silver style | Best-fit surface | Difficulty | Visibility and contrast note |
|---|---|---|---|---|
| Black, anthracite, dark gray | Metallic gloss | Doors, hoods, side panels | Medium | Highest contrast; strong readable outline |
| White, silver, light gray | Matte silver | Doors, windows, rear panels | Medium | Lower glare; cleaner on bright paint |
| Red, blue, gold | Silver-on-clear | Windows, flat side panels | Medium to hard | Subtle edge treatment; better for fine graphics |
Black, anthracite, and dark gray
These colors accept metallic gloss best. The reflective finish stands out without needing extra size, which matters for striping, numbers, and branding. If the design includes small text, choose a heavier font or larger character height so the contrast does not vanish at a distance.
White, silver, and light gray
These colors can make silver look faint if the finish is too glossy. Matte silver usually gives better separation from the body color. For a subtle accent, keep the graphic simple and avoid thin strokes that disappear when the car is seen in bright daylight.
Red, blue, and gold
These colors can work well with silver-on-clear because the clear background keeps the design from looking heavy. Use it for logos, script, or narrow stripes where the body color should remain visible. If the design is meant to be read from a distance, choose a larger silver area instead of fine detail.
What surfaces work best?
Silver decals stick best to smooth, dry surfaces. Windows and painted panels usually give the most reliable bond. Bumpers and hoods can work too, but curves, seams, and texture increase the chance of edge lift or trapped air. The better the surface is for the decal shape, the cleaner the finish will look.
Windows and glass
Glass is one of the easiest places to install a silver decal if the film is sized correctly. It gives a flat, stable surface and keeps small graphics readable. Use silver-on-clear or metallic gloss when the goal is visibility from outside, and avoid oversized decals that force the film across sharp curves in the glass.
Doors and side panels
Doors and side panels are the safest painted areas for most silver decals. They are broad, smooth, and easy to clean before application. This is where branding decals, medium stripes, and simple logos usually fit best. On a door, alignment matters more than stretch, so take time before the first tack point touches the paint.
Hoods, bumpers, and curved sections
Hoods are workable if the panel is smooth and the decal is not pushed over a hard body crease. Bumpers and curved sections raise the difficulty because vinyl wants to bridge over shape changes. A common first-timer mistake is using a decal that is too large for the curve, then forcing it down and creating wrinkles at the edge.
Picture a 120 mm logo on a flat door: it will usually lay down cleanly if you align it carefully. Put the same logo on a rounded bumper corner, and the risk changes immediately because the panel shape pulls the vinyl in more than the flat door does. The decal has not changed; the surface has.
Silver decal size and placement guide
Size should match panel area, not just the design file. Small graphics suit branding and trim accents. Medium decals suit stripe sets and name graphics. Large coverage pieces work when the panel offers enough flat space and the silver finish is chosen to stay readable at the intended viewing distance.
Small branding graphics
Small graphics often fall in a range of about 40 x 130 mm to 10 x 15 cm, depending on the panel and the lettering. Use them for quarter windows, lower doors, or a rear glass corner. These are easier to position, but tiny text becomes harder to read if the silver is too close to the paint color.
Stripe sets and medium decals
Stripe sets and medium decals are usually a better fit for hoods, side panels, and longer doors. A size around 980 x 250 mm is a common car-decal format for larger side or hood use, while 400 x 130 mm suits smaller identifiers and trim graphics. Check the panel width before ordering so the decal does not crowd the edge.
Large coverage and panel fit
Large decals work when the design is meant to dominate the panel. They are most likely to fail on curved bumpers or heavily sculpted hoods because the film has to follow a more complex shape. If the panel has a sharp crease, stop the decal short of the crease unless the design was made for that area.
Silver decal selection and install matrix
This matrix ties finish, paint color, placement, and risk together so you can choose the right silver style before you peel anything. It also lists the five most common mistakes for each scenario, because most failures start with the wrong finish for the panel, not with the squeegee.
| Scenario | Recommended silver style | Best-fit surface | Risk level | Top 5 mistakes to avoid |
|---|---|---|---|---|
| Black or dark gray paint, hood stripe | Metallic gloss | Flat hood section | Low to medium | 1) cutting too short 2) starting off-center 3) skipping cleaning 4) pressing too hard at once 5) washing too soon |
| White or light gray paint, door logo | Matte silver | Flat door or side panel | Low | 1) using a gloss finish 2) choosing thin lettering 3) misreading panel reflections 4) trapping dust 5) lifting the edge to re-align too many times |
| Red or blue paint, window graphic | Silver-on-clear | Glass | Medium | 1) oversized design 2) poor glass cleaning 3) ignoring alignment marks 4) using a dull edge tool 5) removing the transfer film too fast |
| Anthracite paint, curved bumper section | Metallic gloss | Shallow curve only | High | 1) forcing the decal across a deep curve 2) stretching the vinyl 3) applying in cold weather 4) leaving dust under the edge 5) skipping post-install cure time |
| Silver paint, subtle rear-panel accent | Matte silver | Flat rear panel | Medium | 1) choosing a finish too close to body color 2) using a graphic that is too small 3) failing to mark centerline 4) squeegeeing from one side only 5) washing immediately |
How do you apply a silver car decal step by step?
Apply the decal only after the surface is clean, dry, and cool to the touch. Work from a centered alignment point, not from the first corner that happens to stick. Then press from the center outward with a plastic card or squeegee so air moves away from the graphic instead of getting trapped under it.
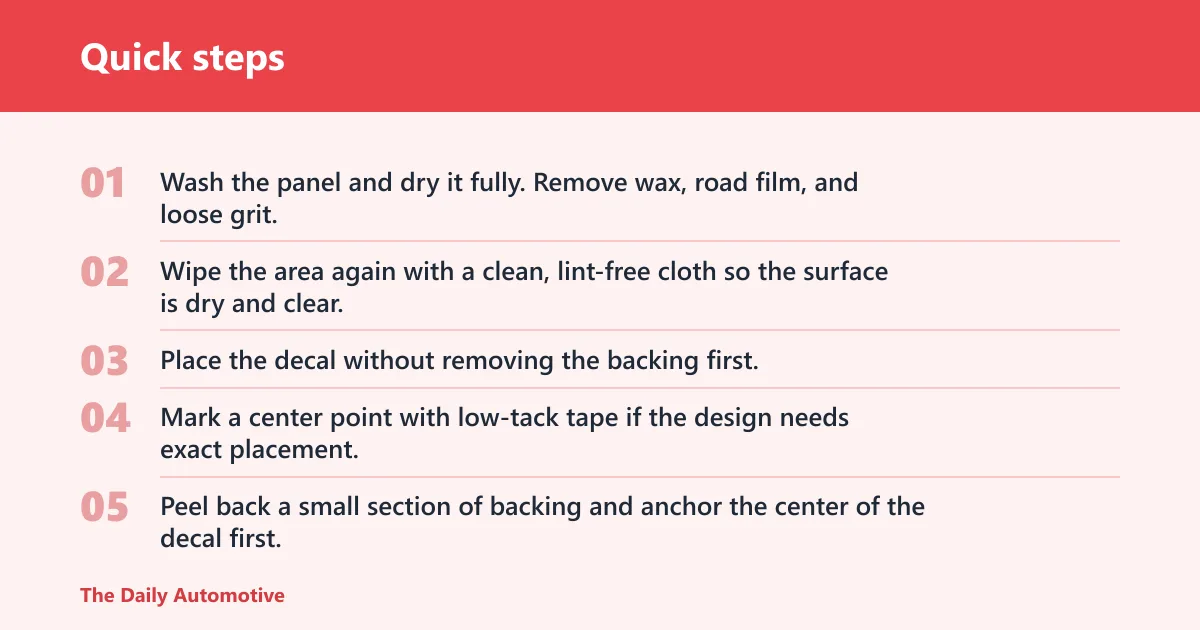
- Wash the panel and dry it fully. Remove wax, road film, and loose grit.
- Wipe the area again with a clean, lint-free cloth so the surface is dry and clear.
- Place the decal without removing the backing first. Check alignment against body lines, window edges, or panel seams.
- Mark a center point with low-tack tape if the design needs exact placement.
- Peel back a small section of backing and anchor the center of the decal first.
- Press outward from the center with a plastic card or squeegee, pushing trapped air toward the edges.
- Keep the pressure even so the vinyl does not wrinkle on curves or lift at the corners.
- Remove the transfer layer slowly, watching the decal edge to make sure it stays on the panel.
- Let the decal set before washing the car or exposing it to heavy water spray.
A common first-timer mistake is trying to slide the decal around after half the design has already touched the panel. That usually leaves fingerprints, dust, and a weak bond near the edges. A better approach is to pause, confirm the alignment, and commit only when the center point is right.
Clean and dry the surface
Cleaning is not a quick wipe. Use a clean, dry surface and remove anything that can block adhesion, including wax and dust. If the panel is damp or cool enough to hold condensation, wait. Vinyl adhesion is temperature-sensitive, and cold conditions make it harder for the adhesive to settle evenly.
Align before sticking
Silver graphics reveal alignment errors quickly because the finish catches light. Use body lines, panel gaps, or glass edges to square the decal before the adhesive touches down. On larger pieces, a small misalignment becomes obvious once the reflective finish is on the car.
Squeegee from the center outward
Use a plastic card or squeegee and move from the center outward. That method reduces trapped air and helps the decal settle over a smooth panel. On larger decals, work in short passes instead of one long sweep so the vinyl stays controlled across the full length.
Let it cure before washing
Give the decal several hours to set before washing the vehicle. Avoid immediate washing, strong pressure spray, or repeated rubbing at the edges. Most weather-resistant vinyl is meant for outdoor use, but the adhesive still needs time to settle after installation.
How long do silver vinyl decals last outdoors?
Outdoor life depends on the vinyl quality, UV exposure, wash habits, and whether the decal has a protective laminate. Some decals are described as lasting over 10 years outdoors, while others will age sooner depending on sun load and maintenance. UV-protective laminate can help with color retention and weather resistance on custom decals.
UV resistance and laminate use
UV-protected vinyl is less likely to fade in sunlight, which matters most on silver graphics that depend on surface sheen for contrast. A laminate adds another layer against weather and abrasion. That extra protection is useful on decals that sit in full sun or near road splash.
Weather exposure and wash timing
Rain and snow are normal conditions for outdoor decals, but the install still needs a clean, dry surface and a several-hours setting period. Do not rush the first wash. If the edges are still soft or the adhesive is still settling, water pressure can work under the film and shorten the bond.
When removal gets harder
Removal is usually easier when the decal is newer. As adhesive ages, residue risk rises, especially on hot panels or in strong sun. One competitor says decals can be removed without damaging paint, but that outcome depends on adhesive age, heat, and the condition of the surface underneath. Old, baked-on film is harder to lift cleanly.
Frequently asked questions
What are the best silver decals for cars?
The best silver decals depend on paint color and panel shape. Metallic gloss works best on dark paint, matte silver suits bright paint, and silver-on-clear is useful for subtle graphics on glass or lighter body colors. Simple shapes are safer on curves, where complex designs can distort or lift.
Are silver car decals hard to apply without bubbles?
They are manageable on smooth panels, but bubbles become more likely on curves, dusty paint, or cold surfaces. Clean the area, align before sticking, and press from the center outward with a plastic card or squeegee. Larger decals need slower, shorter passes to keep air from getting trapped.
Will silver vinyl decals damage car paint when removed?
They can usually be removed without damage if the paint is sound and the adhesive has not aged too long. Still, residue risk depends on heat, time on the car, and surface condition. Warm the film gently if needed, and avoid yanking at a sharp angle, which can stress old adhesive.
What surfaces can silver decals stick to on a car?
Silver decals stick best to windows, doors, bumpers, hoods, and side panels when those surfaces are smooth, clean, and dry. Flat painted panels are easiest. Curved bumpers and heavy body contours are harder because the vinyl has to follow a more complex shape without wrinkling or edge lift.
How do you remove air bubbles from a car decal?
Use a plastic card or squeegee and push the air from the center toward the nearest edge. For small trapped spots, light pressure often moves the bubble out. On large decals, rework the area in short passes rather than pressing harder in one place, which can stretch the vinyl.
How long do car decals last outdoors?
Longevity varies by vinyl quality, sun exposure, and care. Some decals are described as lasting over 10 years outdoors, especially when they use UV-protected vinyl or a protective laminate. Frequent washing, hot sun, and poor edge prep shorten service life, so the install quality matters as much as the material.
Products related to this article
Sponsored / affiliate links. As an Amazon Associate I earn from qualifying purchases. I may earn additional commission from eligible campaigns.
 VulgrCo Windshield Custom Vinyl Decals for Cars - Personalized Car Stickers
 Touch Up Paint for Cars, 3-Pack - White Car Scratch Repair Pen, Color Accurate Automotive Touch Up Paint, Long-Lasting Scratch Resistance, Fast-Drying & User-Friendly, Safe & Water-Resistant for Automotive & Household Touch-Ups