How to Adjust Graco Car Seat Straps: No-Rethread and Rethread
To adjust straps on most current Graco car seats, squeeze the gray or red lever behind the headrest and slide it up or down — the harness moves with it, so there’s nothing to rethread. Older Graco models use a separate rethread system where the straps must be pulled out and moved to a different slot by hand.
Getting this wrong matters more than it might seem. A chest clip sitting even an inch too low can let a child slip partway out of the harness in a crash, and a harness that’s too loose adds slack a child’s body can move through before the straps catch. NHTSA’s own installation guidance treats harness position and clip height as pass/fail safety checks, not style preferences.
This guide covers both Graco harness systems, how to tell which one you have, the correct shoulder-slot height for rear-facing versus forward-facing riding, how to get the chest clip and tension right, and fixes for the most common complaints — straps that won’t loosen, a stuck adjuster button, or a harness that goes uneven every time you tighten it.
Which Graco Harness System Do You Have?
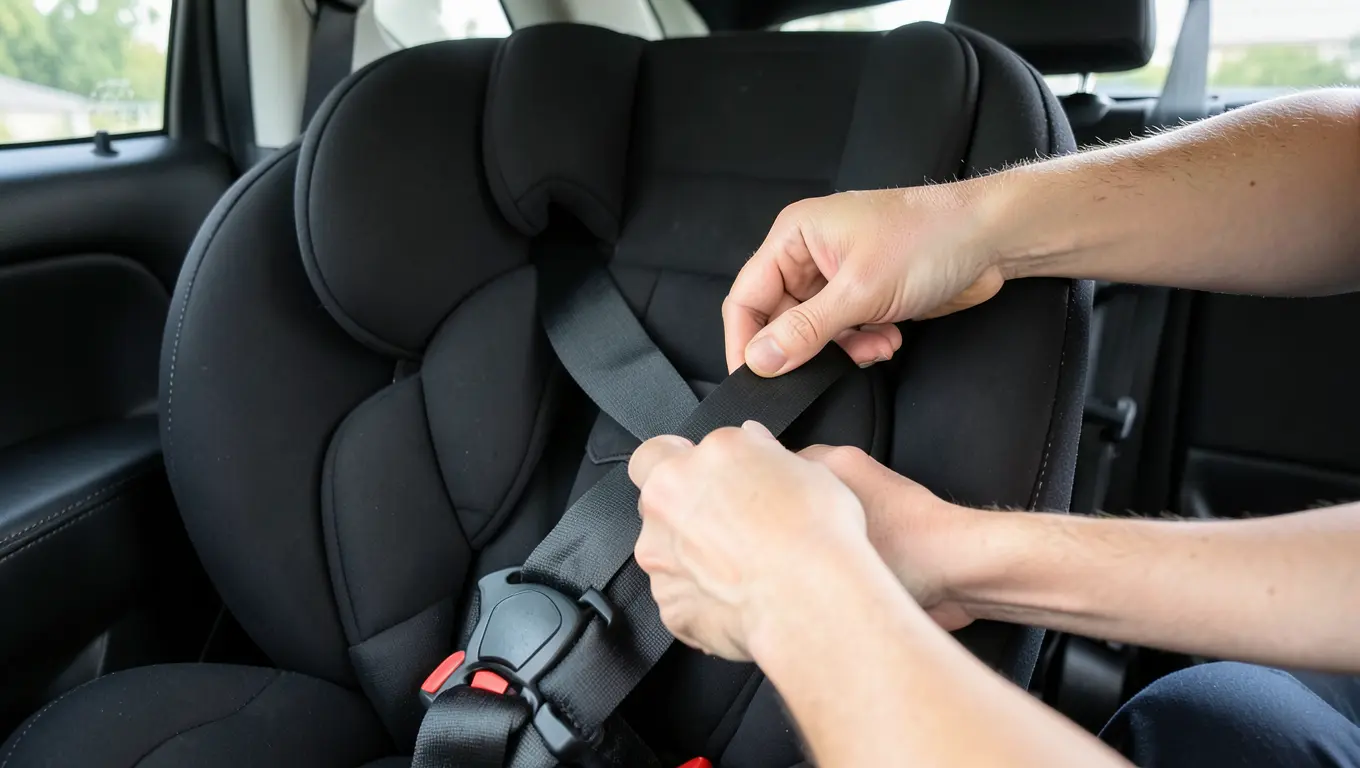
Graco has sold two different harness designs for years, and the adjustment steps are completely different depending on which one is on your seat. Check the back of the headrest before you start — if you see a lever or handle built into the headrest padding, you have the newer system.
| System | How you tell | Typically found on |
|---|---|---|
| No-Rethread (Simply Safe Adjust) | A lever or squeeze-handle is built into the back of the headrest; moving the headrest moves the harness slots with it | 4Ever, 4Ever DLX, Extend2Fit, Extend2Fit 3-in-1, Turn2Me, SlimFit, TrioGrow, and most current Graco convertible and all-in-one seats |
| Rethread | No headrest lever; the harness straps run through fixed fabric slots in the seat shell | Some older Graco models, a few budget forward-facing-only and booster seats, and older infant-only SnugRide seats |
If you’re not sure which one you have, your seat’s model number is printed on a white sticker on the underside or back of the seat. Look it up on Graco’s support site or in your printed manual — the manual for your exact model is the one source that’s always correct for your seat, since Graco updates its lineup often.
MAKES A SNUG HARNESS MORE COMFORTABLE
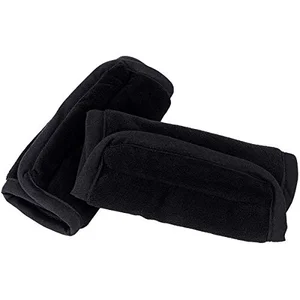 |
COOLBEBE Car Seat Strap Shoulder Pads – $7.99 Once you’ve got the harness snug enough to pass the pinch test, soft shoulder pads keep that same tight webbing from digging into your child’s neck on longer rides.
|
How to Adjust Straps on a No-Rethread Graco Car Seat
This is the system on most Graco seats sold in the last several years, including the 4Ever, Extend2Fit, and Turn2Me lines. The headrest and the harness move together, so raising the headrest raises the shoulder straps at the same time — you never pull straps out of a slot.
- Loosen the harness first. Press the harness adjuster button at the front of the seat (usually a red button between your child’s legs) and pull both shoulder straps outward at the same time. Pulling only one side is the most common cause of an uneven harness afterward.
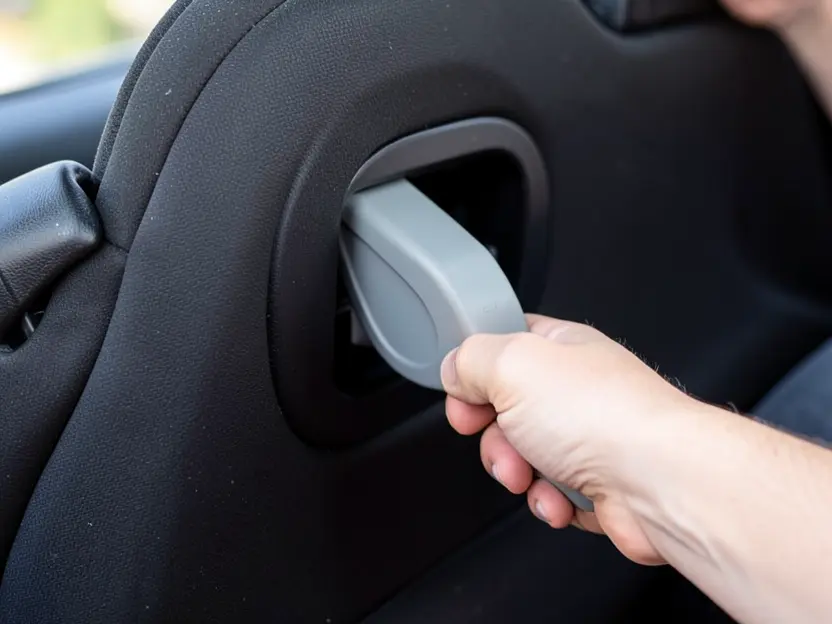
- Squeeze the headrest lever. Reach behind the headrest padding and squeeze the gray or red lever or handle. Holding it in unlocks the headrest track.
- Slide the headrest to the right height. While still squeezing the lever, slide the headrest up or down. Stop when the harness slots line up with the correct shoulder position (see the height rule below).
- Release the lever and confirm it’s locked. Let go and gently try to move the headrest — it should not slide any further. Graco seats typically have 8–10 headrest positions, so you’ll feel it click into a set point.
- Re-tighten the harness. Pull the harness adjuster strap at the front of the seat straight out and down until the straps are snug, then run the pinch test described further down.
How to Adjust Straps on an Older Rethread Graco Car Seat
If your seat has no headrest lever, the shoulder straps run through fixed fabric or plastic slots in the seat shell, and moving them up or down means physically removing and rerouting the webbing.
- Loosen the harness fully using the adjuster button at the front, then unbuckle the chest clip and harness buckle.
- Find the metal splitter plate on the underside of the seat cover, where both shoulder straps connect underneath the seat. On most Graco rethread seats you’ll need to lift or unhook the seat cover flap to reach it.
- Pull each shoulder strap through from the front, disconnecting it from the splitter plate, and pull the strap fully out through its current slot.
- Feed the strap into the correct slot from the back of the seat shell to the front, keeping the webbing flat with no twists.
- Reconnect both straps to the splitter plate in the same orientation they came off, then tug on each one to confirm it’s seated and won’t pull free.
- Re-buckle and re-tighten the harness, then check both slots are at the same height and the webbing lies flat against your child’s shoulders.
Always confirm the routing against your specific model’s manual before your child rides in the seat — the splitter plate location and cover-flap design vary between Graco infant, convertible, and booster models.
Getting the Shoulder Strap Height Right
The correct harness slot depends on which direction the seat is facing, not just your child’s size — this is one of the most commonly reversed rules parents get wrong.
| Seat direction | Correct shoulder strap position | Why |
|---|---|---|
| Rear-facing | At or just below your child’s shoulders | Keeps the harness pulling the body down into the shell during a frontal impact, spreading crash force across the shoulders instead of the neck |
| Forward-facing | At or just above your child’s shoulders | Keeps the harness from riding up off the shoulders during a frontal impact, which is the main forward-facing crash direction |
Check the slot position every few months, since kids grow quickly and outgrow a slot faster than most parents expect. If the top slot is still below your rear-facing child’s shoulders, or the harness can no longer reach above your forward-facing child’s shoulders even at the seat’s highest position, it’s time to move to the next seat stage per your model’s height and weight limits.
Tightening the Harness and Positioning the Chest Clip
A harness that’s the right height but too loose still isn’t safe. After you’ve set the slot height, pull the adjuster strap at the front of the seat straight toward you until the webbing is snug against your child’s collarbone and hips, not just resting on top of their coat.
Run the pinch test to check it: try to pinch the shoulder strap webbing between two fingers at your child’s shoulder. If you can pinch any extra material, the harness is too loose and needs another pull. If you can’t gather any slack at all, it’s snug enough.
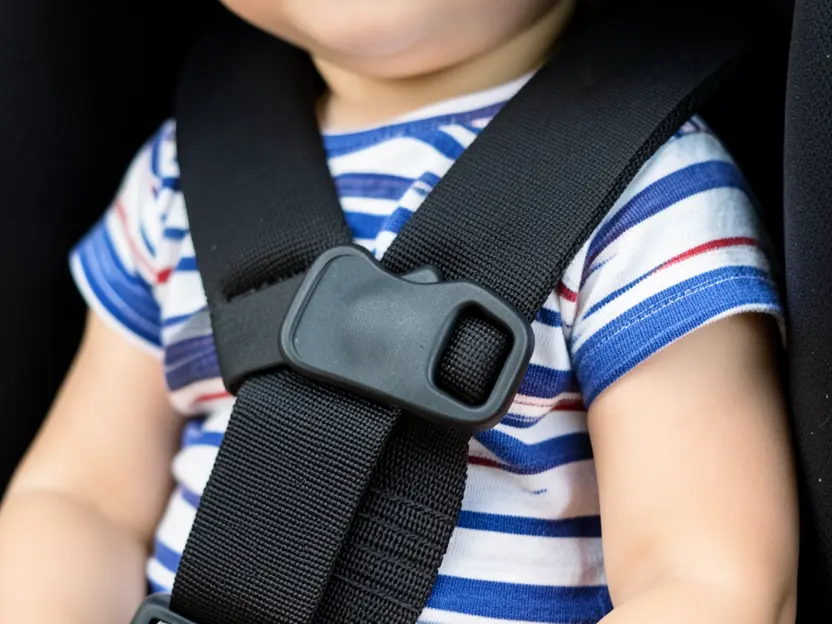
The chest clip is not adjustable on its own — its height changes only when you slide it up or down the two shoulder straps by hand, after the harness is buckled. Position it level with your child’s armpits. If it sits too low, over the stomach, a child can slide partway out of the harness in a crash. If it sits too high, near the neck, it can press into the throat during a sudden stop. Both straps should feed through the clip evenly, and the clip itself should lie flat against the chest, not twisted.
Straps Stuck, Won’t Loosen, or Keep Going Uneven
These are the most common Graco harness complaints, and almost all of them trace back to the same handful of causes.
- Adjuster button feels stuck or won’t loosen the straps: Pull back the seat padding around the harness adjuster button and check for crumbs, dried food, or debris caught under the metal release lever. That lever needs to fully clamp down to lock the strap; anything wedged under it can also let straps loosen on their own between adjustments. Wipe the area clean and test again.
- One side is looser than the other after you tighten it: This almost always happens when only one shoulder strap gets pulled during loosening. Fully loosen the harness again, pulling both straps out evenly at the same time, then re-tighten from scratch.
- Harness won’t loosen at all, even with the button held down: Raise the headrest to its highest position first, then fully loosen and fully re-tighten the harness. This resets tension that can build up unevenly in the webbing.
- Chest clip won’t clip together or pops open: Check both prongs for lint or debris, and make sure the straps aren’t twisted where they enter the clip. A clip that still won’t stay closed after cleaning should be reported to Graco — don’t use the seat until it locks securely.
If none of these fix it, contact Graco customer support directly rather than forcing a stuck mechanism — harness hardware isn’t something to work around with extra force.
Keeping the Harness Working Safely Long-Term
- Check the fit every few weeks, not just when you first install the seat — kids grow, and clothing changes with the season.
- Skip bulky winter coats under the harness. A puffy coat compresses in a crash, leaving the harness effectively too loose even if it felt snug when you buckled it. Buckle the harness first, then add a coat or blanket over the top.
- Clean straps with mild soap and water only. Machine-washing or soaking harness webbing can weaken the fibers that are rated to hold a child in a crash.
- Never add aftermarket strap padding, covers, or clips that weren’t crash-tested with your specific seat model — anything sold as replacing or covering factory hardware, rather than a soft comfort pad over the existing strap, can change how the harness performs.
- Replace the seat after a moderate-to-severe crash, even if it looks undamaged, per your insurer’s and Graco’s guidance — internal webbing and hardware can be stressed in ways you can’t see.
For the general rule on how tight straps should feel at any age or seat brand, see our guide on how car seat straps should fit.
Frequently Asked Questions
How do I know if my Graco car seat is no-rethread or rethread?
Check the back of the headrest. If there’s a lever, handle, or button built into the headrest padding that lets you slide the whole headrest up and down, you have a no-rethread Simply Safe Adjust harness. If the headrest doesn’t move and the straps run through separate fixed slots in the seat shell, you have a rethread system.
Why won’t the straps loosen on my Graco 4Ever or Extend2Fit?
The most common cause is debris caught under the metal release lever inside the harness adjuster button. Pull back the padding around the button, clear out any crumbs or dirt, and try again. If that doesn’t work, raise the headrest to its highest position, then fully loosen and re-tighten the harness to reset it.
Should the harness straps be at or above the shoulders?
It depends on the seat’s direction. Rear-facing, the straps should be at or just below your child’s shoulders. Forward-facing, they should be at or just above the shoulders. Using the wrong rule for the seat’s direction is one of the most common car seat mistakes parents make.
How tight should a Graco car seat harness be?
Tight enough that you cannot pinch any extra webbing between your fingers at your child’s shoulder. If you can gather slack in the strap, it’s too loose and needs to be tightened using the adjuster strap at the front of the seat.
Where exactly should the chest clip sit?
Level with your child’s armpits. Too low, over the stomach, and a child can slip partway out of the harness in a crash. Too high, near the neck, and it can press into the throat during a sudden stop.
Can I adjust Graco harness straps without moving the headrest?
On a no-rethread Graco seat, no — the headrest and harness are locked together on purpose, so moving one moves the other. On an older rethread Graco seat, the straps are adjusted independently of the headrest by rerouting the webbing through a different slot.
Conclusion
Most current Graco car seats adjust with a simple squeeze-and-slide headrest lever, no rethreading required — check the back of the headrest first to confirm which system you have. Get the direction-based slot height right, run the pinch test after tightening, and keep the chest clip level with the armpits every single ride. If the mechanism ever feels stuck, check for debris before assuming it’s broken, and when in doubt, your specific model’s manual from Graco is the final word.
Products related to this article
Sponsored / affiliate links. As an Amazon Associate I earn from qualifying purchases. I may earn additional commission from eligible campaigns.
 Seat Belt Covers for Kids, 2 in 1 Car Seat Strap Covers & Auto Seatbelt Pillow for Kids nap, Car Travel Pillow & Strap Pads Cushion for headrest, Neck/Shoulder Support, fit Child, Adult, Grey;
 PartsTo Adjustable Kids Travel Car Seat Headrest Pillow with Lean Support Cushion Sleeping Travel Neck Safeguard Cushion Suitable for Kids Children Teenagers and Adults