How to Clean a Car Interior: A Step-by-Step Guide to a Spotless Ride
Hey there, friend! If you’ve ever climbed into your car and noticed crumbs on the seats, dust on the dashboard, or a faint whiff of last week’s fast food, you’re not alone. I’ve been there, staring at my car’s interior and wondering how it got so messy. A clean car interior isn’t just about looks—it makes every drive feel fresh and comfortable.
Over the years, I’ve tackled my fair share of spills, stains, and grime, and I’ve learned what works (and what doesn’t) to get a car sparkling clean. In this guide, I’m sharing my go-to methods for cleaning a car interior, step by step, so you can make your ride look and feel brand new. Whether you’re prepping for a road trip or just want a cleaner space, let’s roll up our sleeves and get to it!
Why Keeping Your Car Interior Clean Matters
I used to think a little dirt in the car wasn’t a big deal. But then I noticed how much better I felt driving in a clean, organized space. A tidy interior isn’t just about appearances—it protects your car’s value and makes it more enjoyable to drive. Dust and grime can wear down surfaces over time, and spills can lead to stubborn stains or even mold. Plus, a clean car feels like a little sanctuary, especially if you spend a lot of time on the road.
When I started cleaning my car regularly, I also noticed fewer allergies from dust and pollen buildup. It’s a win-win: your car looks great, lasts longer, and feels better to drive. Let’s talk about how to make that happen.
What You’ll Need to Clean Your Car Interior
Before we dive in, let’s gather the tools. I’ve tried cleaning with whatever I had lying around, but having the right supplies makes the job easier and faster. Here’s a list of what I use, based on my own experiments:
| Item | Purpose | Where to Find It |
|---|---|---|
| Vacuum cleaner (with attachments) | Removes dirt, crumbs, and debris | Home, auto stores, or rent one |
| Microfiber cloths | Wipes surfaces without scratching | Auto stores, supermarkets |
| Soft-bristle brush | Scrubs tough spots on seats and carpets | Auto stores, hardware stores |
| All-purpose cleaner (APC) | Cleans multiple surfaces safely | Auto stores, online |
| Upholstery cleaner | Tackles stains on fabric seats | Auto stores, online |
| Leather cleaner and conditioner | Cleans and protects leather seats | Auto stores, online |
| Glass cleaner | Streak-free cleaning for windows and mirrors | Auto stores, supermarkets |
| Bucket and car wash soap | Cleans floor mats and exterior if needed | Auto stores, supermarkets |
| Trash bags | Collects garbage and keeps things tidy | Supermarkets, home |
| Cotton swabs or old toothbrush | Cleans tight spots like air vents | Home, drugstores |
| Spray bottle (optional) | Dilutes cleaners or applies water | Hardware stores, supermarkets |
Most of these are affordable and easy to find. I keep a cleaning kit in my garage so I’m always ready. If you’re on a budget, a vacuum, microfiber cloths, and an all-purpose cleaner will cover most jobs.
Step 1: Clear Out the Clutter
The first thing I do is clear out all the junk. You’d be amazed at what accumulates in a car—empty coffee cups, receipts, kids’ toys, you name it. I grab a trash bag and toss out anything that doesn’t belong. For items like sunglasses or chargers, I set them aside in a box to organize later.
Don’t skip this step. It’s tempting to jump straight to cleaning, but clutter gets in the way. I once tried vacuuming around a pile of gym clothes, and it was a mess. Take 5-10 minutes to declutter, and you’ll have a clear workspace.
Step 2: Vacuum Every Nook and Cranny
Once the clutter’s gone, it’s time to vacuum. I use a shop vac with a hose and attachments because it’s powerful and gets into tight spots. Start from the top and work your way down—gravity will pull dust and debris to the floor, so this saves you extra work.
I begin with the seats, using the crevice tool to get between cushions and along seams. Then I hit the dashboard, center console, and door panels. For the floor, I use the wide attachment to cover more ground. If you have fabric floor mats, vacuum them thoroughly. I once found a whole layer of sand under my mats from a beach trip—vacuuming made a huge difference.
Pro tip: If your vacuum has a brush attachment, use it on delicate areas like the dashboard to avoid scratches. Take your time here; a good vacuum job sets the stage for everything else.
Step 3: Clean the Floor Mats
Floor mats take a beating, so I give them special attention. If they’re rubber or plastic, I take them out and rinse them with a hose. A bit of car wash soap and a scrub brush get rid of mud and grime. For fabric mats, I vacuum them first, then use an upholstery cleaner. I spray the cleaner, let it sit for a minute, and scrub with a soft-bristle brush. Rinse with water if the product allows, then let them air dry.
I learned the hard way not to put wet mats back in the car. They can trap moisture and cause a musty smell. Let them dry completely, preferably in the sun, before putting them back.
Step 4: Tackle the Seats
Seats are the heart of your car’s interior, and they can make or break the look. I’ve dealt with both fabric and leather seats, and each needs a different approach.
For fabric seats, I start by vacuuming to remove loose dirt. Then I use an upholstery cleaner. I spray a small section, scrub with a soft brush, and wipe with a microfiber cloth. For tough stains, like coffee or ketchup, I let the cleaner sit for a few minutes before scrubbing. I once had a juice stain on my passenger seat that took two rounds, but it came out perfectly.
For leather seats, I use a dedicated leather cleaner. It’s gentler than all-purpose cleaner and won’t dry out the leather. I apply it with a microfiber cloth, wipe it clean, and follow up with a leather conditioner to keep the seats soft and protected. The first time I conditioned my leather seats, they looked so rich and shiny—I was hooked.
Step 5: Wipe Down Hard Surfaces
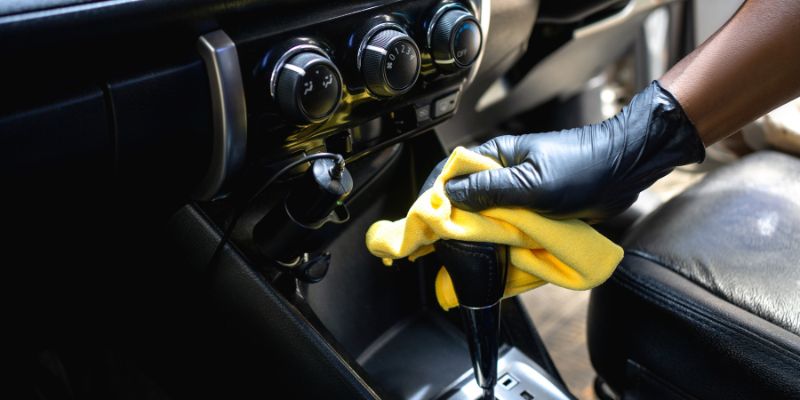
Next, I focus on the dashboard, center console, and door panels. These areas collect dust and fingerprints like nobody’s business. I use an all-purpose cleaner diluted in a spray bottle (check the label for dilution ratios). Spray it onto a microfiber cloth—not directly on the surface—to avoid streaks or damage to electronics.
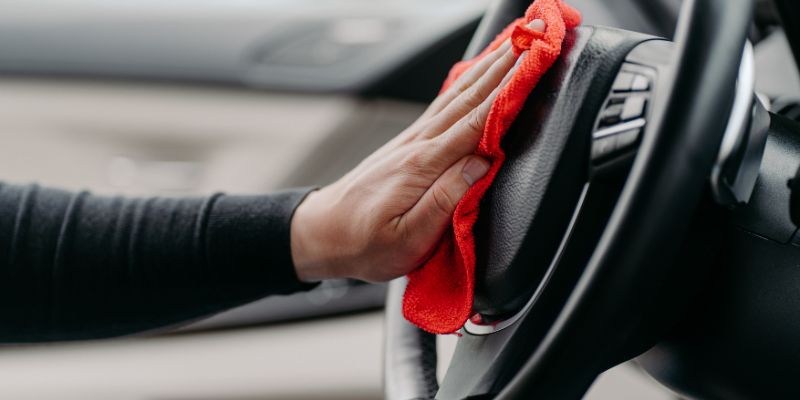
I wipe in small, circular motions, paying extra attention to textured areas like the steering wheel. For tight spots, like air vents or buttons, I use a cotton swab or an old toothbrush. I once spent 15 minutes cleaning my vents, and the air felt fresher afterward. If your dashboard has a glossy finish, finish it with a plastic protectant to add shine and UV protection.
Step 6: Clean the Windows and Mirrors
Nothing makes a car interior pop like clean windows. I use a glass cleaner and a fresh microfiber cloth for this. Spray the cleaner onto the cloth (not the glass) to avoid overspray on other surfaces. Wipe in straight lines—up and down on one side, side to side on the other—to spot any streaks.
For the windshield, I take extra care because smudges can mess with visibility. I also clean the rearview and side mirrors. If you have tinted windows, make sure your cleaner is ammonia-free to avoid damaging the tint. I learned this after using the wrong cleaner and noticing a slight peel on my tint—ouch!
Step 7: Tackle Odors
If your car smells less than fresh, don’t just cover it up with air fresheners. I’ve found that odors often come from trapped food, spills, or dampness. After cleaning, I check for lingering smells. Baking soda is my go-to for fabric seats and carpets. I sprinkle it on, let it sit for 15 minutes, then vacuum it up. It absorbs odors like magic.
For tougher smells, like smoke, I use an odor eliminator spray designed for cars. I spray it lightly and let the car air out with the windows down. Once, after buying a used car with a musty smell, I left a small bowl of activated charcoal inside overnight. It worked wonders.
Step 8: Add the Finishing Touches
With the cleaning done, I like to add a few final touches. I reapply plastic protectant to the dashboard and door panels for extra shine. If you have leather seats, a quick wipe with conditioner keeps them looking great. I also organize any items I’m keeping in the car, like chargers or sunglasses, in a small console organizer.
If you want a fresh scent, a subtle air freshener is fine, but don’t overdo it. I prefer a light, clean fragrance over anything too strong. It’s like putting the cherry on top of your hard work.
Maintenance Tips to Keep Your Interior Clean
Cleaning your car interior is awesome, but keeping it that way is even better. Here’s what I do to maintain mine:
- Vacuum weekly: A quick vacuum keeps dirt from building up.
- Wipe surfaces regularly: A microfiber cloth and APC once a month keeps dust at bay.
- Use floor mats: They’re easier to clean than carpet and protect the floor.
- No eating in the car: I made this rule after a burger spill disaster.
- Keep a trash bag handy: A small bag in the car prevents clutter.
I also park in a garage when I can to reduce dust and sun damage. These habits make deep cleaning less frequent and way easier.
Common Mistakes to Avoid
I’ve made plenty of goofs cleaning my car, so let me save you some trouble. Don’t use household cleaners like bleach or dish soap—they can damage surfaces or leave residue. Avoid over-wetting seats or carpets, as it can lead to mold. I once soaked a seat and had to air it out for days. Also, don’t skip vacuuming before cleaning; it just spreads dirt around.
Another tip: don’t use dark clothes on light interiors. I once used a black microfiber cloth on a beige dashboard and left lint everywhere. Stick to light-colored clothes for light surfaces.
Why It’s Worth the Effort
Cleaning your car’s interior is one of those tasks that feels so rewarding when it’s done. I remember the first time I deep-cleaned my sedan—it was like driving a new car. Not only does it look amazing, but it also protects your investment. A clean interior can boost your car’s resale value and make every drive more pleasant. Plus, it’s a project you can do yourself with basic tools, saving you money over professional detailing.
Conclusion
There’s something so satisfying about sliding into a freshly cleaned car interior. From clearing out the clutter to scrubbing seats and wiping down windows, every step brings you closer to a ride that looks and feels fantastic. I’ve loved sharing my process with you—it’s the same one I use to keep my car looking sharp, whether I’m cruising to work or hitting the open road. With a little time, the right tools, and some elbow grease, you can transform your car into a clean, comfortable space you’re proud of. So grab your vacuum, roll up your sleeves, and give your car the TLC it deserves. You’ll be grinning ear to ear when you see the results!
FAQs
How often should I clean my car’s interior?
I clean mine thoroughly every 2-3 months, but a quick vacuum and wipe-down every week or two keeps it tidy.
Can I use household cleaners on my car interior?
It’s best to avoid them. Household cleaners like bleach or dish soap can damage surfaces. Stick to automotive cleaners for safety.
What’s the best way to remove stains from fabric seats?
Use an upholstery cleaner, spray it on, scrub with a soft brush, and wipe with a microfiber cloth. Let it sit longer for tough stains.
How do I clean leather seats without damaging them?
Use a leather cleaner and a microfiber cloth, then apply a conditioner to keep them soft. Avoid harsh chemicals or too much water.
Why does my car still smell after cleaning?
Odors can hide in carpets or seats. Try baking soda or an odor eliminator spray, and air out the car with the windows down.
Can I clean tinted windows with regular glass cleaner?
Only if it’s ammonia-free. Ammonia can damage tint. Check the label or use a cleaner made for tinted windows.