How To Fix A Chipped Paint On Car: Proven, Easy Steps
To fix a chipped paint on your car, first clean the area with soap and water. Use a prep solvent to remove wax. Gently sand the chip to smooth the edges and apply a rust inhibitor if needed. Apply thin layers of primer, then matching touch-up paint, and finally a clear coat, allowing each layer to dry completely.
Hello, I’m Md Meraj. That first paint chip on your car can feel like a big deal. Whether it came from a stray rock on the highway or a bump in a parking lot, it’s frustrating. It stands out on your otherwise shiny car. But I have good news for you: you don’t need to rush to an expensive body shop for a small chip. You can fix it yourself!
Fixing a small paint chip is one of the easiest and most rewarding DIY car tasks. It saves you money and, more importantly, protects your car from rust. In this guide, I’ll walk you through the simple, proven steps to make that chip disappear. We’ll go slow, use easy-to-find materials, and get your car looking great again. Let’s get started.
Why You Shouldn’t Ignore a Paint Chip
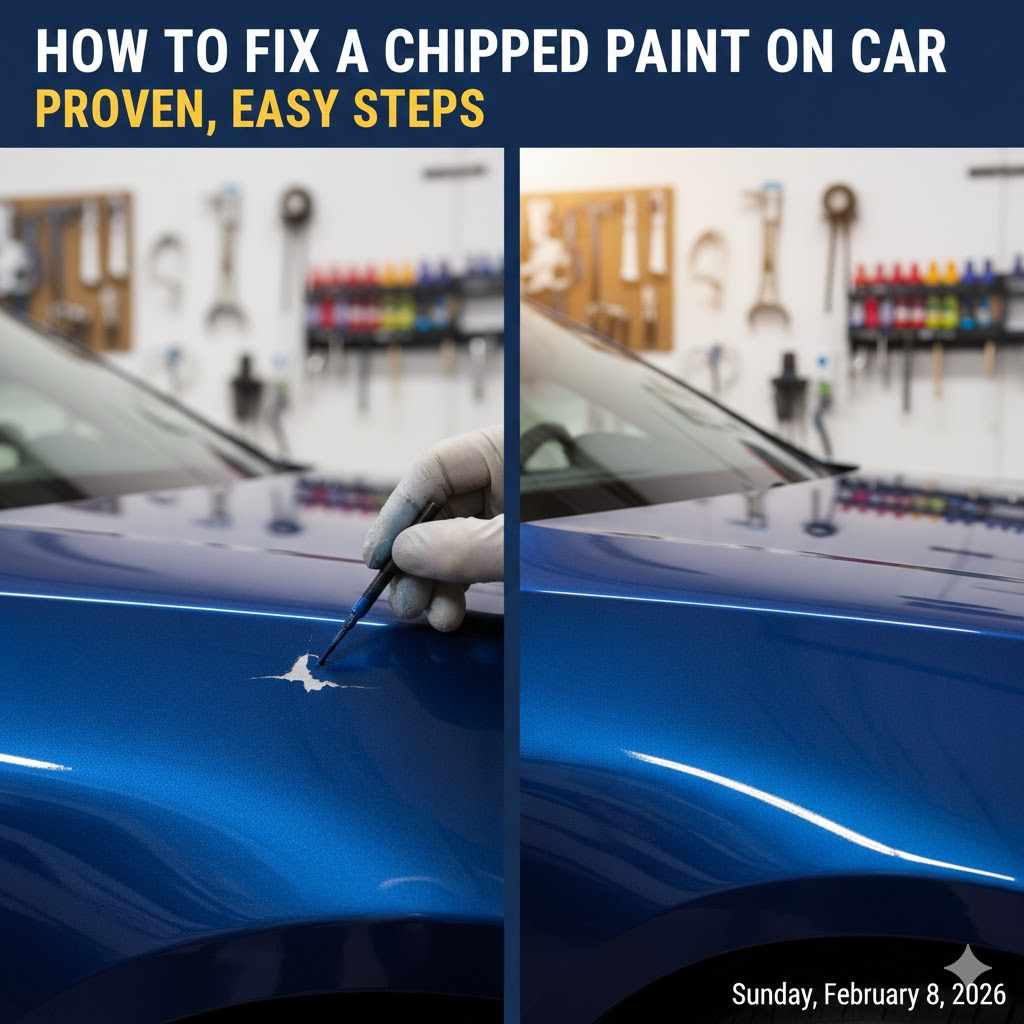
It might seem like just a tiny cosmetic problem, but a paint chip is more than just an eyesore. Your car’s paint is its first line of defense against the elements. When that defense is broken, it exposes the metal underneath to moisture and air. What happens next? Rust.
Rust is like a cavity for your car; it starts small but can spread quickly. A tiny dot of rust can grow under the surrounding paint, causing it to bubble and peel. What started as a simple chip repair can turn into a much larger, more expensive problem involving sanding, grinding, and professional repainting. By fixing a paint chip right away, you are stopping rust before it ever has a chance to start. Think of it as a few minutes of work now to save yourself a big headache and a lot of money later.
Understanding Your Car’s Paint Layers
Before you start the repair, it helps to know what you’re fixing. Your car’s “paint” is actually made of several layers, each with a specific job. When you see a chip, you are often seeing a cross-section of these layers.
| Layer | Purpose | What It Looks Like When Chipped |
|---|---|---|
| Clear Coat | The top, transparent layer. It protects the color from UV rays, scratches, and weather. It provides the shine. | A shallow, white-ish scratch that doesn’t show a different color. The color underneath is still visible. |
| Base Coat (Color) | This is the layer that gives your car its color. It has no shine or protective qualities on its own. | The chip shows a dull, gray or white layer underneath. This is the primer. |
| Primer | This layer helps the color paint stick to the car’s body. It also provides an extra layer of corrosion protection. | The chip goes all the way down to the shiny, bare metal of the car’s body panel. |
| Metal Panel | The actual steel or aluminum body of your car. | If you see shiny or rusty metal, the chip has gone through all layers of paint. This needs immediate attention. |
Knowing these layers helps you understand how deep the chip is and which products you’ll need for the repair. For most chips that go down to the primer or metal, you will need to rebuild these layers one by one.
Gather Your Supplies: The Ultimate Checklist
Having the right tools makes any job easier. You can find most of these supplies at an auto parts store or online. You don’t need a professional garage—just a clean, well-lit space and this list.
- Car Soap and Water: You need to start with a perfectly clean surface. Regular dish soap can strip wax, so proper car wash soap is best.
- Wax and Grease Remover (Prep Solvent): This is a crucial step. It removes any leftover wax, polish, or oils so the new paint can stick properly. Isopropyl alcohol can also work in a pinch.
- Automotive Touch-Up Paint Kit: This is the star of the show. Make sure it matches your car’s exact paint code. Most kits come with a small bottle of paint and a brush. Some even include primer and clear coat.
- Automotive Primer: If your chip is down to the bare metal, you need primer. It prevents rust and helps the color paint adhere. You can often get this in a small touch-up bottle or pen.
- Clear Coat: This seals the color paint, protects it from the sun, and gives it a glossy shine that matches the rest of your car.
- Microfiber Towels: You’ll need several clean, soft towels for cleaning, drying, and applying products.
- Fine-Tip Paint Applicators or a Toothpick: The brushes that come with touch-up paint are often too thick for small chips. A fine-tip applicator (like a micro-dabber) or even the end of a paper matchstick gives you much more control.
- 2000-Grit Wet/Dry Sandpaper: For very small, precise sanding to smooth the edges of the chip. You only need a tiny piece.
- Polishing Compound: After the paint is cured, this will help blend the new paint with the old, removing any small imperfections and restoring the shine.
- Gloves and Safety Glasses: Always protect yourself. Paint and solvents can irritate your skin and eyes.
Finding Your Car’s Exact Paint Code
This is the most important part of gathering your supplies. Guessing the color will lead to a mismatched, obvious repair. Your car has a specific paint code that manufacturers use to create the exact shade. You need this code to buy the right touch-up paint.
Here’s where to find it:
- Inside the Driver’s Side Door Jamb: This is the most common location. Look for a sticker that contains vehicle information. The paint code is often labeled as “PAINT” or “PNT.”
- Under the Hood: Sometimes the sticker is on the firewall (the metal wall between the engine and the cabin) or on the underside of the hood itself.
- In the Trunk: Check under the trunk mat, near the spare tire.
- Your Owner’s Manual: The manual may tell you where to find the sticker on your specific model.
- Online: You can use websites like AutomotiveTouchup to find your paint code by entering your car’s year, make, and model.
Once you have the code, you can buy a touch-up kit from your car’s dealership, an auto parts store, or an online supplier. Always double-check that the code on the paint bottle matches your car’s code.
How to Fix a Chipped Paint on Car: The 6-Step Guide
Now that you have your supplies and you’ve found a clean, dry place to work (out of direct sunlight), you’re ready to go. Follow these steps carefully, and take your time. Rushing is the enemy of a good paint repair.
Step 1: Clean the Area Thoroughly
You can’t paint over dirt. The first step is to create a perfectly clean slate.
- Wash the chipped area and the surrounding panel with car soap and water.
- Rinse it completely and dry it with a clean microfiber towel.
- Next, take your wax and grease remover (prep solvent). Apply a small amount to another clean microfiber towel and wipe down the chip and the immediate area. This removes any invisible residues that could prevent the new paint from sticking.
- Let the area air dry for a few minutes.
Step 2: Prepare the Chip for Paint
This step ensures the new paint has a smooth, solid foundation. The goal is to remove any loose paint flakes and treat any surface rust.
- Inspect the chip closely. Are there any flakes of paint peeling at the edges? If so, use a toothpick or the tip of a small tool to gently flake them off. You want to work with a solid edge.
- Address any rust. If you see any orange or brown specks of rust, you must remove them. You can use the tip of a fiberglass rust-remover pen or a very small piece of 2000-grit sandpaper folded to a point. Gently sand only the rust inside the chip until you see clean, shiny metal. Be very careful not to sand the healthy paint around the chip.
- Clean again. After sanding or flaking, wipe the area again with the prep solvent to remove any dust or debris.
Step 3: Apply the Primer (If Needed)
Primer is your foundation. If your chip is deep enough to show the bare, shiny metal, you absolutely need primer. If the chip only goes down to the old layer of primer (usually a dull gray or white color), you can skip this step.
- Shake the primer touch-up bottle very well.
- Use a fine-tip applicator or a toothpick. You want a tiny amount of primer, just enough to cover the bare metal.
- Dab the primer into the deepest part of the chip. Don’t brush it on. Let the primer flow into the area and level itself out. Your goal is to apply a very thin coat.
- Let the primer dry completely. This can take anywhere from 30 minutes to an hour. Check the instructions on the bottle. Patience is key here!
Step 4: Apply the Base Coat (Your Car’s Color)
This is where the magic happens. You’re adding the color back to your car.
- Shake your touch-up paint bottle thoroughly for at least a minute. This mixes the pigments correctly.
- Apply a very thin layer of color paint using a fine-tip applicator. Just like with the primer, dab the paint into the center of the chip and let it flow to the edges. Don’t try to fill the entire chip in one go.
- The goal is to build up several thin layers, not one thick one. A thick layer will look blobby and will not dry properly.
- Let the first layer dry for about 30-60 minutes, or as directed on the bottle. It should be dry to the touch.
- Apply a second thin layer if needed. Keep applying thin layers until the color inside the chip is level with the surrounding paint. Most chips will only need two or three thin layers.
- Let the final color coat dry for at least 6-8 hours, or even overnight. It needs to be fully cured before moving on to the clear coat.
Step 5: Apply the Clear Coat
The clear coat is the protective shield for your new paint. It provides UV protection and the glossy finish that makes the repair blend in.
- Shake the clear coat bottle well.
- Apply one thin layer of clear coat over the color paint you just applied. You can let the clear coat extend just a tiny bit over the edges of the repair. This helps seal it.
- The clear coat may look a little raised at first. This is normal. It will shrink and level out as it dries.
- Let the clear coat dry completely. This is the longest waiting period. You should wait at least 24-48 hours before doing anything else to the area. According to the U.S. Department of Energy, proper maintenance, including paint care, is essential for vehicle longevity.
Step 6: Polish and Blend (Optional, but Recommended)
This final step is what separates a good repair from a great one. It smooths out the edges of the repair and makes it virtually invisible.
- After the clear coat has cured for at least 48 hours, you can polish the area.
- Apply a small dab of automotive polishing compound to a clean microfiber cloth.
- Gently rub the compound over the repaired spot in small, circular motions. Use light pressure. You are not trying to scrub it; you are just smoothing and blending the very top layer of the new clear coat.
- After a minute or two, wipe the area clean with a different part of the towel. The repair should now be smooth and shiny, blending seamlessly with the surrounding paint.
- For extra protection, you can apply a coat of car wax to the area after about 30 days.
DIY Repair vs. Professional Body Shop
Still wondering if you should do it yourself? Here’s a quick comparison to help you decide.
| Factor | DIY Touch-Up Repair | Professional Body Shop |
|---|---|---|
| Cost | $20 – $60 for a complete kit. | $150 – $500+ for a single chip, depending on location and severity. |
| Time | About 1-2 hours of active work, plus drying time over a couple of days. | Your car might be at the shop for 1-3 days. |
| Skill Level | Beginner-friendly. Requires patience and a steady hand. | Requires professional training, tools, and experience. |
| Best For | Small chips (smaller than a pencil eraser), scratches, and road rash. | Large chips, deep scratches, dents, or widespread damage. |
| Result | Can be nearly invisible if done carefully. Great for preventing rust and improving appearance. | A perfect, factory-finish result. The repair is completely undetectable. |
Tips for Preventing Future Paint Chips
An ounce of prevention is worth a pound of cure. Here are a few simple ways to protect your car’s paint.
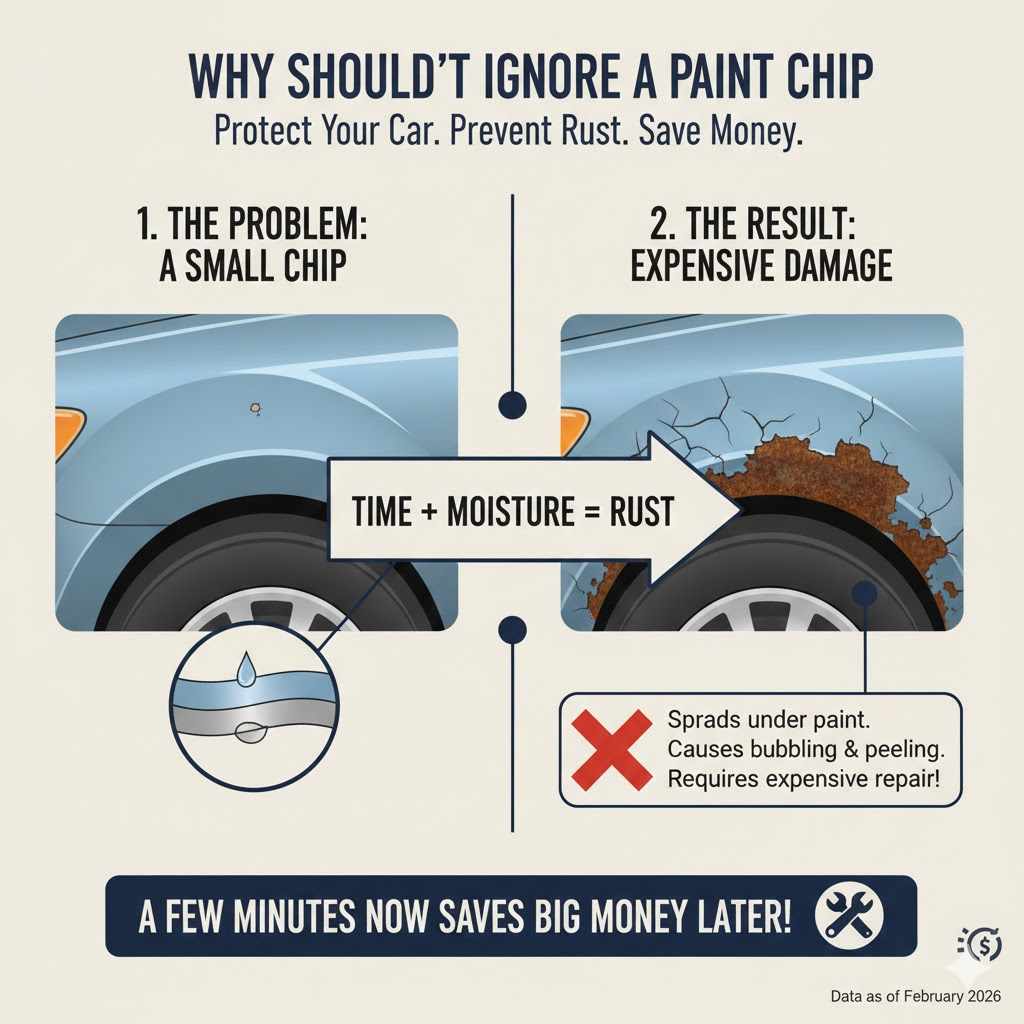
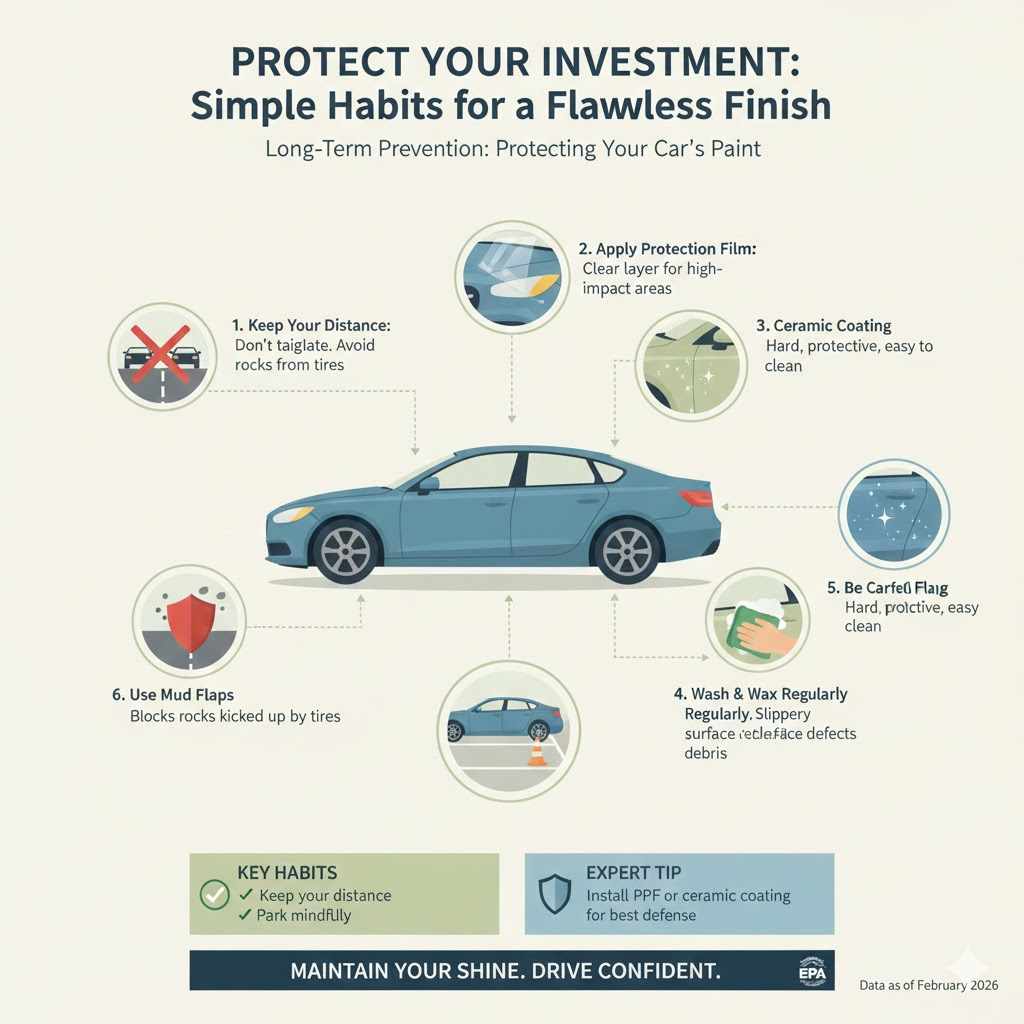
- Keep Your Distance: Don’t tailgate, especially behind large trucks or on gravel roads. Most chips come from rocks and debris kicked up by the tires of the car in front of you.
- Apply Paint Protection Film (PPF): A clear, plastic film can be applied to high-impact areas like the front bumper, hood, and side mirrors. It acts as a sacrificial layer that absorbs impacts.
- Use a Ceramic Coating: A ceramic coating adds a hard, protective layer to your paint. While it won’t stop a big rock, it can help deflect smaller debris and makes the car easier to clean.
- Wash and Wax Regularly: A good coat of wax or paint sealant provides a slippery surface that can help small debris slide off instead of digging in.
- Be Careful When Parking: Park away from loose gravel, construction zones, and high-traffic areas where door dings are more likely.
Frequently Asked Questions (FAQ)
What if the paint chip is really small, like the tip of a pen?
For very small chips, the process is the same, but you need even more precision. Use the very tip of a toothpick or a super-fine applicator. Apply the tiniest dab of paint possible. The goal is just to fill the tiny hole. Often, these small chips don’t go down to the metal, so you may only need color and clear coat.
Can I fix a chip on a plastic bumper?
Yes, you can. The process is very similar. The main difference is that plastic bumpers don’t rust. However, you still need a special flexible primer designed for plastic if the chip is deep. This helps the paint adhere properly and prevents it from cracking when the bumper flexes.
What if I mess up? Can I start over?
Absolutely. If you apply too much paint and it looks like a blob, don’t panic. Let it dry for about an hour, then take a small cloth lightly dampened with lacquer thinner or a paint prep solvent and gently wipe the touch-up paint away. It should come off without harming the factory paint. Then, you can clean the area again and start over.
How long should I wait to wash my car after the repair?
It’s best to wait at least a week before washing your car with soap and water. Avoid high-pressure car washes for at least 30 days. This gives the new paint plenty of time to fully cure and harden. You can gently wipe the area with a soft cloth if it gets dusty, but avoid any harsh chemicals or scrubbing.
Is a paint pen better than a bottle with a brush?
It depends on the type of damage. Paint pens are great for long, thin scratches. For chips, a bottle and a fine-tip applicator often give you more control. A pen can sometimes release too much paint at once, creating a blob. For a beginner fixing a chip, I recommend the bottle-and-applicator method.
What weather is best for this repair?
The ideal conditions are a dry, shady spot with low humidity and temperatures between 60°F and 80°F (15°C to 27°C). Avoid working in direct sunlight, as it can cause the paint to dry too quickly and unevenly. Don’t attempt this repair if it’s raining or extremely humid, as moisture can get trapped under the paint and cause problems.
Do I need to sand the repair?
For a basic chip repair, you usually don’t need to sand the final product. Polishing is a much safer and more beginner-friendly way to blend the repair. Advanced techniques involve wet sanding the clear coat to get it perfectly flat, but this carries a high risk of damaging the surrounding paint if you’re not experienced. A good polishing compound will get you 95% of the way there with almost no risk.
Conclusion: Take Pride in Your Work
There you have it! You’ve successfully learned how to fix a chipped paint on your car. By following these simple steps, you have not only restored your car’s appearance but also protected it from long-term damage like rust. You’ve saved money and gained a valuable new skill in the process.
Remember, the key to a great repair is patience. Take your time with each step, allow for proper drying, and don’t be afraid to start over if you’re not happy with a layer. Every car owner deals with paint chips, but now you have the confidence and knowledge to handle them like a pro. Stand back, admire your work, and enjoy the satisfaction of a job well done.