How to Fix a Car Aux Port: Clean, Resolder, or Replace It
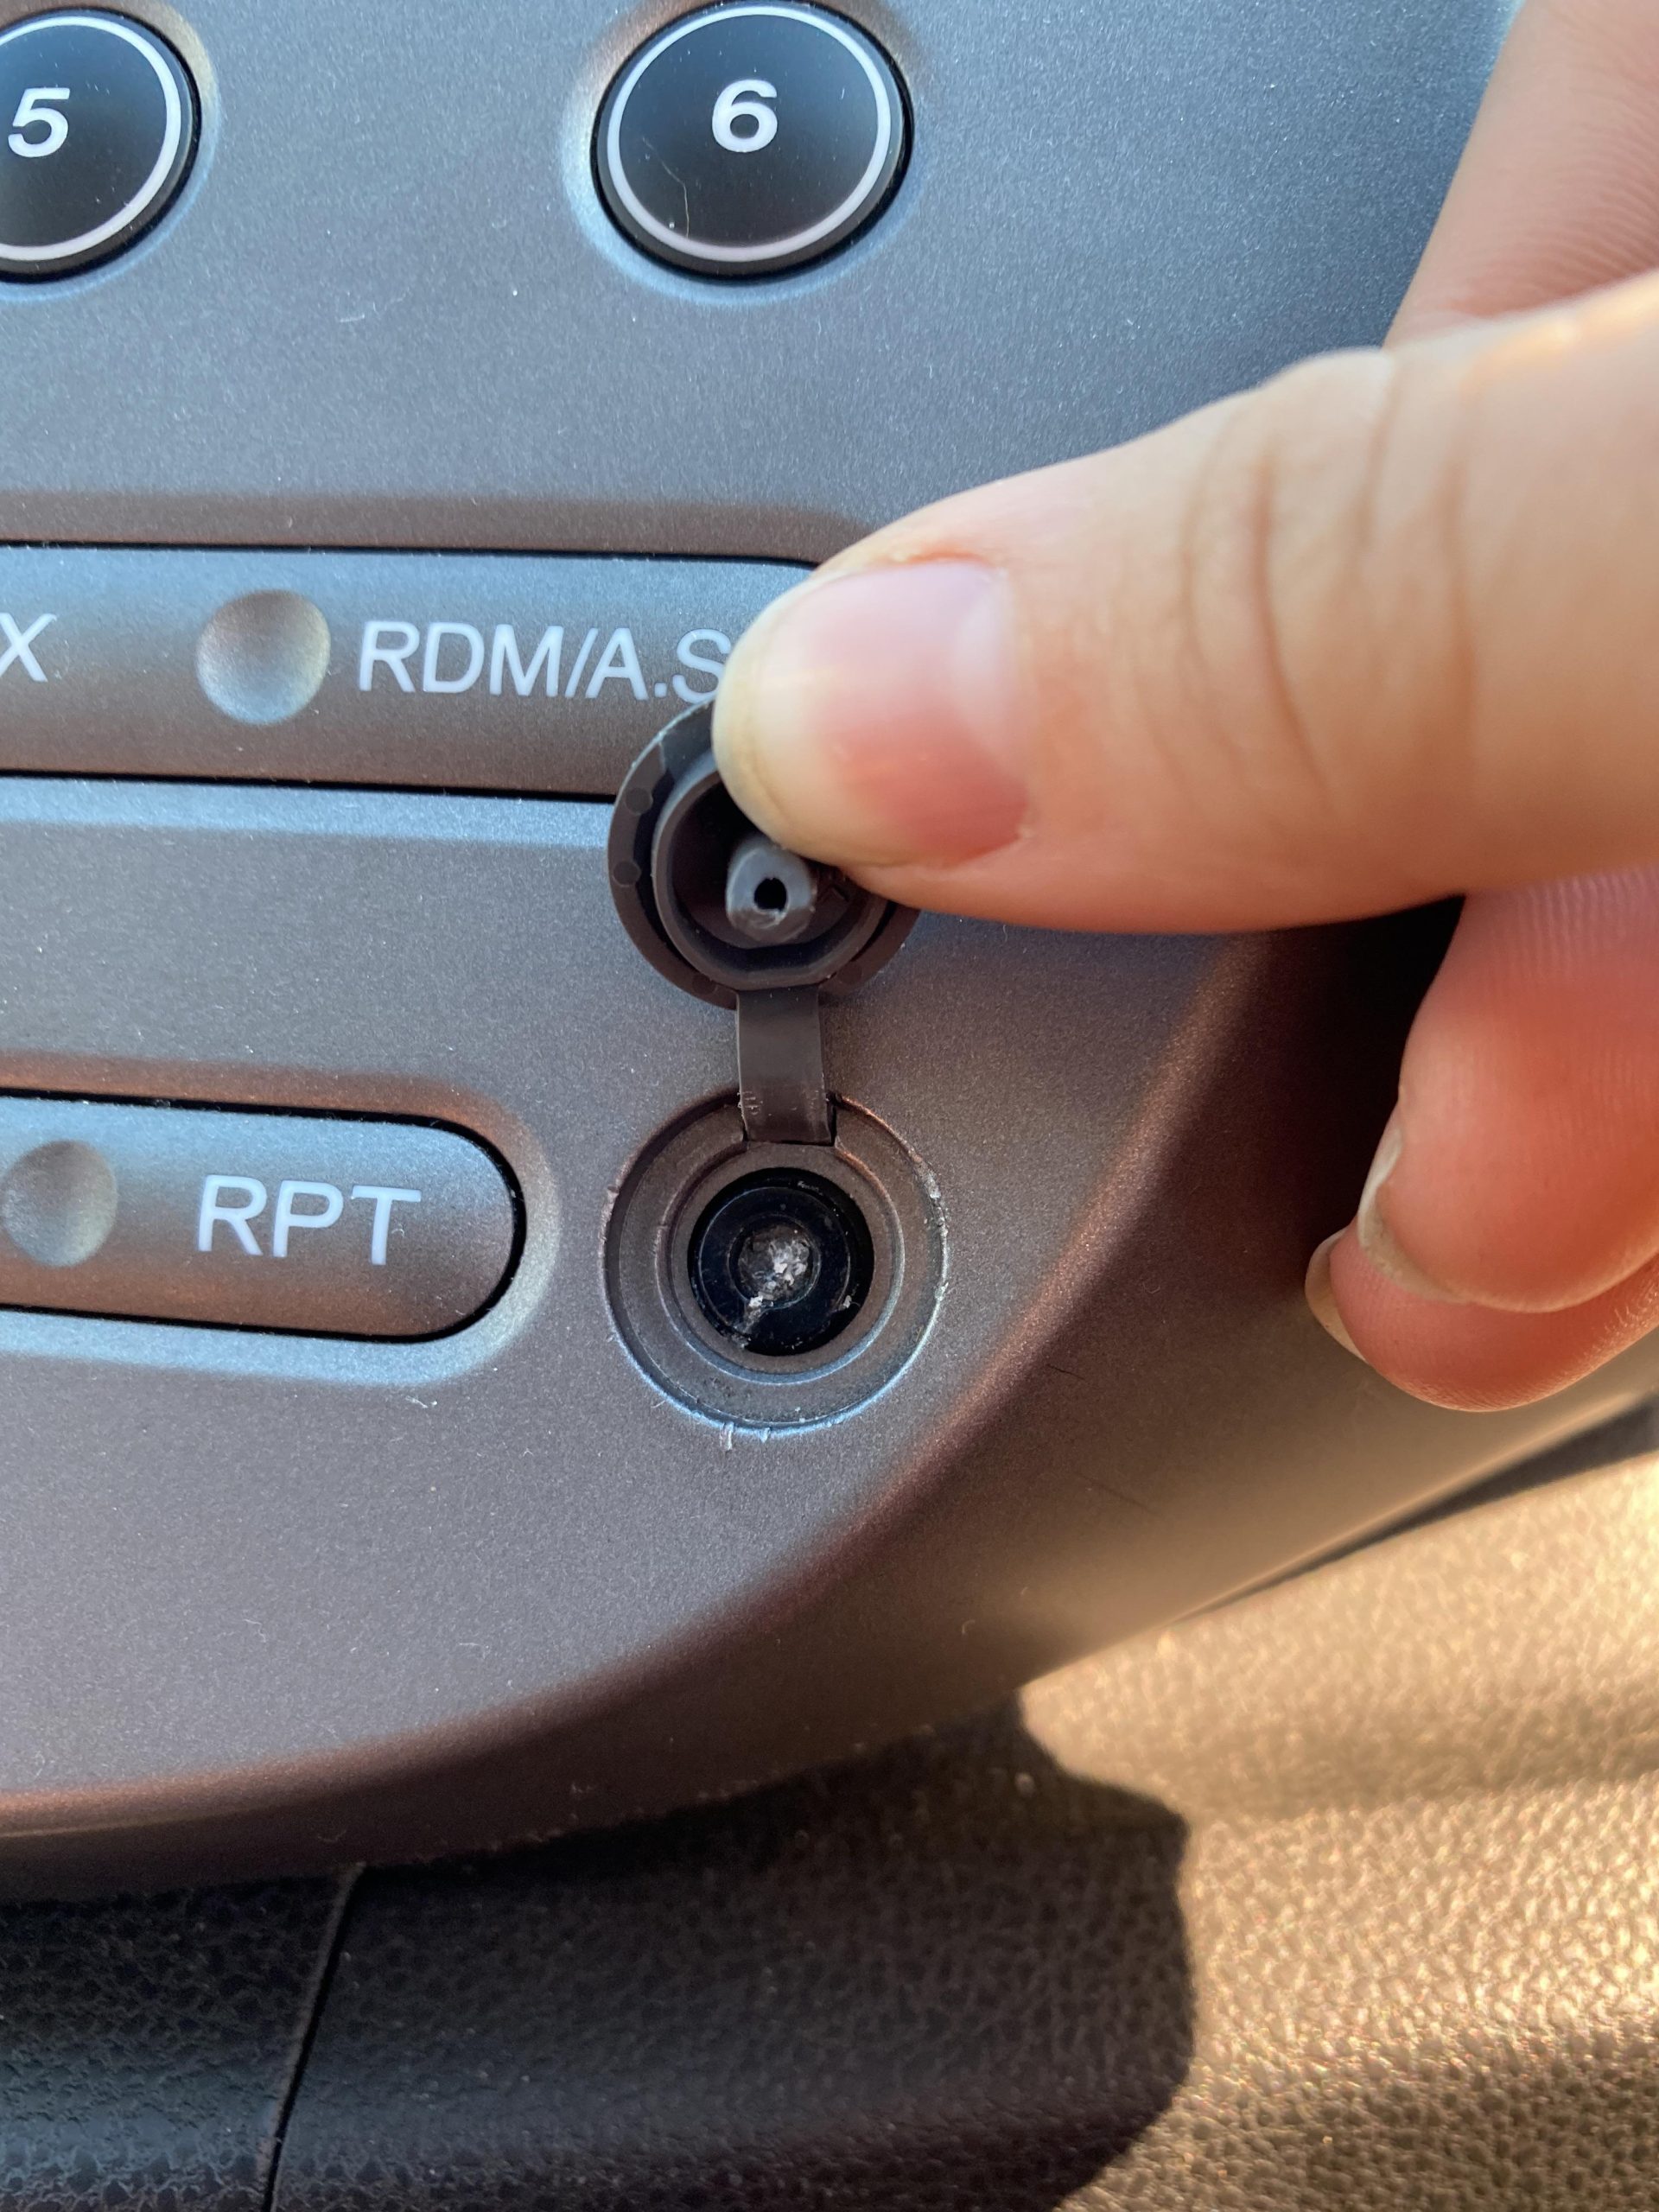
A car’s aux port usually stops working because of a dirty connector, a frayed cable, or worn internal wiring — not because the whole port is dead. Diagnosing the exact cause first can save you an unnecessary $50–150 shop repair. This guide covers the physical hardware fix: cleaning the port, resoldering a loose connection, and replacing the port itself when cleaning alone doesn’t work.
Quick Answer
Clean the port with compressed air first — that fixes most cases. If sound is still weak or cutting out, the internal wire is likely loose and needs resoldering. If the port itself is cracked or the pins are bent beyond repair, replace it: unscrew the housing, desolder the old jack, solder in a new 3.5mm jack matching tip/ring/sleeve to the original wiring, and reassemble.
Diagnose First: Is This Actually a Hardware Problem?
Before opening anything up, rule out the easy causes. A worn $5 cable, a phone case blocking the plug, or the stereo simply not set to “AUX” input cause the same symptoms as a broken port — and none of them need a screwdriver. If you haven’t already tried a different cable and checked your stereo’s input menu, see our full aux troubleshooting guide for the complete list of non-hardware causes first.
This guide is for the case where you’ve already ruled those out and the port itself — the physical jack, its internal wiring, or its solder joints — is the actual problem.
Tools and Materials Needed
Gather these before you start so you’re not mid-repair and missing something:
- Screwdriver set: Phillips and flathead, various sizes, to remove the dash panel or head unit.
- Digital multimeter: To test for continuity and confirm which wire has failed before you start desoldering anything.
- Flashlight and a small inspection mirror: Aux ports are usually mounted somewhere you can’t see directly.
- Compressed air can: For the first, simplest fix — clearing dust and lint.
- Soldering iron and rosin-core solder: Needed if the fix is a loose internal wire or a full port replacement.
- Replacement 3.5mm jack connector: Only if the existing port is physically cracked or the pins are bent past use.
- Electrical tape or heat-shrink tubing: To insulate and secure any new solder joints.
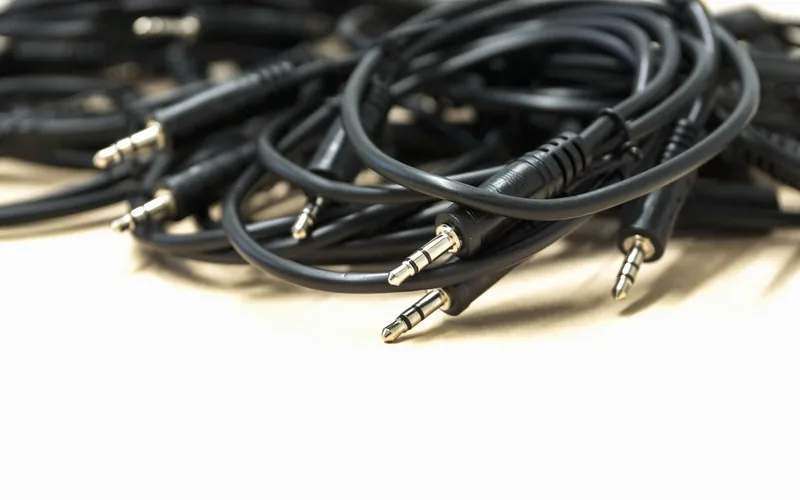
📊 A standard TRS 3.5mm aux jack has three conductors: tip (left channel), ring (right channel), and sleeve (ground) — matching the new jack’s wires to these three points in the same order the old one used is what makes a replacement work correctly. — Source: Electronics Notes
Best Aux Port Repair Kit Pick
Fanttik T1 Max Cordless Soldering Iron Kit
Cordless and battery-powered, so you can solder inside a dashboard without running an extension cord through the car.
- Best for: Resoldering a loose aux wire or swapping in a replacement jack
- Why we picked it: Heats up in seconds and doesn’t need a nearby outlet, which matters when the port is buried behind a dash panel
- Main drawback: Battery-powered tips run cooler than a plug-in iron, so thick joints take longer
Compare more aux port repair tools
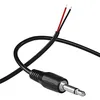 Option 1 Replacement 3.5mm Jack
|
 Option 2 Wire Stripper/Crimper
|
 Option 3 Digital Multimeter
|
As an Amazon Associate we earn from qualifying purchases.
Cleaning the Aux Port
Start with the simplest, least invasive fix. Dust and lint inside the port block the pins from making a clean connection, and this alone solves the problem more often than a wiring fault does.
- Hold the compressed air can upright and spray short bursts directly into the port. Never shake the can first or tilt it — that can spray liquid propellant into the port and damage it.
- If dust remains, dampen a small non-metal tool (a plastic toothpick works) with electronics contact cleaner and gently work it around the inside of the port. Avoid metal tools, which can bend the internal contacts.
- Let the port air-dry fully before testing.
- Plug in a known-good cable and test. If sound is clear now, you’re done — no soldering needed.
Repairing Loose Internal Connections
If cleaning didn’t fix it and the sound cuts in and out when you wiggle the cable, the port’s internal wire has likely come loose from its solder joint rather than the port itself being broken.
- Access the port: Remove the dash panel or pull the head unit per your owner’s manual to reach the back of the aux jack.
- Test with a multimeter: Set it to continuity mode and touch one probe to each end of a wire. No beep means that wire has broken continuity — that’s your problem wire.
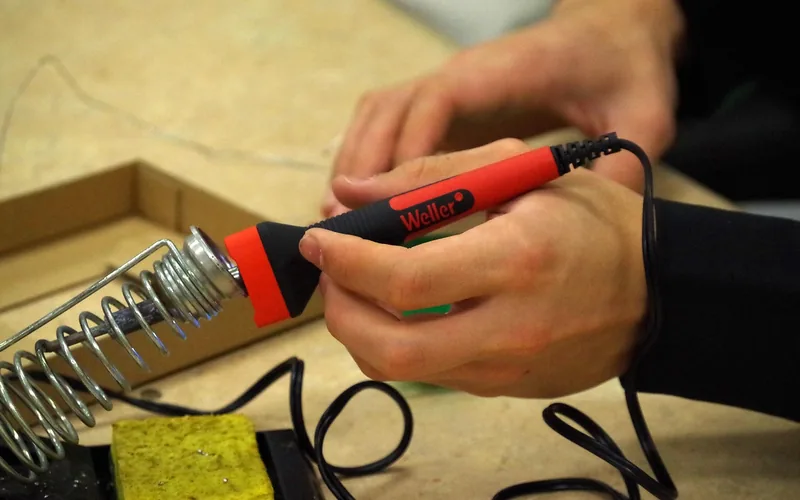
- Reheat or resolder the joint: Touch the soldering iron to the existing joint for 2–3 seconds to reflow old solder, or add a small amount of fresh rosin-core solder if the joint looks dull or cracked.
- Insulate the repair: Cover the joint with heat-shrink tubing or electrical tape so it can’t short against the metal housing.
- Reassemble and retest: Put the panel or head unit back and test with a cable before fully closing everything up.
Replacing the Aux Port
If the port’s housing is cracked, the pins are bent beyond straightening, or resoldering the existing joint doesn’t hold, replace the jack itself. This is the same repair a shop would charge $50–150 for, and the part itself typically costs under $10.
- Turn off the car and disconnect the battery before working near any wiring.
- Remove the screws around the port and gently pull it free with pliers, being careful not to yank the attached wires.
- Note or photograph which wire connects to which pin — tip, ring, and sleeve on a standard 3.5mm jack — before desoldering the old port.
- Desolder the old jack and solder the new replacement jack’s bare wires to the same three points in the same order.
- Insulate each joint individually with heat-shrink tubing so the three wires can’t touch each other.
- Mount the new jack back into the housing, reconnect the battery, and test with a cable before closing the panel up.
If any of this sounds beyond your comfort level — especially working near the battery or in a tight dash space — a car audio shop can do this same repair, typically for $50–150 depending on labor rates in your area.
Preventive Maintenance Tips
- Keep the port covered when not in use — dust and debris cause most of the problems this guide covers.
- Never yank the cable out at an angle — grip the plug itself and pull straight out to avoid stressing the internal solder joints.
- Invest in one quality cable with gold-plated connectors instead of cycling through cheap ones — corrosion-resistant contacts last years longer.
- Unplug the cable when the car is off for long periods, especially in hot climates where heat can stress the connection.
Frequently Asked Questions
How Do I Know If My Aux Port Is Broken?
If your aux port is broken, you may experience static or no sound. Test with multiple cables and devices first to rule out a cable problem, and check your stereo’s input setting is on “AUX.” If sound still cuts out or is absent with a known-good cable, the port hardware itself likely needs repair or replacement.
Can I Fix an Aux Port Myself?
Yes. Start by cleaning it with compressed air — that alone fixes most cases. If cleaning doesn’t help and sound cuts out when you wiggle the cable, a loose internal solder joint is the next most common cause, which you can resolder with a basic soldering iron.
What Tools Are Needed to Repair an Aux Port?
Basic tools like a screwdriver, pliers, and a can of compressed air handle cleaning. If you need to resolder a joint or replace the jack, you’ll also need a soldering iron, rosin-core solder, a multimeter to test continuity, and heat-shrink tubing or electrical tape to insulate the repair.
How Much Does It Cost to Fix an Aux Port?
Fixing an aux port yourself is cost-effective, usually under $20 for parts — a replacement 3.5mm jack alone typically costs under $10. Professional repair services may charge between $50 to $150, depending on labor costs and whether the head unit needs to come out.
How Do I Identify Wire Polarity Before Soldering a Replacement Jack?
A standard 3.5mm TRS jack has three conductors in order from the tip: tip (left audio channel), ring (right audio channel), and sleeve (ground). Photograph or label which wire connects to which point on the old jack before removing it, then match the new jack’s wires to the same three points in the same order.
Conclusion
Most aux port failures start with dust, not a dead port — clean it first before assuming you need to solder anything. If the sound still cuts out with a known-good cable, a loose internal connection or a physically damaged jack is next, and both are fixable with basic tools for well under what a shop charges. If it’s beyond your comfort level, a car audio shop can handle the same repair for $50–150.
Products related to this article
Sponsored / affiliate links. As an Amazon Associate I earn from qualifying purchases. I may earn additional commission from eligible campaigns.