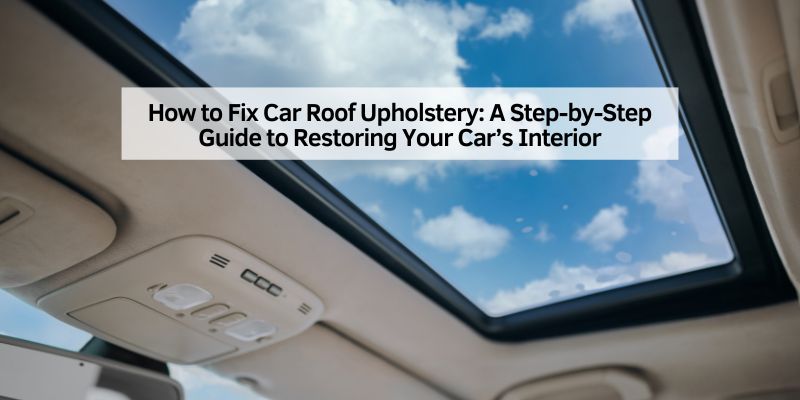
How to Fix Car Roof Upholstery: Step-by-Step Headliner Repair Guide
To fix car roof upholstery, use 3M Headliner Adhesive for a small sag: clean the area, spray a light coat on both the fabric and board, press from center outward, and hold with push pins for 24 hours (DIY cost $20–$50). If the foam backing has crumbled and sagging covers the whole roof, a full headliner replacement ($50–$150) is needed instead.
What Is Car Roof Upholstery and Why Does It Fail?
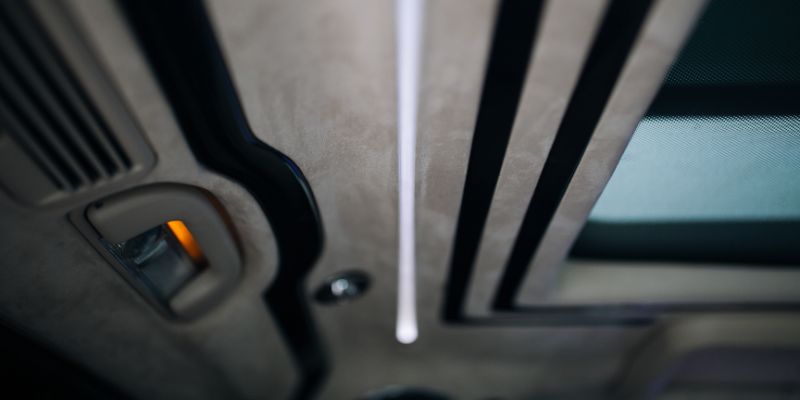
Car roof upholstery, or the headliner, is the fabric or material lining the interior roof of your vehicle. It insulates the cabin, reduces noise, and covers wiring and structural components. Over time it begins to sag, tear, or peel away.
The most common cause of headliner failure is the breakdown of the foam backing that bonds the fabric to the headliner board. Heat, humidity, and age cause the foam to crumble and lose adhesion, leaving the fabric loose. UV rays and constant temperature cycles accelerate this process — vehicles in hot climates typically see headliner failure sooner. Other causes include water leaks from sunroof seals or window gaskets, physical damage from sharp objects, and over-soaking the fabric during cleaning. Identifying the cause helps you decide between a quick repair and a full replacement.
Assessing the Damage: What’s Wrong with Your Headliner?
Before grabbing tools, inspect the headliner carefully to determine the scope of work needed.
- Sagging in the center: The fabric has detached from the foam backing. If it’s a small area (roughly dinner plate-sized), a quick adhesive repair works. Large central sagging usually means the foam has crumbled across the whole board — full replacement needed.
- Tears or holes: Small tears can be patched. Large tears or holes that compromise the structural integrity of the fabric require full replacement.
- Stains or discoloration: Light stains respond to cleaning. Severe water stains, smoke damage, or mold typically require replacing the fabric.
- Edges peeling: If the fabric is pulling away from the edges near windows, sunroof, or light fixtures, adhesive repair without full removal is usually sufficient.
Use a flashlight to inspect every section. Press gently on sagging areas — if the foam feels crumbly or disintegrates when touched, the board needs full stripping and re-covering. If the foam is still firm but just separated at one spot, adhesive will hold.
Tools and Materials You’ll Need
For a quick adhesive repair, you need only the first few items. For a full replacement, gather everything on the list before starting — stopping mid-project to source materials adds hours to the job.
| Item | Purpose | Where to Get It |
|---|---|---|
| Automotive spray adhesive (e.g. 3M Super 77 or 3M Headliner Adhesive) | Reattaches fabric to the headliner board | Auto parts store, hardware store |
| Headliner upholstery fabric | Replaces damaged headliner material | Fabric store, online retailers |
| Screwdriver (flathead/Phillips) | Removes trim and fixtures | Hardware store, your toolbox |
| Trim removal tool (plastic pry tool) | Safely pops off interior trim without scratching | Auto parts store, online |
| Scissors or utility knife | Cuts fabric to size | Hardware store, craft store |
| Soft brush or microfiber cloth | Cleans fabric surface before adhesive | Auto parts store, online |
| Replacement foam (optional) | Replaces degraded foam backing if fully crumbled | Fabric store, specialty retailers |
| Gloves and N95 mask | Protection from adhesive fumes and foam dust | Hardware store |
| Measuring tape | Ensures accurate fabric cuts | Hardware store, your toolbox |
| Push pins or binder clips | Holds fabric in place while adhesive cures | Craft store, auto parts store |
Headliner repair kits sold online typically include spray adhesive, foam-backed fabric, and a brush — a convenient option that ensures material compatibility.
Quick Fixes for Minor Headliner Issues
For a small sag or loose edge, you can repair the headliner without removing the board from the car. This works for areas up to roughly the size of a dinner plate where the underlying foam is still intact.
Step 1: Clean the Area
Gently clean the sagging section with a soft brush or microfiber cloth. Use mild soap and water to remove dust and grease — avoid soaking the fabric. Let it dry completely before applying adhesive. Any moisture or contamination will prevent the adhesive from bonding properly.
Step 2: Apply Adhesive
Use automotive-grade spray adhesive. Peel the fabric back enough to expose the board surface underneath. Apply a light, even coat to both the back of the fabric and the board surface. Avoid over-spraying — heavy application can bleed through and stain the fabric face. Allow the adhesive to tack up for 30–60 seconds (follow the product’s open time instructions) before pressing.
Step 3: Press and Secure
Press the fabric back onto the board working from the center of the sagging area outward to prevent air bubbles and wrinkles. Use your palm or a small rubber roller to apply firm, even pressure. For hard-to-reach spots or curved sections, insert push pins or use binder clips to hold the fabric against the board while the adhesive cures. Leave them in place for at least 24 hours.
Step 4: Check Your Work
After 24 hours, remove the pins and check for any loose spots. If sections are still lifting, apply a second light coat of adhesive to those areas and re-press. If the problem is widespread rather than localized, the foam backing has failed and a full replacement is the only lasting fix.
Replacing the Entire Headliner: A Full Makeover
When sagging covers more than a quarter of the headliner, or the foam backing has crumbled across the board, a full replacement is necessary. This is a half-day to full-weekend job for a first-timer, but the result is a factory-fresh interior at a fraction of the professional shop cost.
Step 1: Remove the Old Headliner
Remove all fixtures attached to the headliner: sun visors, dome lights, grab handles, and the A/B/C-pillar trim panels. Use a plastic trim removal tool to pop off edge trim without cracking it. Most headliner boards are held in place by these trim pieces plus a few hidden clips — once all trim is removed, the board should slide free.
The headliner board is typically thin fiberglass or composite and is fragile when flexed. Keep it as flat as possible when extracting it — most vehicles require tilting the board diagonally to get it through the door opening. Lay it flat on a clean surface once out.
Step 2: Remove the Old Fabric
Peel off the old fabric by hand — it usually comes off in sections. Scrape away the crumbled foam residue with a plastic scraper or wire brush, working carefully to avoid gouging the board. Wear an N95 mask — degraded foam produces fine dust. Once the foam is removed, wipe the board with isopropyl alcohol to remove all adhesive residue. A clean, smooth surface is critical for the new fabric to bond flat without bumps or texture showing through. For help with stubborn adhesive residue, see our guide on removing adhesive from car surfaces.
Step 3: Cut and Attach New Fabric
Measure the headliner board and cut new automotive headliner fabric to size, leaving 2–3 inches of extra material on all sides for wrapping around the edges. Use foam-backed headliner fabric — it conforms to curves, resists heat, and bonds properly with spray adhesive. Regular upholstery fabric fades quickly and doesn’t hold up to cabin temperatures.
Lay the fabric over the board centered and smooth. Working in small sections from the center outward, fold the fabric back on one side, spray adhesive on both surfaces, let it tack for 30–60 seconds, then press the fabric down firmly. Smooth as you go to eliminate wrinkles before the adhesive sets. Fold the excess fabric over the back edges and glue it securely. Trim any thick corner folds with scissors so the board sits flat when reinstalled.
Step 4: Reinstall the Headliner
Allow the adhesive to fully cure (at least 2 hours before handling; 24 hours is ideal) before reinstalling. Slide the board back into the car in the same diagonal angle used to remove it. Align it carefully before pressing it into position — it should sit flat with no bowing. Reattach all trim, lights, sun visors, and grab handles in reverse removal order. Reinstall the dome light last since it confirms the board is properly seated.
Cleaning and Maintaining Your Headliner
Keeping the headliner clean after repair extends its life significantly. The same heat and moisture that caused the original failure will degrade a new installation faster if maintenance is neglected.
- Regular dusting: Use a soft brush or vacuum with brush attachment every few weeks. Dust and particulate buildup can work into the fabric and stain it over time.
- Spot cleaning: For small stains, dab with a cloth dampened with mild soap and water — never soak the fabric. Excess moisture weakens adhesive bonds and can re-trigger sagging.
- Avoid harsh chemicals: Bleach, ammonia-based cleaners, and strong solvents discolor headliner fabric and break down the foam backing. A dedicated car interior cleaner is the safest option.
- Protect from heat: Park in shade or use a windshield sunshade when possible. Reducing cabin temperature peaks significantly slows adhesive degradation. UV rays through glass accelerate both fading and foam breakdown.
Common Mistakes to Avoid
- Using the wrong adhesive: Craft glue, superglue, and contact cement not rated for automotive use will fail within weeks from heat. Use automotive-grade headliner spray adhesive only.
- Skipping board prep: Applying new fabric over crumbled foam or old adhesive residue creates bumps that show through the fabric and causes the bond to fail quickly. Strip the board completely before re-covering.
- Overstretching the fabric: Pulling too hard during installation causes the fabric to distort or develop thin spots. Keep it snug and smooth, not taut.
- Fixing a headliner before repairing a water leak: A new headliner installed in a car with an active sunroof seal or window gasket leak will sag again within months. Fix the source of moisture first.
- Rushing adhesive cure time: Reinstalling trim or handling the board within an hour of adhesive application causes the fabric to shift. Allow the full cure time.
When to Call a Professional
Professional headliner replacement is worth considering in several situations: the headliner board is cracked or warped (needs replacement, not just re-covering), the vehicle has a complex curved roof with multiple headliner sections (panoramic sunroofs, convertibles), the fabric has mold that has penetrated the foam, or the job involves specialty materials like suede or Alcantara that require precise handling to avoid creasing.
Professional auto upholstery shops typically charge $150–$400 for a standard headliner replacement depending on vehicle size and material. Luxury or complex vehicles can run $400–$800. DIY saves most of this cost at the expense of time — expect 4–10 hours for a first-time full replacement.
Conclusion
Fixing car roof upholstery is a manageable DIY project for most headliner problems. Small sags respond quickly to adhesive repairs that take under an hour. Full replacements require more time but deliver a factory-fresh result at a fraction of the professional cost. The key is correctly diagnosing whether the foam backing is still usable before deciding which approach to take — and always fixing any water leaks before starting the repair.
FAQs
How long does it take to fix a car headliner?
A quick adhesive repair for a small sag takes 1–2 hours including drying time. A full headliner replacement — removing the board, stripping old fabric, re-covering, and reinstalling — typically takes 4–10 hours for a first-timer, often spread over a weekend to allow proper adhesive cure time between steps.
Can I use any fabric to replace my headliner?
Automotive-grade headliner fabric is strongly recommended. It has a foam backing that helps it conform to curves and bond properly with spray adhesive, and it’s rated to withstand the high cabin temperatures that regular upholstery fabric can’t handle. Regular fabric fades and stretches quickly in automotive environments. Headliner-specific fabric is available at fabric stores and online automotive suppliers.
How much does it cost to fix a car headliner?
A DIY adhesive repair costs $15–$40 (spray adhesive and push pins). A full DIY replacement costs $50–$150 depending on fabric choice and whether a repair kit is used. Professional auto upholstery shops charge $150–$400 for most standard vehicles, and $400–$800 for larger vehicles, luxury vehicles, or complex headliner configurations.
Will fixing my headliner increase my car’s value?
A clean, intact headliner improves perceived interior condition and can make the car more appealing to buyers — particularly important for used car sales where interior condition affects buyer confidence. It won’t significantly increase the mechanical value, but a sagging or stained headliner can reduce a buyer’s offer, so repair typically pays for itself if you’re selling.
Can I fix a headliner without removing it?
Yes — for small sags, loose edges, or isolated patches, you can apply adhesive and re-press the fabric without removing the headliner board. This works when the foam backing is still firm and the problem is limited to adhesive failure in a small area. For widespread sagging where the foam has crumbled, the board must come out to be properly stripped and re-covered — in-place repairs on failed foam will not hold.