How To Paint A Plastic Car Bumper Like A Pro (Full Guide)
Painting a plastic car bumper might seem tricky. You want it to look perfect. A good paint job makes your car look new.
A bad one looks sloppy. Many people worry about getting it wrong. They think it’s too hard for them.
But with the right steps, you can do a great job. This guide will show you how.
Painting a plastic car bumper involves careful prep work and the right materials. Following a step-by-step process ensures a smooth, durable finish that matches your car. This guide covers everything from cleaning and sanding to priming, painting, and clear coating for a professional look.
Understanding Plastic Bumpers and Paint
Your car’s bumper is often made of plastic. This plastic is flexible. It needs special paint.
Regular car paint might not stick well. It could also crack. Plastic flexes.
Paint needs to flex with it. This means using specific types of primers and paints. These are designed for bumpers.
They are often called “flexible” coatings. Using the wrong paint is a common mistake. It leads to peeling.
It can also cause the paint to chip easily. This is why knowing your bumper material is key.
Most modern bumpers are made from thermoplastic. This includes materials like polypropylene (PP), polyurethane (PU), and TPO (thermoplastic olefin). These plastics are chosen for their ability to absorb impacts.
They also help absorb energy. This protects people and the car. Because they are flexible, they need a flexible paint system.
This system includes adhesion promoters, flexible primers, flexible base coats, and flexible clear coats.
Getting the surface ready is the most important part. Even the best paint will fail on a dirty or rough surface. Think of it like building a house.
You need a strong foundation. For painting, the foundation is the preparation. This includes cleaning.
It involves sanding. It also means using the right chemicals. These chemicals help the paint stick better.
They also help the new paint bond to the old surface. Without this step, your paint job won’t last long.
What You’ll Need: Your Painting Toolkit
Gathering your supplies is crucial. Having everything ready makes the job smoother. You don’t want to stop mid-paint.
That can ruin the finish. Here’s a list of what you will likely need. It helps to have quality items.
Good tools make a big difference. They lead to a better final look.
- Safety Gear: Gloves, a good respirator mask (for fumes), and eye protection. Painting involves chemicals and dust. Your health comes first.
- Cleaning Supplies: Mild soap, water, degreaser (like wax and grease remover), and clean microfiber cloths.
- Sandpaper: A range of grits. Start with coarser grits (like 180-220) for rough spots. Move to finer grits (like 320-400) for smoothing. Then use very fine grits (like 600-800) if you’re wet sanding.
- Masking Tape and Paper: High-quality painter’s tape is essential. It seals edges well. Masking paper protects areas you don’t want painted.
- Primer: A flexible primer specifically for plastic bumpers. Some primers are “adhesion promoters.” These are great for plastic.
- Paint: Your chosen color. This should be automotive-grade paint. Many auto parts stores can mix custom colors. Make sure it’s compatible with your primer.
- Clear Coat: A flexible, automotive-grade clear coat. This adds shine. It also protects the paint from the sun and weather.
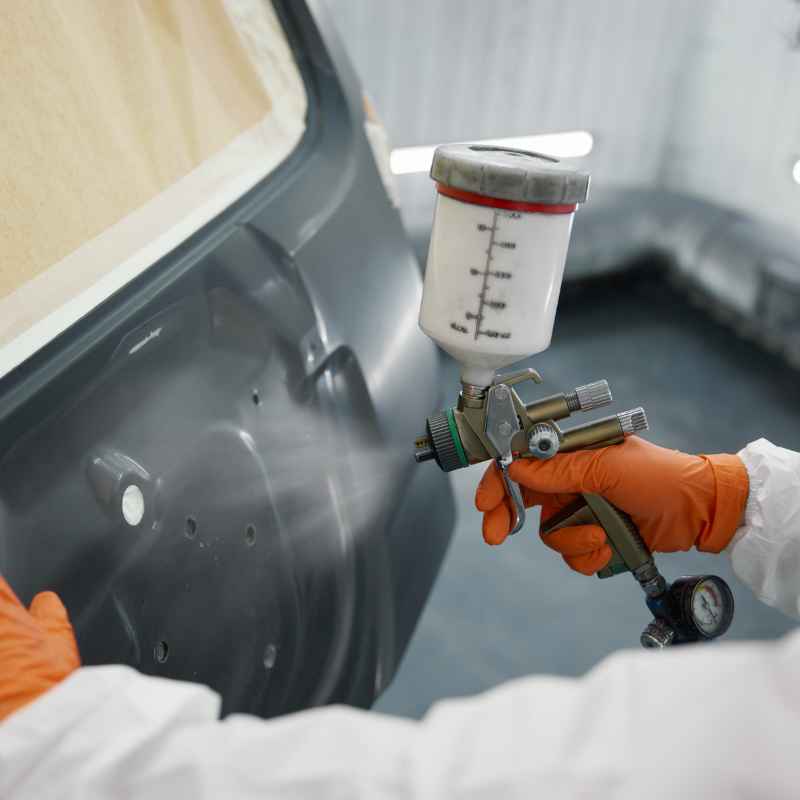
- Applicators: Spray cans are common for DIY jobs. For a smoother finish, a spray gun and air compressor are better.
- Rubbing Compound and Polish: These are for finishing. They remove imperfections and add shine.
- Tack Cloth: This sticky cloth picks up fine dust. It’s used right before painting.
Essential Safety First!
Always paint in a well-ventilated area. Open doors or windows. Outside is best if weather permits.
Wear your respirator. Paint fumes are harmful. They can make you sick.
Protect your skin with gloves. Keep paint away from your eyes. Safety glasses are a must.
Step 1: Cleaning the Bumper Thoroughly
This is where the magic starts. A clean bumper is a happy bumper. It means paint will stick.
Use mild soap and water first. Scrub away dirt and grime. Rinse well.
Then, use a dedicated automotive degreaser or wax and grease remover. This is super important. It removes oily residues.
Even invisible ones. These residues will stop paint from sticking. Wipe it down with a clean cloth.
Then, let it dry completely. Don’t rush this. You can even use a lint-free towel.
Think about what your bumper has seen. Road salt. Bugs.
Oil leaks from other cars. Bird droppings. All these leave traces.
These traces act like a barrier. Paint can’t get past them. So, you must get rid of them.
A thorough wash is step one. A good degreaser is step two. You might need to repeat this.
Especially if the bumper is very old or dirty. Check it under good light. Any shiny spots left mean grease.
You need to clean those away.
Sometimes, deep scratches or gouges are present. If these are minor, sanding will help. If they are deep, you might need a plastic repair kit.
This involves filling the damage. Then sanding it smooth. For this guide, we assume the bumper has minor imperfections or is just faded.
We’ll focus on painting it. But if it’s broken, repair it first!
Step 2: Sanding for a Smooth Surface
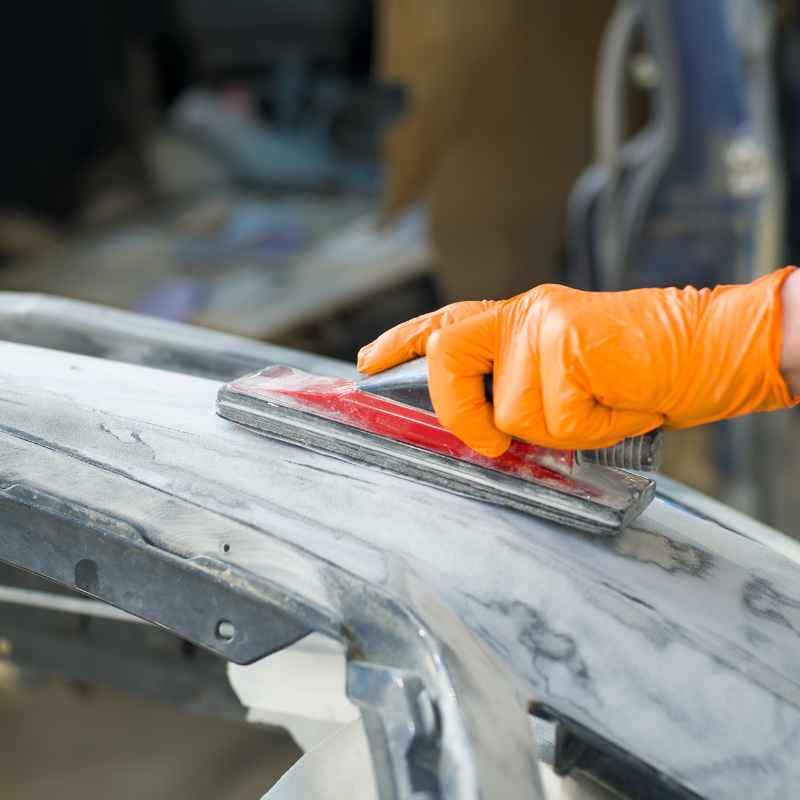
Now, we need to create a surface for the primer to grab onto. This is called creating “tooth.” You’ll start with a coarser grit of sandpaper. Something like 180 or 220 grit is good.
Use this to remove old paint (if any). Also use it to smooth out any rough spots or light damage. Sand the entire surface of the bumper.
Make sure you get into all the nooks and crannies. Don’t press too hard. You’re not trying to remove all the plastic.
Just create a dull, even surface.
After the coarser grit, move to a finer grit. Use 320 or 400 grit sandpaper. This smooths out the scratches left by the coarser paper.
You want the surface to feel smooth to the touch. But still have a slight grip. If you are painting over an existing good paint job, you might only need to scuff it up.
Use around 600 grit for this. For bare plastic, start with 180-220 and move up.
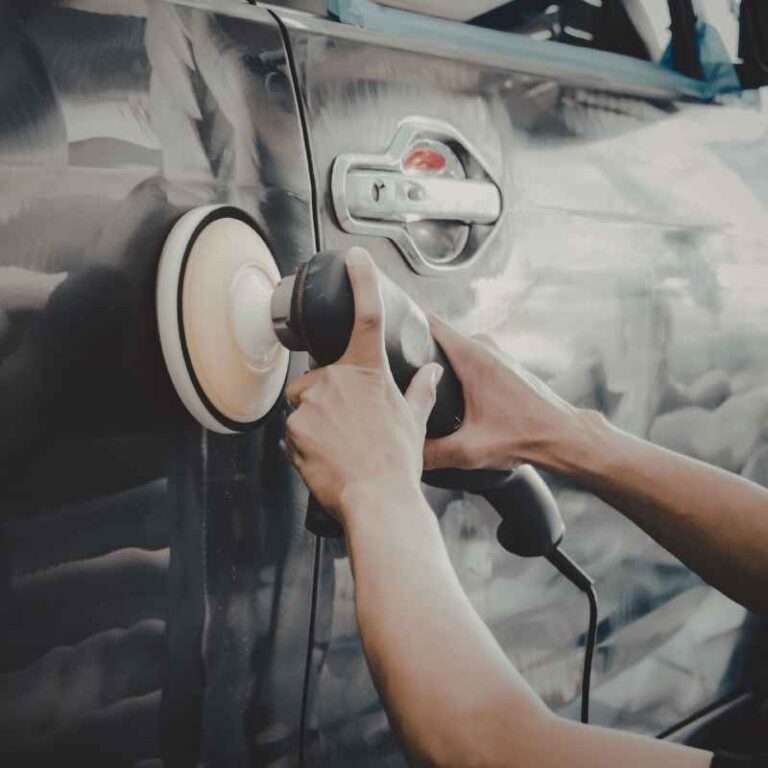
Many people wonder about wet sanding versus dry sanding. Wet sanding uses water. It helps keep the sandpaper clean.
It also reduces dust. You can wet sand with 400-grit and then 600-grit paper. It gives a very smooth finish.
Always sand in a consistent direction. Or use circular motions. But keep them even.
After sanding, wipe the bumper down again. Use a damp cloth to remove all dust. Then let it dry.
The surface should look matte. Not shiny.
Grits Explained (Sandpaper)
Low Grit Numbers (e.g., 80, 180): Coarse. Removes more material. Good for heavy damage or old paint removal.
Medium Grit Numbers (e.g., 220, 320): Medium. Smooths out deeper scratches. Good for general prep.
High Grit Numbers (e.g., 400, 600, 800): Fine. Smooths out finer scratches. Good for finishing sanding before primer.
Step 3: Masking and Protecting Your Car
This step is about neatness. You don’t want paint where it doesn’t belong. Use painter’s tape.
This tape is designed to create clean lines. It also peels off without damaging the surface. Carefully tape around the edges.
Where the bumper meets the body of the car. Make sure the tape edge is pressed down firmly. This prevents paint from seeping underneath.
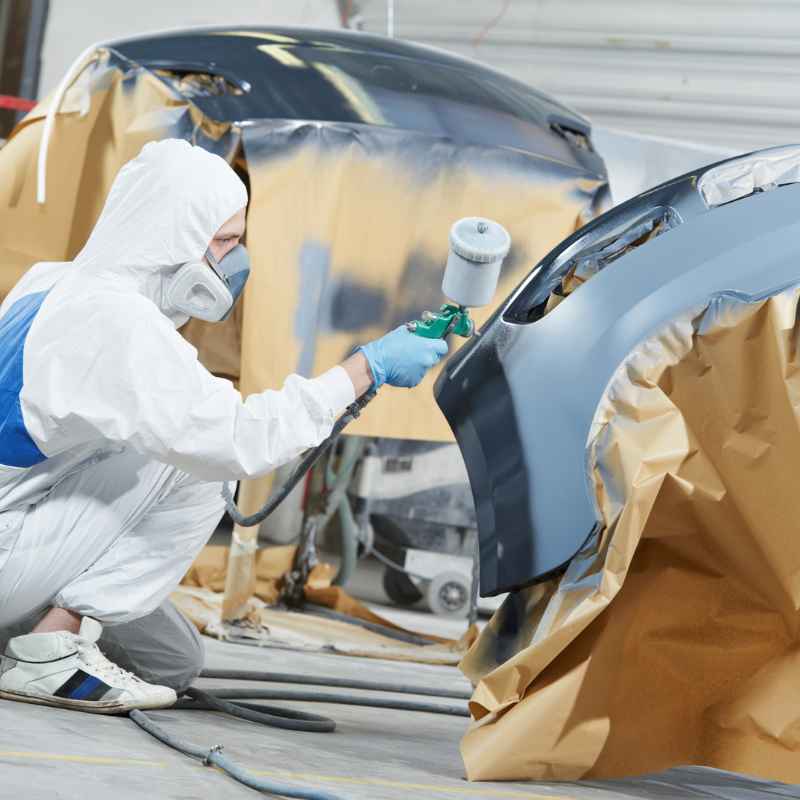
Then, use masking paper or plastic sheeting. Cover the rest of your car. Especially the fenders, headlights, and grille.
You can use a wide roll of paper. Or even old newspapers. Secure them with more painter’s tape.
Ensure there are no gaps. Any exposed paintwork could get overspray. Overspray is tiny paint particles.
They drift in the air. They can land on your car. They are hard to remove.
So, mask everything well. Take your time here.
Consider the shape of the bumper. It has curves. It has edges.
Masking tape follows curves well. But you need to be precise. If you’re painting the whole bumper, you still need to mask off areas.
Like bumper lights or sensors. If your car has parking sensors, you might want to remove them first. Or mask them very carefully.
This saves a lot of headaches later. Check your car’s manual. It might have specific advice for bumper parts.
Quick Masking Tips
Press Tape Firmly: Ensure no gaps.
Use Wide Tape: For larger areas.
Overlap Paper: For complete coverage.
Angle Tape: To create sharp edges.
Remove When Dry: Remove tape gently once paint is dry to the touch.
Step 4: Applying the Primer
Now for the primer. This is your paint’s best friend. It helps paint stick.
It also covers imperfections. For plastic, use a flexible primer. Look for one labeled “adhesion promoter.” This is critical for plastic bumpers.
Shake the can well. Read the instructions on the can. Different primers have different drying times.
Hold the can about 8-12 inches from the bumper. Spray in smooth, even strokes. Overlap each stroke by about half.
Don’t try to cover it all in one thick coat. Thin coats are better. You can always add more.
Let the first coat dry. Check the can for recommended drying times. Then apply a second coat.
You might need 2-3 thin coats. This builds a good base.
If you see any drips, let them dry. Then gently sand them down with fine-grit sandpaper (600 grit). Clean off the dust.
Then reapply primer. Proper primer application is key. It’s the foundation for your paint.
A good primer coat will hide minor sanding marks. It will give your color coat something solid to adhere to. Make sure the primer is fully dry before painting.
Some primers are sandable. This means you can lightly sand them after they dry. This makes the surface even smoother.
If your primer is sandable, use very fine-grit sandpaper (600-800 grit). Wet sanding is good here. This creates an ultra-smooth surface.
This is what professional painters do. After sanding the primer, clean the surface again. Use a tack cloth.
This is vital to pick up any remaining dust.
Step 5: Applying the Base Coat (Color)
This is the fun part! You’re applying the actual color. Use automotive-grade paint.
If you have a color code for your car, use it. Auto parts stores can mix this for you. Again, shake the can very well.
Hold it at the same distance (8-12 inches). Use smooth, overlapping strokes.
Apply thin coats. This prevents drips. It also ensures even coverage.
Let each coat flash off. This means let it get slightly tacky. But not fully dry.
Then apply the next coat. You might need 3-4 coats. Or more.
Depending on the paint’s coverage. Build up the color gradually. This gives a more uniform look.
Don’t rush between coats. If you apply too soon, you can reactivate the previous layer. This can cause runs or unevenness.
Check the paint can for specific instructions. It will tell you the recoat window. This is the time frame to apply the next coat.
Make sure the area is still clean. No dust is blowing around. Good lighting helps see coverage.
I remember painting a bumper once. I was too eager. I applied the second coat too fast.
It started to sag. I had to stop. Let it dry.
Then very carefully sand down the sag. It was a pain. So, patience is your friend here.
Thin coats and proper drying times pay off. You want an even color. No dark or light spots.
That’s what multiple thin coats achieve.
Color Coat Application Tips
Thin Coats: Build color slowly.
Consistent Strokes: Keep movement steady.
Overlap Layers: Ensure no gaps.
Allow Flash Time: Let each coat tack up.
Good Lighting: See your coverage clearly.
Step 6: Applying the Clear Coat
The clear coat is the shield for your paint. It adds shine. It also protects from UV rays, scratches, and the elements.
This is often a two-part system. Some cans have a button on the bottom. You press this to mix the hardener.
Read the can instructions very carefully. Especially for mixing two-part clear coats.
Apply the clear coat like the color. Thin, even coats. Overlapping strokes.
Again, 8-12 inches away. Let each coat flash off. Usually, 10-15 minutes is enough.
You might need 2-3 coats. This layer is critical for the final look. A good clear coat will give a deep shine.
Make sure the base coat is still slightly tacky when you apply the clear. If the base coat dries too much, the clear coat might not bond well. This can lead to peeling later.
However, if it’s too wet, it can cause runs. Most paint systems have a specific recoat window for clear coats. Stick to that.
Again, thin coats are your best friend. Don’t try to get it all done in one go.
I once used a clear coat that was old. It didn’t harden properly. The paint stayed soft.
It scratched very easily. It was a lesson learned. Always check the expiration dates on your paint products.
And store them properly. The clear coat needs to cure properly. This can take a day or two.
Or even longer, depending on temperature and humidity.
Clear Coat: The Protective Shield
Shine & Protection: Adds depth and guards against damage.
UV Resistance: Prevents paint from fading.
Scratch Resistance: Helps minor scuffs disappear.
Curing Time: Needs time to harden fully.
Step 7: Curing and Finishing Touches
After the final clear coat, let the bumper cure. This is different from drying. Curing means the paint fully hardens.
This can take 24-72 hours. Or even longer. It depends on the paint type.
And the weather. Avoid touching it during this time. Keep it free from dust.
And moisture.
Once the paint has cured enough, you can remove the masking tape. Do this gently. Peel it back slowly.
If you pull too fast, it might lift the paint. If the paint is slightly sticky, wait a bit longer. If you have any imperfections, like dust nibs or slight runs, don’t panic.
They can often be fixed.
You can use a rubbing compound. This is a mild abrasive. It’s used to smooth out small flaws.
Apply a small amount to a clean cloth. Rub the affected area gently. Follow up with a polishing compound.
This brings back the shine. Then, you can apply a car wax or sealant for extra protection. This makes the paint look amazing.
It’s the final polish. It makes it look professional.
I remember getting impatient after a paint job. I tried to wax it too soon. The wax seemed to smear a bit.
The paint felt a little soft. I learned to wait the full curing time. It’s always worth it.
The final shine is so much better. And the paint lasts longer. It protects your hard work.
Patience truly pays off in auto painting.
Post-Paint Care
Allow Full Cure: Patience is key.
Gentle Tape Removal: Avoid lifting paint.
Correct Imperfections: Use rubbing and polishing compounds.
Protect the Finish: Apply wax or sealant.
Troubleshooting Common Issues
Even with the best efforts, problems can arise. Don’t get discouraged. Most issues can be fixed.
One common problem is runs and drips. These happen when paint is applied too thick. Or when the can is held too close.
If they are fresh, you might be able to wipe them away with a solvent. If they are dry, you’ll need to let them cure. Then carefully sand them flat.
Then reapply primer, color, and clear coat in that area.
Another issue is orange peel. This looks like the skin of an orange. It happens when paint dries too fast.
Or isn’t applied evenly. It’s usually fixed with wet sanding. Use 800-grit paper.
Then progress to 1500-grit. Then 2000-grit or higher. Follow with rubbing and polishing compounds.
This smooths out the texture.
Dust nibs are small specks of dust. They get in the paint. They happen if the area isn’t clean.
Or if the tack cloth isn’t used properly. After the paint cures, you can gently wet sand them. Then polish the area.
If the dust nibs are deep, you might need to carefully scrape them off with a razor blade. Then polish.
Poor adhesion is a major problem. This means the paint peels or flakes off. It’s almost always due to poor surface preparation.
Or using the wrong type of primer. Or painting over grease or wax. If this happens, you have to strip the paint.
And start over. This is why cleaning and priming correctly is so vital. It’s the most important part of the whole process.
Quick Fixes
Runs/Drips: Sand smooth and reapply.
Orange Peel: Wet sand and polish.
Dust Nibs: Sand carefully and polish.
Poor Adhesion: Strip and restart preparation.
Real-World Context: The Importance of Environment
Where you paint your bumper matters a lot. Ideally, you want a dust-free environment. A garage is often the best choice.
But it needs to be clean. Sweep the floor. Wipe down surfaces.
If you don’t have a garage, a calm, clear day outside can work. But avoid windy days. Wind blows dust.
It also blows pollen. And leaves. All these can stick to wet paint.
And ruin your finish.
Temperature also plays a role. Most paints have an ideal temperature range for application. Check the can.
Usually, it’s between 60-80°F (15-27°C). Too cold, and the paint might not flow well. Or dry slowly.
Too hot, and it might dry too fast. This can cause issues like runs or an uneven finish.
Humidity is another factor. High humidity can slow down drying. It can also affect the shine.
Try to paint when humidity is moderate. Avoid painting right before or after rain. Or in very humid conditions.
Good lighting is also essential. You need to see clearly. To ensure even coats.
And to spot any issues as they happen.
I once tried to paint a bumper in a slightly damp garage. The finish came out dull. It looked chalky.
The moisture in the air interfered with the paint curing. It was a lesson about controlling the painting environment. Setting up a temporary spray booth with plastic sheeting can help.
It contains dust and overspray.
What This Means for You: Durability and Appearance
Painting a plastic bumper yourself can save a lot of money. Professional paint jobs can cost hundreds. Doing it yourself can cost much less.
You’ll also gain a new skill. But it requires patience. And attention to detail.
The result will be a bumper that looks great. It can also add to your car’s resale value.
When is it normal to paint a bumper? When it’s scratched. When it’s faded.
When it’s damaged. Or when you just want to change its look. It’s normal for plastic bumpers to age.
They get dull. They can get scuffs. Painting them brings them back to life.
It’s a practical way to maintain your car.
When should you worry? If the bumper is cracked. Or severely damaged.
If it’s loose. Or has large holes. In these cases, painting won’t fix the structural issue.
You might need to
Simple checks you can do: Feel the surface. Is it smooth? Does it feel solid?
Are there any large cracks? Look at the paint. Is it peeling?
Is it faded uniformly? If the damage is mostly cosmetic, painting is a good option. If there are safety concerns, consult a professional.
When to Paint vs. Replace
Paint When: Scratched, faded, minor scuffs, wanting a color change.
Replace/Repair When: Cracked, broken, loose, large holes, structural damage.
Quick Tips for Success
Here are some final tips to help you get a great finish:
- Read All Instructions: Before you start, read the directions on all your products.
- Test Spray: Always test your spray can on a piece of cardboard first. Check the pattern and flow.
- Work in Layers: Thin layers are always better than one thick layer.
- Good Ventilation: Safety first! Always paint in a well-ventilated area.
- Cleanliness is Key: Dust and grease are your enemies.
- Patience is a Virtue: Don’t rush the drying or curing times.
- Practice Makes Perfect: If you’re nervous, practice on scrap plastic first.
Frequent Questions About Painting Plastic Bumpers
Can I paint my car’s plastic bumper without primer?
It is strongly advised not to paint a plastic bumper without primer. Plastic needs a special primer, often called an adhesion promoter, to ensure the paint will stick and not peel. Without it, your paint job will likely fail quickly.
What is the best type of paint for a plastic car bumper?
The best paint for a plastic bumper is automotive-grade paint that is flexible. This includes specific flexible primers, base coats, and clear coats designed for plastic. Standard house paint or enamel paints will not work well and will likely crack or peel.
How long does it take for a painted bumper to cure?
A painted bumper needs time to cure, which means the paint fully hardens. This can take anywhere from 24 to 72 hours, and sometimes longer, depending on the paint type, temperature, and humidity. Avoid touching or exposing the bumper to harsh conditions during this time.
Can I use spray cans to paint my car bumper?
Yes, you can successfully paint a car bumper using spray cans. For best results, use high-quality automotive spray paints. Apply them in thin, even coats.
Achieving a professional-level finish might be more challenging than with a spray gun, but it is definitely possible with careful technique.
What grit sandpaper should I use for plastic bumpers?
For preparing plastic bumpers, start with a grit around 180-220 to remove old paint or smooth damage. Then move to 320-400 grit to smooth out deeper scratches. For finishing before primer, 400-600 grit is often used.
For sanding primer or clear coat, 600-800 grit is common, and even higher grits (1000-2000+) are used for wet sanding and polishing.
How do I fix runs in my painted bumper?
Runs and drips happen when paint is applied too thickly. If the paint is still wet, you might be able to carefully wipe it away with a solvent-soaked cloth. If it has dried, let it fully cure.
Then, carefully sand the run flat with fine-grit sandpaper. Clean the area, and reapply primer, color, and clear coat to the affected spot.
Conclusion
Painting a plastic car bumper is a rewarding DIY project. It takes time and care. But the result is a refreshed look for your car.
Follow these steps. Prepare well. Use the right materials.
And be patient. You can achieve a professional-looking finish. Enjoy your newly painted bumper!
Products related to this article
Sponsored / affiliate links. As an Amazon Associate I earn from qualifying purchases. I may earn additional commission from eligible campaigns.