How to Get Scratches off My Car: Easy Fixes & Household Myths
Many marks people call scratches are actually scuffs — transferred paint or rubber sitting on top of your clear coat — and those wipe off in about five minutes. A true scratch is a groove cut into the paint and needs polish or touch-up. Guess wrong and you can burn through a clear coat only 40–50 microns thick. This guide covers the scuff test, the right fix for each depth, and the household hacks worth skipping.
Quick Answer
Drag a fingernail across the mark. If nothing catches and the colour is wrong for your car, it is a scuff — a spray detailer and microfiber remove it. If nothing catches but the mark is your own paint, use a polishing compound. If your nail catches, you need touch-up paint. If you see grey primer or bare metal, book a body shop.
Is It a Scuff or a Scratch? The 10-Second Check
This is the step almost every guide skips, and it decides whether your fix takes five minutes or an afternoon. Park in daylight, wipe the area clean, then drag the flat of your fingernail across the mark — do not dig into it.
| What you find | What it is | The easy fix | Time |
|---|---|---|---|
| Nail glides over it, mark is a different colour than your car | Scuff — paint or rubber transferred from another object | Spray detailer or a light polish on microfiber | 5–10 min |
| Nail glides over it, mark is your own paint colour | Clear-coat scratch | Polishing or rubbing compound by hand | 15–30 min |
| Nail catches in the groove | Through the clear coat into the base coat | Compound, then colour-matched touch-up paint | 1–4 hrs |
| You see grey, white, or bare metal | Down to primer or steel | Professional repair — rust risk if left | 1–3 days |
The scuff case is the happy one, and it is far more common than people expect: a shopping trolley, a bollard, or another car’s bumper leaves its paint on your clear coat. Nothing has been cut away, so nothing needs filling. If the mark is on a plastic bumper rather than a metal panel, our guide to removing scuffs from a car bumper covers the softer technique that finish needs.
For a full breakdown of every scratch depth and the correction each one takes, see our detailed companion guide on how to remove scratches from car paint. This page stays focused on the fast, low-risk fixes you can do in a driveway.
How Long Does an Easy Scratch Fix Take?
A clear-coat scratch polished by hand takes roughly 15 to 30 minutes including the wash and dry. Anything needing touch-up paint jumps to one to four hours, mostly because each thin coat has to flash off before the next one goes on. Bare-metal damage is a one-to-three-day body shop job. If you only have ten minutes, restrict yourself to scuffs.
Assessing the Damage
Not all scratches sit at the same depth, and depth is the only thing that determines the repair. Modern car paint is a stack: primer for adhesion, base coat for colour, and a clear coat on top for gloss and UV protection. Light marks stop in the clear coat. Deeper ones cut past the colour into primer, which is when rust becomes a real risk on steel panels.
Check the mark in direct sunlight from two angles before you decide anything. A scratch that vanishes when the panel is wet is almost always clear-coat only — water temporarily fills the groove and refracts light the same way a polish or a coat of wax will. If it still shows clearly when wet, it is deeper than the clear coat.
Gathering Materials
You need very little for a clear-coat repair. Two or three clean microfiber towels, car shampoo, a scratch-removal compound, and optionally masking tape to protect trim and panel edges. Skip the sandpaper unless you have already decided the mark is too deep for compound alone — wet sanding a panel you have not correctly diagnosed is the fastest way to turn a $30 job into a $400 one.
- Microfiber towels — at least two, one for applying and one for buffing off
- Car shampoo and two buckets — grit dragged across paint is what caused most swirl marks in the first place
- Polishing or rubbing compound — rubbing compound cuts harder, polish finishes finer
- Masking tape — keeps compound off rubber seals and plastic trim, where it dries white
- Wax or sealant — compounding strips protection, so it always has to be replaced
Best Easy Scratch Fix Pick
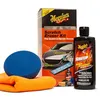
Meguiar’s Quik Eraser Kit, Car Scratch Remover for Repairing Surface Blemishes, Car Scratch Repair Kit with ScratchX, Drill-Mounted Pad, and Microfiber Towel, 3 Count
A drill-mounted pad kit aimed squarely at the easy end of the job — light scratches, scuffs and paint transfer — rather than full paint correction.
- Best for: Scuffs and paint transfer you want gone in one short session
- Why we picked it: It targets exactly the damage this guide says is genuinely easy to fix, and the maker states it is safe on all glossy paints and clear coats
- Main drawback: You need a drill, and it will not touch anything your fingernail catches on
Compare more car scratch repair options
 Option 1 Carfidant Scratch Repair and Swirl Remover – Car Paint Scratch Remover & Restorer Kit with Buffer Pad – Polishing & Waxing Kits – Compound for Vehicles Paint Repair – 8.4 fl. Oz.
|
 Option 2 Meguiar’s Ultimate Compound – Pro-Grade Car Scratch Remover, Paint Correction Compound that Removes Defects While Adding Gloss and Shine, Single Stage and Clear Coat Scratch Remove, 15.2 Oz
|
 Option 3 Chemical Guys, Professional Microfiber Towels, 16 x 16 in, Blue, 12 Pack
|
As an Amazon Associate we earn from qualifying purchases.
Cleaning the Area
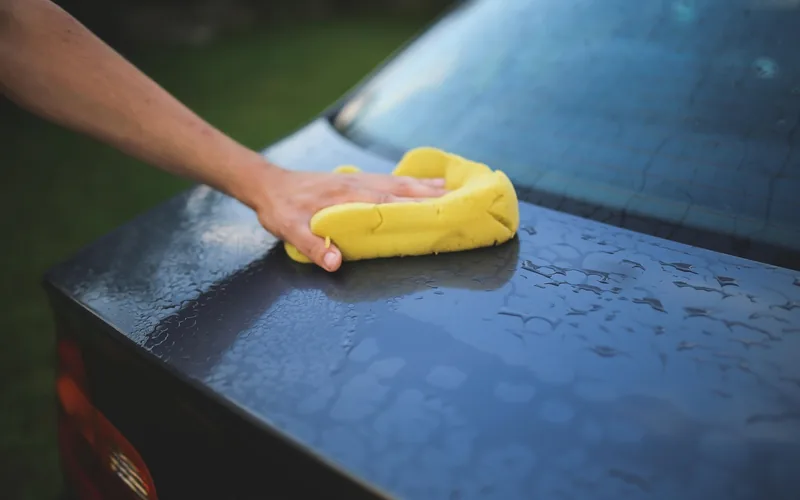
Wash the panel properly before any compound goes near it. Mix car shampoo with water, wipe gently with a soft mitt, and rinse until no suds remain. Grit left on the surface gets dragged under your towel and cuts fresh scratches around the one you are trying to remove.
Dry with a clean microfiber towel using straight passes rather than circles, and let the area sit until it is completely dry. Any moisture left in the groove will make a clear-coat scratch temporarily disappear, which is exactly how people end up polishing damage that was never there.
Using Scratch Removal Products
Rubbing and polishing compounds work by levelling the clear coat around the groove until the edge no longer catches light. Rubbing compound is the more aggressive of the two; polish is finer and finishes glossier. Start with the least aggressive product that has a chance of working, because you can always step up but you cannot put clear coat back.
- Tape the edges: Mask any adjacent trim, rubber seal, or panel gap so dried compound does not stain them white.
- Apply a pea-sized amount: Put the compound on a folded microfiber applicator, not directly onto the paint.
- Work in small circles: Cover an area about the size of your palm using light, steady pressure for 30 to 60 seconds.
- Wipe and inspect: Buff the residue away with a clean towel and check the mark in direct sunlight before doing anything else.
- Repeat only if it is improving: If two passes make no visible difference, the scratch is deeper than compound can reach — stop rather than thinning the clear coat further.
- Seal the panel: Apply wax or a paint sealant, because compounding removes whatever protection was there.
If the mark survives compounding but your nail still does not catch, a machine polisher will usually finish what hand work started — our guide to cutting and buffing a car walks through pad and speed selection.
DIY Remedies: Which Household Hacks Actually Work?
Toothpaste, baking soda and WD-40 all circulate as free scratch fixes. Two of them do something mild, one is widely misunderstood, and one popular suggestion will actively damage your paint. Here is the honest verdict on each.
| Household hack | What it really does | Verdict |
|---|---|---|
| Non-gel toothpaste | A mild abrasive that can slightly soften the edge of a very light clear-coat mark | Cosmetic improvement at best — clear coat is far harder than toothpaste grit |
| Baking soda paste | A gentle abrasive with a similar effect to toothpaste on light surface marks | Low risk on clear coat, but stop immediately if the mark is deeper |
| WD-40 | Temporarily fills fine marks and lifts transferred scuff material | Useful on scuffs, not a repair — it also strips wax and must be washed off |
| Nail polish remover / acetone | A solvent that attacks the paint film itself | Never use it — it can lighten or bleach the surrounding colour |
The important distinction is the one nobody makes: WD-40 is genuinely handy on a scuff because it dissolves the transferred material sitting on your clear coat. WD-40’s own automotive guidance positions the Multi-Use Product as something that lifts dirt, grease and scuff marks without scratching paint — a cleaner, not a paint repair. It cannot rebuild a groove, and because it leaves an oily film it has to be washed off completely before any compound, wax or touch-up paint goes on.
📊 Factory clear coat is only about 40–50 microns thick — roughly 1.5 to 2 thousandths of an inch, or about half the width of a human hair. That is the entire margin an abrasive has to work in, which is why an uncontrolled household grit is a genuine risk. — Source: automotive paint thickness gauge (PTG) measurement references, 2026
“The clear coats on cars are much harder, and thus the toothpaste is not as effective.”
That is the whole problem with the toothpaste trick in one sentence. Tooth enamel is softer than automotive clear coat, so a paste formulated to polish teeth is working well below the hardness it would need to level a scratch. It can dull a sharp edge and make a light mark less obvious for a while, but it is not repairing anything — and repeated passes only thin the layer you are trying to protect.
Touch-Up Paint
Once your fingernail catches, compound alone will not fix it and touch-up paint becomes necessary. Find your exact colour code first — it is on a sticker in the driver’s door jamb, under the bonnet, or in the owner’s manual, and it is not the same as the marketing name for the colour.
Clean and fully dry the groove, then shake the paint thoroughly. Apply it in thin layers with a fine brush or the applicator tip, letting each coat dry before adding the next; one thick blob will sit proud of the surface and look worse than the scratch did. Finish with a clear coat to seal the repair and match the surrounding gloss, then leave it to cure fully before washing or waxing the panel.
Stone chips on the bonnet and front bumper are the same repair at smaller scale, and they benefit from a slightly different technique — see fixing rock chips on car paint.
Preventing Future Scratches
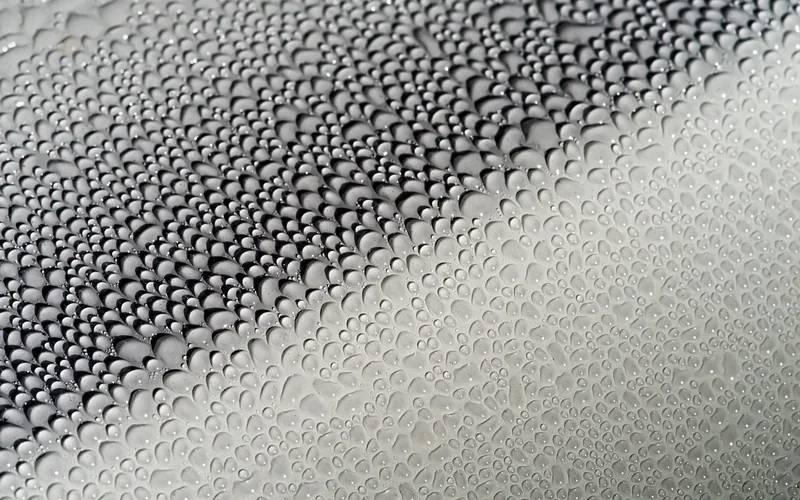
A wax or sealant is a sacrificial layer: light contact abrades the coating instead of the clear coat underneath. Wax typically lasts six to twelve weeks, synthetic sealants several months, and a ceramic coating a year or more. Water behaviour is the simplest check — when beads stop forming tightly and start sheeting flat, protection has worn through and needs reapplying.
Where you park does more work than any product. Avoid tight bays and end spaces near trolley bays, keep clear of overhanging branches, and use a garage when you can. Washing technique matters just as much: a two-bucket method with a grit guard prevents the fine swirl marks that most people mistake for scratches. If your paint has already dulled from years of this, restoring old car paint covers the recovery process.
When to Seek Professional Help
Get a professional involved once a scratch exposes primer or bare metal. At that point the panel is no longer sealed against moisture, and surface rust can start well before the damage looks serious. A shop can colour-match, blend into the surrounding panel, and clear coat the repair so it disappears rather than merely fades.
| Damage level | Typical DIY cost | Typical professional cost |
|---|---|---|
| Scuff or light clear-coat mark | $15–$50 for compound and towels | $50–$150 to buff out |
| Through to the base coat | $25–$60 for a touch-up kit | $400–$1,000 |
| Down to primer or bare metal | Not recommended | $800–$2,500+ |
The maths usually favours DIY only at the top row. Below that, a failed attempt often costs more to correct than the original damage would have — shops routinely charge more to strip back a botched repair than to have done the job first time. For anything at the deeper end, our guide to fixing deep scratches on a car covers wet sanding and realistic costs in detail.
Deep Scratches
Deep scratches cut through the paint down to the metal and can start rusting if they are left. A professional has the tools to fill, level and blend the repair properly. Attempting this at home usually widens the damaged area, because correcting a deep scratch means feathering the surrounding paint — not just filling the groove.
Specialized Services
Body shops offer paint matching by code and spectrometer, machine polishing, and full panel blending. It costs more than a bottle of compound, but the work is usually warrantied, which matters if the repair is on a lease vehicle or a car you intend to sell.
Frequently Asked Questions
How Can I Remove Scratches From My Car?
Match the method to the depth. Scuffs and paint transfer come off with a spray detailer or light polish on microfiber. Clear-coat scratches need a polishing or rubbing compound worked in small circles. Anything your fingernail catches on needs colour-matched touch-up paint, and damage showing primer or bare metal needs a body shop.
What’s the Easiest Way to Fix a Scratch on a Car?
The easiest genuine fix is polishing a clear-coat scratch by hand: wash the panel, apply a pea-sized amount of compound to a microfiber applicator, work small circles for about a minute, buff off and seal with wax. It takes 15 to 30 minutes and costs under $50. Scuffs are faster still, often clearing in about five minutes.
Does Toothpaste Remove Car Scratches?
Not really. Toothpaste is a mild abrasive, but automotive clear coat is much harder than tooth enamel, so it is working well below the hardness needed to level a scratch. It can make a very light mark less noticeable for a while, which is why the trick persists. Treat it as a temporary cosmetic improvement, not a repair.
Can WD-40 Remove Car Scratches?
It removes scuffs, not scratches. WD-40 dissolves transferred paint and rubber sitting on top of your clear coat, and it temporarily fills fine marks so they show less. It cannot rebuild a groove cut into the paint, and because it leaves an oily film that strips wax, it must be washed off fully before any compound or touch-up paint is applied.
Are Scratch Removal Kits Effective?
Yes, for light to moderate clear-coat scratches. A kit bundles a compound with an applicator pad, which removes the guesswork about pairing products. They will not fix anything your fingernail catches on, and no kit can restore paint that has been cut through to primer.
Should I Use A Professional Service?
Use a professional once the scratch reaches primer or bare metal, or if the panel is on a lease or a car you plan to sell. Shops can colour-match, blend and clear coat so the repair is invisible, and the work is usually warrantied. Expect $400 to $1,000 for base-coat damage and more where metal is exposed.
Conclusion
Diagnose before you touch anything. The fingernail test takes ten seconds and separates the five-minute scuff from the afternoon-long paint repair, and getting that call right is worth more than any product on the shelf. Work up from the least aggressive option, seal the panel afterwards, and know when the job belongs in a body shop.
Products related to this article
Sponsored / affiliate links. As an Amazon Associate I earn from qualifying purchases. I may earn additional commission from eligible campaigns.
 Car Scratch Remover for Vehicles, Car Paint Scratch Repair Kit for Light Scratches, Swirl Marks, Scuffs & Water Spots, Comes with Sponge, Safe for All Paint Colors, 100g, 1 Pack
 Car Scratch Remover,Car Paint Scratch Repair-Erase Car Scratches Scratch Repair Wax with Wipe and Sponge for Deep Scratches (5PC)