How to Maintain Leather Car Seats: Cleaning & Conditioning Tips
Maintaining leather car seats comes down to two habits: wipe them down weekly with a pH-balanced cleaner, and condition them every 3 to 6 months so the hide stays flexible instead of drying out.
Skip the conditioner and a single hot summer parked in direct sun can be enough to start hairline cracking, especially on the bolsters and the outer edge of the seat where your body weight and the sun both hit hardest. The good news is that leather car seats do not need constant babying – they need a short, repeatable routine. Below is exactly what that routine looks like, how often to do each part of it, and what to do if damage has already started.
Why Leather Seat Maintenance Matters
Automotive leather is a coated hide, not a sealed plastic surface, so it reacts to heat, UV light, and body oils the same way real leather furniture does. Dust and grit act like sandpaper every time you sit down, sunlight breaks down the surface coating and fades the dye, and skipped cleanings let oils from skin and clothing soak into the pores and stiffen the fibers underneath. None of that happens overnight, which is exactly why it is easy to ignore until a crack shows up on the driver’s seat bolster.
BEST 2-IN-1 FOR ROUTINE LEATHER CARE
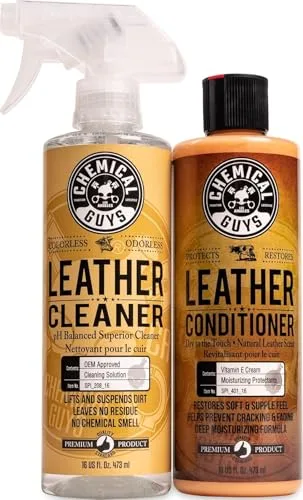 |
Chemical Guys Leather Cleaner & Conditioner Kit – $27.99 A matched pH-balanced cleaner and conditioner pair, so you are never guessing whether a product is safe to use on leather seats.
|
Staying ahead of it is cheaper than fixing it. A full leather reupholstery job on a front seat can run into the hundreds of dollars, while a bottle of cleaner and a bottle of conditioner cost less than most gas station fill-ups and last for months of use.
Choosing the Right Cleaning Products
Leather car seats need a gentler touch than fabric upholstery. Look for a cleaner labeled pH-balanced or made specifically for automotive leather – these are formulated to lift dirt and oils without stripping the protective topcoat. Cream cleaners tend to leave a light nourishing residue behind and work well for a deeper monthly clean, while spray-on formulas are faster for a quick weekly wipe-down. Whichever type you pick, test it on a hidden strip of leather first, such as the underside of the headrest, before using it on the visible seating surface.
What to keep off leather entirely: alcohol-based cleaners, which pull moisture out of the hide and speed up cracking; bleach or ammonia, which can strip color and leave permanent stains; and generic all-purpose household cleaners, which are not formulated for a coated hide and can leave the surface tacky or discolored. If a product does not say it is safe for leather, assume it is not.
Your Weekly and Monthly Cleaning Routine
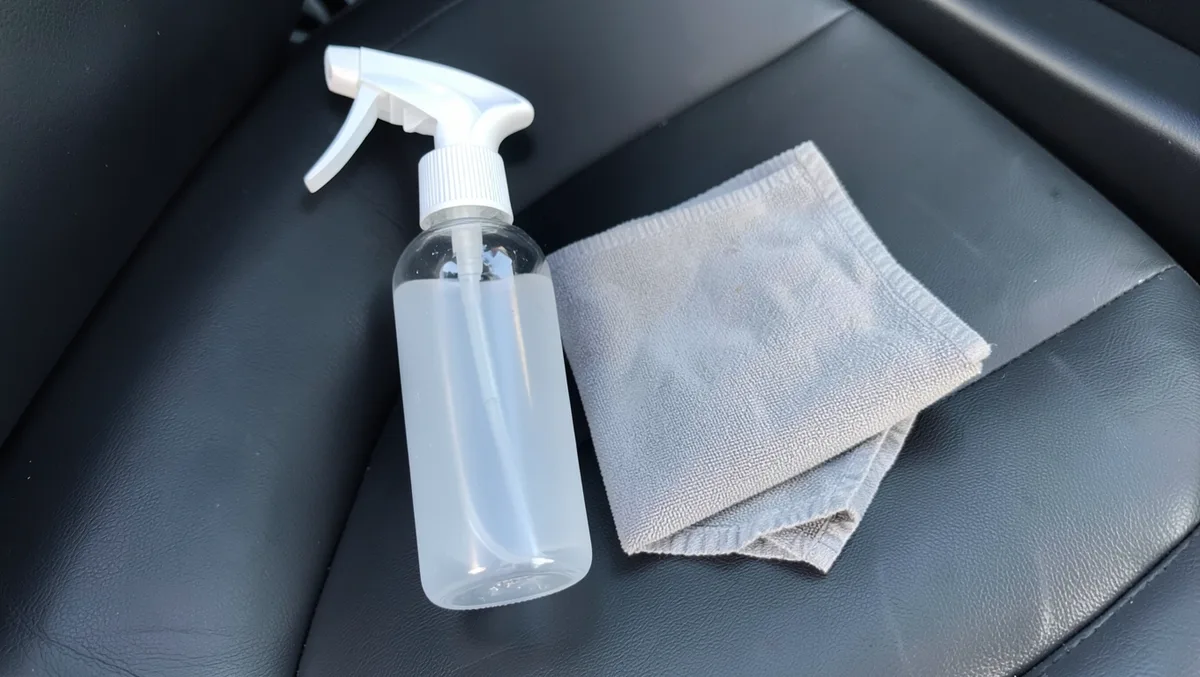
A quick weekly pass keeps grit from building up: vacuum the seams and crevices first, since trapped dust is what actually scratches the surface when you sit down, then wipe the whole seat with a soft microfiber cloth to lift loose dirt before it gets ground in.
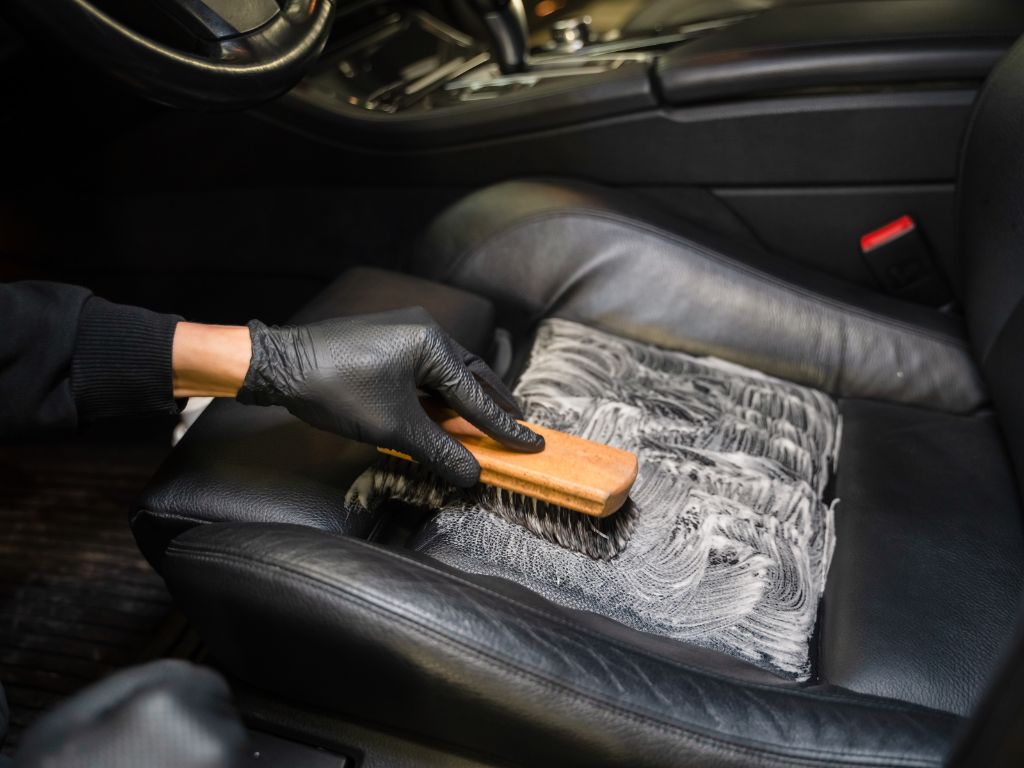
Once a month, go a step further with an actual leather cleaner. Spray or work a small amount onto a microfiber cloth rather than directly onto the seat, wipe in overlapping sections, and never let the leather sit wet – standing moisture can seep into stitching and seams. Buff the seat dry with a second clean, dry cloth immediately after. This monthly clean is also when to check for early cracking around high-wear spots like the bolsters and the seat bottom edge, since catching a hairline crack early is far cheaper than repairing a split seam later.
How Often to Condition Leather Car Seats
Most leather car seats need conditioning every 3 to 6 months, though the exact interval depends on climate and how the car is used. A car that sits outside in hot sun or gets driven daily in a humid climate dries out faster and does better on the 3 to 4 month end of that range. A garage-kept car that is driven occasionally can often stretch conditioning out to twice a year without the leather feeling stiff.
Apply conditioner with a microfiber applicator in a crosshatch pattern – overlapping strokes in one direction, then the other – so the product works evenly into the grain instead of sitting in streaks. Let it absorb for 15 to 30 minutes before buffing away any excess with a dry cloth. Popular options like Leather Honey and Lexol both work this way, and either is a safe starting point once you have confirmed compatibility on a hidden test spot.
It is possible to overdo it, though. Conditioning too often can trap moisture against the fibers and actually soften the leather past the point of holding its shape, while going too long between conditioning lets the hide dry out and stiffen until it cracks. If your seats already feel dry or slightly rough to the touch, that is the leather telling you conditioning is overdue – do not wait for a visible crack to show up first.
Protecting Leather From Sun, Heat, and Everyday Damage
Direct sunlight is the single biggest threat to leather seats. UV rays break down the surface coating, dry out the hide, and fade the dye unevenly, which is why a driver’s seat that gets more sun through the windshield often looks noticeably more worn than the passenger side. Parking in shade whenever possible makes the biggest difference, and a reflective windshield sunshade is an easy habit that blocks a large share of that heat and UV before it ever reaches the seats.

Away from the sun, everyday wear does its own damage. Keys, belt buckles, and pet claws can all scratch or puncture the surface, so keep sharp objects off the seats and consider a seat cover if you regularly transport pets or gear. Vacuum out grit before it gets ground into the grain, and treat spills the moment they happen rather than letting them dry into a stain.
Handling Stains and Spills Fast
Speed matters more than product choice here. Blot a fresh spill with a soft cloth right away – never rub, since rubbing pushes the liquid deeper into the pores and spreads the stain instead of lifting it. Keep blotting with a clean section of cloth until no more liquid transfers, then wipe the area with a barely damp cloth and dry it fully with a separate towel so no moisture is left sitting on the surface.
For a stain that has already set, mix a small amount of mild, pH-balanced leather cleaner with water and work it in with a soft cloth using gentle circular motions – scrubbing hard can burnish or discolor the finish. Wipe away the cleaner with a damp cloth, dry the area, and let it air dry fully before conditioning. Always test any cleaner on a hidden spot first, since some stains and some leather finishes react differently than expected.
DIY vs. Professional Care
Routine cleaning and conditioning is well within DIY territory – it takes a few minutes, costs little, and lets you catch small problems before they grow. Doing it yourself also means you control exactly what touches your seats, which matters if you are picky about scent or chemical sensitivity.
Call in a professional detailer when a stain will not lift with gentle cleaning, when the leather has a split seam or a tear, or when a previous DIY attempt with the wrong product has left discoloration. Professionals have access to leather-safe dyes and repair compounds that are not sold to consumers, and getting it right the first time is usually cheaper than a second DIY attempt that makes the damage worse.
Long-Term Storage and Inspection Habits
If the car will sit unused for more than a few weeks, park it in a garage if you can, or use a full car cover if it has to stay outside – both cut down on the UV and temperature swings that dry out leather over time. Keep the interior generally clean between cleanings too, since ground-in dust and crumbs from the floor and console eventually work their way onto the seats.
Make a habit of actually running your hand over the seats every month or two, not just looking at them. Dry or slightly rough leather means conditioning is due. A hairline crack, even a small one along a seam or bolster edge, is much easier and cheaper to treat now than after it splits open. Loose stitching along a seam is worth tightening or having repaired before it turns into a tear.
Already Have Cracks, Stains, or Tears? Here Is What To Do Next
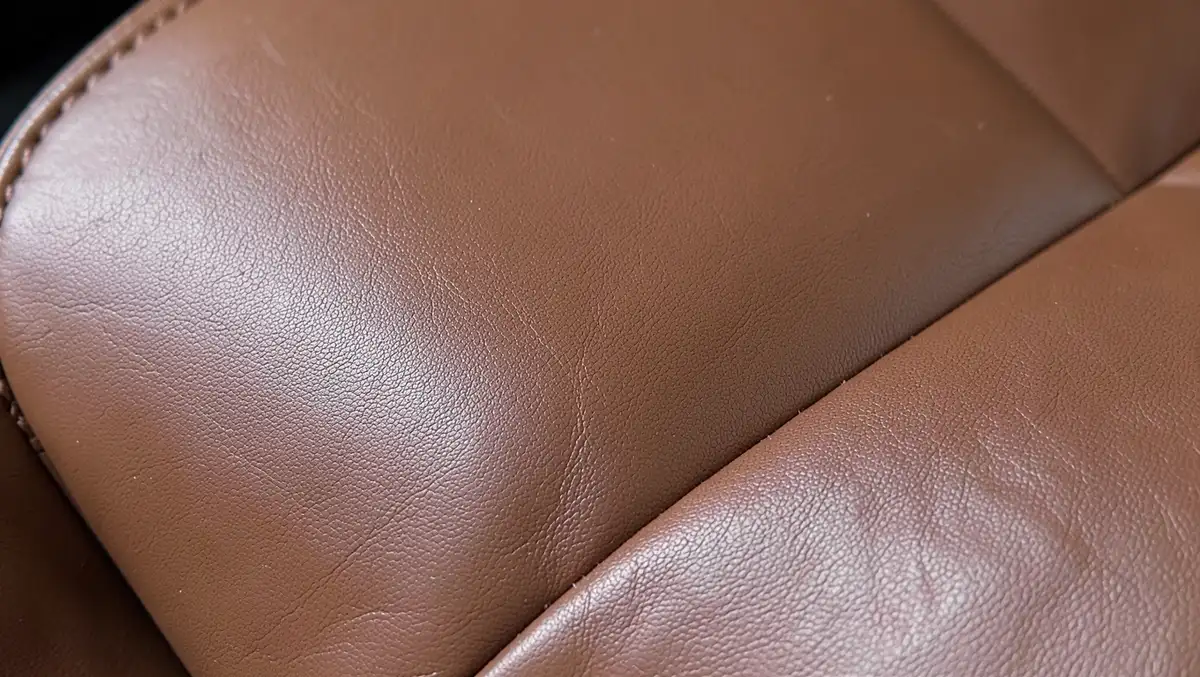
Everything above is about preventing damage before it starts. If your seats already have a crack, a set-in stain, a cigarette burn, or a tear, maintenance products alone will not fix it – you need an actual repair. Our guide to fixing car leather seats walks through cleaning and repairing existing damage step by step, and our roundup of leather restoration products covers the cleaners and conditioners built specifically for reviving leather that has already dried out or faded, rather than just maintaining leather that is still in good shape.
Frequently Asked Questions
What Is The Best Way To Protect Leather Car Seats?
Clean leather car seats weekly with a soft cloth and a pH-balanced cleaner, then condition every 3 to 6 months with a leather-specific conditioner. Park in shade or use a windshield sunshade to limit UV exposure, and use seat covers if you regularly carry pets or sharp gear.
How Can I Make My Leather Car Seat Last Longer?
Wipe up spills the moment they happen instead of letting them dry, vacuum out grit before it scratches the surface, and stick to a regular conditioning schedule so the leather stays flexible instead of drying out and cracking. Limiting direct sun exposure also slows fading and surface breakdown significantly.
What Should You Not Use On Leather Car Seats?
Avoid alcohol-based cleaners, bleach, ammonia, and generic household all-purpose cleaners on leather car seats. These strip moisture and protective coatings, causing discoloration and cracking. Stick to gentle, pH-balanced products made specifically for automotive leather.
How Often Should You Condition Leather Car Seats?
Condition leather car seats every 3 to 6 months on average. Cars parked outside in hot or humid climates need it closer to every 3 to 4 months, while garage-kept cars driven less often can often stretch to twice a year.
Can You Use Baby Wipes On Leather Car Seats?
Occasionally wiping a small spot with an unscented, alcohol-free baby wipe is generally low-risk, but baby wipes are not a substitute for a leather-specific cleaner and should not become a regular cleaning method. Many contain fragrance or preservatives not tested for automotive leather, so a dedicated pH-balanced cleaner is the safer routine choice.
How Long Should Leather Conditioner Sit Before Wiping It Off?
Let leather conditioner absorb for 15 to 30 minutes after applying it in a crosshatch pattern, then buff away any excess with a clean, dry microfiber cloth. Wiping it off too soon leaves the leather feeling greasy, while waiting too long can leave a slightly tacky residue.
Conclusion
Maintaining leather car seats is not complicated, but it does need to be consistent: a weekly wipe-down, a monthly deep clean, and conditioning every 3 to 6 months depending on climate and use. Add sun protection and quick action on spills, and most leather seats will stay soft and crack-free for the life of the car.
If damage has already set in, do not try to condition your way out of it – see our guides on fixing and restoring leather car seats instead. Otherwise, stick to this routine and your seats will keep looking new far longer than if you wait until a problem shows up to act.
Products related to this article
Sponsored / affiliate links. As an Amazon Associate I earn from qualifying purchases. I may earn additional commission from eligible campaigns.