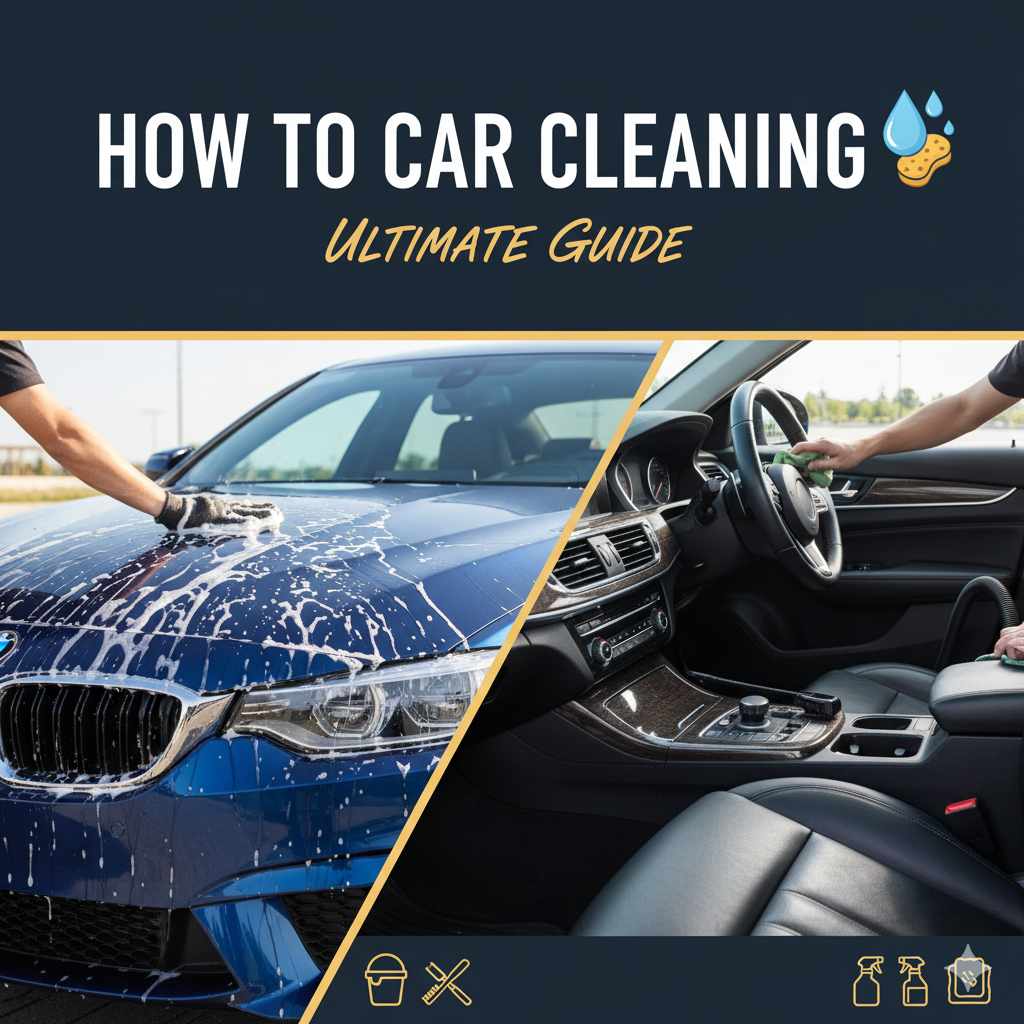
How to Clean a Car: Full Wash Guide + 15-Minute Quick Routine
To clean a car properly, rinse off loose dirt first, wash from top to bottom with the two-bucket method and a pH-neutral soap, dry immediately with a microfiber towel, then vacuum and wipe down the interior. A full wash and interior clean takes about 45-60 minutes; a quick maintenance wash between full cleans takes about 15 minutes.
Md Meraj here. Dust, mud, and grime dull a car’s shine fast, but you don’t need a detail shop or expensive gear to fix it. This guide breaks car cleaning down into simple steps you can do at home with basic supplies, covering the full exterior wash, the interior clean, a faster 15-minute routine for weeks when you’re short on time, and what to do differently in winter and spring.
Quick Answer
Rinse off loose dirt, wash top-to-bottom with the two-bucket method and pH-neutral soap, dry immediately with a microfiber towel, then vacuum and wipe down the interior. A full wash and interior clean takes 45-60 minutes; a quick maintenance wash between full cleans takes about 15 minutes.
The Ultimate Guide to Car Cleaning: Make Your Ride Shine
Keeping your car clean isn’t just about making it look good – though that’s a big perk! A clean car is also a well-maintained car. Regular cleaning helps protect your paint from damage, prevents rust, and keeps your interior from getting too worn out. Think of it as giving your car a spa day, every now and then. It boosts its curb appeal, can even help maintain its resale value, and honestly, it just feels great to drive a sparkling, fresh-smelling car. This guide will walk you through the entire process, from gathering your supplies to the final polish, making it easy even if you’ve never washed a car yourself before.
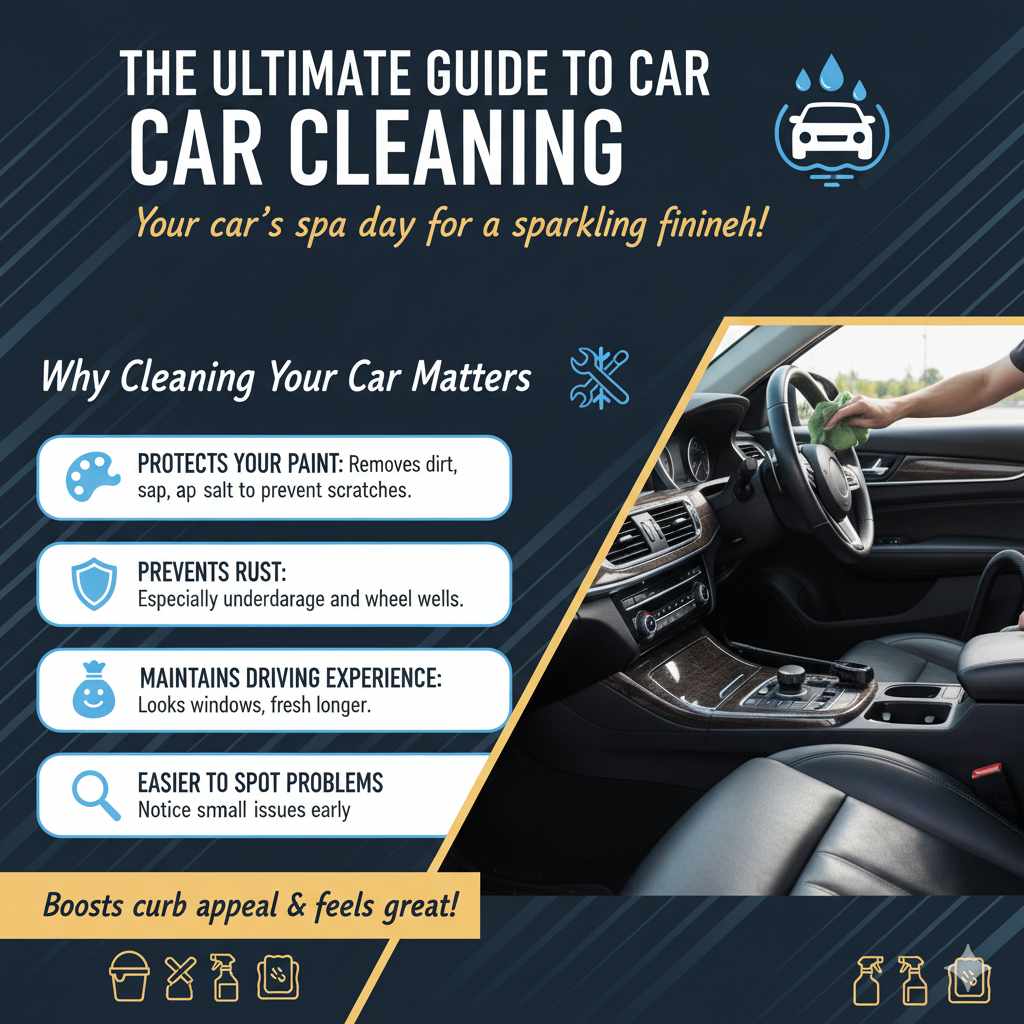
Why Cleaning Your Car Matters
You might be wondering, “Is it really that important to wash my car regularly?” The answer is a resounding yes! Here’s why:
- Protects Your Paint: Dirt, bird droppings, tree sap, and road salt are corrosive. They can eat away at your car’s paint and clear coat over time, leading to dull spots, scratches, and even rust. Regular washing removes these harmful contaminants.
- Prevents Rust: Especially in areas where salt is used on roads in winter, grime can trap moisture against your car’s metal surfaces, promoting rust. Washing thoroughly, especially in wheel wells and undercarriage, helps prevent this.
- Maintains Resale Value: A well-maintained car, inside and out, looks newer for longer. This translates to a higher resale value when you decide to trade it in or sell it.
- Improves Driving Experience: A clean car is simply more enjoyable to drive. Clear windows mean better visibility, and a fresh interior makes every drive more pleasant.
- Easier to Spot Problems: When your car is clean, it’s easier to notice small issues like a chipped paint spot, a loose trim piece, or a developing leak before they become major problems.
Gathering Your Car Cleaning Arsenal: Essential Supplies
Before you start, having the right tools makes a huge difference. You don’t need a ton of fancy equipment. Here’s a list of the essentials:
| Category | Essential Items | Why You Need It |
|---|---|---|
| Washing | Two Buckets (one for soap, one for rinsing mitt) | Prevents grit from scratching paint. |
| Washing | Car Wash Soap (pH-neutral) | Safe for paint, won’t strip wax. |
| Washing | Wash Mitt (microfiber or sheepskin) | Gently lifts dirt without scratching. |
| Washing | Wheel Cleaner and Brush | Tackles brake dust and grime on wheels. |
| Drying | Microfiber Drying Towels (large and absorbent) | Dries quickly without leaving lint or streaks. |
| Interior Cleaning | Interior Cleaner/All-Purpose Cleaner (car specific) | Safely cleans dashboards, plastics, and upholstery. |
| Interior Cleaning | Glass Cleaner (ammonia-free for tint) | For streak-free windows. |
| Interior Cleaning | Vacuum Cleaner (with attachments) | To remove dirt and debris from carpets and seats. |
| Interior Cleaning | Microfiber cloths for interior surfaces | For wiping down and buffing. |
| Protection (Optional but Recommended) | Car Wax or Sealant | Adds shine and protects paint. |
| Protection (Optional but Recommended) | Tire Dressing | Adds a clean, finished look to tires. |
Our Top Pick
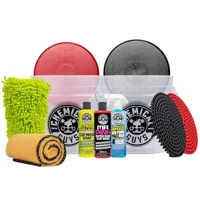
Chemical Guys Two Bucket Wash Kit (11 Items)
Best for: Beginners who want every supply from this guide’s list in one box.
Why we picked it: Includes both grit-guard buckets, a chenille wash mitt, pH-neutral soap, a bug-and-tar wash, and a drying towel — the exact two-bucket setup described above.
Main drawback: No wheel brush included, so pair it with a dedicated wheel brush below.
View Our Pick on Amazon
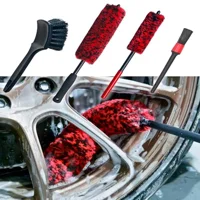 Long-Handle Wheel Brush Set (4-Pack) Best for: Brake dust and grime in wheel wells. Why we picked it: Soft and stiff bristle heads reach behind spokes without scratching finished wheels. Main drawback: Bulkier than a single wheel brush, needs more storage space. Check on Amazon |
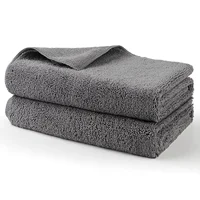 Large Microfiber Drying Towels (2-Pack) Best for: Streak-free, lint-free drying right after the rinse. Why we picked it: Large enough to dry a full panel in one pass, unlike a standard bath towel that drags grit. Main drawback: Needs regular washing without fabric softener to stay absorbent. Check on Amazon |
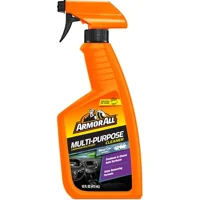 Armor All Multi-Purpose Interior Cleaner Best for: Dashboards, door panels, and plastic trim. Why we picked it: One spray safely handles most interior surfaces without a UV-damaging greasy residue. Main drawback: Not formulated for fabric upholstery stains — use a dedicated fabric cleaner for those. Check on Amazon |
Step-by-Step Car Exterior Cleaning Guide
Let’s get your car looking sharp! Follow these stages carefully for the best results. Make sure you’re not washing your car in direct sunlight, as the soap and water can dry too quickly, leaving spots.
Step 1: Preparation is Key
Find a shady spot for your car. Gather all your supplies. Rinse the car thoroughly with plain water to remove loose dirt and debris. This initial rinse is crucial for preventing scratches during the washing phase. Blast away as much surface dirt as you can!
Step 2: Clean Your Wheels and Tires First
Wheels often have the most stubborn brake dust and road grime. It’s best to clean them first so that the dirty water doesn’t splash onto your clean paint later.
- Spray your wheel cleaner onto one wheel at a time.
- Use a dedicated wheel brush to agitate the cleaner, getting into all the nooks and crannies.
- Rinse the wheel thoroughly.
- Repeat for all four wheels.
Step 3: The Two-Bucket Wash Method
This is arguably the most important part of washing to avoid scratches.
- Fill one bucket with your car wash soap and water.
- Fill the second bucket with plain, clean water.
- Dunk your wash mitt into the soap bucket.
- Wash a section of your car (e.g., the roof or hood) using gentle, straight-line motions, not circles.
- Crucially, rinse your dirty wash mitt thoroughly in the plain water bucket before dipping it back into the soap bucket. This removes the grit you just picked up.
- Work your way from the top of the car down. The dirtiest parts (like the lower panels and bumpers) should be washed last.
Step 4: Rinse Thoroughly
Once you’ve washed the entire car, rinse it off completely with plain water. Start from the top and let the water flow down. Make sure to rinse away all soap residue, especially from panel gaps and trim pieces, as dried soap can leave marks.
Step 5: Drying Your Car Safely
This is another stage where scratches can happen if you’re not careful. Microfiber drying towels are your best friend here.
- Gently lay a large, plush microfiber drying towel onto a section of the car.
- Pat or blot the water away, allowing the towel to absorb it.
- Alternatively, you can gently drag the towel across the surface, but be careful not to scrub.
- Use multiple towels if needed to ensure the car is completely dry.
Don’t forget to dry door jambs, the trunk, and the hood edges as water can collect and drip later.
Car Interior Cleaning: A Fresh Oasis
Now, let’s make the inside of your car as clean and inviting as the outside. A clean interior makes every drive feel better!
Step 1: Declutter and Remove Floor Mats
Take everything out of the car that doesn’t belong. This includes trash, personal items, and anything loose. Remove the floor mats so you can clean them separately and vacuum the carpet underneath.
Step 2: Vacuum Everything
This is your chance to get rid of crumbs, dirt, and dust.
- Start with the floor mats outside the car. Vacuum them thoroughly.
- Vacuum the carpets inside your car. Use the crevice tool for tight spots like between the seats and along the edges.
- Vacuum your seats (fabric or leather).
- Don’t forget the dashboard, door panels, and center console – use a soft brush attachment to loosen dust before vacuuming.
Step 3: Clean Interior Surfaces
Use an interior cleaner or a diluted all-purpose cleaner. Always spray cleaner onto a microfiber cloth, not directly onto the surface, to avoid overspray on electronics or windows.
- Wipe down the dashboard, center console, door panels, and steering wheel.
- For leather seats, use a dedicated leather cleaner and conditioner.
- For fabric seats, you might need a fabric cleaner to tackle stains. Spot test in an inconspicuous area first.
It’s a good idea to use cleaners specifically designed for automotive interiors, as they are formulated to be safe and effective on various materials commonly found in cars. You can often find recommendations from reputable automotive organizations.
Step 4: Clean Your Windows and Mirrors
Streaks on the inside of your windows can be annoying.
- Spray an ammonia-free glass cleaner onto a clean microfiber cloth.
- Wipe the inside of your windows and mirrors.
- Use a second, dry microfiber cloth to buff the glass to a streak-free finish.
Consider cleaning the exterior windows now as well for maximum clarity.
Step 5: Treat Your Floor Mats
If your floor mats are rubber, you can simply wipe them down with a damp cloth or use a rubber cleaner. For carpet mats, try to remove any stains. Some carpet mats can even be shampooed and hosed down, but make sure they are completely dry before putting them back in the car to prevent mold and mildew.
Optional: Protection and Finishing Touches
Want that showroom shine and long-lasting protection? These optional steps make a big difference.
Applying Wax or Sealant
Wax or paint sealant protects your car’s paint from UV rays, dirt, and contaminants, and adds a beautiful gloss.
- Ensure your car is completely dry, clean, and out of direct sunlight.
- Apply a small amount of wax or sealant to an applicator pad.
- Work in small sections, applying the product with light pressure in a circular or back-and-forth motion (follow product instructions).
- Allow the product to haze slightly (check product instructions for time).
- Buff off the haze with a clean, soft microfiber cloth.
Most waxes and sealants last two to three months before reapplication, while ceramic-based spray sealants can extend that protection window to four to six months.
Tire Dressing
Tire dressing gives your tires a clean, dark, and often a subtle shine, completing the look.
- Ensure tires are clean and dry.
- Apply a small amount of tire dressing to an applicator pad or sponge.
- Spread evenly over the sidewall of the tire.
- Wipe off any excess with a clean cloth to prevent sling onto the paint.
Quick 15-Minute Maintenance Wash: The Routine Between Full Cleans
You do not need the full 45-60 minute process every time. A quick maintenance wash every week or two keeps dirt from building up so your next full clean is easier, and it is the routine most detailers actually use between deeper cleans.

- Quick rinse (2 minutes): Hose off loose dust and surface dirt, focusing on the hood, mirrors, and windshield.
- Wipe down exterior (5 minutes): Use a wet microfiber towel or a spray detailer to lift light grime and bug residue without a full soap wash.
- Vacuum the floors (5 minutes): A quick pass with a handheld or shop vacuum on the mats and footwells prevents dirt from grinding into the carpet fibers.
- Wipe interior touchpoints (3 minutes): Clean the steering wheel, gear shifter, door handles, and dash with an all-purpose interior cleaner.
This routine will not replace the two-bucket wash above, but it stretches the time between full cleans and keeps contaminants from sitting on the paint long enough to cause damage.
Seasonal Car Cleaning: Winter Road Salt and Spring Pollen
Standard washing works fine most of the year, but two seasonal problems need a different approach: winter road salt and spring pollen. Skipping these steps is one of the fastest ways to end up with rust or a dulled clear coat.
Removing Winter Road Salt
Road salt collects in the undercarriage, wheel wells, and door jambs, where trapped moisture is a leading cause of rust. Standard car soap often is not strong enough to break down heavy salt residue, so give the undercarriage and wheel wells an extra rinse with a hose attachment or a dedicated undercarriage wash, and run a soft detail brush along door jambs and rocker panels where salt tends to accumulate. Do this every few weeks through winter, not just once in spring.
Removing Spring Pollen
Pollen is mildly acidic and can dull your clear coat if it sits on the paint for days. Rain does not wash it away, it often mixes with pollen and dries into a sticky film instead. Wipe pollen off with a clean, damp microfiber cloth rather than letting it accumulate, and wash and wax your car as soon as winter ends to remove salt residue and add a layer of protection before pollen season begins.
If you want to go beyond a basic wash into paint correction, clay bar decontamination, and ceramic coating, see our from-start-to-finish pro detailing guide for the deeper, multi-phase process.
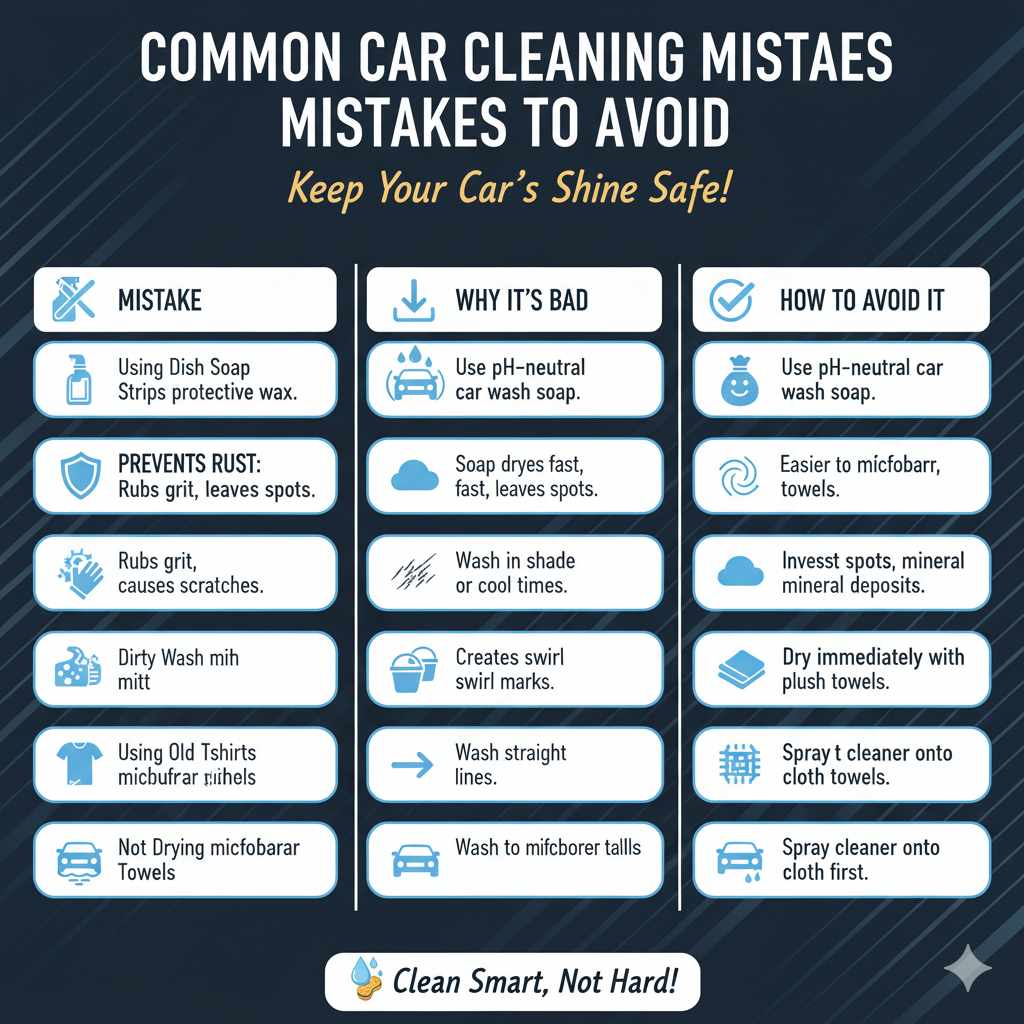
Common Car Cleaning Mistakes to Avoid
Even with the best intentions, some common mistakes can undo your hard work or even damage your car. Here are a few to watch out for:
| Mistake | Why It’s Bad | How to Avoid It |
|---|---|---|
| Using Dish Soap | Strips natural oils, removing protective wax. | Use pH-neutral car wash soap only. |
| Washing in Direct Sun | Soap dries too fast, leaving spots. | Wash in shade or early morning/late evening. |
| Dirty Wash Mitt | Rubs grit back onto paint, causing scratches. | Use the two-bucket method religiously. |
| Circular Washing | Creates “swirl marks” that dull paint. | Wash with straight-line motions. |
| Using Old T-shirts | Linty, abrasive, and don’t absorb well. | Invest in proper microfiber towels. |
| Not Drying Properly | Water spots and mineral deposits. | Dry immediately with plush microfiber towels. |
| Overspraying Interior | Can damage electronics and leave residue. | Spray cleaner onto cloth, not directly onto surfaces. |
Frequently Asked Questions (FAQ) About Car Cleaning
Q1: How often should I wash my car?
Ideally, wash your car every two weeks. However, this can vary depending on your environment. If you live in an area with heavy pollution, salt roads, or lots of trees, you may need to wash it more frequently.
Q2: Can I use my household vacuum cleaner to clean my car’s interior?
Yes, you can! Most household vacuums will work fine. Using attachments like a crevice tool and a brush head will help you get into all the tight spots and lift stubborn dirt from upholstery.
Q3: What’s the difference between car wax and car sealant?
Car wax, often made from carnauba, offers a warm glow and can be easier to apply. Sealants are synthetic and tend to last longer, offering more durable protection. Both are great ways to protect your paint.
Q4: How do I safely clean the cloth seats in my car?
For light dirt, a dedicated interior cleaner sprayed onto a microfiber cloth works well. For stains, use a specific fabric stain remover, and always test it on an inconspicuous area first. Blot, don’t scrub, to avoid spreading the stain.
Q5: Can I use dish soap to wash my car?
It’s best to avoid dish soap. While it cleans grease, it’s also very harsh on your car’s paint and will strip away any wax or sealant you have applied. Always use a dedicated car wash soap that is pH-neutral.
Q6: How can I get rid of water spots on my car?
For fresh water spots, try a quick detailer spray and a microfiber towel. If they are old and baked into the paint, you might need to use a clay bar or a polishing compound, often followed by waxing, to remove them. Prevention by drying thoroughly is the best method.
Q7: How often should I do a quick maintenance wash versus a full clean?
Do the 15-minute maintenance wash every week or two, and the full 45-60 minute wash and interior clean about every two to four weeks depending on your driving conditions. The quick routine buys time between full cleans; it does not replace them.
Q8: Do I need to wash my car differently in winter or spring?
Yes. In winter, rinse the undercarriage and wheel wells more often to remove road salt before it causes rust, since standard car soap often is not strong enough on its own. In spring, wipe off pollen with a damp microfiber cloth as soon as you see it, since it is mildly acidic and rain alone will not remove it.
Conclusion
A clean car comes down to the right tools and a consistent routine: the two-bucket wash and interior clean above for a deep clean every few weeks, the 15-minute version in between, and a little extra attention to the undercarriage in winter and the paint in pollen season. Regular cleaning protects your paint, prevents rust, and keeps your car looking newer for longer.
Products related to this article
Sponsored / affiliate links. As an Amazon Associate I earn from qualifying purchases. I may earn additional commission from eligible campaigns.