Horse Decals for Cars: Types, Vinyl & Application Tips
For horse decals for cars, cast or premium calendared vinyl is commonly used for curved panels, perforated vinyl for rear windows, and adhesive-backed decals for painted flat surfaces; match the backing to the surface, not the graphic. Ignore that, and you risk lifting edges, trapped bubbles, blocked visibility, or paint damage during removal. This guide compares decal types, background options, placement by body panel, and installation methods.
Horse decal types


The best horse decal depends on where it lands and what finish it crosses. High quality self-adhesive vinyl is the baseline for vehicle decals, with UV printing for color and durability for indoor and outdoor use. From there, the main split is between transfer-style decals, contour-cut graphics, and die-cut shapes.
Self-adhesive vinyl for vehicle decals
Self-adhesive vinyl is the main material to look for in horse-themed car decals. It is intended for indoor and outdoor use, and it can stand up to wind and weather. That matters on exposed body panels, where edge lift starts at the weakest corner, not at the center of the graphic.
For painted panels, self-adhesive vinyl gives you the most predictable bond when the surface is clean, dry, smooth, and free of dirt and grease. It also works across many placement zones, including doors, side panels, hood, fender, rear window, and tailgate.
Transfer sticker versus vinyl decal
Transfer sticker and vinyl decal are often used for the same product family, but the installation feel can differ. A transfer-style decal usually arrives with the graphic held together for placement, then the carrier is removed after the vinyl is pressed down. That format is useful when you want crisp alignment on a door or tailgate.
Many listings also offer a colored background or transparent background option. A transparent background can disappear better against a body-color panel if the horse graphic itself carries the color. A colored background can help the shape read more clearly on busy paint or on glass with dark tint.
Contour-cut and die-cut options
Contour-cut and die-cut decals matter when the horse design needs a clean edge finish. A die-cut graphic follows the design shape closely, while a contour-cut option trims around the art for a more exact silhouette. Both choices affect visibility, especially on lighter paint or reflective glass.
For a horse head, galloping profile, or side-stripe graphic, edge finish changes how the decal reads at a distance. A tight cut can look sharper on a rear window. On a curved fender, though, a simpler cut shape usually resists edge lift better than a wide, thin outline.
Which horse decal fits your car?
Placement should drive the purchase. Doors and side panels favor larger, flatter graphics with simpler edges. Hoods and fenders need vinyl that can conform without bridging over curves. Rear windows and tailgates call for visibility-aware choices, especially when the decal crosses glass edges, defroster lines, or a stamped panel seam.
Doors and side panels
Doors and side panels are the easiest places to size a horse decal because they usually offer the broadest uninterrupted area. Side stripes and rear-side panel graphics fit here well, especially when the car has a straight beltline and a relatively flat skin. A model-specific listing can help if the door shape is unusual.
If the car has pronounced character lines, place the decal so it avoids the deepest crease. A graphic that crosses a hard break can look misaligned from one angle and lift sooner at the edge closest to the contour.
Hoods and fenders
Hoods and fenders are better matches for cast or premium calendared vinyl because these surfaces are often curved in two directions. A horse emblem, hood strip, or smaller profile graphic tends to fit better here than a large full-panel print. The more the panel curves, the more important vinyl conformity becomes.
Suppose a 12-inch horse profile is centered on a hood with a strong center bulge. The graphic may look fine at first, then start to bridge the curve near the middle. That is a placement issue, not a design issue. The fix is usually a smaller decal or a flatter location.
Rear windows and tailgates
Rear windows and tailgates call for separate thinking. Glass can accept a decal cleanly if visibility is preserved, and a rear window can suit a perforated or transparent-background graphic when the image should not block the view. Tailgates work well for larger horse graphics, but seams, handles, and badging can interrupt the footprint.
A common first-timer mistake is sizing a tailgate decal to fill every open inch. That can force the graphic across a badge recess or a panel seam, which increases the chance of air pockets and edge lift. Leave margin around hardware and body breaks.
Vinyl choices that affect fit
Cast versus calendared vinyl is not a style question. It is a fit question. Thickness, removability, weather resistance, and edge-lift risk all change with the material, and those differences matter more on curves, glass, and repainted surfaces than on a flat door skin.
Cast versus calendared vinyl
Cast vinyl is generally the better match for complex curves, tighter wraps, and surface changes because it tends to conform more easily. Premium calendared vinyl can work well on flatter body panels and simpler decals, but it is less forgiving when the horse graphic crosses a curve or a stamped recess.
If the decal is meant for a hood or mirror-adjacent fender, cast vinyl is the safer first choice. For a flat tailgate insert or a straight side stripe, premium calendared vinyl can be enough if the edges are not too thin and the surface is well prepared.
Transparent background or colored background
Background choice should follow the car color and the placement surface. Transparent background works best when the body color gives the horse shape enough contrast. Colored background can help the decal read against dark paint, metallic finishes, or a window that sits behind a dark interior.
For a white or silver car, a dark horse graphic on a transparent background may stay legible without adding visual bulk. On black paint, the same transparent setup can disappear too much unless the horse art itself carries strong contrast. That is why the surface color matters as much as the design.
Thickness, removability, and edge lift risk
Thicker vinyl can feel easier to handle, but thickness alone does not solve fit. A decal that is too stiff for the panel will fight the curve and lift at the edge first. Removability also matters, especially for older paint or repaint work where adhesive can leave residue or pull weak clear coat.
For vehicles with factory paint and simple flat panels, a removable self-adhesive vinyl can be a practical choice. On older or repainted vehicles, plan for more caution during removal because the adhesive may release unevenly, and paint adhesion beneath the decal may already be compromised.
Horse decal fit checklist
This checklist matches placement to the panel, the background, and the main failure risks. Use it before ordering, because the right graphic can still fail if the backing, finish, or cut style does not suit the exact surface.
| Placement zone | Recommended vinyl type | Visibility background | Difficulty level | Common failure risks |
|---|---|---|---|---|
| Hood | Cast vinyl or premium calendared vinyl with clean contour-cut edges | Usually transparent background if paint color gives enough contrast | Medium to high | Curve bridging, front-edge lift, trapped air over center crown |
| Door | Self-adhesive vinyl with transfer application | Colored or transparent, based on door color and trim | Low to medium | Misalignment with body crease, bubbles near handle recess, edge snagging |
| Rear window | Perforated or transparent-background vinyl | Transparent background when visibility must stay open | Medium | Blocked visibility, interference with defroster lines, poor adhesion on dusty glass |
| Tailgate | Self-adhesive vinyl, often die-cut or contour-cut | Colored background if the panel color is close to the graphic | Medium | Seam crossing, handle interference, corner lift near stamped edges |
How do you apply one without bubbles?
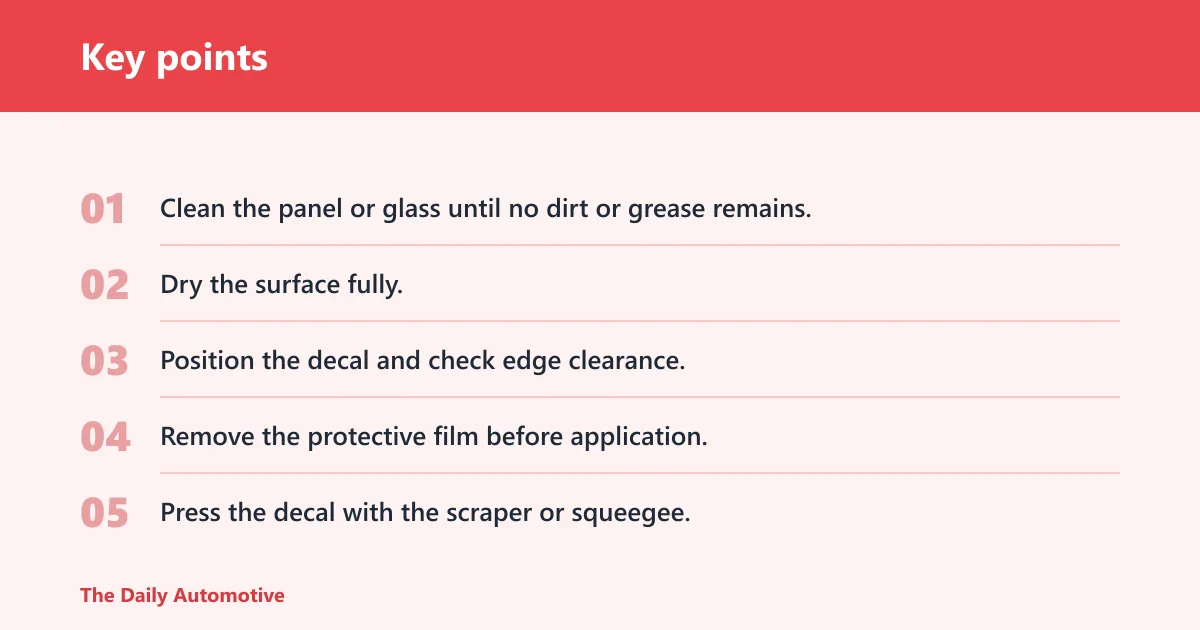
Start with a clean surface, then make sure it is dry, smooth, and free of dirt and grease. Remove the protective film before application, place the decal carefully, and press it with the supplied scraper or squeegee. The key move is to push air bubbles from the centre outward.
Prep the surface first
Vehicle surface prep is not optional. The surface should be clean, dry, smooth, and free of dirt and grease before the decal touches it. Dust, wax, and road film all reduce grip, especially at the edges where peeling usually begins.
For a rear window, prep includes the glass itself and the edge where the decal will stop. For a painted panel, wipe the area thoroughly and let it dry before alignment. Moisture hidden under the film can look like a bubble and act like one.
Use the supplied scraper or squeegee
The application tool supplied with the order helps press the decal into place and move trapped air out. Use firm, even pressure rather than short, hard strokes. The goal is to seat the vinyl, not stretch it.
Suppose a door decal is laid down from one side first and then smoothed across the panel. If the middle traps air, the bubble often grows toward the edge after a few hours of heat. A slow pass with the scraper can avoid that problem.
Work from the center outward
Air bubbles should be removed by moving the scraper from the centre outward. That direction matters because it gives the air a clear path to the edge instead of trapping it under the graphic. Small bubbles near a corner are easier to remove during installation than after the adhesive sets.
If the decal is large, work in sections. Keep the graphic aligned, then press outward in overlapping passes. Do not try to force a wide hood graphic down all at once on a curved panel.
- Clean the panel or glass until no dirt or grease remains.
- Dry the surface fully.
- Position the decal and check edge clearance.
- Remove the protective film before application.
- Press the decal with the scraper or squeegee.
- Move from the centre outward to remove air bubbles.
- Check corners, seams, and edges for lift.
Can you place decals on curved or textured surfaces?
Curved surfaces are possible with the right vinyl, but textured surfaces are much riskier. Flat painted panels and smooth glass are the best targets. Curves, seams, and body contours need more conformable material and more careful sizing, while texture usually weakens the bond and shortens edge life.
Curves, seams, and body contours
Horse decals can stick to curved panels when the vinyl is chosen for that job. The risk rises when the graphic crosses a seam, a sharp contour, or a stamped ridge. In those spots, the vinyl has to stretch or bridge, and either choice can create failure later.
A decal that wraps lightly around a curved fender may hold, but the same graphic across a deep body line can wrinkle or split at the edge. If the panel shape changes quickly, reduce decal size or move the design to a flatter zone.
Window glass versus painted panels
Window glass gives you a smoother and more predictable surface than textured trim, but visibility becomes part of the decision. Rear window graphics need transparent background or perforated material when the driver still needs a clear view. Painted panels do not have that visibility limit, so the design can be larger and denser.
Body panels also give you more room to choose between colored and transparent backgrounds based on contrast. On glass, contrast and visibility have to work together. On paint, the main issue is adhesion and edge fit.
When to avoid a surface
Avoid textured plastic, badly oxidized paint, and surfaces with obvious chips, heavy orange peel, or peeling clear coat. Those finishes create weak contact points and raise the odds of residue or paint lift during removal. Older or repainted vehicles deserve extra caution because finish quality can vary panel to panel.
If the area is rough enough that a fingertip can feel ridges, treat it as a poor decal surface unless the manufacturer specifically supports that finish. Smooth is the standard here. Anything else is a compromise.
How do I size a horse decal so it looks balanced on my car?
Size the decal to the panel, not to the catalog photo. A balanced horse graphic leaves enough empty space around the art, clears seams and hardware, and stays readable from a normal viewing distance. Doors can take wider graphics; rear windows and tailgates usually need more restraint.
For doors and side panels, choose a width that stays inside the main flat area and clears handles, moldings, and creases. For hoods, keep the graphic away from the sharpest center rise. For rear windows, leave margin for tint borders and defroster lines. For tailgates, avoid badges and latch cutouts.
Picture a compact hatchback with a 24-inch rear window and a horse profile that spans nearly the full glass width. The result can look crowded and may block too much of the view. A smaller centered graphic often reads better and leaves safer clearance around the edges.
How do I remove a vinyl car decal without damaging paint?
Remove the decal slowly and with heat only if needed, because rushed peeling raises the chance of residue and paint damage. Older or repainted vehicles need extra caution. The safest approach is to soften the adhesive, lift one edge, and pull at a low angle instead of yanking straight up.
If residue remains, stop before scraping hard against the finish. On factory paint, a careful removal is usually less risky than on a repaint, where the clear coat may not bond as strongly. On glass, removal risk is lower, but adhesive cleanup still matters.
Frequently asked questions
What are the best types of horse decals for cars?
The best type depends on the surface. Self-adhesive vinyl works well for painted panels and general vehicle use. Cast vinyl is the safer pick for curves. Transfer-style decals suit clean placement on doors and tailgates, while transparent or perforated options make more sense for rear windows.
Should I choose cast or calendared vinyl for a car decal?
Choose cast vinyl for curved panels, hoods, and areas with stronger body contours. Choose premium calendared vinyl for flatter doors, side panels, and simpler graphics. Cast vinyl usually conforms better and is less likely to lift on difficult shapes, while calendared vinyl can be a practical choice on easier surfaces.
How do I apply a horse decal without bubbles?
Clean the surface, let it dry, and remove the protective film before application. Use the supplied scraper or squeegee to press the decal down, then move from the centre outward so air escapes to the edges. Small bubbles are easier to prevent during installation than to fix later.
Can horse decals be applied to windows and body panels?
Yes. Custom car decals can be applied to all surfaces of the vehicle, but the surface type changes the material choice. Rear windows need visibility-aware backing, while body panels favor adhesive-backed vinyl with good edge fit. Flat painted panels are easier than curved or textured ones.
Will a horse decal stick to textured or curved surfaces?
Curved surfaces can work if you choose a conformable vinyl and keep the graphic away from sharp seams. Textured surfaces are a poor match because the adhesive cannot make full contact. The smoother the finish, the lower the risk of lifting, bubbles, and early edge failure.
Products related to this article
Sponsored / affiliate links. As an Amazon Associate I earn from qualifying purchases. I may earn additional commission from eligible campaigns.