How to Paint a Car Bumper: Remove, Prep, and Repaint
Painting a car bumper right takes six steps: remove it, sand it, apply a plastic adhesion promoter, prime it, spray on thin color coats, then finish with clear coat. Skipping the adhesion promoter is the single biggest reason DIY bumper paint jobs crack and peel within weeks, because bare plastic flexes in ways painted metal never does.
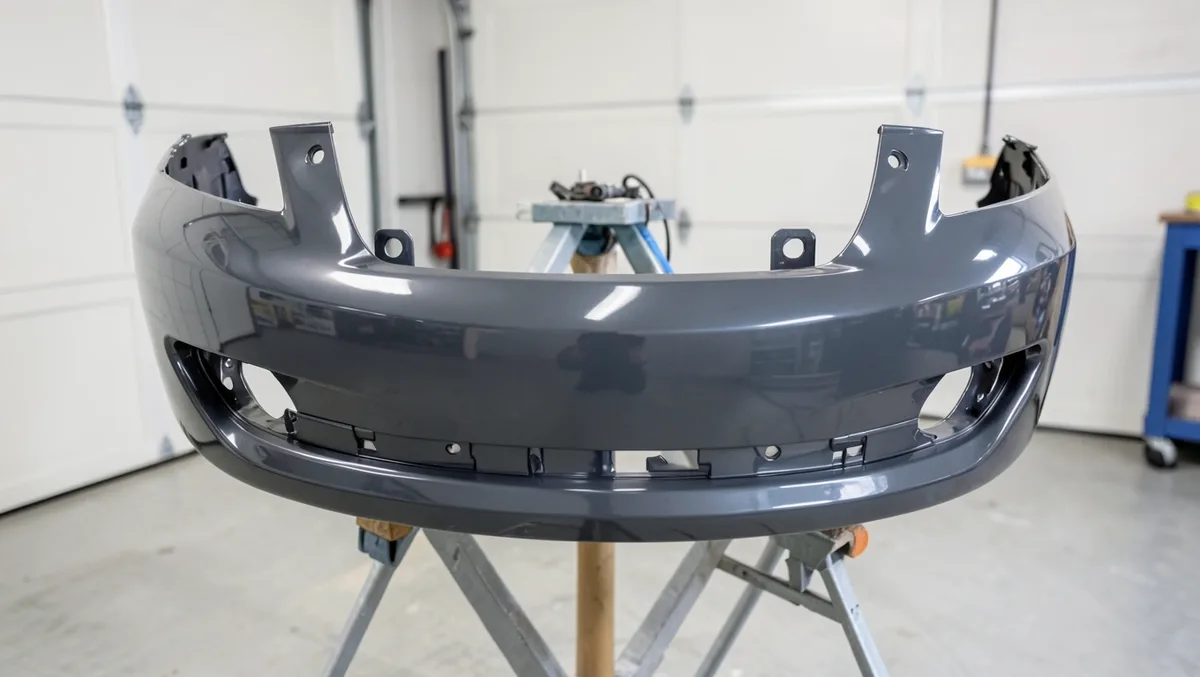
A bumper cover picks up scratches, curb rash, and sun-faded paint faster than almost any other body panel, and it’s also one of the easier panels to repaint yourself because you can pull it off the car and work on it flat. This guide walks through the full process, removal to reinstall, including the prep step most quick tutorials leave out entirely.
Preparation Essentials
PREVENTS PEELING PAINT ON PLASTIC BUMPERS
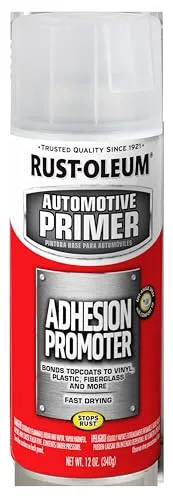 |
Rust-Oleum Automotive Adhesion Promoter Spray, 11 oz – $9.69 This is the product most DIY bumper tutorials skip, and skipping it is the top reason rattle-can bumper paint jobs peel off within weeks.
|
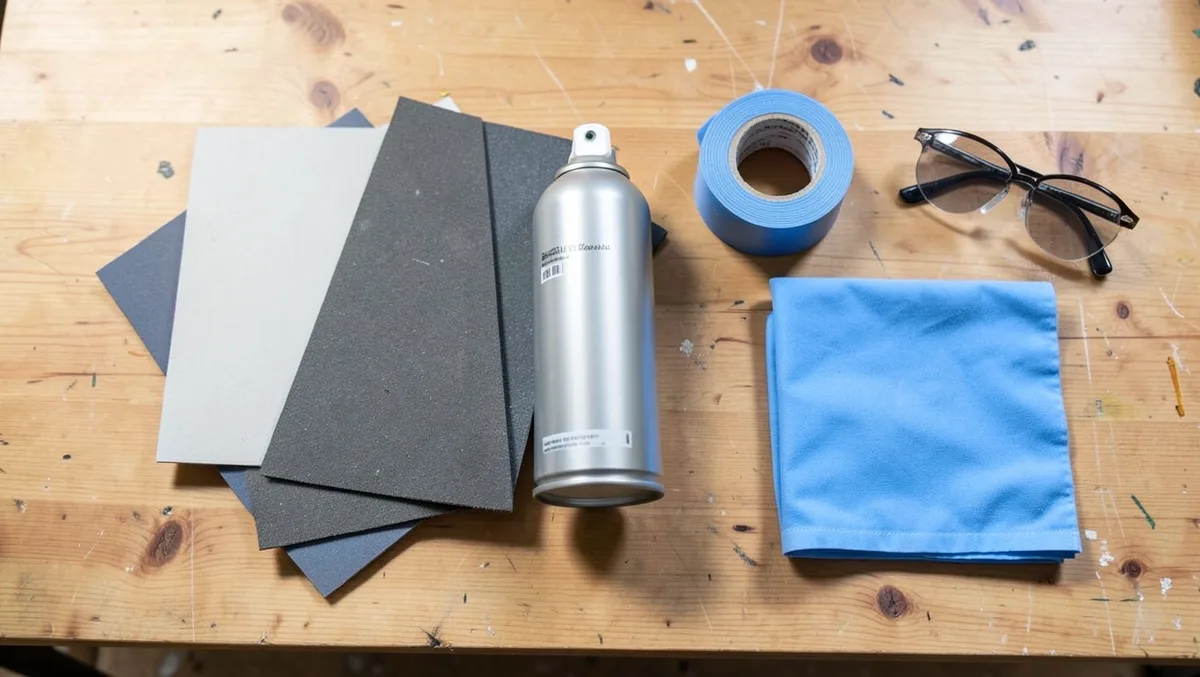
Lay out everything before you start: 220-grit and 400-grit sandpaper, a wax-and-grease remover, a plastic adhesion promoter, a primer rated for plastic or flexible parts, automotive spray paint matched to your car’s paint code, clear coat, masking tape and paper, nitrile gloves, and a respirator rated for organic vapors (a paper dust mask will not filter spray paint fumes). A DIY repaint typically runs $40 to $120 in materials; a body shop doing the same job, including labor and color matching, usually runs $300 to $700 or more.
Work outdoors or in a garage with the door open. Aerosol propellant is flammable, so keep the area clear of open flames or pilot lights, and let empty cans dry out before disposing of them, since many municipalities treat spent aerosol cans as hazardous waste rather than regular trash.
Removing the Bumper
Most front and rear bumper covers attach with a mix of push-pin clips, plastic fasteners, and a handful of bolts hidden in the wheel wells, under the lower lip, and along the top edge near the hood or trunk latch. Pop the hood or trunk first, since several fasteners are usually tucked just behind it. If the damage is minor enough that removal feels like overkill, see our guide on painting a plastic bumper without taking it off the car instead.
Work a trim panel tool or a flat screwdriver gently under each push-pin’s center cap to release it, then pull the pin straight out; forcing pins sideways is how they snap. Keep every fastener sorted in a labeled cup or bag, since bumper covers often use two or three different clip sizes and mixing them up is the easiest way to end up with a rattling panel later. Once every fastener is out, work your way around the perimeter with a firm, even pull rather than yanking on one corner.
Set the removed cover on a padded stand or a moving blanket over sawhorses, not flat on the ground where it can pick up new scratches you’ll have to sand out. Check the backside for stress cracks around the mounting tabs; those need a plastic welder or a two-part epoxy repair before you spend time and paint on the surface, since a crack that keeps flexing will telegraph through fresh paint within days.
Cleaning and Sanding
Wash the bumper cover with dish soap and water to strip off road grime and old wax, then wipe it down with a dedicated wax-and-grease remover. Plain soap does not touch silicone-based wax, and any residue left behind will make new paint fish-eye, meaning it craters into tiny circular pits as it dries. Let the surface dry completely before sanding.
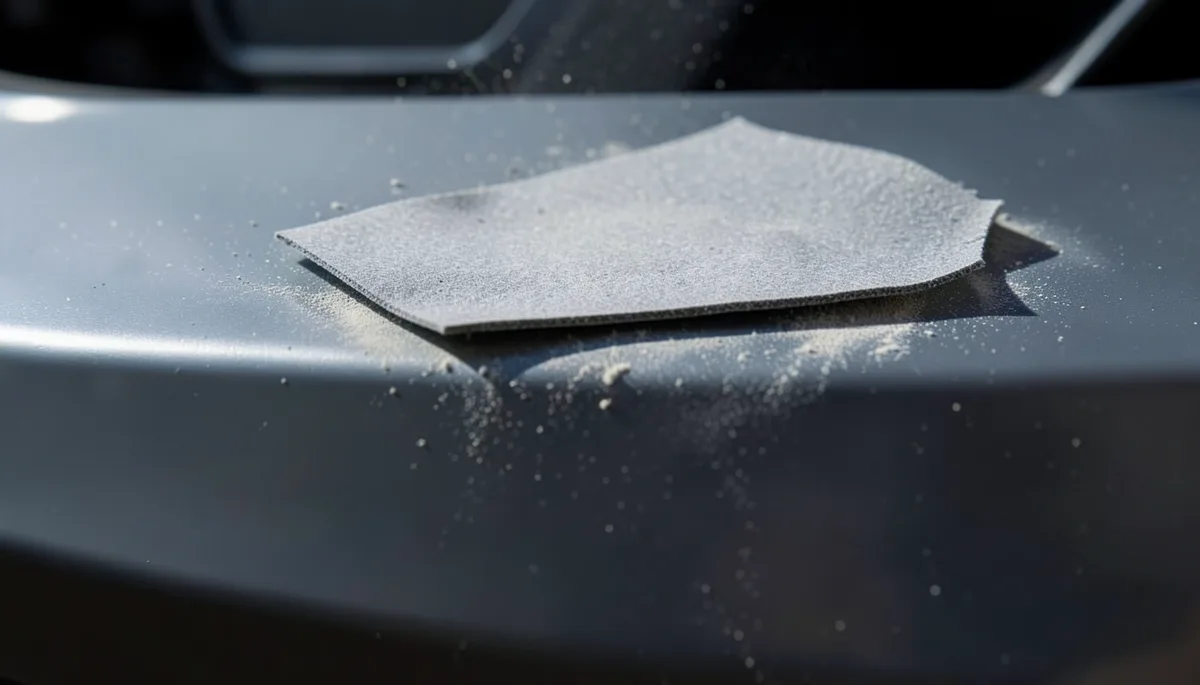
Scuff the entire panel with 220-grit sandpaper to knock down the factory gloss so primer has something to grip, then work problem areas, such as deep scratches or old touch-up paint, with progressively finer paper up to 400-grit until the surface feels uniformly smooth. Sand in overlapping passes rather than one direction only, since a bumper has compound curves. Wipe away the dust with a tack cloth or a lightly damp microfiber cloth before moving on; any grit left behind will show up as texture under the topcoat.
Priming the Surface
This step decides whether the paint job lasts two years or two weeks, and it starts before primer ever leaves the can. Most bumper covers are molded from a flexible, polypropylene-based plastic (often stamped “TPO” on the backside) that ordinary primer does not bond to on its own, because the material is engineered to flex without cracking and most primers are not. Spray a light, even coat of plastic adhesion promoter over the bare, sanded plastic and let it flash for the time listed on the can, usually just a few minutes, then move into primer while the promoter is still fresh; most products want paint applied within roughly 10 to 60 minutes, so do not sand this layer or leave it overnight.
Once the adhesion promoter has flashed, apply a primer labeled for plastic or flexible parts in two to three light coats, holding the can 6 to 8 inches from the surface and keeping it moving so you do not build up a heavy, drip-prone layer in one spot. Let each coat flash for the time listed on the label before adding the next. If this project is a full color change rather than a spot repair, our guide to repainting a bumper like a pro goes deeper into blending a new color into the surrounding panels.
Painting Techniques
Use paint labeled for automotive use and matched to your car’s factory paint code, usually found on a sticker in the door jamb or under the hood, rather than picking a color by eye off a shelf. Automotive-grade paint resists UV fading and road grime better than general-purpose spray paint, and getting the code right up front avoids a bumper that reads as a visibly different shade from the rest of the car in daylight.
Spray in thin, even layers instead of trying to lay down full coverage in one pass; a heavy first coat is the most common reason DIY paint jobs run or sag. Hold the can 6 to 8 inches away, keep it moving in overlapping horizontal passes, and let each coat flash to a matte, tack-free finish, typically 10 to 15 minutes, before spraying the next. Three to four color coats usually build enough depth and even coverage; more than that mostly adds drying time without improving the finish. Finish with two to three light coats of clear coat once the color has fully flashed. Clear coat is what actually protects the color layer from UV and stone chips; color coat left unprotected will chalk and fade within a season or two outdoors.
Finishing Touches
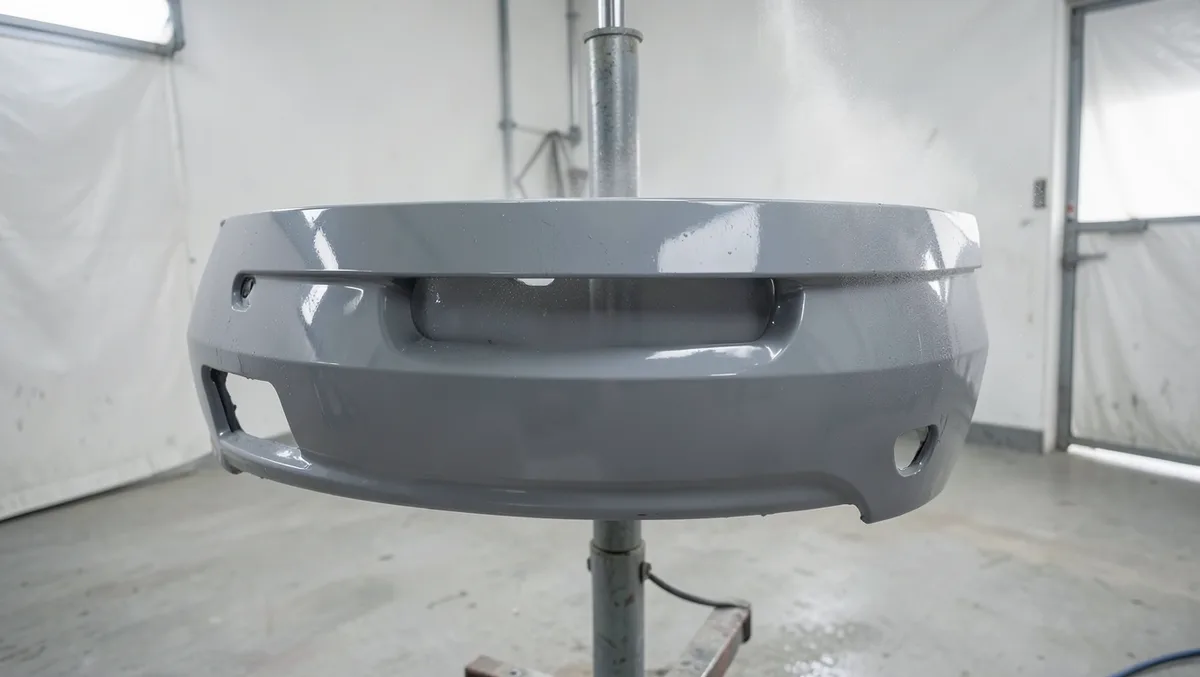
Give the clear coat at least 24 to 48 hours to cure before touching it with anything abrasive; buffing paint that has not fully hardened will drag and swirl it. Once it has cured, a light pass with a foam polishing pad and a fine automotive polish, not a heavy cutting compound that can burn through a thin rattle-can clear coat, knocks down any minor spray texture and brings up the gloss.
Buffing and Polishing
Work in small sections with a clean microfiber applicator, using light pressure and overlapping circular motions rather than pressing hard in one spot. Wipe off the residue with a separate clean cloth before it fully dries and hazes over. This step is optional on a well-laid rattle-can job; it mainly helps blend a repaint into the factory clear coat on the surrounding panels so the sheen matches.
Wax or Sealant Is Not a Second Clear Coat
Clear coat is the actual UV and chip protection built into the paint job itself. Wax or a synthetic paint sealant applied afterward is a separate, optional maintenance step, not a substitute for it. Wait at least two to three weeks after painting before applying wax or sealant, since fresh clear coat is still off-gassing solvents during that window, and sealing it in too early can trap them and haze the finish. Once the paint is fully cured, a coat of sealant every few months helps the color resist fading and makes the bumper easier to keep clean.
Reattaching the Bumper
Reinstalling the cover is the removal process in reverse, but it is worth doing slowly, since a rushed reinstall is the most common cause of uneven panel gaps. Confirm the paint and clear coat are fully cured before handling the bumper at all; soft paint picks up fingerprints and pressure marks that are hard to fix without redoing the finish.
Align Properly
Lift the cover into position against the fenders first, using the wheel-well clips as a rough guide, before dealing with any fasteners. Step back and check that the panel gaps match on both sides and that the top edge sits flush against the hood or trunk lip; a bumper pushed in slightly on one side will show as an uneven gap the moment the car is parked under bright light.
Secure Fasteners
Start the push-pin clips and bolts by hand in a few spots around the perimeter before tightening anything fully, so you can still nudge the panel if the gaps are not even. Work around the bumper tightening everything the rest of the way, and reconnect any fog light or sensor wiring you disconnected during removal before closing everything up. A properly seated bumper should not move when you press firmly on a corner.
Maintaining the Paint Job
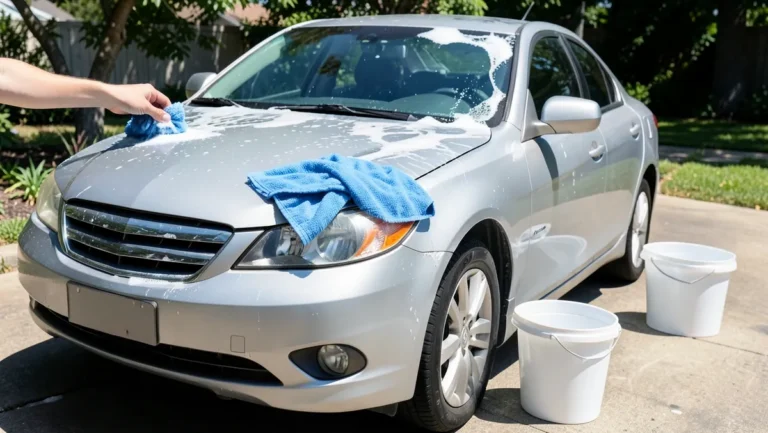
Hand wash the painted bumper weekly with a pH-neutral car wash soap rather than dish soap or an automatic wash with abrasive brushes, both of which strip wax faster than normal driving does. A microfiber wash mitt and the two-bucket method, one bucket for soapy water and one for rinsing the mitt, cuts down on the fine swirl marks that dull fresh paint over time.
Reapply wax or sealant every one to three months depending on the product, and park in shade or under a car cover when possible; UV exposure is the single biggest cause of fading and chalking on any repaint, factory or DIY. If a small chip or scratch shows up later, touch it up with matching paint right away rather than waiting. Bare plastic exposed at a chip point absorbs moisture and can lift the surrounding paint if it sits untreated through a few rain cycles.
Frequently Asked Questions
Can I Paint a Car Bumper Myself?
Yes. A bumper cover is one of the more forgiving DIY paint jobs on a car because it is a single removable panel you can prep and spray away from the vehicle. Clean it, sand it, apply an adhesion promoter, then prime and paint in thin coats, finishing with clear coat. Most of the skill involved is patience between coats rather than special technique.
What Kind of Paint Do You Use on a Plastic Bumper?
Use paint labeled for automotive use, matched to your car’s factory paint code, over a primer rated for plastic or flexible parts. Standard spray paint made for wood or metal does not flex with the bumper and will crack at the first pothole, which is also why the adhesion promoter and flexible primer steps matter more on a bumper than on a metal panel.
Do I Need Adhesion Promoter to Paint a Plastic Bumper?
Yes, on any bare plastic bumper cover. Most bumpers are made from a flexible polypropylene-based plastic that regular primer does not grip well on its own, so skipping the adhesion promoter is one of the most common reasons a DIY bumper paint job peels or chips within weeks even when every other step was done carefully.
Do I Need to Sand a Bumper Before Painting?
Yes. Sanding removes the factory gloss so primer and paint have something to physically bond to instead of sitting on a slick surface. Skip it and even a correctly primed bumper can lose adhesion in sheets rather than small chips.
How Long Should I Wait Before Reattaching a Freshly Painted Bumper?
Give the clear coat at least 24 to 48 hours before handling or reinstalling the bumper, and hold off on waxing or sealing it for two to three weeks so the finish can fully cure. Reattaching too soon risks fingerprints and pressure marks in paint that has not hardened yet.
How Much Does It Cost to Paint a Car Bumper?
A DIY repaint typically runs $40 to $120 in materials: sandpaper, adhesion promoter, primer, paint, and clear coat. Having a body shop do it professionally, including labor and color matching, usually runs $300 to $700 or more depending on your location and how closely the color needs to be blended into the surrounding panels.
Conclusion
Painting a car bumper is a genuinely doable weekend project as long as two steps most rushed tutorials skip get respected: the plastic adhesion promoter, and letting each layer flash and cure on its own schedule rather than yours. Remove the cover, clean and sand it, promote and prime it, lay down thin color coats and a proper clear coat, then give it real cure time before touching or reinstalling it. Do that in order, and there is no reason a driveway paint job should not hold up as well as one from a body shop.
Products related to this article
Sponsored / affiliate links. As an Amazon Associate I earn from qualifying purchases. I may earn additional commission from eligible campaigns.