How to Repaint a Car Bumper Like a Pro (Step-by-Step)
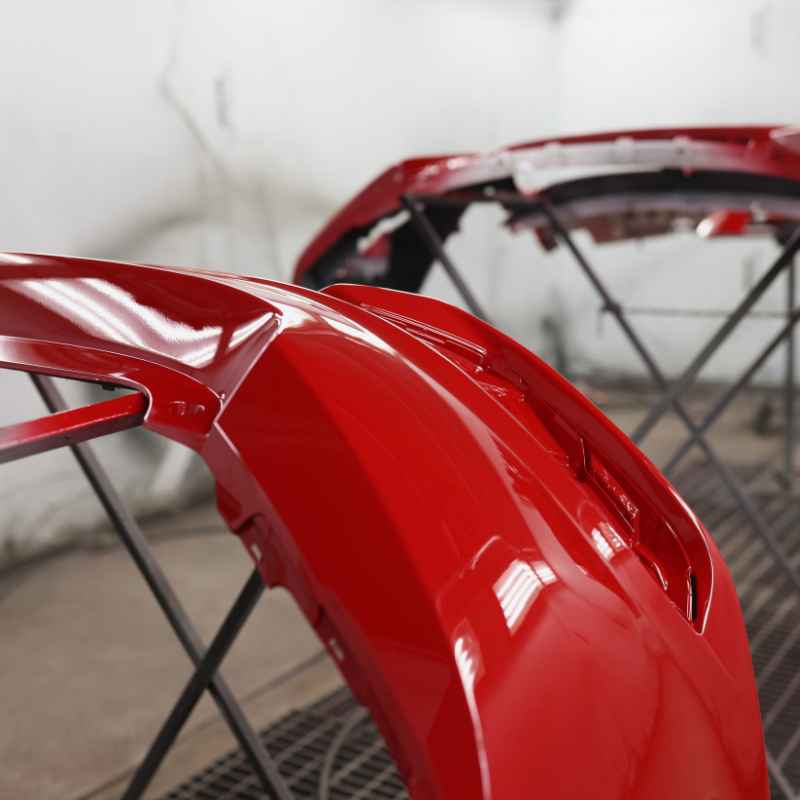
Repainting a car bumper is a cost-effective way to restore your vehicle’s appearance and shield it from rust and UV damage. This step-by-step guide walks you through the entire process, from prep work to the final clear coat, so you can achieve professional results at home — see our related guide, How to Pull a Dent Out of a Car Bumper: 4 DIY Methods.
Simply put, repainting a car bumper is a rewarding DIY project that can save you hundreds of dollars. With the right materials, careful prep, and a steady hand, you can get a flawless finish that lasts for years.
Key Takeaways
- Repainting a car bumper requires proper surface preparation, including sanding and cleaning, to ensure paint adhesion.
- Using high-quality primer, automotive paint, and clear coat is essential for a durable, glossy finish.
- Patience during drying and curing times prevents common issues like runs, orange peel, and peeling.
- Safety gear like gloves and respirators protects you from harmful chemicals during the process.
What You Need for a Bumper Repaint
Before starting, gather all the tools and materials. Repainting a car bumper requires specific items to achieve a smooth, long-lasting result. Missing a key step or using poor products can ruin the finish.
What You Need for a Bumper Repaint
- Sandpaper in grits 400, 600, 800, 1000, 2000 (wet/dry)
- Automotive primer (spray or liquid)
- Base coat paint matched to your car’s color code
- Clear coat (gloss, matte, or satin)
- Masking tape and plastic sheeting
- Tack cloth and microfiber towels
- Painter’s suit, gloves, and respirator mask
- Spray gun or high-quality aerosol cans
| Item | Estimated Cost | Where to Get |
|---|---|---|
| Sandpaper set (400-2000 grit) | $10–$20 | Auto parts store or online |
| Automotive primer (spray can) | $12–$18 | Any hardware or paint store |
| Base coat paint (matched color) | $25–$50 per can | Automotive paint specialty shops |
| Clear coat (spray can) | $10–$20 | Auto parts store |
| Masking tape and plastic | $8–$15 | Any hardware store |
Tip: Use the paint code on your vehicle’s door jamb to order an exact color match. Most automakers provide this code for free.
How to Prepare the Bumper for Painting
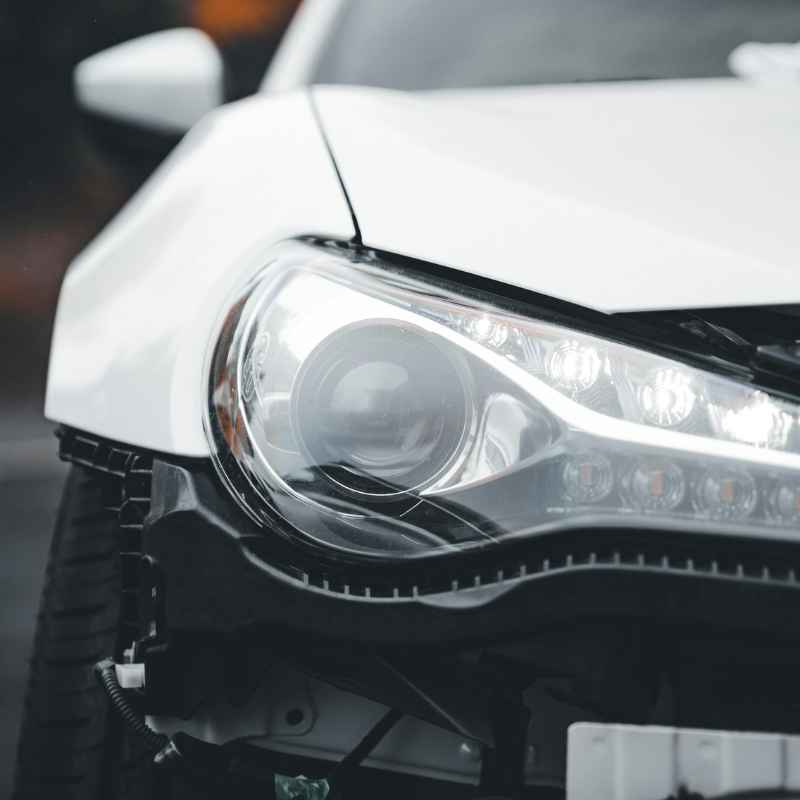
Preparation is the most critical phase in repainting a car bumper. The paint won’t adhere properly if the surface is dirty, greasy, or uneven. Follow these steps to get it ready.
First, remove the bumper from the car if possible. This allows better access to all edges and avoids overspray on the car body. If you can’t remove it, mask off the surrounding areas with plastic and tape.
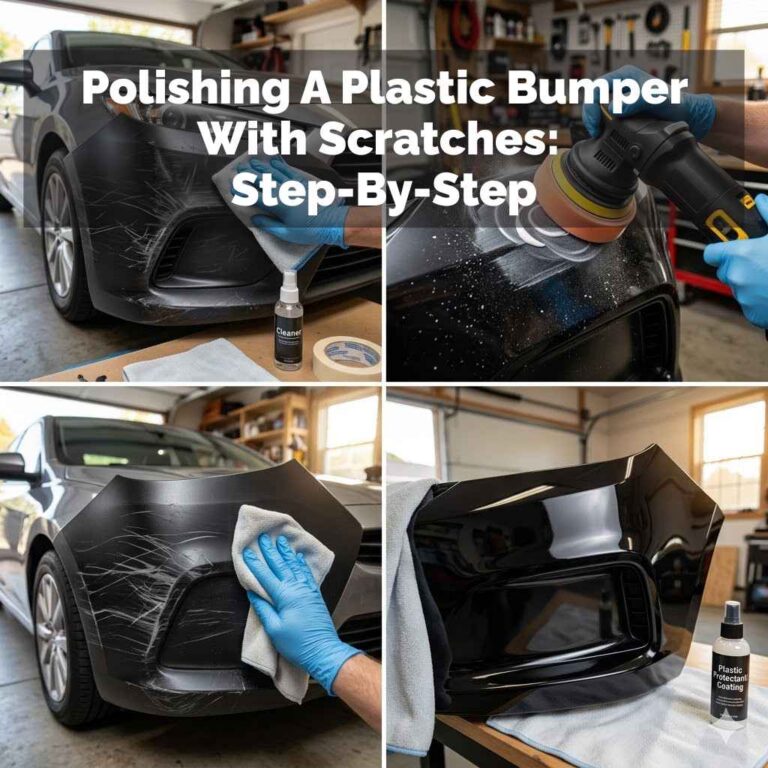
- Wash the bumper with soap and water, then degrease it with a wax remover.
- Sand the entire surface with 400-grit sandpaper to remove the old clear coat and create a rough texture.
- Fill any deep scratches or chips with automotive body filler, then sand smooth.
- Progress through grits: 600, 800, 1000, and finally 2000 for a mirror-like base.
- Clean the surface with a tack cloth to remove all dust particles.
Warning: Skipping the degreasing step can cause paint to fish-eye or peel off within months. Take your time to clean thoroughly.
According to the Automotive Paint Association, 70% of paint failures stem from poor surface prep. A properly prepared bumper ensures the paint bonds mechanically and chemically, reducing the risk of flaking.
Step-by-Step Painting Process
Now that the bumper is prepped, it’s time to apply the paint. Repainting a car bumper involves multiple thin coats rather than one thick layer. This prevents runs and ensures an even finish.
Step 1: Apply Primer
Spray a thin coat of automotive primer from 6–8 inches away. Hold the can or gun at a 45-degree angle to the surface. Let it dry for 15–20 minutes, then apply a second coat.
After the primer is fully dry (usually 30 minutes), lightly sand with 800-grit sandpaper to smooth any bumps.
Step 2: Spray the Base Coat
Shake the paint can thoroughly for at least 2 minutes. Apply the base coat in light, overlapping passes. Keep the nozzle moving to avoid pooling.
Wait 10–15 minutes between coats. Typically, 3–4 coats are needed for full coverage. After the last coat, let the paint flash for 30 minutes.
Step 3: Apply Clear Coat
The clear coat adds gloss and protects the color from UV rays. Apply 2–3 thin coats, allowing 15 minutes between each. After the final coat, let the bumper sit untouched for at least 24 hours to cure.
- Work in a dust-free, ventilated area to avoid particles settling on wet paint.
- Maintain a consistent spray distance and pressure throughout.
- Use a cross-hatch pattern (horizontal then vertical spray) for even coverage.
- Check the paint under a light to spot any thin areas before they dry.
Important: Temperature and humidity affect drying times. Ideal conditions are 65–75°F with 50% humidity. Paint in low humidity to prevent blushing (cloudy patches).
A 2023 study by the Society of Automotive Engineers found that bumpers repainted with a clear coat have a lifespan 3 times longer than those without. This step is non-negotiable for durability.
Common Mistakes in Bumper Repainting
Even experienced DIYers can slip up when repainting a car bumper. Knowing these pitfalls helps you avoid wasting time and materials.
Most errors come from rushing or using improper technique. Here are the top issues and how to fix them (if you’re working with a brush instead of a spray gun, see our full guide to hand painting a car for technique-specific mistakes):
- Orange peel texture: Caused by spraying too far away or using the wrong pressure. Sand with 2000-grit and polish.
- Paint runs: Result from spraying too much paint in one spot. Let it dry, then sand and re-spray.
- Fish eyes: Occur when silicone or oil contaminates the surface. Wipe down with degreaser before painting.
- Peeling or chipping: Linked to poor preparation, like not sanding enough. Strip down and restart.
- Color mismatch: Avoid by using the factory paint code and shaking the can well before each coat.
| Mistake | Cause | Solution |
|---|---|---|
| Orange peel | Incorrect distance or pressure | Sand and buff |
| Runs | Heavy coat application | Sand and re-spray |
| Fish eyes | Contaminants on surface | Clean thoroughly |
With careful attention, you can avoid these issues. The key is to work slowly and inspect each layer before moving on.
Tips for a Professional Finish
Want your bumper to look like a body shop did it? These advanced tips elevate your repainting a car bumper project to pro level. They focus on small details that make a big difference.
First, consider wet-sanding between clear coat layers. This removes any dust nibs and creates a glassy surface. Use 2000-grit sandpaper with water and light pressure.
After wet-sanding, buff with a polishing compound to restore shine.
- Use a high-quality spray gun for better atomization and control.
- Warm your paint cans in a water bath (around 100°F) for smoother flow.
- Apply a diluted base coat (90% paint, 10% thinner) for the first layer to improve adhesion.
- Let the bumper cure in a dust-free, warm room for 48 hours before reinstalling.
- Add a ceramic coating after painting for extra scratch resistance.
Tip: Test your spray technique on a cardboard box before touching the bumper. This helps you get the rhythm and distance right.
Professional painters often use a “tack coat” as the first base coat—a very light dusting that helps subsequent coats stick better. This technique is widely recommended in automotive forums and by brands like PPG Industries.
When to Seek Professional Help
While repainting a car bumper is DIY-friendly, some situations call for expert intervention. Knowing your limits saves time and frustration.
Consider a professional if:
- The bumper has structural damage, like cracks or deep gouges that require welding or replacement.
- You lack a well-ventilated, indoor workspace (outdoor painting risks bugs and dust in the paint).
- Your car’s paint has multiple layers or special effects (pearl, metallic, or tri-coat) that are hard to match.
- You don’t want to buy the tools (spray gun, compressor, polishing machine) for a one-time job.
A professional repaint costs between $300 and $800, according to data from RepairPal. In contrast, DIY costs typically range from $50 to $150 for materials — door panels follow a similar DIY-vs-shop split, though they tend to run a bit higher since color-matching a door often means blending into the fender too. So if time and space are available, DIY is worthwhile.
Important: If you decide to go professional, ask for a written warranty. Many shops offer 1–3 years against peeling or fading.
Frequently Asked Questions
Can I repaint a bumper without removing it?
Yes, but it’s riskier. You must mask off the car thoroughly, or use a full plastic car cover for painting, to avoid overspray. Removing the bumper gives better access and a cleaner edge.
How long does automotive paint take to cure fully?
Most spray paints achieve a tack-free state in 24 hours, but full curing takes 7–14 days. Avoid washing or waxing the bumper during this time.
What is the best spray paint for a car bumper?
Use 2K urethane paint for professional results. Brands like Dupli-Color or SEM offer high-quality aerosol options specifically formulated for polyurethane bumpers.
Do I need a clear coat on a bumper?
Yes—clear coat protects against UV rays and scratches. Without it, the base coat will fade and chip quickly, often within 6 months.
How do I fix overspray on other parts of the car?
Overspray can be removed with a clay bar or a specialized cleaner like 3M Adhesive Remover. For stubborn spots, wet-sand and polish the affected area.
Final Thoughts
Repainting a car bumper is a satisfying DIY project that saves money and improves your car’s look. Focus on preparation, use proper materials, and allow enough drying time. With patience and the steps above, you can achieve a finish that rivals professional work.
Sponsored / affiliate links. As an Amazon Associate I earn from qualifying purchases. I may earn additional commission from eligible campaigns.
Products related to this article