How to Remove Paint from a Car: Transfer, Lacquer & Overspray
Removing paint from your car can be tricky. But it’s doable with the right steps.
Sometimes, accidents happen, and unwanted paint ends up on your car. It could be from a minor scrape, road paint, or even a prank. No matter the source, removing it yourself can save you time and money. You don’t need to be a car expert to do this.
With a few simple tools and techniques, you can make your car look great again. In this guide, we will walk you through the best methods to safely and effectively remove paint from your car. Read on to learn the steps and tips to restore your car’s shine.
Assessing Paint Damage
TOP PICK FOR PAINT TRANSFER
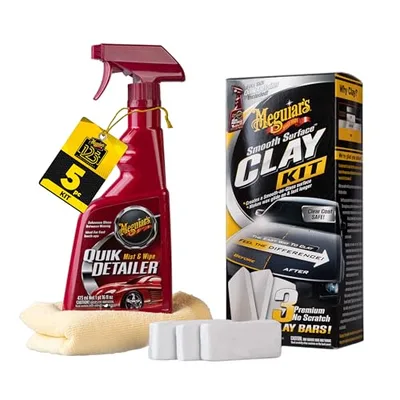 |
Meguiar’s Smooth Surface Clay Kit – $17.19 A clay bar lifts bonded contaminants like paint transfer, overspray, and dried road paint without the scratching risk of a scraper or stripper – exactly the gentle first move this guide recommends before anything stronger.
|
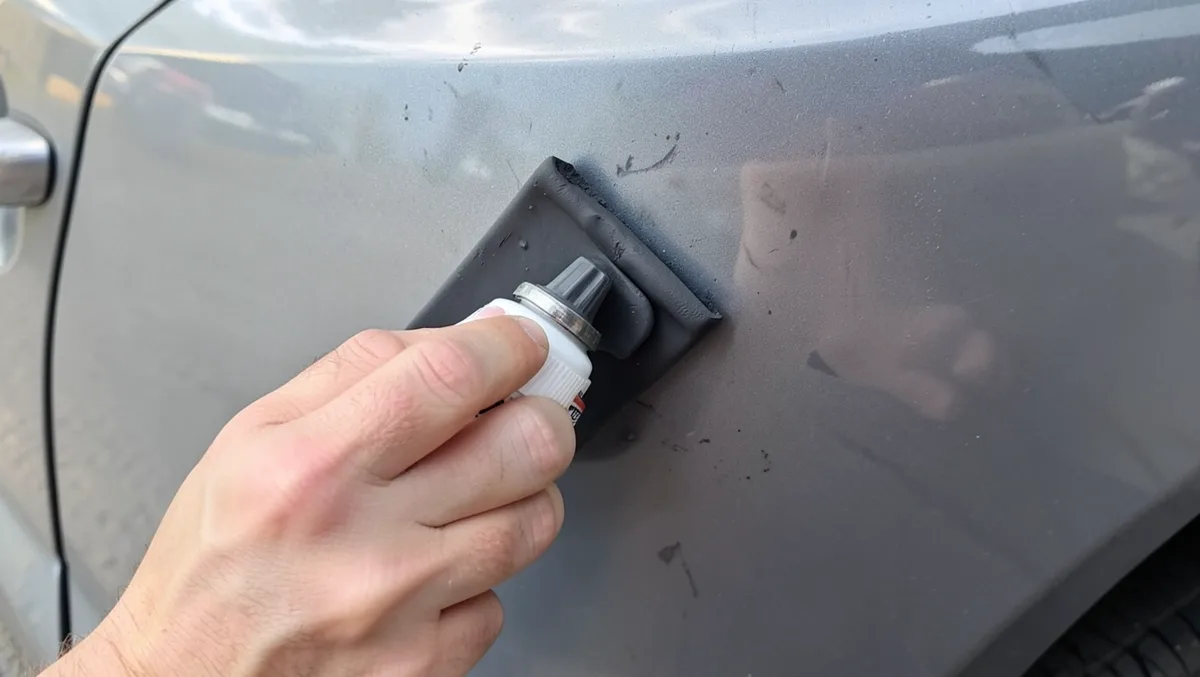
Not all paint damage on a car is the same, and the right fix depends on what actually happened. Foreign paint transfer — the streak left when another car’s bumper or door brushes against yours — sits on top of your clear coat and usually wipes away with the right lubricant and a little light abrasion. Dried road paint or spray-can overspray behaves differently: it’s bonded to the surface and often needs a stronger solvent or a clay bar to lift. If your own car’s finish is the problem — a scuffed acrylic clear coat, chipped enamel, or aging lacquer that’s starting to peel — you’re dealing with the paint job itself rather than a foreign contaminant, and a gentler touch matters more, because you can strip your own color and clear coat right along with the mess you’re trying to remove.
Before reaching for any tool, run a fingernail over the spot and look closely at the surrounding paint. A transfer mark that sits flush with the surface and hasn’t broken through the clear coat is the easiest case — light compound or a clay bar usually clears it in a few minutes. If you can feel a raised ridge, see hairline scratches radiating out from the mark, or notice rust starting at the edges, treat the area more carefully. Aggressive scraping or a strong stripper can turn a surface blemish into a bigger repair job in seconds. A five-minute inspection now saves you from sanding through paint you never meant to touch.
Gathering Necessary Tools
A basic paint-removal kit doesn’t need to be expensive or specialized. Keep a sponge and a bucket of water on hand for rinsing as you go, along with a plastic paint scraper, which can peel off the paint without gouging the clear coat if you keep the blade angle shallow. Add a stack of microfiber cloths for drying and buffing, and a bottle of car polish to bring the shine back once the paint itself is gone. None of this needs to be professional-grade — you’re treating a spot, not repainting a panel.
Don’t skip the protective gear, especially if a chemical stripper is part of your plan. Chemical-resistant gloves keep solvents off your skin, safety goggles stop flying paint chips and dust before they reach your eyes, and a basic mask matters more than most people expect — sanding dust and stripper fumes both irritate your lungs faster than you’d think. Five minutes gearing up beats an afternoon regretting that you skipped it.
Preparing The Car Surface
Wash the affected panel with car soap and water before touching it with anything else. Washing the car with soap and rinsing thoroughly clears away the grit that would otherwise get dragged across the paint and leave fresh scratches the moment you start scraping or rubbing. Dry the area completely with a clean cloth — working on a damp surface makes it harder to judge how much paint you’ve actually removed, and it can dilute a chemical stripper before it has a chance to work.
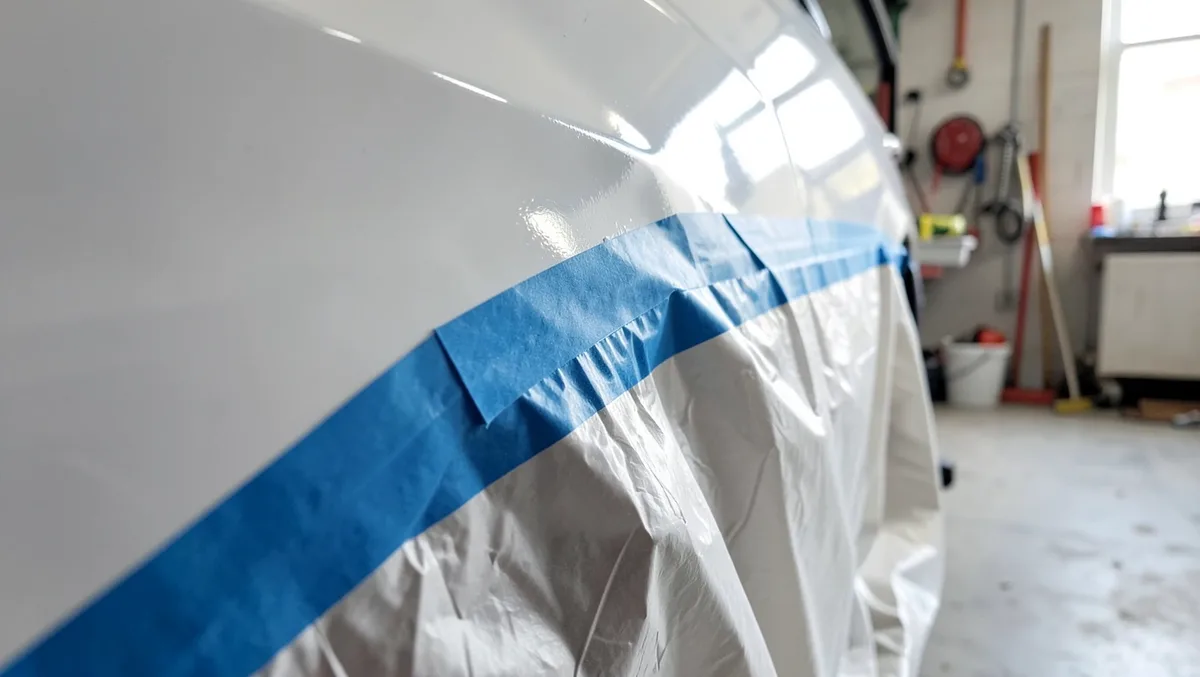
Mask off everything around the repair area with painter’s tape and a sheet of plastic or an old towel. It only takes a few minutes, and it keeps stripper, solvent, or stray scraper marks confined to the spot you’re actually fixing instead of spreading onto trim, badges, or the panel next to it, which prevents accidental damage to the rest of the car’s finish.
Utilizing Chemical Strippers
Chemical strippers vary a lot in strength, so match the product to your car’s surface before buying one. Some are formulated specifically for automotive clear coat and stay gentle enough to use near trim and rubber seals; others are aggressive general-purpose formulas meant for bare metal or wood, and they can eat through plastic trim, badges, and even the clear coat itself if left on too long. Read the label for which surfaces it’s rated safe on, and when in doubt, test it on a hidden spot — inside the wheel well or under the fuel door — first.
Work with gloves and safety glasses on, and brush the stripper on in one direction rather than scrubbing it in, which keeps coverage even and limits how much you handle it. Let it sit for the time the label specifies; most strippers need the paint to visibly wrinkle or bubble before it’s ready to lift. Scrape the softened paint away with a plastic blade at a shallow angle, rinse the area with water to neutralize any leftover chemical, and check the surface before deciding whether a second pass is needed.
Sanding Techniques
Grit choice matters more than pressure when sanding paint off a car. Start high — 1200-grit wet sandpaper removes a thin layer at a time and gives you room to stop before you hit the clear coat’s edge. Save anything as coarse as 400-grit for genuinely stubborn spots like dried overspray, and even then, test it on a small, hidden area first so you know how fast it’s cutting before committing to the visible panel.
Sanding by hand with a block gives you even pressure and lets you feel the moment the paint lifts, which is why it’s the safer choice for a small transfer mark or a single scuff. Power sanding speeds the job up considerably, but it also removes material faster than most people expect, and it’s easy to burn through clear coat in seconds if you linger in one spot. Whichever method you choose, wear safety gear — sanded paint dust is fine enough to inhale.
Using Heat Guns
A heat gun can be useful to remove paint because it softens the paint so it lifts cleanly instead of gouging, but it’s also the method most likely to warp trim or scorch paint if you get impatient. Wear protective gloves and goggles, keep the nozzle a few inches off the surface, and never park it over one spot — automotive clear coat can blister or discolor in seconds once it gets hot enough.
Warm the area gradually, moving the gun in slow, wide circles, and watch for the paint to bubble slightly at the edges — that’s your signal it’s ready, not a cue to keep heating. Slide a plastic scraper under the softened paint at a low angle and lift it away in small sections rather than trying to peel a large area at once. If a spot won’t soften after a reasonable pass, let it cool and try again instead of holding the heat there longer; forcing it is what causes the scratches and scorch marks people usually blame on this method.
Exploring Natural Solutions
A few kitchen staples can loosen light paint transfer without any real risk to your clear coat, which makes them worth trying before reaching for anything stronger. A paste of baking soda and water, rubbed gently with a soft cloth, has just enough mild abrasion to lift a fresh transfer mark. Warm vinegar applied with a cloth works on a different principle — its acidity softens the bond between the foreign paint and your clear coat rather than scrubbing it away.
Lemon juice diluted with water is a milder version of the same idea, and a reasonable first try on a mark you’re not sure how stubborn it is. Olive oil works differently — it doesn’t dissolve anything, but a small amount left to sit for a few minutes can help paint release on its own with no rubbing at all. None of these will touch bonded overspray or old road paint, but for a fresh transfer mark, they’re worth trying before you move on to compound or a stripper.
Finishing Touches
Once the paint itself is gone, the job isn’t quite finished. A light rubbing compound evens out any haze or fine scratching left behind by the removal process, and a pass with a clean microfiber cloth brings the surface back to a genuine shine instead of a dull patch that stands out from the rest of the panel.
Polishing The Surface
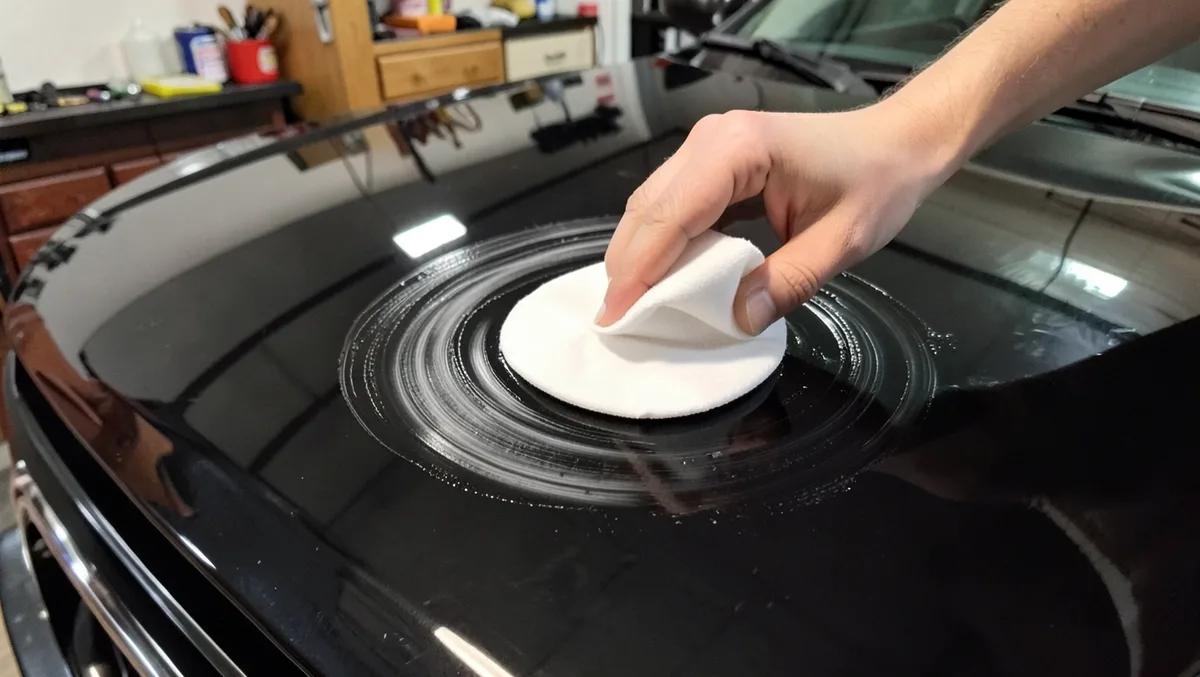
Work a car-specific polish into the repaired area with a soft applicator pad, using small overlapping circles rather than back-and-forth strokes — circular motion blends the treated spot into the surrounding paint instead of leaving a visible edge. Buff off the residue with a clean cloth once it hazes over. This step does double duty: it clears away any last trace of the paint you removed and smooths out fine marring left by the scraper, sandpaper, or clay bar, so the repaired spot matches the gloss of the rest of the car instead of looking flat next to it.
Applying Protective Coatings
A wax or synthetic sealant applied right after polishing keeps the car’s paint safe from the road grime, bird droppings, and UV exposure that would otherwise re-expose thin or freshly-treated paint faster than usual. Spread a thin, even coat with a clean cloth in circular motions, let it haze, then buff it off. A coat of wax typically holds up for six to eight weeks; a synthetic sealant can last several months, so the extra few dollars are worth it if you want the repair to stay protected longer and the car to look newer between washes.
Frequently Asked Questions
What Is The Easiest Way To Remove Paint Transfer From A Car?
Use a microfiber cloth and rubbing compound to gently buff the paint transfer. Clean the area with soapy water. Dry thoroughly and apply car wax for protection.
Does Wd-40 Remove Paint From Car?
WD-40 can remove paint from a car if used carefully. It breaks down paint particles, making them easier to wipe off. Test on a small area first to avoid damage. Use it sparingly and wash the area thoroughly afterward to remove any residue.
How Do I Get Dried Road Paint Off My Car?
To remove dried road paint, use a clay bar and lubricant. Gently rub the affected area. For stubborn spots, apply a specialized tar remover. Wash and wax the car afterward to restore its shine. Always test any product on a small area first.
What Will Strip Paint From A Car?
Use a chemical paint stripper, sandpaper, or a heat gun to remove car paint effectively. Always follow safety precautions and manufacturer’s instructions for best results.
Conclusion
Removing paint from a car rewards patience over force. Start with the gentlest method that could plausibly work — a clay bar or a natural remedy for fresh transfer, compound for light haze — and only move on to sandpaper, a stripper, or a heat gun if the milder options don’t cut it. Test any product on a small, hidden section of the panel first, since a mistake there stays invisible while a mistake on the visible surface won’t.
Wear gloves, eye protection, and a mask any time you’re sanding or working with chemicals, and once the paint is gone, look the repaired area over carefully before calling it finished. Finish with wax or sealant to protect the fresh work, keep your rags and pads clean between uses so you’re not grinding old grit into new paint, and dispose of any stripper- or solvent-soaked materials properly. If the damage goes deeper than the clear coat — down to primer or bare metal — that’s a job better handed to a body shop than pushed through with more elbow grease.
Enjoy a clean, beautiful ride!
Products related to this article
Sponsored / affiliate links. As an Amazon Associate I earn from qualifying purchases. I may earn additional commission from eligible campaigns.