How To Replace Car Ceiling Fabric: Essential Guide
Replacing car ceiling fabric is a DIY-friendly project that revitalizes your car’s interior. By carefully removing the old material, cleaning the headliner board, applying adhesive, and installing new fabric, you can achieve a professional look and boost your car’s value.
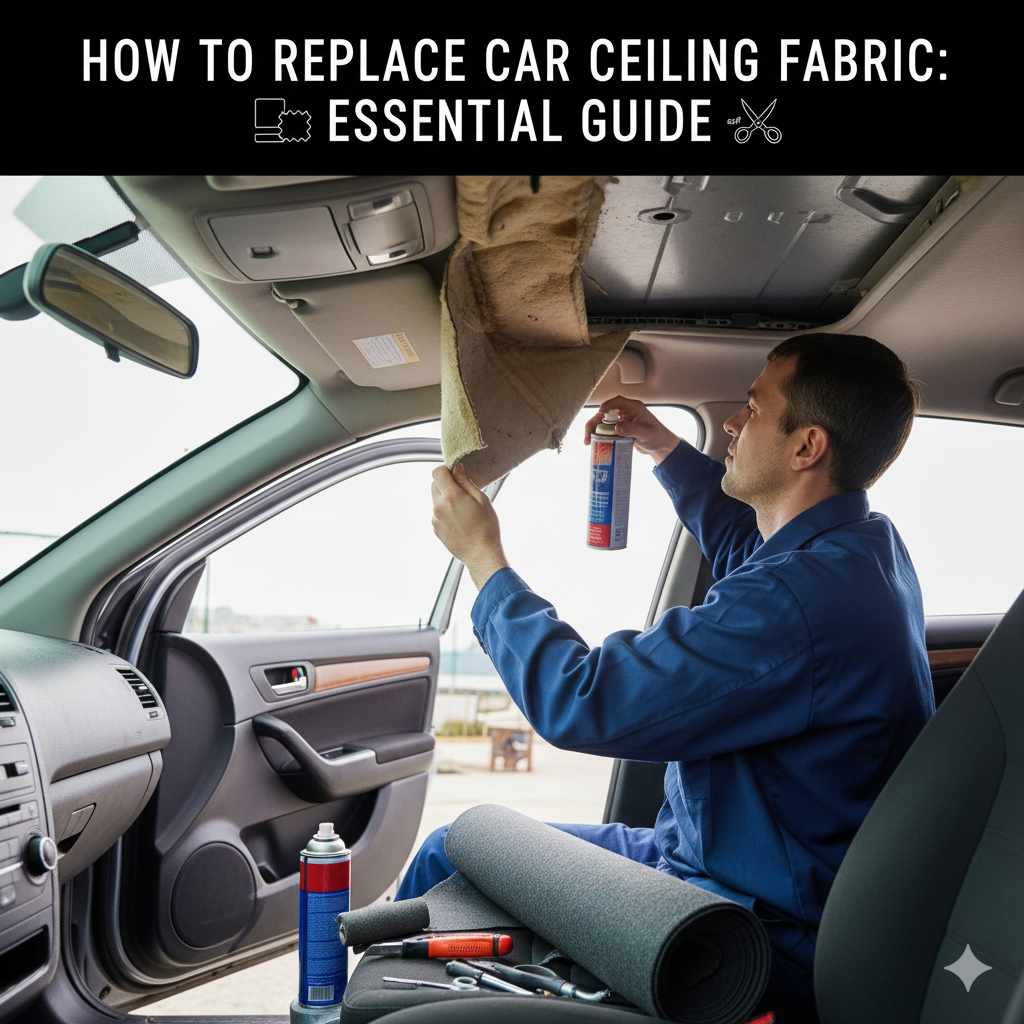
Is your car’s ceiling fabric sagging, stained, or just plain worn out? You’re not alone! This is a common issue, especially in older vehicles. That drooping headliner can be a real eyesore and make your car feel less comfortable. But don’t worry, you don’t need to be a master mechanic to fix it. Replacing your car ceiling fabric is a surprisingly achievable DIY project that can make a huge difference in how your car looks and feels. We’ll walk you through it step-by-step, making it easy to get a fresh, clean interior without breaking the bank.
Why Replace Your Car Ceiling Fabric?
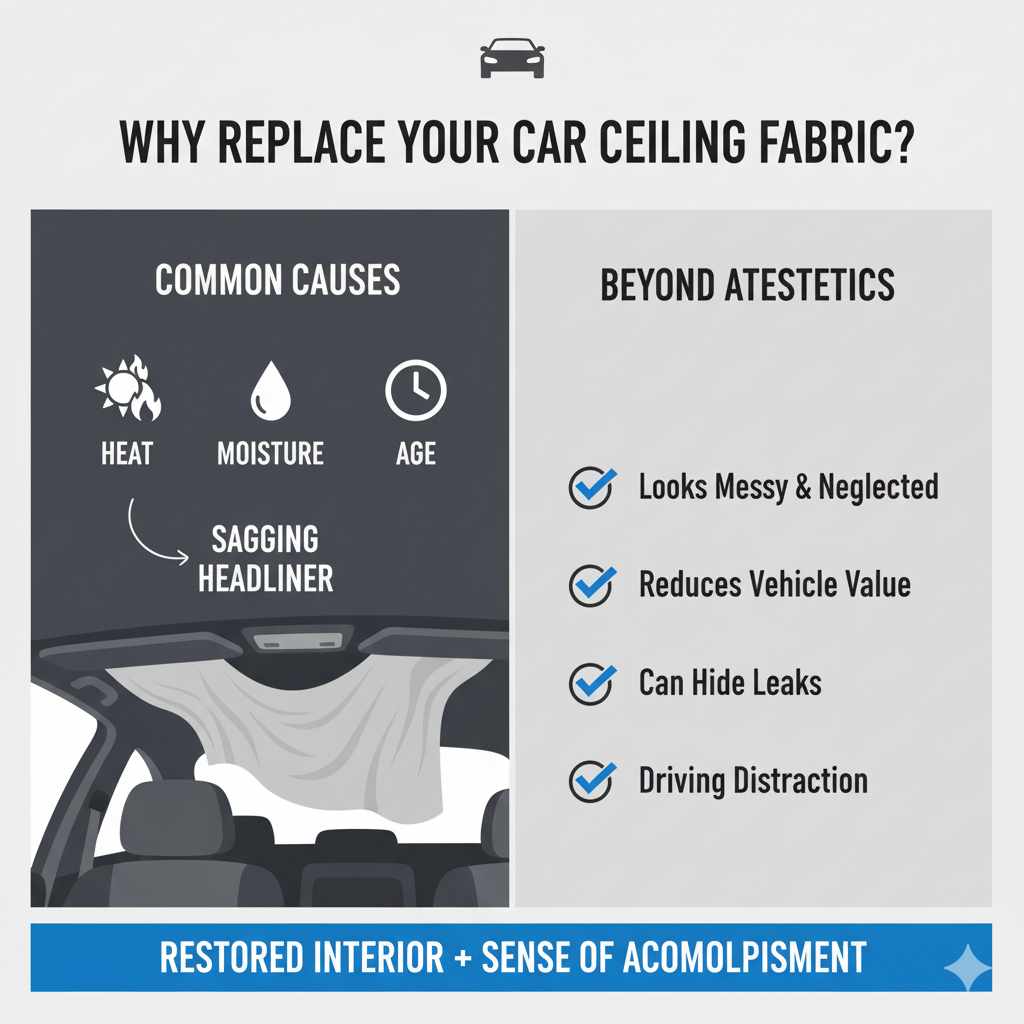
Over time, the adhesive holding your car’s headliner fabric in place can break down. Heat, moisture, and simple age are the usual culprits. When this happens, the fabric starts to sag, creating an unattractive droop that’s hard to ignore. Beyond aesthetics, a sagging headliner can:
- Make your car’s interior feel messy and neglected.
- Reduce the perceived value of your vehicle.
- Potentially hide underlying issues like leaks.
- Be a distraction while driving.
Replacing it not only restores your car’s interior appeal but also gives you a sense of accomplishment. It’s a rewarding project that anyone can tackle with the right guidance.
Tools and Materials You’ll Need
Gathering the right tools and materials beforehand makes the process smoother. Here’s a list of essentials:
Essential Tools:
- Trim removal tool set: These plastic tools are crucial for safely prying off interior panels without scratching them.
- Screwdrivers (Phillips and flathead): For removing any screws holding panels or trim pieces in place.
- Socket set: Some clips or fasteners might require a socket wrench.
- Utility knife or scissors: For cutting the new fabric.
- Measuring tape: To ensure you cut the new fabric to the correct size.
- Gloves: To keep your hands clean and protect them from adhesive.
- Safety glasses: To protect your eyes from dust or debris.
- Drop cloths or old sheets: To protect your car’s seats and carpet.
- Spray adhesive (specifically for automotive headliners): This is key for a strong, lasting bond.
- A clean, dry workspace: Preferably a garage or covered area.
Materials:
- New headliner fabric: Choose a durable, good-quality fabric. Many auto upholstery shops or online retailers offer a wide variety. Consider color and texture to match or complement your car’s interior.
- Headliner adhesive: High-temperature spray adhesive is recommended. Look for brands known for automotive use.
- Cleaning supplies: Rubbing alcohol or a mild degreaser for cleaning the headliner board.
- Optional: A new headliner board if the old one is damaged beyond repair.
Step-by-Step Guide: Replacing Your Car Ceiling Fabric
Let’s get started! Follow these steps carefully for a successful headliner replacement.
Step 1: Assess and Prepare Your Workspace
Before you begin, ensure you have a clean, well-lit area. A garage is ideal. Protect your car’s interior by laying down drop cloths or old sheets on the seats and floor. This will catch any dust or adhesive residue.
Step 2: Carefully Remove Interior Trim and Handles
This is where your trim removal tools come in handy. You’ll need to remove various trim pieces that surround the headliner. This typically includes A-pillar (front windshield sides), B-pillar (middle doors), and C-pillar (rear doors or trunk area) trim. Also, remove any dome lights, visor clips, grab handles, and coat hooks. Most of these are held in place by clips and a few screws. Work slowly and gently to avoid breaking any plastic parts.
Consulting your car’s manual or searching online for a tutorial specific to your car model can be very helpful here. Many online resources, like YouTube videos, offer visual guides for removing trim on specific makes and models of cars, which can be invaluable for beginners.
Step 3: Remove the Headliner Board
Once all surrounding trim is removed, the headliner board should be carefully maneuvered out of the car. This can be the trickiest part, as the board is large and somewhat flexible. You may need to slightly bend it to get it past the doors. If you have a sunroof, there will be additional trim pieces around it to remove. Be patient and avoid creasing or damaging the board. If the board is fragile, consider having a helper to guide it out.
Step 4: Remove the Old Fabric and Adhesive
Lay the headliner board on a flat surface. Begin peeling away the old fabric. If it’s already detached, great! You’ll likely be left with old adhesive residue. Use a scraper or putty knife to gently remove as much of the old adhesive as possible. Be careful not to gouge the backing board itself. For stubborn adhesive, a small amount of adhesive remover or even a mild solvent might help, but always test in an inconspicuous area first.
Step 5: Clean the Headliner Board Thoroughly
This is a critical step for ensuring good adhesion of the new fabric. Use rubbing alcohol or a degreaser to wipe down the entire surface of the headliner board. You want a clean, smooth surface free of dust, grime, and any remaining adhesive residue. A clean surface provides the best bonding for the new spray adhesive. Allow the board to dry completely.
Step 6: Cut the New Fabric
Lay your new headliner fabric flat, shiny or textured side up. Place the cleaned headliner board on top of it. Measure and cut the fabric, leaving about 2-3 inches of excess material around all edges. This extra fabric will be used to wrap around and secure the board. It’s better to have slightly too much than too little, as you can always trim it down.
Step 7: Apply the Spray Adhesive
Work in a well-ventilated area. Following the instructions on your spray adhesive can, apply an even coat to one half of the headliner board. Work quickly but carefully. Then, carefully align the fabric over the glued half and press it down firmly, smoothing out any wrinkles or bubbles as you go. Work from the center outwards.
Once the first half is securely adhered, apply adhesive to the remaining half of the board. Gently lift the unattached side of the fabric and press it down onto the glued surface, continuing to smooth out from the center. Ensure there are no air pockets or wrinkles.
Step 8: Wrap and Secure the Edges
With the main fabric adhered, it’s time to handle the edges. Carefully wrap the excess fabric around the edges of the headliner board. You can make small, neat cuts in the fabric around curves if needed to help it lay flat. Apply more spray adhesive to the underside edges of the board if necessary, and press the fabric firmly into place. Trim any excess fabric once it’s securely glued.
Step 9: Reinstall the Headliner Board
This is the reverse of removal. Carefully maneuver the newly covered headliner board back into the car. It can be a tight fit, so be patient. Once it’s in place, reattach any necessary components like dome lights or sunroof modules.
Step 10: Reinstall Trim Pieces and Handles
Reattach all the trim pieces, pillar covers, grab handles, and visor clips that you removed in Step 2. Make sure they snap or screw back into place securely. Again, referring to your car’s manual or online guides can be helpful if you’re unsure about the proper order or method for reassembly.
Common Challenges and How to Overcome Them
Even with careful planning, you might run into a few snags. Here are some common issues and how to handle them:
Sagging in Specific Areas
If only a small section of your headliner is sagging, you might be able to use a specialized headliner repair kit. These often involve an aerosol adhesive that can be injected behind the sagging fabric to re-bond it without full removal. However, for widespread sagging, replacement is usually the better option.
Wrinkles and Bubbles
These are usually caused by uneven adhesive application or not smoothing the fabric properly while it’s wet. Minor wrinkles can sometimes be eased out with gentle heat from a hairdryer, but significant bubbles may require redoing the gluing process for that section. Always work the fabric from the center outwards to push air towards the edges.
Damaged Headliner Board
If your original headliner board is cracked, warped, or crumbling, you’ll need to replace it entirely. You can often find used headliner boards at junkyards or purchase new ones from auto parts suppliers. The process of recovering a new board is the same as described above.
Headliner Fabric Types and Considerations
Choosing the right fabric is an important decision that affects both the look and durability of your headliner. Here’s a breakdown of common types:
| Fabric Type | Pros | Cons | Best For |
|---|---|---|---|
| Perforated Vinyl | Durable, easy to clean, often replicates original factory look. | Can feel less luxurious than cloth, may show imperfections more easily. | Restoring classic cars, trucks, or budget-friendly replacements. |
| Suede/Alcantara | Luxurious feel, premium look, soft to the touch. | More expensive, can be harder to clean, may show wear more easily in high-traffic areas. | Upgrading interior luxury, sports cars, or custom builds. |
| Plaid/Patterned Fabrics | Adds unique style and personality to the interior. | Can be harder to match if you need to do minor repairs later, might not suit all car styles. | Custom builds, unique interior styling, or cars where a bold statement is desired. |
| Basic Polyester/Knit Fabrics | Widely available, affordable, good variety of colors and textures. | Durability can vary greatly by quality; some may pill or fade over time. | General replacements, most everyday vehicles, budget-conscious projects. |
When selecting fabric, also consider:
- Weight: A heavier fabric might be more durable but harder to work with.
- Stretch: Some fabrics have more stretch, which can help with conforming to curves on the headliner board.
- Adhesion: Ensure the fabric’s backing is suitable for spray adhesive.
A great resource for understanding automotive upholstery materials and techniques is the National Archives and Records Administration (NARA), which sometimes has historical consumer guides on vehicle maintenance and care that can offer insights into material properties.
Tips for a Professional Finish
To make your DIY headliner replacement look like it was professionally done, keep these tips in mind:
- Patience is Key: Rushing any step, especially trim removal or adhesive application, can lead to mistakes.
- Smooth as You Go: Constantly smooth out the fabric as you apply it to prevent wrinkles and bubbles.
- Sharp Blade: Use a fresh, sharp utility knife or razor blade for any necessary trimming of the fabric. This ensures clean cuts.
- Cleanliness: A spotless headliner board and fresh adhesive are crucial for a lasting bond.
- Ventilation: Always work with spray adhesives in a well-ventilated area, and wear a mask if you’re sensitive to fumes.

Frequently Asked Questions (FAQ)
Q1: How long does it take to replace car ceiling fabric?
A1: For a beginner, this project can take anywhere from 4 to 8 hours, depending on your car’s complexity and your experience level. Take your time to ensure quality results.
Q2: Can I use regular glue instead of spray adhesive?
A2: It’s highly recommended to use an automotive-specific spray adhesive. Regular glues might not provide the flexibility, heat resistance, or even adhesion needed for a headliner, and could lead to premature failure or damage.
Q3: My car has a sunroof. Does this make the job harder?
A3: Yes, a sunroof adds complexity. You’ll have more trim pieces to remove around the sunroof opening, and the headliner board itself might be in sections. However, the steps remain largely the same.
Q4: What if I tear the new fabric while installing it?
A4: If the tear isn’t too large and is in an area that can be easily re-glued and smoothed, you might be able to salvage it. Otherwise, you may need to cut a new piece of fabric and start that section again.
Q5: How do I clean the new headliner fabric after installation?
A5: For most headliner fabrics, a gentle spot clean with warm water and a mild soap is best. Avoid soaking the fabric, and always blot rather than rub. For specific fabric types, check the manufacturer’s cleaning recommendations.
Q6: Is it safe to drive with a sagging headliner?
A6: While not typically a safety hazard in terms of driving control, a sagging headliner can be a distraction and might indicate that other interior components are also degrading.
Conclusion
Replacing your car’s ceiling fabric is indeed a manageable DIY project that can significantly enhance your vehicle’s interior. By following these detailed steps, gathering the right tools, and working with care and patience, you can achieve a professional-looking result. Not only will it make your car more enjoyable to be in, but it can also add to its overall value. You’ve got this!