Why Is My AC Leaking Water in My Car? Essential Fixes
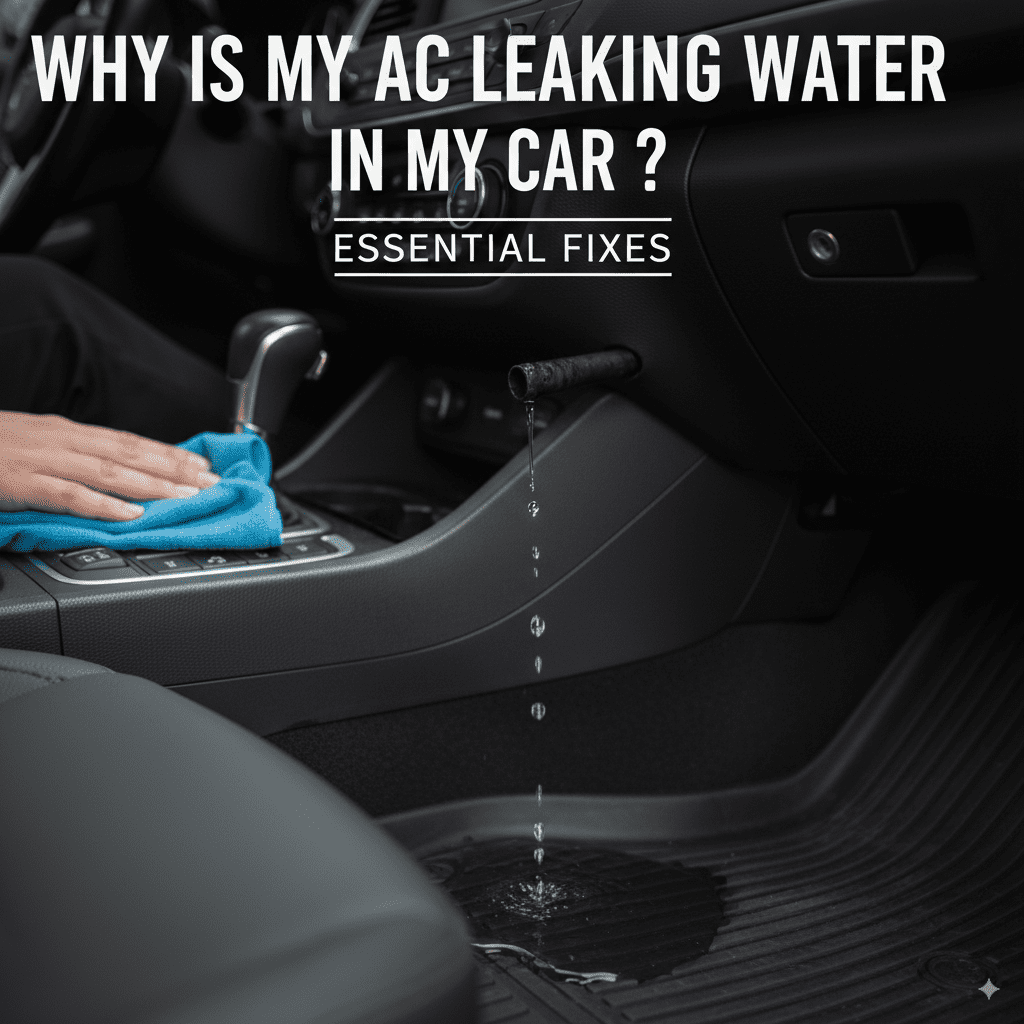
Your car’s AC is leaking water? Usually, it’s a simple fix for a clogged drain tube or a loose connection. Don’t worry, we’ll walk you through the common causes and easy solutions to get your cool air flowing again without the puddles. Follow our guide for a quick and confident fix.
It can be quite a surprise – and a little concerning – to notice a puddle of water under your car, especially on a warm day when you expect your air conditioning to be working its best. Seeing water dripping from your vehicle’s AC system might make you think there’s a major problem. But take a deep breath! For most cars, a bit of water leaking from the AC is actually a normal sign that your system is doing its job. It’s a common issue that many drivers face, and the good news is, it’s often quite simple to diagnose and fix. We’re here to help you understand why this happens and what you can do about it. Let’s dive into the simple steps to get your AC back to its cool, dry best.
Understanding Your Car’s AC and Condensation
Your car’s air conditioning system works by cooling the air inside your cabin. As it cools the air, it also removes moisture. Think of it like a cold glass on a humid day – water droplets form on the outside. Your car’s AC does the same thing, but on a much larger scale inside a sealed system. The moisture from the air condenses onto the cold evaporator coil, which is part of your AC system.
This condensed water then needs a way to escape. Your car is designed with a special tube, called a condensate drain tube, to let this water drip out onto the ground. This is perfectly normal! You’ll typically see this water dripping under the passenger side of your car when the AC is running. If you’re not seeing any water, that could actually be a sign that the drain tube is blocked, which is when you might start to see water leaking inside your car instead.

Common Reasons Your AC Is Leaking Water
While condensation is normal, excessive leaking or leaking in the wrong places means something needs attention. Here are the most common culprits:
1. Clogged AC Drain Tube
This is by far the most frequent reason for AC water leaks, both inside and outside your car. Over time, dirt, leaves, mold, and other debris can clog the AC condensate drain tube. When this happens, the water has nowhere to go and can back up.
- If it backs up inside: The water might overflow into your car’s cabin, often appearing on the floorboards, especially on the passenger side.
- If it backs up outside: It might find an alternative route to drip down, potentially in a less expected spot, or form a larger puddle than usual.
2. Cracked or Disconnected Condensate Drain Line
The drain line carries the condensed water from the evaporator to the outside of your car. If this line is cracked, split, or has simply become disconnected due to vibration or age, water can leak out before it even reaches the ground. This leak usually happens under the vehicle.
3. Leaking Evaporator Case or Housing
The evaporator core is where the magic of cooling happens. It’s housed within a case. If this case has cracks or if the seals around it have deteriorated, water can escape from the housing itself. This is often a more serious issue and can sometimes be linked to other AC system problems.
4. Issues with the Heater Core
While less common for AC leaks, a leaking heater core can sometimes be mistaken for AC water. The heater core uses hot coolant to warm the air. If it’s leaking, you’ll typically see coolant (which is often green, orange, or pink) on the passenger side floorboard. However, if your AC system is also experiencing issues, it can sometimes mimic AC condensation problems.
5. Blocked or Dirty Cabin Air Filter
The cabin air filter cleans the air entering your car’s cabin. If it becomes extremely clogged, it can restrict airflow. This can cause frost to build up on the evaporator coil. When you turn off the AC, this frost melts, creating a larger than usual amount of water that can overwhelm the drain system, leading to leaks.
6. Problems with Seals and Gaskets
The AC system has various seals and gaskets that keep the refrigerant contained and water flowing correctly. If these seals degrade or break, they can cause coolant leaks or allow condensation to escape the system before it reaches the drain tube.
Diagnosing the Leak: Where Is the Water Coming From?
Before you can fix the problem, it’s helpful to pinpoint where the water is originating and how much water you’re seeing. This detective work will guide you toward the right solution.
Step 1: Observe the Leak Location
Did you find a puddle inside your car, typically on the floorboards (especially the passenger side)? Or did you notice a drip or puddle underneath your car?
- Inside Leak: This strongly suggests a blockage in the AC drain tube or a problem with the evaporator case leaking into the cabin.
- Underneath Leak: This could be a properly draining AC system (normal!), or it could indicate a cracked drain line, a disconnected hose, or a leak further up the drain system.
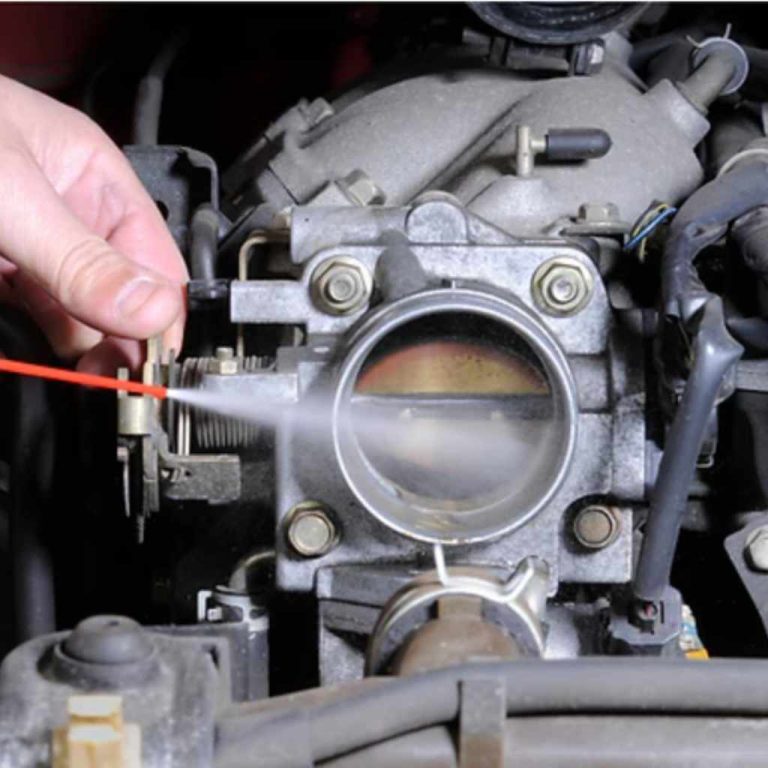
Step 2: Check the AC Drain Tube
The AC drain tube is usually a small rubber or plastic tube exiting the firewall on the passenger side of your vehicle, beneath the car. You might need to get down on your hands and knees to inspect it.
- Look for blockages: Can you see dirt, leaves, or gunk around the end of the tube?
- Try to gently probe it: If you have a thin, flexible wire (like a straightened coat hanger, but be careful not to puncture anything), you can carefully try to dislodge any visible debris.
Step 3: Inspect the Cabin Air Filter
The cabin air filter is typically located behind the glove compartment or under the dashboard. Consult your car’s owner’s manual for its exact location.
- Remove the filter and inspect it. Is it visibly dirty, clogged with debris, or damp?
- A very dirty filter can restrict airflow and contribute to freezing of the evaporator coil, leading to excess water when it thaws.
Step 4: Look for Cracks or Disconnections
Underneath the car, follow the likely path of the AC drain tube as best you can. Look for any obvious cracks, splits, or areas where a hose might have become detached. This requires getting under your car, so ensure it is safely supported on jack stands if you choose to do so. Never work under a car supported only by a jack. For safety, it’s best to have this checked by a professional if you’re uncomfortable working under the vehicle.
Essential Fixes: Step-by-Step Solutions
Now that you have an idea of what might be causing the leak, let’s look at how to fix them. We’ll focus on the most common and beginner-friendly solutions.
Fix 1: Clearing a Clogged AC Drain Tube
This is a DIY-friendly fix that can save you a trip to the mechanic.
Tools You Might Need:
- Rag or shop towels
- Thin, flexible wire (like a straightened coat hanger – use gently!) or a specialized AC drain cleaning tool
- Small vacuum pump or even a powerful shop vac (optional, but helpful)
- Gloves
Steps:
- Locate the drain tube: Find the end of the AC condensate drain tube under your car, usually on the passenger side firewall.
- Clear visible debris: Use a rag to wipe away any obvious dirt or gunk from the end of the tube.
- Gently probe: Carefully insert your flexible wire into the tube. Gently twist and push to dislodge any blockage. Be careful not to push too hard, as you could damage the tube or force debris further into the system.
- Vacuum (Optional): If you have a vacuum pump or shop vac, you can try to attach it to the end of the drain tube and suck out any loose debris. You might hear a ‘pop’ as the obstruction clears.
- Flush with water (Optional): Some people pour a small amount of water through the tube to help flush out remaining debris. For a more thorough clean, you can use a small amount of diluted bleach or a specialized AC drain cleaner, but always follow product instructions and rinse thoroughly.
- Test it: Start your car, turn on the AC, and let it run for a while. Go back outside and check if water is now dripping in the normal spot.
Important Safety Note: If you’re unsure about probing the drain tube or concerned about causing damage, it’s always best to have a professional inspect and clear it.
Fix 2: Replacing or Cleaning the Cabin Air Filter
A clogged cabin air filter can contribute to AC issues and leaks. Replacing it is usually straightforward.
Tools You Might Need:
- New cabin air filter (check your owner’s manual for the correct part number)
- Screwdriver (if needed, depending on your car model)
- Rag
Steps:
- Locate the filter: Consult your owner’s manual. It’s often behind the glove box, which might need to be removed.
- Remove the old filter: Carefully slide or unclip the old filter out. Note its orientation (which way the airflow arrow points).
- Clean the housing: Wipe down the filter housing with a clean rag to remove any dust or debris.
- Insert the new filter: Place the new filter into the housing, making sure it’s oriented correctly (airflow arrow pointing the right way).
- Reassemble: Put any removed components (like the glove box) back in place.
Read More on Cabin Air Filters: For more in-depth information on cabin air filters and their importance, check out resources like those from the AutoZone DIY section, which provides excellent visual guides.
Fix 3: Addressing a Cracked or Disconnected Drain Line
This fix might involve simple reattachment or a more involved replacement.
Tools You Might Need:
- Replacement AC drain hose (if the original is badly damaged and needs replacing – get the correct part for your car)
- Hose clamps
- Pliers or a screwdriver (depending on the clamp type)
- Rags
Steps:
- Safely lift the car: If you need to get under the car, use jack stands to support it securely. Never rely on just a jack.
- Locate the damaged section: Inspect the drain line for cracks, splits, or areas where it has come loose from a fitting.
- Reattach if disconnected: If a hose has simply slipped off a fitting, reattach it firmly. If it’s loose, you might need to secure it with a new hose clamp.
-
Repair or replace:
- Minor cracks can sometimes be temporarily repaired with strong, waterproof tape specifically designed for automotive use, but replacement is the better long-term solution.
- If the hose is significantly cracked or brittle, you’ll need to replace the damaged section or the entire hose. This might involve carefully cutting out the damaged part and splicing in a new piece using a connector and clamps, or replacing the whole line if it’s easily accessible.
- Test: Run your AC and check for leaks below.
When to Call a Professional: If the drain line is difficult to access, or if it’s integrated into a more complex part of the AC system, it’s wise to let a mechanic handle the replacement. They have the right tools and expertise to ensure a proper, leak-free repair.
When to Seek Professional Help
While many AC water leaks are simple fixes, there are times when you should definitely call in a professional mechanic. Don’t hesitate to schedule a visit if:
- You suspect a leak inside the cabin and can’t find a blocked drain tube. This could indicate a crack in the evaporator case or a more serious system issue.
- You notice coolant (not just water) in your car. Coolant leaks are serious and can damage other vehicle components.
- The leak is significant and you can’t locate the source.
- You’re uncomfortable working under your car or dealing with automotive systems. Safety is paramount.
- Your AC system isn’t blowing cold air either, in addition to leaking. This points to a broader AC system problem that requires expert diagnosis.
- You’ve tried the simple fixes, and the leak persists.
A qualified mechanic has specialized tools and knowledge to diagnose complex AC problems, including refrigerant leaks, electrical issues, and internal system malfunctions. For example, the Environmental Protection Agency (EPA) has regulations regarding automotive air conditioning service, highlighting the specialized nature of these systems which certified technicians are trained to handle correctly.
Can AC Water Damage Harm My Car?
While the water itself typically isn’t corrosive, the disruption it causes can lead to problems:
- Interior Mold and Mildew: Water sitting on the carpet and upholstery inside your car can quickly lead to mold and mildew growth. This is not only unpleasant but can also affect air quality and cause health issues.
- Electrical Component Corrosion: If water seeps into sensitive areas, it can cause corrosion on electrical connectors, leading to further malfunctions.
- Rust: Prolonged moisture in areas that don’t usually get wet can contribute to rust forming on metal components or the car body.
- Damage to Other Systems: In severe cases, backed-up water can affect components near the AC system, like those related to the heating or ventilation.
Addressing AC leaks promptly is key to preventing these secondary problems and keeping your car in good condition.
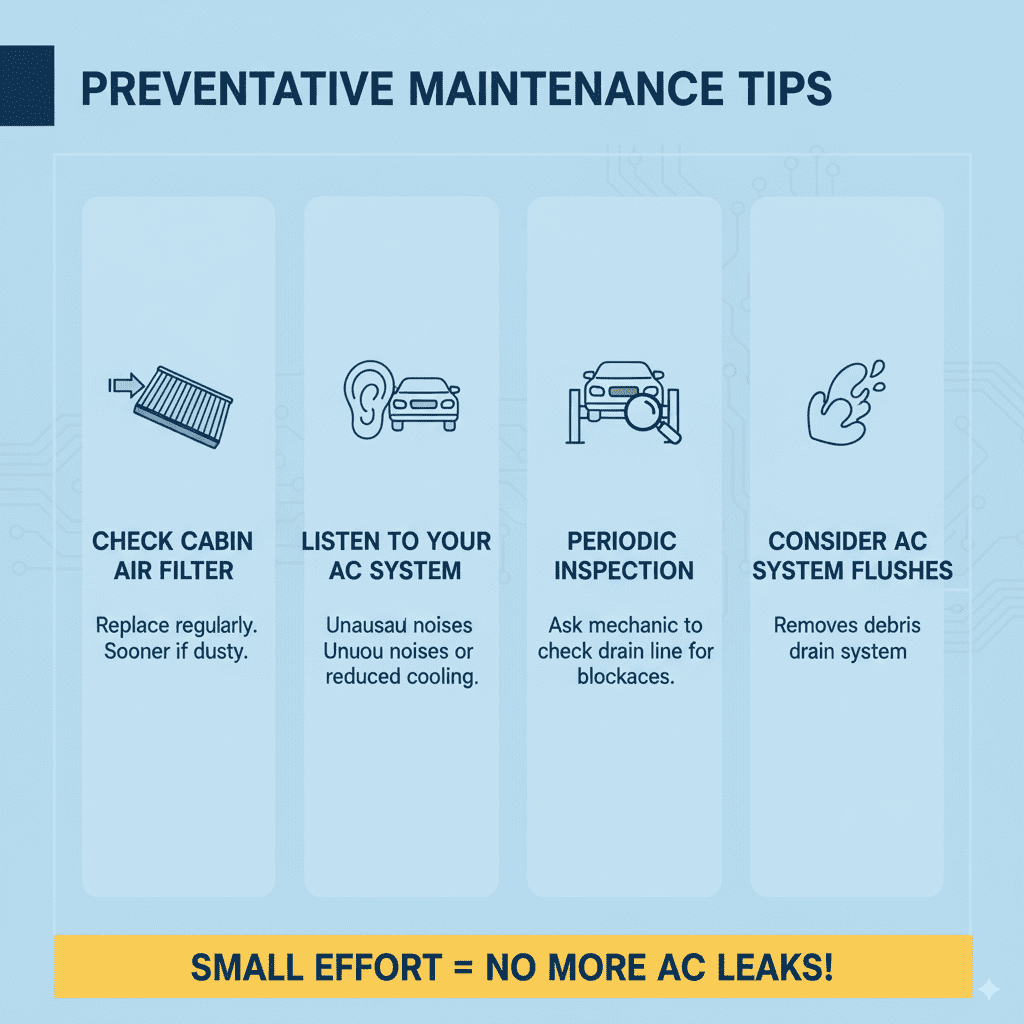
Preventative Maintenance Tips
A little bit of regular care can go a long way in preventing AC leaks!
- Regularly check your cabin air filter: Replace it according to your owner’s manual recommendations, or sooner if you live in a dusty area or often drive on dirt roads.
- Listen to your AC system: Any unusual noises or reduced cooling performance can be early signs of trouble.
- Periodically have your AC system inspected: During regular maintenance appointments, ask your mechanic to check the AC drain line for blockages.
- Consider AC system flushes: While not always necessary, some mechanics offer AC system flushes that can help remove debris from the drain system.
Understanding How AC Works: A Quick Table
To better understand why condensation occurs, here’s a simple breakdown of how your car’s AC cools the air:
| System Component | Function | Relevance to Water |
|---|---|---|
| Compressor | Compresses refrigerant gas, making it hot. | Circulates refrigerant; not directly involved in water. |
| Condenser | Releases heat from the refrigerant to the outside air. Refrigerant turns into a liquid. | Cools refrigerant; not where condensation happens for drain. |
| Evaporator | Liquid refrigerant absorbs heat from the cabin air, cooling it down. Refrigerant turns back into a gas. | Cold surface where moisture from cabin air condenses. |
| Expansion Valve/Orifice Tube | Regulates refrigerant flow into the evaporator. | Controls refrigerant pressure and temperature. |
| Condensate Drain Tube | Carries condensed water away from the evaporator. | The exit point for normal AC condensation. |
As you can see from the table, the evaporator is the key component where water condenses. The drain tube’s job is to get rid of that water. If either of these parts (or the path between them) has an issue, you’ll have a leak.
Frequently Asked Questions (FAQ)
Q1: Is it normal for my car’s AC to drip water?
A: Yes, it is perfectly normal for your car’s AC to drip water onto the ground under the passenger side of the vehicle when it’s running on a warm or humid day. This is condensation that your AC system has removed from the air.