Best Car Maintenance Light for Under-Hood Work Picks
The best car maintenance light for under-hood work is a hands-free LED that fits the bay you have: magnet for steel, hook or clamp for plastic, and 500 to 1,000 lumens with at least 2 to 4 hours of real runtime. Pick the wrong mount or a weak battery, and you can lose time dealing with shadows, lights that slip, and checks that take longer than planned. This guide compares mounting methods, runtime, and engine-bay material so you can buy the right light for quick inspections or long repairs.
This guide is part of our Car care and upkeep guide series.
Best car maintenance light for under-hood work: top pick
The best overall style is a rechargeable LED bar with dual-end magnets, swiveling ends, and enough battery to survive a repair session without fading out. That shape suits most DIY jobs because it throws light across the bay, not into one tight spot, and it stays put on steel hood structure.
Why this style fits most DIY engine-bay jobs
A bar light spreads light across hoses, label tags, and fasteners better than a narrow flashlight beam. For an oil check, battery swap, belt inspection, or sensor replacement, you want even coverage, not peak output on a spec sheet. The best setup gives broad light from above or from the side, then lets you aim it without holding it.
Who should choose a different light instead
If the hood is aluminum, the bay is cramped, or there is little flat metal, a magnetic bar is not the first choice. Use a hook, clamp, or a compact handheld mechanic light instead. Long repair sessions also favor stronger battery life over raw output, because a bright light that dies at the 25-minute mark is worse than a steadier one.
According to Work Light, 2500LM Bright LED Work Lights, 5200mAh Rechargeable Magnetic Underhood Work Light with Hooks, Cordless Battery Powered Mechanic Light for Car Repair — The light uses a 5200mAh rechargeable battery. (source)
Quick picks by job and hood type
Choose the light to match the job first. The right choice changes fast when the work shifts from a 5-minute fluid check to a 2-hour belt or starter job, and it changes again when the hood is steel versus aluminum.
- Short inspections and fluid checks: compact bar light or small handheld mechanic light, 500 to 800 lumens, quick magnetic or hook placement.
- Long repair sessions: rechargeable LED bar, broader beam, at least 2 to 4 hours of usable runtime, easy repositioning.
- Aluminum hoods and low-magnet use: hook-mounted or clamp-mounted light, or a freestanding bar with no reliance on magnets.
- Portable trunk and roadside use: compact cordless light with rugged housing, lighter weight, and USB-C charging.

What kind of light do you need under the hood?
Under the hood, a bar light is usually the best choice for coverage, while a handheld mechanic light is better for aimed inspection work and tight access. A flashlight works when you need a quick beam, but it misses the mark when both hands are busy and the bay has deep shadows.
Bar light versus handheld mechanic light
Bar lights are better when the job needs broad illumination across a belt path, fuse box, or top of the engine. Handheld mechanic lights are better when you need to move the beam from connector to connector, look into a corner, or aim around intake plumbing. A good mechanic light should have a grip that stays comfortable after a few minutes of repositioning.
When a flashlight is the wrong tool
A flashlight throws a tight hotspot, so it often leaves labels unreadable and bounces harsh reflections off painted covers and plastic reservoirs. That matters when checking fluid marks, reading part numbers, or finding a loose clip. The best under-hood light gives a wider, softer wash so the eye can separate one connector from another.
How beam spread changes what you can see
Beam spread matters as much as brightness. A wide beam helps see hoses, clamps, and fasteners together, which speeds up disassembly and reassembly. A tight beam is useful for inspection, but it can hide the surrounding parts and make the bay feel darker than it is.
How many lumens do you need?
For most engine bays, 500 to 1,000 lumens is the practical range, with higher output reserved for large bays or dark garages. More light is not always better. Too much output can bounce off painted surfaces and plastic covers, which makes small marks and tabs harder to see.
Practical brightness ranges for engine bays
Lower output works for topping off fluids, checking belts, or changing a filter in a well-lit garage. Mid-range brightness is better for most repairs because it keeps the bay visible without washing it out. Very bright lights make sense when the hood opening is deep, the engine sits low, or the garage has poor ambient light.
Why brighter can create glare on painted parts
Glossy covers, fresh paint, and smooth plastic reflect light back into the eyes. That glare can hide lettering, seepage, and hose routing. A light with two brightness levels helps because the lower setting can be easier on the eyes during longer work, while the higher setting is there when the bay needs a stronger wash.
Color temperature and label visibility
LED work lights often sit around 6500K, which reads as a cool white output and helps small text stand out against dark plastics and greasy metal. That does not replace good beam control, though. A cool beam with poor placement still creates shadows where the hands need room to work.
Magnetic mounts, hooks, and positioning choices
Magnetic mounts are the easiest hands-free option on steel surfaces, but they are not universal. Hooks, clamps, and swivels matter just as much because the best light is the one that can be placed where the engine bay needs it, then aimed away from moving parts and hot components.
Magnet strength and surface compatibility
A magnetic underhood mount needs enough pull to stay fixed while the hood moves, the engine vibrates, or the light gets bumped. It works on steel surfaces and fails on non-magnetic areas, curved braces, painted trim, and low-iron contact points that seem metal but do not hold well.
Why aluminum hoods are a problem
Will a magnetic work light stick to an aluminum hood? No, not in the normal way. The product warning says magnets do not stick to aluminum alloy, so an aluminum hood needs another mounting method. That is the main reason buyers should check hood material before choosing a magnet-first light.
Swivel, pivot range, and aiming the beam safely
Swivel range matters because the light often needs to sit on one part of the bay while aiming into another. A bar with 180-degree bases and a 360-degree middle section gives more placement freedom than a fixed bar. That helps keep the beam off belts, fans, exhaust parts, and other moving hardware.
Rechargeable batteries, USB-C, and runtime
For repair work, runtime matters more than a big number on the box. A light that lasts through a 30-minute inspection is fine for a quick check, but a repair session usually needs stable output long enough to finish a connector repair, belt swap, or fluid leak diagnosis without recharging mid-job.
Battery capacity and charge time
One example of a rechargeable under-hood light lists a 5200mAh battery, Type-C charging, and a 4.5-hour full charge time. That mix is practical because USB-C is easy to live with in a garage, and a clear charge time helps match the light to the length of the job.
High mode versus low mode runtime
The same light lists 2.2 hours on high mode and 5.5 hours on low mode. That is the kind of spread buyers should look for: enough high output for setup and inspection, with a lower setting that stretches runtime for longer repairs. A two-mode light is easier to plan around than one that fades fast.
Corded versus cordless for long repairs
Corded lights remove battery anxiety, but cords can snag on fenders, tool carts, and hood latches. Cordless lights are easier to place quickly and safer in cramped bays, especially when the job moves around the engine. For long repairs, the better cordless choice is one with enough runtime to stay useful past the 20-minute mark.
Proof table: match the light to the job
| Task | Best light type | Brightness range | Mount method | Likely failure points |
|---|---|---|---|---|
| Fluid checks and visual inspections | Compact bar light or handheld mechanic light | 500 to 800 lumens | Magnet on steel or hook on trim | Too much glare on reservoirs; beam too narrow |
| Belt, hose, and connector work | Swiveling LED bar | 700 to 1,000 lumens | Magnet with pivoting ends | Shadows behind pulleys; poor aim near moving parts |
| Long repair sessions | Rechargeable bar light | Mid to high output with a lower mode for runtime | Magnet plus secondary support | Battery fade; heat buildup; light shifting on curved steel |
| Aluminum hood work | Hook or clamp-mounted light | 500 to 1,000 lumens | Hook, clamp, or free placement | Magnets fail on aluminum alloy; poor purchase on painted edges |
| Emergency trunk use | Compact cordless mechanic light | 500 to 800 lumens | Hook or handheld | Small battery; limited coverage for larger repairs |
Steel hood versus aluminum hood checklist
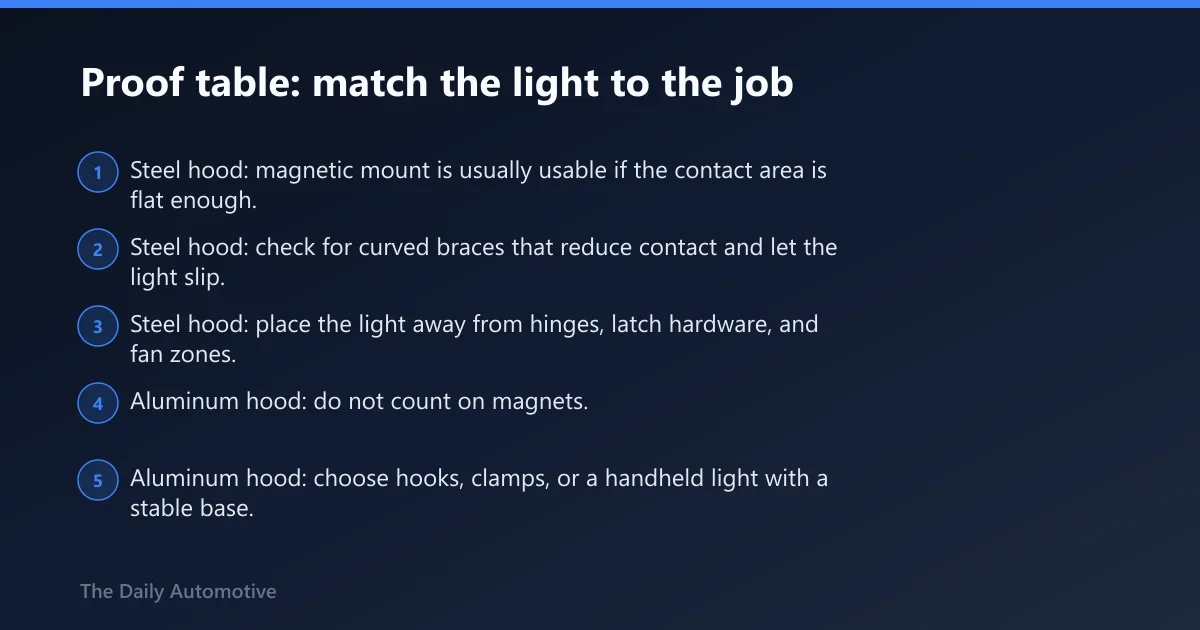
- Steel hood: magnetic mount is usually usable if the contact area is flat enough.
- Steel hood: check for curved braces that reduce contact and let the light slip.
- Steel hood: place the light away from hinges, latch hardware, and fan zones.
- Aluminum hood: do not count on magnets.
- Aluminum hood: choose hooks, clamps, or a handheld light with a stable base.
- Aluminum hood: verify the placement will not rub painted edges or plastic trim.
Common failure points to watch for
Curved braces, low-iron contact points, and painted surfaces can turn a magnetic mount into a slipping mount. The better light is the one that stays in place without constant rescue. If the bay gives you no flat steel, the mount strategy should change before the purchase does.
What to look for before you buy
Buy the light for the work, not for the biggest spec sheet. Durability, weight, grip comfort, and safe placement matter because a light that is awkward to move or easy to drop will slow down every job after the first one.
Durability, drop resistance, and housing
A mechanic light needs rugged housing because garage floors are unforgiving. A hard shell is useful, but the shape matters too: a light that survives a small drop and keeps its switches, magnets, and swivel points working is more valuable than one with a big output number and weak construction.
Weight and grip comfort
Weight affects how often the light gets repositioned. A relatively light bar is easier to manage, while heavier tools can feel awkward when clipped, carried, or aimed repeatedly. For handheld use, the grip should feel secure even with gloves or oily hands.
Safe placement near belts, fans, and hot parts
Under-hood lighting should never sit where it can touch moving belts, cooling fans, or hot exhaust parts. The safest placement is stable, out of the path of motion, and angled so the beam reaches the work area without forcing the housing into the engine bay. Hooks and swivels help here because they let the light stay outside the danger zone.
What should I avoid when buying an under-hood work light?
Avoid buying by lumens alone, because a bright light with poor mounting or short runtime is a bad repair tool. Also avoid assuming every magnet works on every hood, because aluminum and curved or painted surfaces can fail without warning. Short battery life, weak swivel action, and narrow beam spread are common regrets.
Frequently asked questions
What is the best car maintenance light for under-hood work?
The best choice is usually a rechargeable LED bar with hands-free mounting, broad beam spread, and enough runtime to cover the whole repair. For steel hoods, magnets are convenient. For aluminum hoods or cramped bays, hooks or clamps are safer bets because they do not depend on metal attraction.
How many lumens do I need for an engine bay light?
Many DIY engine bays do well with moderate brightness, roughly in the mid-hundreds to around a thousand lumens. Lower output is fine for quick checks, while larger or darker bays may need more. More light can backfire if it creates glare on painted covers or glossy plastic, so beam spread matters as much as raw output.
Should I buy a magnetic under-hood light or a handheld work light?
Buy a magnetic light when the hood or support structure is steel and you want both hands free. Choose a handheld mechanic light when the bay is cramped, the surface is not magnetic, or you need to move the beam often. The best answer depends on the bay, not just the light.
Will a magnetic work light stick to an aluminum hood?
No. A magnetic work light will not hold to aluminum alloy in the normal way, so an aluminum hood calls for a hook, clamp, or handheld solution. This is one of the biggest mistakes buyers make, and it is easy to avoid if the hood material is checked first.
How long does a rechargeable mechanic light last?
It depends on the battery capacity, brightness mode, and how hard the light is driven. One example lists a 5200mAh battery, 2.2 hours on high mode, and 5.5 hours on low mode. For repair work, runtime should match the job length, with extra margin for setup and pauses.
What features matter most in an under-hood work light?
The most useful features are beam spread, mounting method, runtime, brightness levels, and safe positioning. Hooks, swivels, and magnets matter because they keep the light where the engine bay needs it. Durability and weight also matter, since the light should survive garage use and remain easy to place.
Products related to this article
Sponsored / affiliate links. As an Amazon Associate I earn from qualifying purchases. I may earn additional commission from eligible campaigns.