5 Best Headlight Kits for Faded Lenses: We Compared
Cloudy headlights usually come from UV oxidation, lens haze, and years of sun and weather exposure. That clouding cuts nighttime visibility and can make the car look older than it is.
For light haze, use a wipe-on or simple kit; for moderate yellowing, choose a sanding kit with UV sealant; for heavy oxidation or pitting, choose a multi-step kit with a drill pad or wet-sand stages. Choosing the wrong kit wastes time, strips more lens material than needed, and can leave headlights dull again within weeks. This guide ranks the best kits by damage level and skill, then shows the shortest safe route to clear lenses.
Quick comparison
| Product | Badge | Best for | Price | ||
|---|---|---|---|---|---|
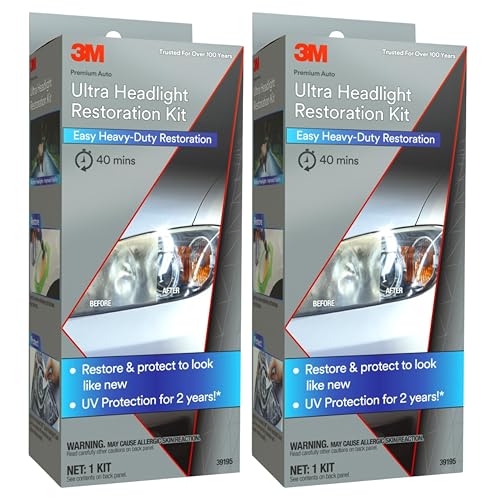 |
3M Ultra Headlight Restoration Kit 391953M | Our pick | 2-pack kit · 3-disc · clear coat | $27.99
Price as of 7 Nov 2026
|
View |
 |
Meguiar’s Ultimate Headlight Restoration KitMeguiar’s | Upgrade pick | Restoration kit · 18+ months · wipe sealant | $27.27
Price as of 7 Nov 2026
|
View |
 |
SYLVANIA Headlight Restoration KitSYLVANIA | Also great | Restoration kit · UV coating · at-home use | $22.75
Price as of 7 Nov 2026
|
View |
 |
CERAKOTE® Ceramic Headlight Restoration Detailer PackCERAKOTE | Pair with it | Step 1 wipes · 50-count · pro pack | $59.95
Price as of 7 Nov 2026
|
View |
 |
Turtle Wax Headlight Restoration Kit for CarsTurtle Wax | Also great | Complete DIY kit · like-new · sealing wipe | $11.19
Price as of 7 Nov 2026
|
View |
The fastest win is matching the kit to the lens condition. A mild haze does not need aggressive sanding, while heavy oxidation usually does.
How we chose
This ranking is based on manufacturer specs, listing details, and published buyer feedback. The main filters were restoration method, tool requirement, UV sealing or coating, ease of setup, and whether the kit fits the stated level of damage.
We also weighed the shortest safe path to clear lenses, not the most aggressive path. That matters because over-sanding can round edges, scuff nearby trim, and remove more plastic than the lens needs.
Headlight restoration decision table
| Lens severity | Recommended kit type | Required tools | Estimated hands-on time | Risk level | Expected durability range | Do not buy if |
|---|---|---|---|---|---|---|
| Light haze | Simple wipe-on or light-duty manual kit with sealant | Usually just the supplied pads or wipes; check the listing for your model | About 15 to 30 minutes | Low | Short to moderate, depending on parking, climate, and whether the sealant step is done well | You see deep pitting, peeling, or chalky oxidation that returns immediately after cleaning |
| Moderate yellowing | Sanding kit with a UV finish | Hand sanding kit or drill-backed pad, plus cleanup supplies | About 30 to 60 minutes | Moderate | Moderate, with better results if the final coating is applied evenly | You want zero-tool work or your lens already feels rough and cratered |
| Heavy oxidation | Multi-step kit with drill pad or polisher and strong UV protection | Drill or polisher, masking supplies, and cleanup cloths | About 45 to 90 minutes | Higher | Moderate to longer-lasting if the coating step is not skipped | The lens is cracked, delaminating, or clouded through the plastic |
| Pitted or failed lenses | Replacement housing or lens assembly | Repair tools for removal and installation, not a restoration kit | Varies by vehicle | High if you try to restore it | Restoration kits are not a durable fix here | The clear coat is failing, the lens has deep pits, or moisture is trapped inside |
That last row matters. Kits can improve surface haze, but they will not reverse cracked housings, internal moisture, or a failed clear coat that has already separated.
Say your commuter has a milky film and a still-smooth lens. A light-duty kit can be the shortest safe route. Suppose the same car has yellow edges plus rough patches near the center. That is the point where sanding and a UV finish start to make sense.
Cerakote Ceramic Headlight Restoration Kit: best for no-drill use
Cerakote is the best overall pick in one Car and Driver test, and it is the easiest match for drivers who want to avoid a drill. It uses manual wet sanding, includes a foam grip, and finishes with a ceramic coating.
This is the cleanest fit for light to moderate haze when you want controlled hand work around sculpted headlight edges. The no-drill approach lowers the risk of over-aggressive material removal and helps a first-timer stay conservative.
The main drawback is speed. Manual sanding takes more effort than a drill-backed system, and heavily oxidized lenses can demand more elbow work before the coating stage feels worthwhile.
3M Headlight Lens Restoration System: best for heavy-duty use
Choose 3M when the lens is badly oxidized and you want a straightforward, heavy-duty sanding path. Car and Driver said this kit requires a drill and uses three steps of sanding, with step-by-step photos that make the process easier to follow.
That structure suits headlights with heavy yellowing that need a more aggressive correction than a light wipe kit can deliver. It also helps if you want a repeatable process and do not mind plastic dust from sanding.
The drawback is the tool requirement. A drill adds speed, but it also raises the chance of burning through edges if you stay in one spot or press too hard on tight contours.
Mothers NuLens Headlight Renewal Kit: best for moderate yellowing
Mothers NuLens is the medium-duty choice when the lens is yellowed but not yet at the worst stage. Car and Driver said it includes the PowerBall foam dome, and the kit adds a polishing phase with a heavier sanding option when the haze needs more correction.
That makes it a useful middle path for lenses that need more than a quick cleaner, but less than a full heavy-duty restoration system. It is a stronger fit for drivers who want more control than a full aggressive kit without starting from scratch.
The drawback is setup complexity. A drill is required, and the heavier sanding option can be too much for lenses that only need a light cleanup.
Meguiar’s Two-Step Headlight Restoration Kit: best for light haze
This is the easiest entry point for lighter haze and quick refresh work. The listing says it covers mild to heavy yellowing and oxidation, but the simple two-step idea and pre-saturated wipes make it the most hand-friendly option in this group.
It is a smart pick if you want a straightforward first attempt and you do not want to manage multiple sanding stages. The sealed finish also matters, because protection after the restore step is what slows re-oxidation.
The drawback is that a light-duty system may not fully correct lenses that have deep oxidation, pitting, or long-term sun damage. If the plastic is rough to the touch, step up to a more aggressive kit.
Meguiar’s Heavy Duty Headlight Kit: best for severe oxidation
Road & Track chose this kit as its top pick, and it is the right kind of kit for very cloudy headlights that need a stronger correction path. It requires a polisher and includes Ceramic Headlight Shield, with a claimed UV protection window of more than 18 months.
That makes it a serious option for severe oxidation when you want a stronger finish step after the correction stage. It is the kind of kit to consider when you care more about long-term clarity than the simplest possible setup.
The drawback is the tool commitment. A polisher is more aggressive than a hand process, so this is not the best first buy for a beginner who only needs a mild cleanup.
Turtle Wax Headlight Lens Restorer Kit: best value for manual work
Turtle Wax is the value pick in one published comparison, and it is a practical manual choice for drivers who want a lower-cost restore path. The kit includes a sanding pad, lubricant, compound, and a sealing wipe that helps defend against UV rays.
This is the shortest value-focused route when the lenses are cloudy but not destroyed. The manual process also keeps the risk lower around painted bumpers and trim because you are not driving a machine across the lens edge.
The drawback is that value kits usually ask more from the user. Manual sanding and hand finishing can take longer, and the results depend more on patience at the sealing step.
Do you need a drill?
No, but the answer depends on the lens and your patience. Hand sanding gives more control around contours and is safer for a careful beginner, while drill-powered kits remove material faster and suit heavier oxidation better. If your goal is the shortest safe route, start with the least aggressive tool that can still fix the damage.
Hand sanding versus drill-powered kits
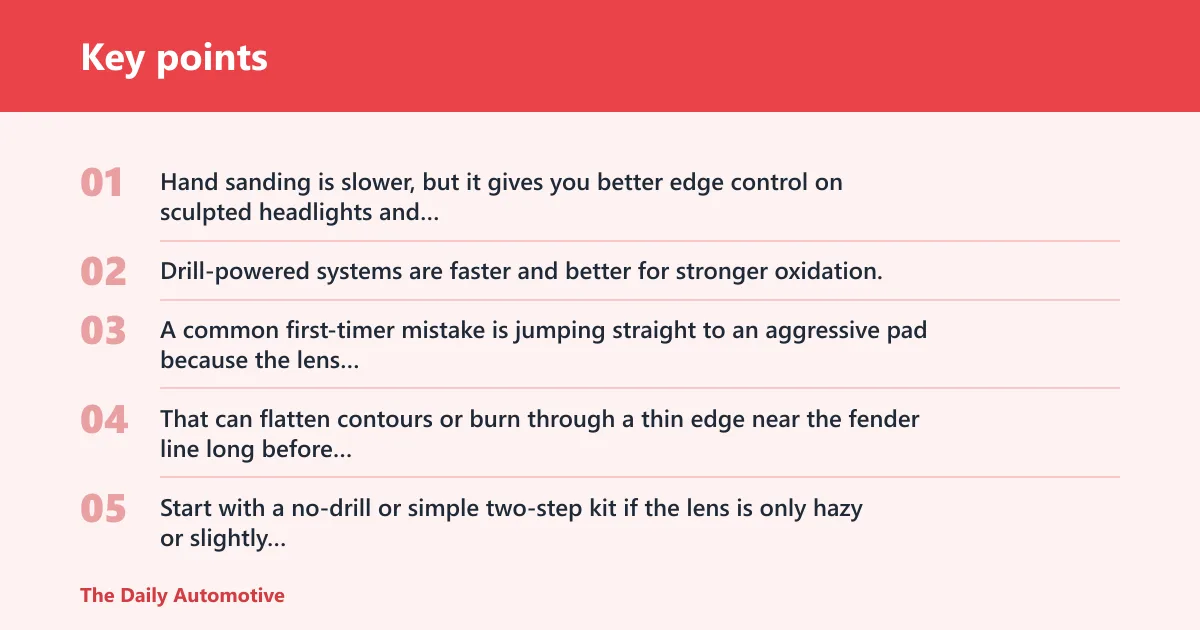
Hand sanding is slower, but it gives you better edge control on sculpted headlights and reduces the chance of over-cutting the lens. Drill-powered systems are faster and better for stronger oxidation, but they demand steadier movement and more attention to masking.
A common first-timer mistake is jumping straight to an aggressive pad because the lens looks bad. That can flatten contours or burn through a thin edge near the fender line long before the center is truly corrected.
What to buy for a first-time user
Start with a no-drill or simple two-step kit if the lens is only hazy or slightly yellowed. Cerakote and the Meguiar’s two-step option are easier to manage when you want a conservative first pass and a cleaner learning curve.
If the plastic is rough, dull, and heavily yellowed, a drill-backed kit makes more sense. In that case, the extra control of masking and slow passes matters more than trying to save a few minutes.
When a polisher makes sense
A polisher is worth it when the headlight is very cloudy and the finish step needs a stronger, more uniform pass. That usually means a severe oxidation case where a simple wipe kit would only brighten the surface briefly.
Use the vehicle and product manual, keep the work area ventilated, and avoid forcing the tool across trim edges. Chemical odor and plastic dust are both easier to manage outside or in a well-ventilated area.
Which one should you buy?
Pick Cerakote if you want the safest no-drill route and the lens is in the light-to-moderate range. Pick 3M if the headlights are heavily oxidized and you want a clear drill-backed sanding path with step-by-step photos.
Best choice by budget
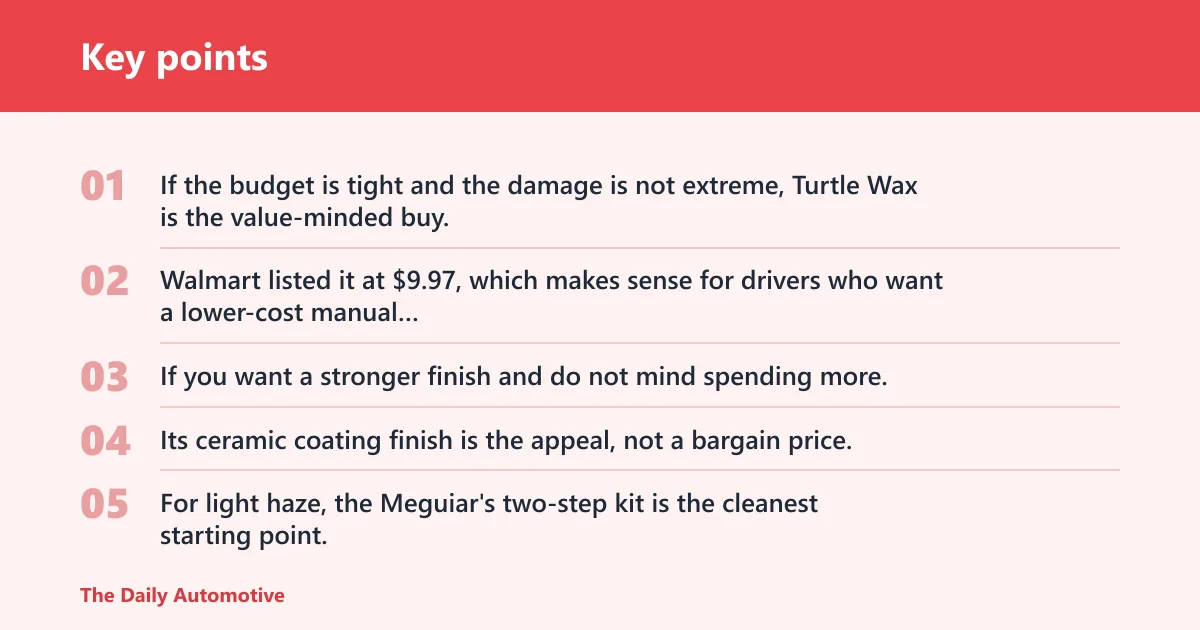
If the budget is tight and the damage is not extreme, Turtle Wax is the value-minded buy. Walmart listed it at $9.97, which makes sense for drivers who want a lower-cost manual restore with a sealing step.
If you want a stronger finish and do not mind spending more, the Cerakote pack is the premium no-drill option. Its ceramic coating finish is the appeal, not a bargain price.
Best choice by lens damage
For light haze, the Meguiar’s two-step kit is the cleanest starting point. For moderate yellowing, Mothers NuLens offers a better bridge between light polishing and heavier sanding. For heavy oxidation, the Meguiar’s Heavy Duty kit or 3M is the better fit.
If the lens is pitted, cracked, or the clear coat has already failed, skip a kit and plan on replacement. Restoration can polish the symptom, but it cannot rebuild damaged plastic.
Best choice if you want the least tool setup
Cerakote is the easiest no-drill pick, and Turtle Wax is the simplest value manual option. Both reduce setup compared with drill- or polisher-driven systems, which is useful for renters, lease returns, and drivers who want a fast legal-safe cleanup before inspection or resale photos.
Keep expectations realistic. A shorter setup usually means a slower correction if the oxidation is severe.
When to skip a kit entirely
Skip restoration if the lens is cracked, waterlogged, or has internal fogging from a failed housing seal. Also skip it if the clear coat is peeling in sheets, because sanding a failing surface can leave the lens uneven and still cloudy.
That is the point where replacement is usually the cheaper long-term move.
Before and after clarity, durability, and cost
The before-and-after story is simple: restorers remove the outer cloudy layer and then seal the lens so UV light has a harder time starting the problem again. The finish step matters as much as the sanding step, because protection is what decides how soon the haze returns.
Walmart lists 3M Ultra at $14.49, Turtle Wax at $9.97, and Chemical Guys Headlight Restoration & Ceramic Kit at $25.97. Price alone does not tell the full value story, because replacement pads, sealants, and extra consumables can change the true cost per use.
For durability, the conditions matter. A garage-kept vehicle in mild sun will usually keep clarity longer than a daily driver that sits outside on a hot, UV-heavy street. Meguiar’s Heavy Duty Headlight Kit says its coating can help maintain clarity for more than 18 months, but that is still a claimed duration, not a universal one.
Suppose a car is parked outdoors every day in a hot climate. The same kit can still restore the lens, but you should expect re-oxidation sooner than on a car that spends nights in a garage. That is why the sealant or coating step should not be treated as optional.
Frequently asked questions
What is the best headlight restoration kit for yellowed lenses?
For yellowed lenses, the best pick depends on how deep the oxidation goes. Cerakote is the best overall no-drill choice for lighter to moderate damage, while 3M and Meguiar’s Heavy Duty make more sense when the yellowing is thick and stubborn. Match the kit to the severity, not the brand name.
Do headlight restoration kits actually work on badly oxidized headlights?
Yes, if the damage is surface oxidation and not a failed lens. Heavy-duty kits can remove cloudy buildup and improve clarity, but they will not fix cracked housings, pitted plastic, or internal moisture. If the clear coat is failing, replacement is often the better answer.
Which headlight restoration kit is easiest for beginners?
Cerakote is the easiest no-drill option, and Meguiar’s two-step kit is the simplest light-duty choice. Both keep the process shorter and less aggressive than drill-backed sanding systems. Beginners should start with the least aggressive kit that still matches the lens damage.
Do I need a drill for a headlight restoration kit?
No. Some kits are hand-applied, and Car and Driver said the Cerakote kit does not require a drill. A drill can help on heavy oxidation, but it is not necessary for light haze or simple maintenance work. Use the tool that matches the lens condition.
How long does headlight restoration last after using a kit?
There is no universal answer. Durability depends on the coating step, the weather, where the car is parked, and how much sun the headlights take. Meguiar’s Heavy Duty Headlight Kit claims UV protection for more than 18 months, but real-world life varies by climate and use.
Will a headlight restoration kit damage my paint or trim?
It can if you rush the job or skip masking near the lens edge. The safer approach is to work slowly, avoid leaning a drill pad into painted corners, and follow the product instructions. Keep the work area ventilated, and do not use more pressure than the manual calls for.
Products related to this article
Sponsored / affiliate links. As an Amazon Associate I earn from qualifying purchases. I may earn additional commission from eligible campaigns.