
5 Best CKP Sensors for DIY Fixes (2026): We Compared
The best crankshaft position sensor for a DIY fix is the exact OE-spec match for your engine code, connector shape, and mount style; if the code is P0335/P0336, start there and replace only after checking wiring and air gap. Choose the wrong CKP sensor and you can keep chasing no-starts, stalling, and misfire codes while spending money twice. This guide gives a short buy list by sensor type, connector layout, and access difficulty, then shows how to match symptoms and codes to the right replacement.
Quick comparison
| Product | Badge | Best for | Price | ||
|---|---|---|---|---|---|
 |
A-Premium Engine Crankshaft Position Sensor Compatible withA-Premium | Our pick | OE replacement · 2-pin blade · Hyundai/Kia fitment | $12.99
Price as of 26 Oct 2026
|
View |
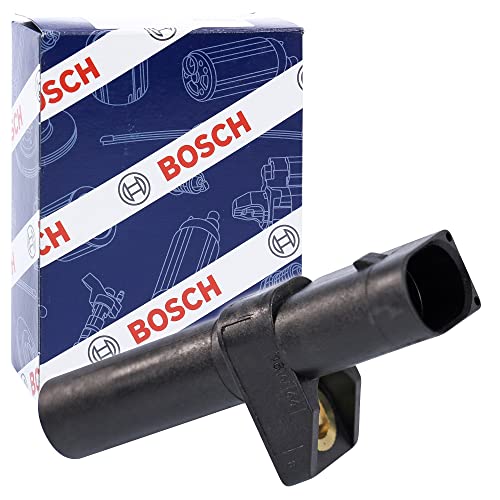 |
BOSCH 0261210170 Original Equipment Crankshaft PositionBosch | Also great | OE replacement · Mercedes-Benz fitment · sensor only | $23.98
Price as of 26 Oct 2026
|
View |
 |
DENSO Crankshaft Position Sensor for Honda Civic 1.7L L4Sixity Auto | Also great | DENSO replacement · Honda Civic 1.7L · OE part | $113.13
Price as of 26 Oct 2026
|
View |
 |
Delphi SS10206 Engine Crankshaft Position Sensor | ReplacesDelphi | Upgrade pick | OE-quality · engine timing signal · replacement sensor | $48.78
Price as of 26 Oct 2026
|
View |
 |
ACDelco Gold 213-4761 (88864687) Engine Crankshaft PositionACDelco | Also great | Professional replacement · blade terminal · sensor only | $46.46
Price as of 26 Oct 2026
|
View |
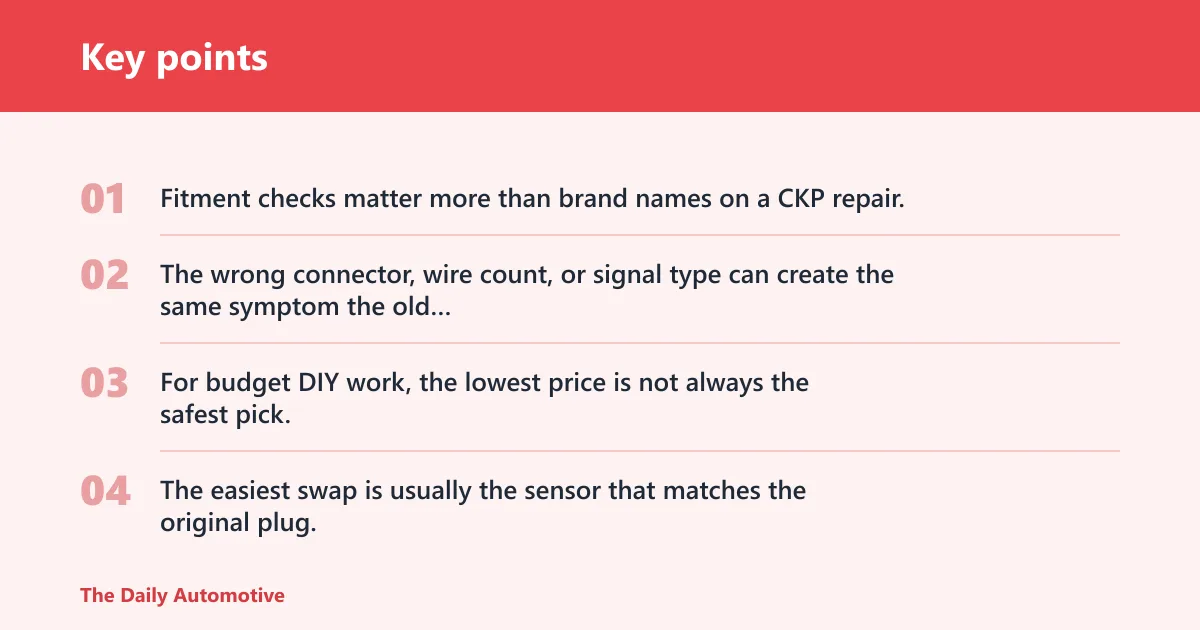
Fitment checks matter more than brand names on a CKP repair. The wrong connector, wire count, or signal type can create the same symptom the old sensor caused.
For budget DIY work, the lowest price is not always the safest pick. The easiest swap is usually the sensor that matches the original plug, sits in an open front-engine location, and uses the same inductive or Hall-effect design.
How we chose
Fitment came first. A sensor that matches the engine family, connector style, and mounting position is safer than a universal-looking part with vague compatibility notes.
Signal type came next. A 2-wire inductive sensor and a 3-wire Hall-effect sensor do not always diagnose the same way, and they are not interchangeable.
DIY access and testability mattered too. A front-mounted sensor near the crank pulley is usually easier than a rear-mounted sensor near the flywheel, and some Hall sensors need a scan tool or waveform check instead of a simple resistance test.
Finally, connector and harness condition were part of the ranking. Heat damage, corrosion, oil contamination, broken insulation, and loose pins can make the sensor look bad when the wiring is the real fault.
CKP selection table
| Sensor type | Wire count | Likely vehicle layout | Common failure mode | Test method | DIY difficulty score |
|---|---|---|---|---|---|
| Inductive / magnetic | 2-wire | Front pulley or harmonic balancer; sometimes rear flywheel | Heat drift, open circuit, weak AC signal, damaged reluctor gap | Multimeter resistance and AC voltage check, plus code scan | 2/5 |
| Hall-effect | 3-wire | Front pulley, cam/crank combo, or rear flywheel on some engines | Power or ground loss, connector damage, missing square-wave output | Scan tool data, voltage checks, or waveform view; multimeter only for basic power and ground | 4/5 |
| OE-equivalent replacement | Matches original | Any of the above, depending on application | Wrong connector style or signal type if the listing is loose | Compare part number, plug shape, and service info before install | 2/5 |
Say your engine cranks fine for ten seconds, then stalls and throws P0335. A 2-wire inductive sensor near the crank pulley is the first part to verify, but the harness and connector still need inspection before you buy anything.
Suppose the engine only acts up hot, then restarts after a cool-down stop. That points toward heat-sensitive sensor failure, weak wiring, or connector contamination, not proof that the sensor itself is the only problem.
OEM-equivalent sensor: best for exact fit
The safest choice is the sensor that matches the original signal type, connector shape, and mount style. That reduces the chance of a no-start after installation, especially on vehicles where the ECM expects a specific Hall-effect or inductive signal pattern.
This type fits best when the old sensor failed cleanly and the harness looks healthy. It also makes sense when the engine is sensitive to tooth-count or sync-notch variation in the reluctor ring.
The drawback is cost and availability. OEM-equivalent parts usually cost more, and the exact match may be less convenient to source than a generic aftermarket unit.
Budget aftermarket sensor: best for low-cost repair
A lower-priced sensor can work well when the listing clearly matches the engine code, wire count, and connector style. That is the point where a budget part saves money without adding fitment risk.
This is the better choice for older cars with plain access, especially if you already confirmed the code, checked the wiring, and know the original sensor type. It is a weaker choice when the connector picture is vague or the vehicle uses a rear-mounted sensor that is hard to reach twice.
The drawback is that low-cost listings often overstate compatibility. If the part description is broad and the plug details are thin, you may end up with the wrong sensor and a repeated repair.
Connector-matched sensor: best for tricky wiring
Pick this style when the plug shape, latch design, and wire count are the real risk points. On some vehicles, the sensor body is less important than whether the connector locks in cleanly and seals against heat, oil, and road grime.
This matters most when the old connector has brittle insulation, spread terminals, or corrosion in the pins. In those cases, a new sensor with the right terminal style can solve a repeat fault that a generic replacement would miss.
The drawback is that connector match does not prove the harness is healthy. If the wires inside the loom are broken or the ECM input is faulty, the new part will not fix the root cause.
A-Premium Hyundai/Kia sensor: best for budget OE fit
This is the best fit for DIY owners replacing a listed Hyundai or Kia crank sensor and wanting a low-cost OE replacement with a 2-pin blade connector. The published fitment covers many Hyundai and Kia models, and the blade terminal detail gives you a clear connector match to verify before you order.
It stands out because it keeps the decision simple: confirm the engine application, compare the plug shape, and replace the sensor without paying OE-brand pricing. That makes it useful for routine no-start or stalling complaints tied to a confirmed CKP fault.
The drawback is coverage. If your vehicle is outside the listed Hyundai, Kia, or Dodge Attitude applications, this is not the part to force into the repair.
Bosch OE sensor: best for Mercedes-Benz fitment
This is the strongest pick when you want an OE-style replacement for a supported Mercedes-Benz application and prefer a known original-equipment supplier. Bosch lists it as an Original Equipment crankshaft position sensor, which is useful when fitment checks matter more than chasing the lowest price.
It stands out for owners who want the closest practical match to the original sensor design and a part built around the vehicle’s engine-speed signal needs. That is important on cars where the ECM is picky about the CKP waveform and connector layout.
The drawback is price and specificity. At $23.98, it is not the cheapest option here, and it only makes sense if the Mercedes-Benz fitment matches your exact engine.
DENSO Honda Civic sensor: best for exact Civic match
This is the right call when you are repairing a 2001-05 Honda Civic 1.7L listed in the product title and want a genuine DENSO replacement. It is the most specific application in the list, which helps when the failure is clear and the vehicle match is already known.
It stands out because the listing ties the sensor to a direct replacement role for a no-start, stalling, or hot cut-out complaint on that Civic application. That reduces guesswork for a DIY owner who already confirmed the code and wants a direct swap.
The drawback is price. At $113.13, it is the most expensive option here, so it makes the most sense when exact fit is worth paying for and the vehicle is clearly the listed Honda Civic.
Delphi OE-quality sensor: best for broad replacement coverage
This is the best middle-ground choice when you want an OE-quality replacement and the cross-reference numbers on the listing line up with your old part. Delphi’s published description emphasizes precise crankshaft position signaling and long-term durability, which is useful for a repair you do not want to revisit soon.
It stands out for buyers working from part-number matching rather than a broad vehicle claim. That can help on older cars where the original sensor number is the most reliable guide.
The drawback is that you still need to confirm the exact interchange. Cross-references can be helpful, but they are not a substitute for checking connector shape, wire count, and mount location.
ACDelco Gold sensor: best for GM-style blade-terminal swaps
This is a strong pick if your vehicle calls for an ACDelco-style blade-terminal sensor and you want a professional aftermarket replacement at a moderate price. The listing makes the terminal type clear, which helps when you are matching the connector rather than guessing from a photo.
It stands out as a straightforward OE-style replacement for owners who already know the original sensor family and want fit, form, and function to stay close to stock. That is helpful on repairs where the connector style is the first thing to verify.
The drawback is that the fitment detail in the title is not as explicit as a vehicle-specific listing. You should still confirm the exact application before you buy.
Which one should you buy?
If you want the safest DIY choice, buy the exact OE-equivalent sensor that matches your engine code, connector style, and wire count. That is the best path when the car already shows a CKP code and the harness inspection does not reveal an obvious wiring fault.
If budget matters more, choose the least expensive part only after you verify the sensor type and plug shape. A cheap Hall-effect replacement will not help a 2-wire inductive application, and a connector mismatch can waste an entire weekend.
If access is difficult, favor the part that is easiest to return and easiest to match before installation. Rear-mounted sensors near the flywheel are more painful to replace twice than front-mounted sensors near the crank pulley or harmonic balancer.
For a quick decision, use the code, the connector, and the original sensor type first. Then compare price. That order prevents the common mistake of replacing a good sensor with the wrong one.
How do you choose the right one?
Start with the code and confirm whether the fault points to the CKP circuit, the connector, or another timing-related issue. P0335 and P0336 often push you toward the crank sensor, but they do not rule out harness damage, tone-wheel problems, or ECM input trouble.
Next, verify the sensor type. A 2-wire inductive sensor and a 3-wire Hall-effect sensor need different checks, and Hall sensors often need a scan tool, waveform view, or manufacturer procedure rather than a simple multimeter-only diagnosis.
Then inspect the connector and mounting location. The sensor may sit near the crankshaft pulley or harmonic balancer, or at the rear near the flywheel, and the plug shape, lock tab, and terminal condition should match the original part exactly.
The reluctor ring matters too. A toothed or notched wheel can vary by tooth count and sync notch arrangement, so a sensor that looks right can still fail if the application is wrong. Some layouts use six slots set 60 degrees apart, a seventh slot spaced 10 degrees from one of the others, or a fine-measurement ring with up to 360 teeth.
Finally, do not use a universal air-gap guess. The gap is vehicle-specific and often non-adjustable, so the correct spec must come from the exact application. In service information, it is commonly listed around 1.25 mm, and also described as .050 in, but the real rule is to verify the spec for your engine before installation.
- Scan the codes and confirm the crank-related fault.
- Inspect the harness for corrosion, heat damage, oil contamination, broken insulation, and loose pins.
- Match the sensor type, connector shape, and wire count.
- Check the reluctor ring location and the vehicle-specific installation spec.
- Test before replacing if the symptoms and code do not line up cleanly.
How do I know if my crankshaft position sensor is bad?
A bad CKP sensor often shows up as hard starting, no-start, stalling, rough idle, shaking, and a check engine light. The important part is that those symptoms can also come from wiring damage, corroded connectors, or reluctor ring issues, so the sensor should not be blamed on symptoms alone.
Use an OBD-II scanner first. If the ECM stores a crank-related code, then inspect the connector, the harness, and the mounting area before replacing anything.
Can I drive with a failing crankshaft position sensor?
Sometimes the engine will restart after a cool-down period or run intermittently for a short time, but that is not a safe long-term plan. A failing CKP sensor can cause sudden stalling or a no-start condition, and that can leave you stranded without warning.
Temporary recovery tactics are only for getting off the road or moving the car a short distance. If the fault returns, treat it as a repair item, not a normal driving condition.
What tools do I need to replace a crankshaft position sensor?
At minimum, you need the correct replacement sensor, an OBD-II scanner, and basic hand tools for the mount and connector. A multimeter is useful for resistance, voltage, and continuity checks on many 2-wire inductive sensors and for basic power and ground checks on 3-wire Hall sensors.
If the sensor is Hall-effect or the diagnosis is unclear, a scan tool with live data or a waveform-capable tool is often more useful than a multimeter alone. Manufacturer-specific procedures matter here.
Where is the crankshaft position sensor located on my engine?
It is commonly found near the crankshaft pulley or harmonic balancer, and it can also be mounted at the rear near the flywheel. The exact location depends on the engine layout, which is why part fitment and access difficulty are part of the buying decision.
If you cannot see it from above, check underneath or near the bellhousing area. The service manual location beats guesswork every time.
How do I test a crankshaft position sensor with a multimeter?
On a 2-wire inductive sensor, a multimeter can help check resistance, continuity, and some AC voltage output while cranking. That is useful for a first-pass diagnosis, but it does not prove the entire circuit is healthy.
On a 3-wire Hall-effect sensor, a multimeter is limited to power, ground, and basic voltage checks. Many Hall sensors need a scan tool, a waveform view, or the manufacturer test procedure to confirm the square-wave signal correctly.
What causes crankshaft position sensor failures on older cars?
Heat, age, wiring damage, rust, corrosion, oil contamination, and broken insulation are common causes. On older cars, the connector and harness can fail at the same time as the sensor, which is why a visual inspection matters before replacement.
The reluctor ring can also be part of the problem. A damaged or contaminated tone wheel can confuse the ECM even when the sensor itself is new.
Is cleaning a crankshaft position sensor a real fix or just temporary?
Cleaning oil residue or reseating the connector can restore contact long enough to move the car, but it is usually a temporary measure. It does not fix a worn sensor, a damaged harness, or a wrong air gap.
Use cleaning and reseating as a short-term recovery step only. If the fault returns, replace the bad part after confirming the sensor type and wiring.
Frequently asked questions
What are the best crankshaft position sensors for a DIY repair?
The best DIY choice is the exact OE-equivalent sensor that matches your engine code, connector shape, and wire count. If you are on a budget, the next best option is a lower-priced part with clear fitment data, not a vague universal listing. Fitment checks beat brand names here.
Products related to this article
Sponsored / affiliate links. As an Amazon Associate I earn from qualifying purchases. I may earn additional commission from eligible campaigns.