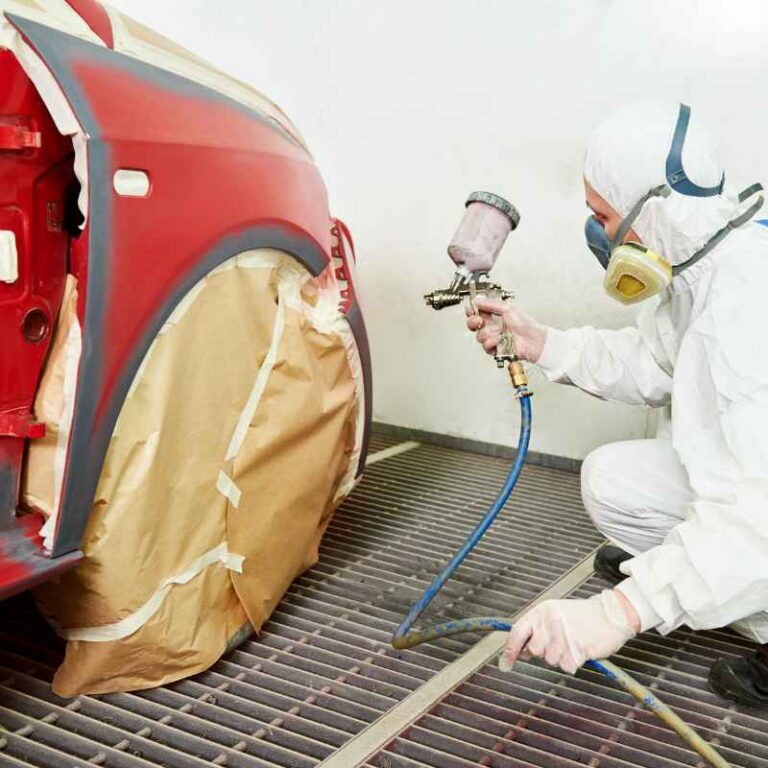
How To Apply Touch Up Paint To Car Scratches The Right Way
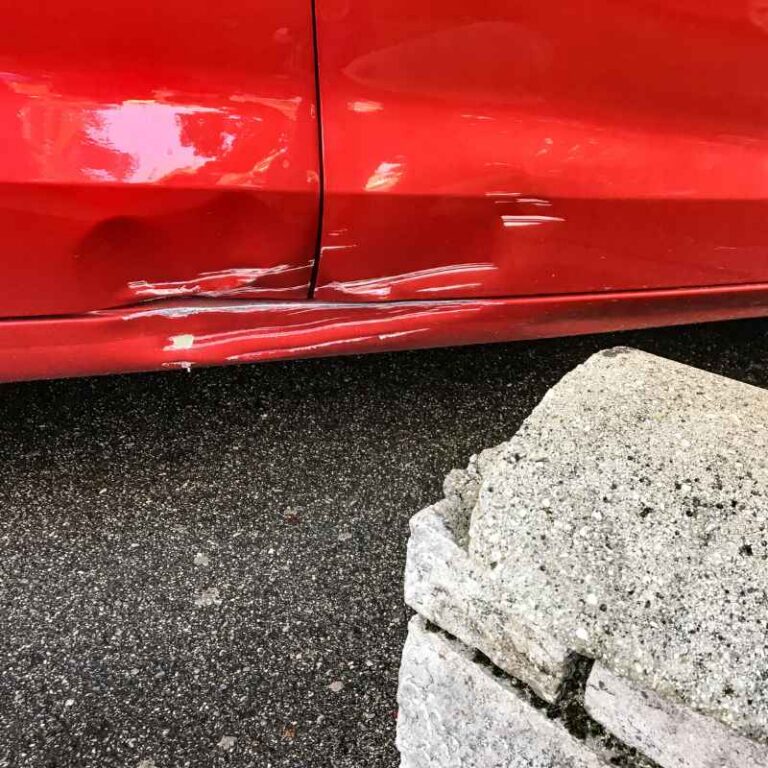
Finding a scratch on your car can be frustrating. You just washed it, and now there’s a thin white line or a deeper gouge. It happens to everyone.
Even with the best care, parking lots and everyday driving can leave their mark. But before you feel defeated, know that fixing these small flaws is often within reach. We’ll guide you through how to apply touch-up paint to car scratches the right way.
This means making the repair look good and protecting your car’s metal from rust.
Most car scratches can be effectively repaired using touch-up paint with careful preparation and application. The right technique ensures a smooth finish that blends with the original paint and protects the underlying metal from damage. This process involves cleaning the area, applying paint layers, and finishing to match the surrounding surface.
Understanding Car Paint Scratches
Car paint is more than just color. It’s a complex system. It starts with a metal body panel.
Then comes a primer layer. This helps paint stick. Next is the color coat.
This is the actual paint color you see. Finally, there’s a clear coat. This protects the color.
It also adds shine. Scratches happen when one or more of these layers are damaged.
Some scratches only go through the clear coat. These are often light. You might see them in bright sun.
They look like fine lines. Other scratches go deeper. They reach the color coat.
This means you see the car’s actual color scratched away. The worst scratches go through all layers. They hit the primer or even the metal.
Knowing the scratch’s depth matters. It tells you what kind of repair you need. Light scratches might buff out.
Deeper ones need filling. Touch-up paint is best for scratches that have removed paint. It fills the gap.
It restores the color. It also seals the spot from water. Water can lead to rust.
Rust is much harder to fix.
Gathering Your Supplies
Before you start, get everything ready. This makes the job smoother. You’ll need a few key items.
First, get your touch-up paint. This is crucial. Make sure it’s the exact color for your car.
Car manufacturers use color codes. These codes are usually on a sticker. It’s often in the door jamb or under the hood.
You can also find it online using your car’s VIN.
You’ll also need cleaning supplies. Use a good car wash soap. You need a clean wash mitt and water.
For drying, use soft microfiber towels. These don’t scratch paint. You’ll need denatured alcohol or a paint prep solvent.
This is for cleaning the scratch itself. It removes oils and wax. These can stop paint from sticking.
For applying the paint, you have options. Many touch-up paint kits come with small brushes. Some have fine-tipped applicators.
You might also want fine-tipped cotton swabs. These help clean up mistakes. You might need painter’s tape.
This helps protect areas you don’t want to paint. A good light source is also important. You need to see clearly.
Consider a clear coat pen or bottle. If your scratch went to the metal, you need this. It seals and protects.
It also adds shine. Some people like a tack cloth. This picks up dust right before painting.
Finally, have patience. This isn’t a race. Taking your time leads to a better result.
The Preparation Process: Key to Success
This is the most important part. Good prep work ensures the paint sticks. It also helps the repair blend in.
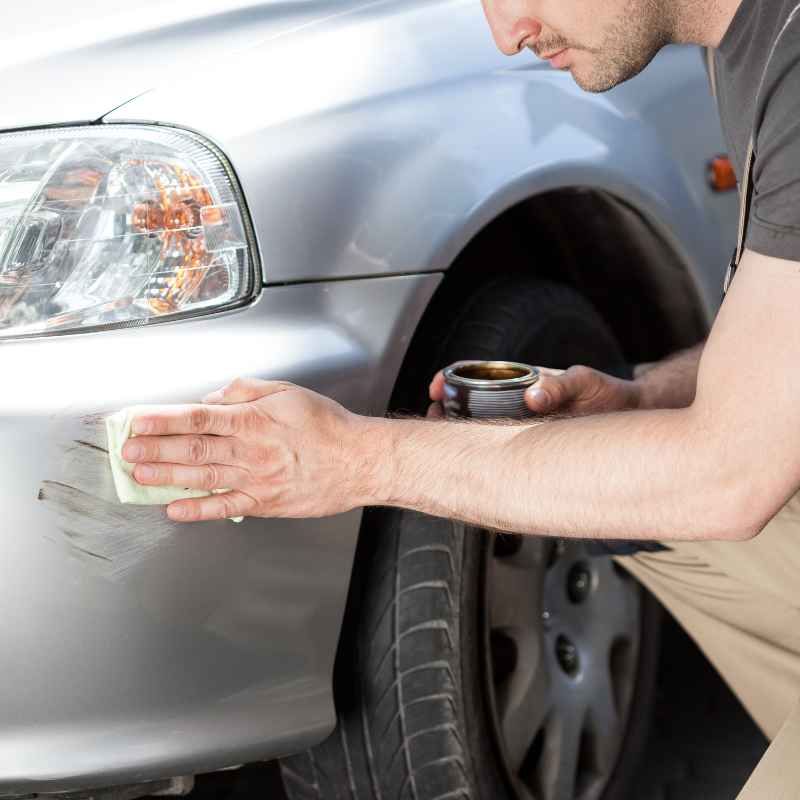
First, wash your car thoroughly. Focus on the area around the scratch. Use car wash soap.
Rinse well. Let the car air dry or dry it with soft towels. Make sure the whole car is dry.
Next, inspect the scratch closely. Use your good light. If there are loose paint flakes, remove them.
You can use a very fine-grit sandpaper (like 2000 grit) or a sharp craft knife very carefully. The goal is a smooth edge. You don’t want anything sticking up.
Now, clean the scratch itself. This is where denatured alcohol or a paint prep solvent comes in. Put a little on a cotton swab or a clean cloth.
Gently wipe inside the scratch. You want to remove any dirt, wax, or oil. Do this a couple of times.
Let the area air dry completely. Alcohol evaporates fast. This step is vital.
If the surface is not clean, the paint won’t stick well.
If the scratch is deep and you see bare metal, you might need a primer. Some touch-up kits include primer. If yours doesn’t, you may need to buy it separately.
Apply a thin layer of primer inside the scratch. Let it dry fully. This creates a good base for the color coat.
If the scratch is shallow and only removed clear coat, primer might not be needed.
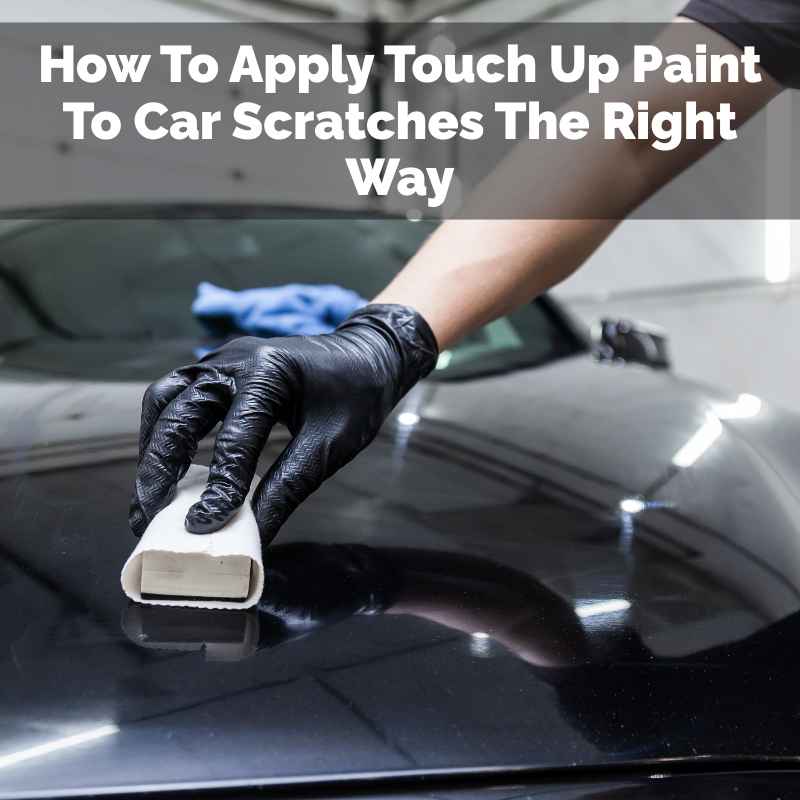
Applying the Color Coat
Now it’s time to paint. Shake your touch-up paint bottle well. This mixes the paint.
You want an even color. Open the bottle carefully. If it has a brush, wipe off any excess paint on the rim.
You want a very thin coat.
Use the brush or applicator. Gently dab paint into the scratch. Don’t brush it like you’re painting a wall.
You’re filling a tiny trench. Try to get the paint to go only inside the scratch. Work slowly.
If the scratch is long, do it in small sections. Aim to fill the scratch slightly higher than the surrounding paint. This accounts for shrinkage as it dries.
Let the first coat dry completely. This can take 30 minutes to a few hours. Check the paint can for drying times.
If the scratch is still visible or not filled, apply a second thin coat. Repeat the process. Always let each coat dry fully before adding another.
Patience here is key. Too much paint at once can cause drips or a lumpy finish.
Some people use a toothpick instead of the brush. This gives more control for very fine scratches. Dip the tip of the toothpick in paint.
Then, carefully apply it to the scratch. This method takes practice. But it can give a very neat result.
If you get paint on the surrounding area, use a clean swab with a tiny bit of solvent to gently wipe it away. Do this while the paint is still wet.
Touch-Up Paint Application Tips
- Shake well: Always mix the paint thoroughly.
- Thin coats: Apply multiple thin layers.
- Patience: Let each coat dry completely.
- Control: Use fine applicators for precision.
- Clean as you go: Remove mistakes when wet.
Adding the Clear Coat
Once the color coat is dry and the scratch is filled, it’s time for the clear coat. This step is crucial for protection. It also helps blend the repair.
Shake the clear coat bottle well. Just like with the color coat, apply a thin layer.
Use the applicator to cover the area you painted with color. Extend it slightly over the edges of the color. This helps it blend.
Again, don’t apply too much. You want a smooth, even finish. The clear coat might look a bit uneven at first.
This is normal.
Let the clear coat dry. This usually takes longer than the color coat. Check the product instructions.
You might need to wait several hours or even overnight. If the clear coat doesn’t look perfectly smooth, don’t worry. There are ways to fix that.
Some people apply multiple thin layers of clear coat. This builds up a nice, level surface. Always let each layer dry before adding the next.
If you applied a primer and color coat, the clear coat seals it all. It protects the repair from the elements. This prevents future rust and fading.
The Finishing Touches: Smoothing and Blending
After the clear coat has fully cured (this might take a day or two), you can smooth the repair. The goal is to make the touched-up area level with the surrounding paint. This is often the trickiest part.
You don’t want to damage the original paint.
Start with very fine grit sandpaper. Wet sanding is best. Use sandpaper that is 2000 grit or even 3000 grit.
Wet the sandpaper and the painted surface. Gently sand the raised paint from the touch-up. You’re trying to level it.
Keep the pressure light. Too much pressure will damage the original clear coat.
Wipe away the sanding residue. Check your work. You want the surface to feel smooth.
It might look a bit dull after sanding. That’s okay. The next step is polishing.
Use a rubbing compound or a polishing compound. Apply a small amount to a clean microfiber cloth. Gently rub the repaired area.
Work in small circles. This will bring back the shine. It also helps blend the repair with the factory paint.
You might need to do this a few times.
For a truly seamless finish, some people use a fine polish after the compound. This gives the best shine. Always work in a well-lit area.
Clean the area thoroughly after polishing. You want to remove all residue.
Finishing Steps Checklist
- Wait for cure: Allow ample drying time.
- Wet sanding: Use ultra-fine grit sandpaper (2000+).
- Gentle pressure: Avoid damaging original paint.
- Polishing: Use rubbing or polishing compound.
- Buffing: Restore shine and blend the repair.
When to Call a Professional
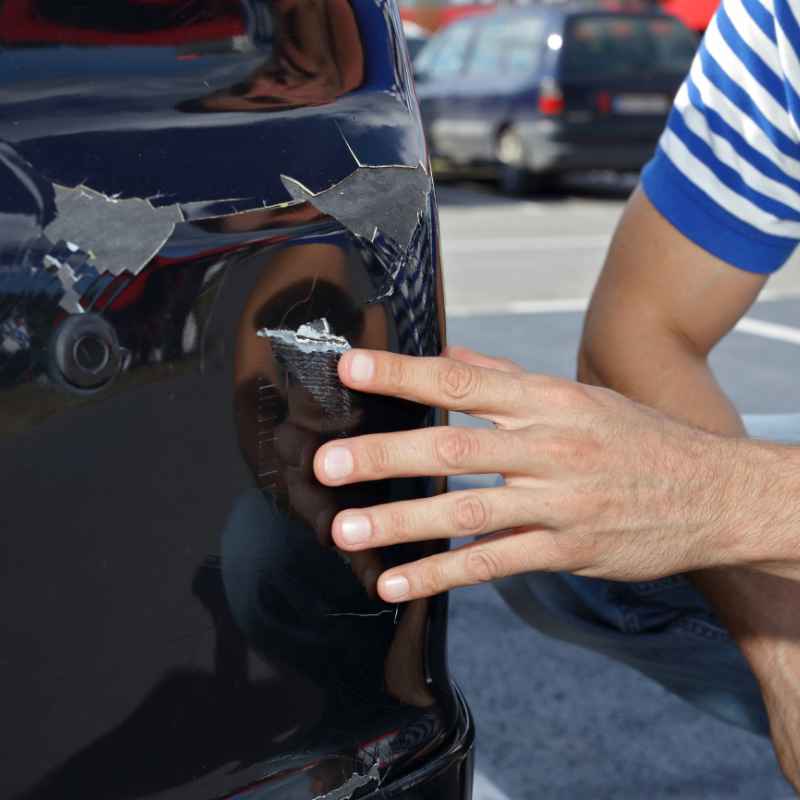
While touch-up paint is great for small scratches, some damage is beyond DIY. If a scratch is very deep, it might mean a dent or panel damage. These need bodywork.
If you have multiple deep scratches, it can be hard to match the color perfectly. A professional detailer or body shop has tools and experience for this.
Keyhole scratches or vandalism require professional attention. Also, if the scratch is on a sharp body line, it’s hard to get paint to stay. Or if the paint is peeling, that’s a bigger problem.
If you’re not comfortable with the process, it’s always better to seek help. A bad DIY job can look worse than the original scratch.
Professionals can also use paint-matching systems. They can often achieve a much better color match than basic touch-up pens. They have specialized tools for applying paint.
This ensures a smooth, even finish that’s hard to replicate at home. If the car is new or valuable, professional repair is often worth the cost.
Real-World Scenarios and What They Mean
Let’s look at some common situations. Imagine you open your car door in a tight garage. You hear a scrape.
You check and see a long, thin line on the edge of your door. It looks like it went through the clear coat. In this case, careful cleaning and a clear coat pen might fix it.
If it scratched the color, you’ll need color paint too.
Or maybe you get a ding in a parking lot. There’s a small chip in the paint. This is like a tiny crater.
You can often fill this with touch-up paint. You’ll apply primer if needed, then color, then clear coat. The goal is to fill that chip so water can’t get in.
Another common one is a scratch from a shopping cart. These are often shallow but can be wide. They usually only affect the clear coat.
Sometimes, a good polish is all you need. If it did go into the color coat, touch-up paint is your next step. Always start with the least invasive method.
Try polishing first.
Understanding Scratch Depth
Surface Scratch: Only in the clear coat. Often fixable with polish. Looks like a spider web or light scuff.
Medium Scratch: Into the color coat. Visible color is gone. Needs touch-up paint (color coat).
Deep Scratch: Through all layers to primer or metal. Needs primer, color coat, and clear coat. High risk of rust if not fixed.
Chip: Paint is gone, leaving a divot. Treat like a deep scratch but focus on filling the hole.
What This Means for Your Car
Fixing scratches with touch-up paint does more than just make your car look good. It protects it. Unrepaired scratches, especially down to the metal, invite rust.
Rust is a slow-moving destroyer of car bodies. It can spread and weaken the metal.
By filling the scratch with paint, you create a barrier. This barrier keeps out moisture and oxygen. These are what rust needs to form.
A good repair job extends the life of your car’s paint. It also helps maintain its value. A car with many unrepaired scratches looks neglected.
This lowers its resale price.
Even if the repair isn’t perfect, it’s often better than leaving the scratch open. It’s a practical step to preserve your vehicle. For small cosmetic flaws, touch-up paint is a powerful tool.
It gives you control over your car’s appearance and health.
Quick Tips for a Better Repair
Here are some extra tips to make your touch-up job go smoothly. Work in a temperate environment. Extreme heat or cold can affect paint drying.
A garage is often ideal. Avoid direct sunlight while painting, as it can dry the paint too fast. Make sure your touch-up paint is fresh.
Old paint can be lumpy or not flow well.
Consider using a clear coat pen for the final layer. These offer more control for fine details. Don’t be afraid to re-do a step.
If a coat of paint looks bad, you can sometimes carefully wipe it off (if wet) or sand it down (if dry and you’re careful) and try again. Practice on something less visible if you’re nervous.
Think about the angle of the scratch. If it’s on a vertical surface, gravity can make paint run. Apply very thin coats.
If it’s on a horizontal surface, water and dirt can pool there. Make sure the repair is sealed well.
DIY Touch-Up Paint Dos and Don’ts
- DO: Match your paint code precisely.
- DON’T: Rush the drying process between coats.
- DO: Clean the scratch thoroughly before painting.
- DON’T: Apply thick layers of paint.
- DO: Use a clear coat for protection.
- DON’T: Expect perfection on the first try.
- DO: Practice on an inconspicuous area if possible.
- DON’T: Skip the finishing and polishing steps.
Frequent Questions About Touch-Up Paint
How long does touch-up paint last on a car?
The lifespan of touch-up paint can vary. If applied correctly to a clean surface with primer and clear coat, it can last for several years. Factors like sun exposure, weather, and car washing frequency can affect its durability.
However, it’s generally a long-lasting solution for minor imperfections compared to leaving the scratch exposed.
Can I use nail polish instead of car touch-up paint?
While nail polish might match a color, it’s not formulated for automotive paint. Car paint has specific binders and UV protection. Nail polish can fade differently, chip easily, and may not adhere well.
It can also react poorly with the car’s clear coat. It’s best to use actual automotive touch-up paint for a proper repair.
What is the best way to find my car’s paint code?
Your car’s paint code is usually found on a sticker inside the vehicle. Look in the driver’s side door jamb, glove box, or under the hood. You can also find it in your car’s owner’s manual.
If you can’t locate it, your car’s VIN number can be used at a dealership or auto parts store to find the correct code.
Do I really need primer for a small scratch?
Primer is most important for scratches that have removed the paint down to the metal or primer layer. It provides a good base for the color coat to adhere to and helps seal the metal. For very light scratches that only touch the clear coat, primer might not be necessary, but it’s often included in kits for deeper imperfections.
How can I avoid getting paint on the surrounding car body?
Using a very fine-tipped applicator, like a toothpick or a specialized touch-up brush, is key. Apply paint only inside the scratch itself. You can also use painter’s tape to mask off the area around the scratch, but this can be tricky for very fine lines.
Clean up any mistakes immediately with a solvent on a cotton swab while the paint is still wet.
What is the difference between rubbing compound and polishing compound?
Rubbing compound is more abrasive. It’s used to remove minor imperfections and level out the surface after sanding. Polishing compound is less abrasive.
It’s used to restore shine and remove swirl marks left by rubbing compound. For touch-up paint, you’ll typically use a rubbing compound to blend the raised paint, then a polishing compound to bring back the gloss.
Conclusion
Learning how to apply touch-up paint the right way is a valuable skill. It empowers you to protect your car. It keeps it looking its best.
Remember that preparation is everything. Cleanliness and patience are your best tools. By following these steps, you can tackle those annoying scratches.
You can restore your car’s finish. Enjoy the satisfaction of a job well done.