How to Check Brake Fluid in Your Car: MIN/MAX Level Guide
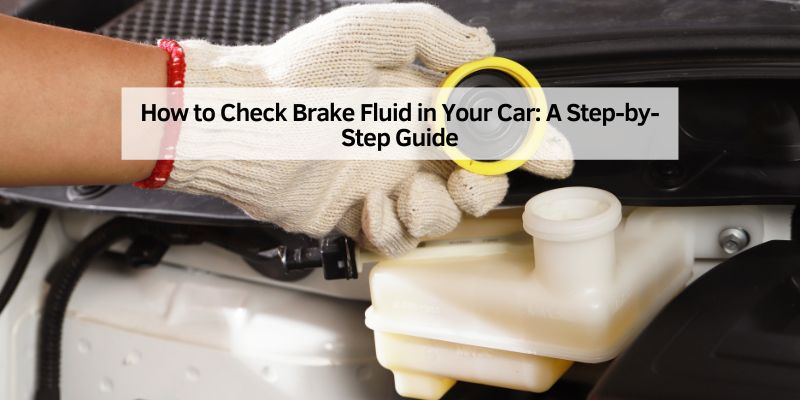
The brake fluid reservoir is a translucent plastic tank near the firewall on the driver’s side of the engine bay, marked with “MIN” and “MAX” lines — healthy fluid sits between them and looks clear or light amber. Never top off with DOT 5 silicone fluid if your car uses DOT 3, 4, or 5.1 — mixing the two types can damage seals. Below: the exact locating and checking steps, a DOT fluid comparison table, and the color signs that mean it’s time to flush.
Quick Answer
Park on level ground, pop the hood, and find the reservoir (usually near the firewall, driver’s side). With the cap on, check that fluid sits between the “MIN” and “MAX” lines and looks clear or light amber — not dark or cloudy. If it’s low, top off with the exact DOT type listed on the cap or in your owner’s manual (never mix DOT 5 with DOT 3/4/5.1). Plan a full fluid flush every 2 years or 30,000 miles regardless of level, since brake fluid absorbs moisture over time.
Why Checking Brake Fluid Matters
I’ll never forget the first time I realized how critical brake fluid is. I was driving down a steep hill, and my brakes felt a bit spongy. That’s when I learned that low or bad brake fluid can make your brakes less effective. Brake fluid transfers the force from your foot to the brake pads, stopping your car. If it’s low, dirty, or old, your brakes might not work as well, and that’s a risk none of us want to take.
Checking your brake fluid regularly helps you catch problems early. It ensures your brakes respond quickly and keeps you safe on the road. Plus, it’s a simple task that can save you from costly repairs. I check mine every couple of months, and it’s become second nature. Let’s talk about what you’ll need to get started.
What You’ll Need to Check Brake Fluid
Before I pop the hood, I always gather a few things to make the process smooth. You don’t need much, and most of these items are probably already in your garage. Here’s what I use:
- Clean rag or paper towels: To wipe the reservoir cap and avoid getting dirt inside.
- Owner’s manual: This tells you where the brake fluid reservoir is and what type of fluid to use.
- Flashlight (optional): Handy if you’re working in low light or your engine bay is cramped.
- Brake fluid (optional): Only if you need to top it off. Make sure it matches your car’s specifications — DOT 3, DOT 4, DOT 5, or DOT 5.1.
I keep these in a small toolbox so I’m ready whenever I need to check. It’s like prepping for a quick recipe — having everything on hand makes it so much easier.
Top-Off Pick
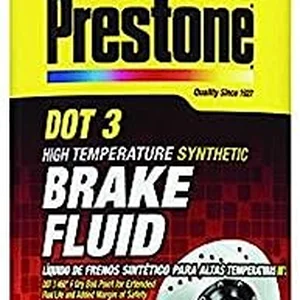
Prestone AS401 DOT 3 Synthetic Brake Fluid – 32 oz
The most common fluid spec for everyday cars and trucks — keep a bottle on hand for topping off between the MIN and MAX lines.
- Best for: Most standard cars and trucks that call for DOT 3
- Why we picked it: Both wet and dry boiling points exceed federal minimums, and it’s the fluid type most owner’s manuals actually list
- Main drawback: Not compatible with cars that require DOT 5 silicone fluid — check your cap first
Compare more brake fluid check & top-off options
|
Option 1 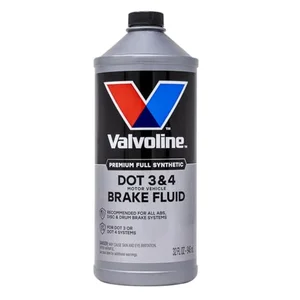 Valvoline DOT 3 & 4 Synthetic Brake Fluid
|
Option 2 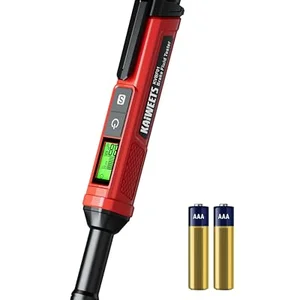 KAIWEETS Brake Fluid Tester Pen
|
Option 3 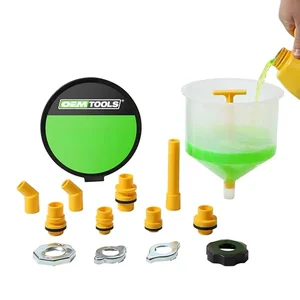 OEMTOOLS No-Spill Funnel Kit
|
As an Amazon Associate we earn from qualifying purchases.
How to Locate the Brake Fluid Reservoir
The first time I tried checking my brake fluid, I spent way too long searching under the hood. Every car is a bit different, but I’ve got a simple way to find the reservoir. It’s usually near the back of the engine bay, on the driver’s side. Look for a small plastic container with a screw-on cap. It’s often clear or semi-clear, so you can see the fluid inside. Some cars have a label that says “Brake Fluid” or “DOT 3” or “DOT 4.”
If you’re struggling, grab your owner’s manual. It’ll have a diagram or description of where to look. In my old sedan, the reservoir was tucked near the firewall, but in my new SUV, it’s right up front. Once you find it, you’re halfway there!
Step-by-Step Guide to Checking Brake Fluid
Alright, let’s get to the fun part. I’m going to walk you through exactly how I check my brake fluid. It takes about five minutes, and you’ll feel like a pro when you’re done. Here’s what I do:
Step 1: Park on a Level Surface
I always park my car on a flat driveway or garage floor. This ensures the fluid level isn’t skewed. Make sure the engine is off and the car has cooled down. Hot engines can burn you, and I learned that the hard way!
Step 2: Pop the Hood
Open your hood and secure it. I usually double-check that it’s locked in place so I can work safely. If you’re not sure how to open it, your owner’s manual will show you the lever or button.
Step 3: Find the Reservoir
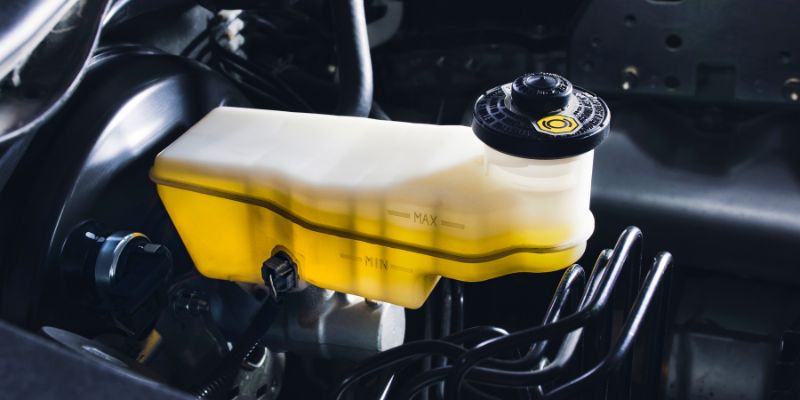
Like I mentioned earlier, locate the brake fluid reservoir. It’s usually a small, plastic tank with “MIN” and “MAX” lines marked on the side. If it’s dirty, you might need to wipe it down to see the fluid level clearly.
Step 4: Check the Fluid Level
Look at the side of the reservoir. The fluid should be between the “MIN” and “MAX” lines. In my car, the fluid looks like a light amber color when it’s fresh. If it’s below the “MIN” line, you’ll need to add more. If it’s above “MAX,” don’t ignore it either — an overfull reservoir is usually a sign of worn brake pads pushing fluid back into the system, not something to just top off.
Step 5: Inspect the Fluid Condition
While you’re there, check how the fluid looks. Fresh brake fluid is clear or slightly amber. If it’s dark brown, black, or cloudy, it’s time to flush and replace it. I once ignored dirty fluid, and my brakes started feeling sluggish, so don’t skip this step.
Step 6: Clean the Cap Before Opening
If you need to add fluid, wipe the reservoir cap with a clean rag. Dirt or debris can contaminate the fluid, and that’s bad news for your brakes. I learned this tip from a mechanic friend, and it’s saved me from potential headaches.
Step 7: Add Fluid (If Needed)
If the level is low, add the correct type of brake fluid. Check your owner’s manual for the right DOT rating (like DOT 3 or DOT 4). Pour slowly to avoid spills, and don’t overfill past the “MAX” line. I keep a small funnel handy for this — it makes things less messy.
Step 8: Secure the Cap and Close the Hood
Screw the cap back on tightly and make sure everything’s clean. Close the hood, and you’re done! I always feel a little proud when I finish this task — it’s like giving my car a quick health check.
Understanding Brake Fluid Types
One thing I wish I’d known sooner is that not all brake fluids are the same. Most cars in the USA use DOT 3 or DOT 4, but some high-performance vehicles need DOT 5 or DOT 5.1. Here’s a quick breakdown of what I’ve learned:
| Fluid Type | Description | Common Use |
|---|---|---|
| DOT 3 | Glycol-based, absorbs water over time | Most standard cars and trucks |
| DOT 4 | Similar to DOT 3 but with a higher boiling point | Performance cars, some SUVs |
| DOT 5 | Silicone-based, doesn’t absorb water | Classic cars, some military vehicles |
| DOT 5.1 | Glycol-based, high boiling point | High-performance or heavy-duty vehicles |
Never mix DOT 5 with any other type. DOT 3, DOT 4, and DOT 5.1 are all glycol-based and mix fine with each other (though matching your manual’s exact spec is still best). DOT 5 is silicone-based and chemically incompatible — mixing it into a glycol system can cause seals to swell, fail, or trap air, leading to a spongy or unresponsive pedal.
I always double-check my owner’s manual to make sure I’m using the right one. Mixing different types can damage your braking system, so don’t guess. If you’re unsure, a quick call to your mechanic can clear things up.
Why Brake Fluid Needs Time-Based Replacement, Not Just Mileage
Here’s something a lot of guides skip: DOT 3, DOT 4, and DOT 5.1 fluids are hygroscopic, meaning they absorb moisture from the air even in a sealed system. That’s why manufacturers set a replacement schedule by time (usually every 2 years) instead of just by mileage — the fluid degrades whether you’re driving or not.
By the Numbers
DOT 3 fluid can absorb roughly 1-2% moisture per year. According to brake fluid data cited on Wikipedia’s brake fluid overview, even a small amount of absorbed water sharply lowers the fluid’s boiling point — and once moisture content climbs past roughly 3%, the drop is steep enough that hard braking on a hill or in traffic can cause the fluid to vaporize, creating a spongy pedal or partial brake fade.
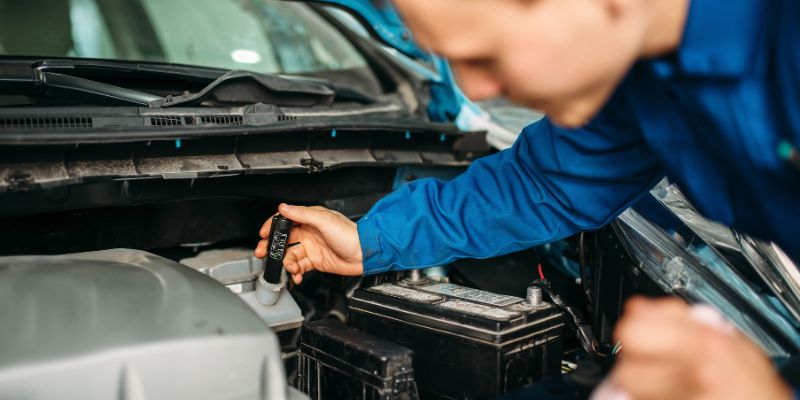
This is exactly why a brake fluid tester pen is worth keeping in the glovebox if you want more than a visual color check — it reads the actual moisture percentage instead of just the color, so you know whether you’re looking at a simple top-off or a full flush.
When to Check Brake Fluid
I check my brake fluid every three months or before a long road trip. It’s also a good idea to check it if you notice any of these signs:
- Your brake pedal feels soft or spongy.
- The brake warning light comes on.
- You hear squealing or grinding when braking.
- It’s been over a year since your last brake fluid change.
I learned to stay proactive after a friend had to replace her brake system because she ignored low fluid levels. A quick check can save you from big trouble. If you’re hearing noise on top of a fluid concern, it’s worth reading up on how to fix squeaky brakes too, since worn pads and low fluid sometimes show up together.
What to Do If the Fluid Is Low
If your brake fluid is below the “MIN” line, don’t panic. It happened to me once, and I handled it like this:
- Top it off: Add the correct brake fluid until it’s between the “MIN” and “MAX” lines.
- Check for leaks: Low fluid can mean a leak in the brake lines or master cylinder, or it can simply mean your brake pads are worn down (as pads wear, the caliper pistons extend further and use more fluid). Look under the car for puddles or wet spots. I once found a small leak under my car, and catching it early saved me a lot of money.
- Monitor it: After topping off, check the level again in a week. If it’s low again, take your car to a mechanic.
If you’re not comfortable doing this, a trusted mechanic can handle it. I’ve learned that it’s okay to ask for help when you’re unsure.
When to Flush and Replace Brake Fluid
Brake fluid doesn’t last forever. Over time, it absorbs water, which lowers its boiling point and makes your brakes less effective. I flush my brake fluid every two years or every 30,000 miles, whichever comes first, and I check the color at every level check in between. Your owner’s manual will have specific recommendations.
Flushing involves draining the old fluid and replacing it with fresh fluid. It’s a bit more complex than checking, so I usually let a professional handle it. The first time I had it done, I noticed my brakes felt sharper and more responsive. It’s worth the investment for peace of mind.
Common Mistakes to Avoid
I’ve made my share of mistakes when checking brake fluid, so let me save you some trouble. Here are a few things to watch out for:
- Using the wrong fluid: Always use the type specified in your owner’s manual. I once grabbed DOT 4 when my car needed DOT 3, and I had to flush the system to fix it.
- Overfilling the reservoir: Too much fluid can cause pressure issues. Stick to the “MAX” line.
- Letting dirt in: Always clean the cap before opening it. A tiny speck of dirt can cause big problems.
- Ignoring warning signs: If your brakes feel off, don’t wait. Check the fluid and get help if needed.
Safety Tips for Checking Brake Fluid
Safety is my top priority when working on my car. Here are some tips I follow:
- Work in a well-ventilated area. Brake fluid can have a strong smell.
- Avoid getting fluid on your skin or clothes. It’s corrosive and can damage paint, too.
- Keep brake fluid away from open flames. It’s flammable and can ignite if it contacts a hot surface or spark.
- Wear gloves if you’re handling brake fluid directly. It can irritate your skin.
- If you spill fluid on your car’s paint, wipe it off immediately with a damp cloth to prevent damage.
These tips have saved me from accidents and messes, so I stick to them every time.
Frequently Asked Questions
How Often Should You Replace Brake Fluid?
Brake fluid should typically be replaced every two years or every 30,000 miles, depending on your car’s maintenance schedule. I follow the interval in my car’s manual, but I also keep an eye out for signs like dark fluid or a spongy brake pedal. If you’re unsure, a mechanic can test the fluid’s water content with a tester pen to see if it needs replacing.
Can You Mix Different Types of Brake Fluid?
You can mix DOT 3, DOT 4, and DOT 5.1 with each other since they’re all glycol-based, though matching the exact spec in your owner’s manual is still best. Never mix DOT 5 (silicone-based) into a glycol system — I made this mistake once, and it caused issues with my braking system. Mixing incompatible fluids can lead to seal damage, corrosion, or reduced braking performance.
What Does It Mean If My Brake Fluid Is Dark?
Dark brake fluid usually means it’s old or contaminated with moisture. Clear or light amber is healthy; dark brown or black means it’s time for a flush. When I noticed my fluid was dark brown, I had it flushed, and my brakes felt much better afterward.
Is It Safe to Drive with Low Brake Fluid?
Driving with low brake fluid is risky. I’ve done it briefly to get to a mechanic, but it’s not something to ignore. Low fluid can make your brakes less effective, increasing stopping distance or causing brake failure. Top it off or get it checked by a professional right away.
What If Brake Fluid Is Above the MAX Line?
Don’t just leave it or try to remove it yourself without knowing why. An overfull reservoir is most often a sign that your brake pads are worn down — as pads wear, the caliper pistons push out further and displace fluid back into the reservoir. Have a mechanic check pad wear before assuming the level itself is the problem.
How Do I Know If I Need a Top-Off or a Full Flush?
If the level is just low but the fluid still looks clear or light amber, a top-off is usually enough. If the fluid looks dark, cloudy, or a tester pen shows moisture content above roughly 3%, it needs a full flush, not just a top-off, since the fluid itself has degraded.
Conclusion
Checking your brake fluid is one of those small tasks that makes a big difference. It’s like checking the oil in your engine — it keeps everything running smoothly and safely. By following the steps above, you can easily check your brake fluid and catch issues before they become serious. Grab a rag, pop the hood, and give it a try. If you drive a Honda Civic, our Civic-specific brake fluid guide covers the exact reservoir location for that model. And if brakes feel off for other reasons, see our guides on changing brake pads and driving with the ABS light on.
Products related to this article
Sponsored / affiliate links. As an Amazon Associate I earn from qualifying purchases. I may earn additional commission from eligible campaigns.