How to Connect a Car Amp to a Wall Plug at Home Safely
Connecting a car amp to a wall plug at home allows you to repurpose powerful automotive audio equipment for indoor listening or testing. While it requires more than just plugging it in, the process is straightforward with the right knowledge and components.
This complete guide provides the step-by-step instructions, safety precautions, and component recommendations you need to successfully power a car amplifier using household electricity.
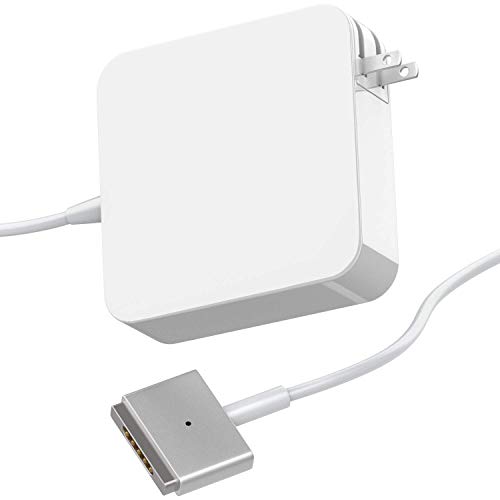
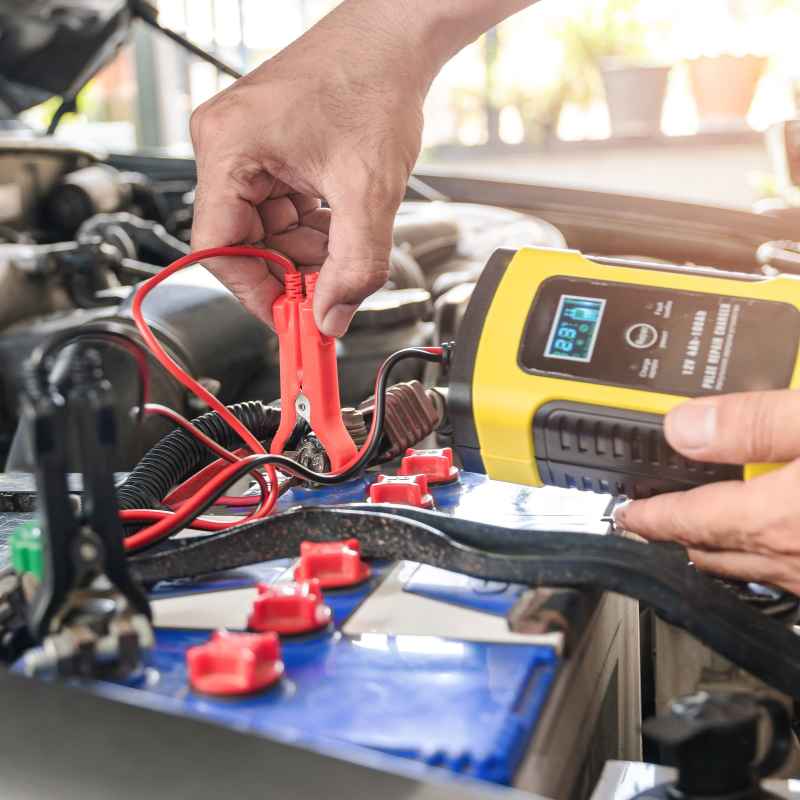
Simply put, you cannot connect a car amp directly to a wall outlet. You need a high-current DC power supply, like a converted PC PSU or a dedicated car audio PSU, to convert 120V/240V AC wall power into stable 12V DC power that the amp can use safely — that is a different, much higher-current category than the smaller car lighter converters used for lower-draw accessories like inflators or coolers.
Key Takeaways
- Connecting a car amp to a wall plug always requires a power supply unit (PSU) to convert household AC to automotive DC.
- Matching the PSU voltage and continuous current ratings to your amplifier demands is essential for reliable operation.
- Proper wire gauge, inline fusing, and secure grounding are just as critical in a home setup as they are in a vehicle.
- Always disconnect the PSU from AC power before making or altering any wiring connections to prevent shorts or injury.
What You Need to Connect a Car Amp to a Wall Plug
Before you start, gather all the necessary components. Using the correct parts ensures both safety and good audio performance from your indoor amplifier setup.
- Power Supply Unit (PSU): A 12V DC PSU with enough amperage for your specific amplifier.
- Car Amplifier: The amplifier you plan to power at home.
- Power Wire (8 to 4 AWG): Heavy gauge wire rated for the current the amp pulls.
- Ground Wire: Same gauge as the power wire for the ground connection.
- Inline Fuse Holder and Fuse: Protects the wiring and amplifier from a short circuit.
- Remote Turn-On Jumper: A small piece of wire to activate the amp.
- RCA Cables: To connect your phone, computer, or other audio source to the amp.
- Speaker Wire: To connect speakers to the amplifier outputs.
- Multimeter: For verifying voltage and continuity during setup.
- Wire Strippers and Crimpers: Tools for preparing clean connections.
Having everything ready before you start makes the wiring process cleaner and reduces the risk of mistakes.
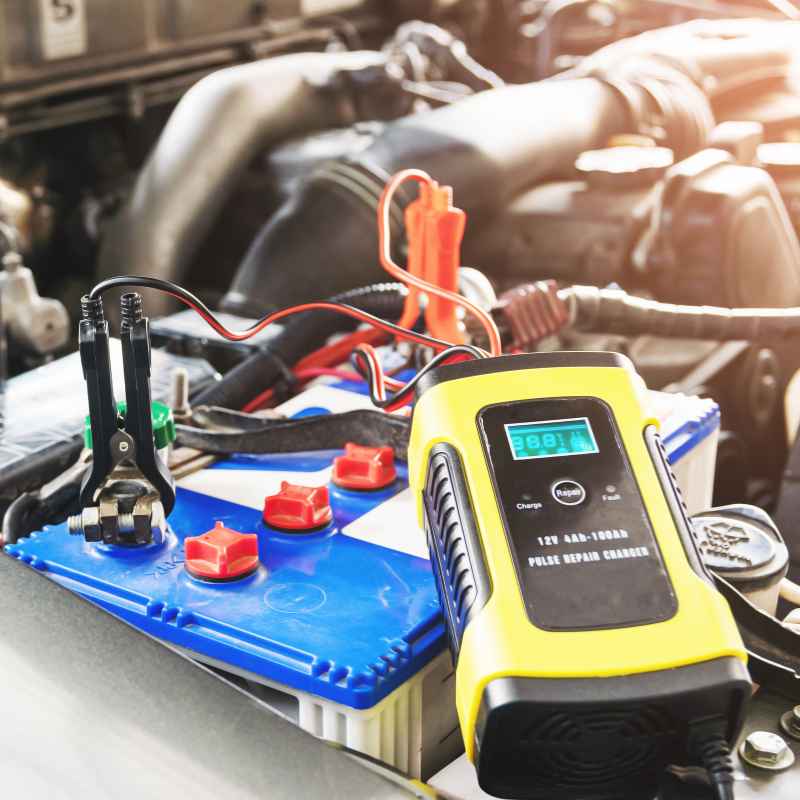
Understanding Power Requirements for Car Amps at Home
Car amplifiers are built strictly for 12V DC electrical systems. Household outlets provide 120V or 240V alternating current (AC). You must convert that AC power to clean, stable DC power.
The current draw of your amplifier determines the size PSU you need. A 500-watt RMS amp drawing 40 amps requires a power supply rated for at least 40 amps continuous. Oversizing the PSU by 10-20% provides headroom and prevents the unit from running at its limit.
| Amp Power (RMS) | Estimated Current Draw | Recommended PSU Size |
|---|---|---|
| 200W RMS | ~16 Amps | 20 Amp (240 Watt) |
| 500W RMS | ~40 Amps | 40 Amp (480 Watt) |
| 1000W RMS | ~80 Amps | 80 Amp (960 Watt) |
Selecting a PSU that slightly exceeds your amplifier needs ensures stable voltage during heavy music passages and extends the life of both the power supply and the amp electronics.
Choosing the Right Power Supply Unit (PSU)
You have two main options when selecting a PSU for connecting a car amp to a wall plug: a modified computer ATX power supply or a dedicated car audio power supply.
Each choice has distinct trade-offs in cost, performance, and ease of use for your indoor listening environment.
Option 1: Modified ATX Computer Power Supply
This is a budget-friendly way to power lower-wattage amps for testing or casual listening. Many users recycle old PC power supplies for this purpose.
- Pros: Very low cost or free, widely available, compact form factor, built-in cooling fan.
- Cons: Requires modification (jumping the green wire to ground), limited current on the 12V rail (usually 20-40 amps), voltage may fluctuate under load.
- Best for: Small mono amps, class D amps, or testing setups under 300W RMS.
Option 2: Dedicated Car Audio Power Supply
These purpose-built units are designed specifically for powering car audio equipment indoors. They offer superior performance and convenience.
- Pros: High continuous current (50-100 amps+), stable adjustable voltage (12V-15V), binding posts for easy wiring, designed for long-duration use.
- Cons: Higher cost, heavier weight, larger physical footprint.
- Best for: High-power systems (500W+ RMS), critical listening sessions, reliable daily indoor use.
For most enthusiasts, a dedicated car audio PSU or a high-current server power supply provides the best combination of reliability and performance.
Step 1: Prepare Your Power Supply and Wiring
Proper preparation prevents electrical hazards and ensures your amplifier receives clean, stable power. Follow these steps carefully before connecting anything.
- Set the PSU voltage: If using an adjustable unit, set the output voltage to between 12.0V and 13.8V DC. The 13.8V setting closely matches a running car electrical system.
- Install the inline fuse: Mount the fuse holder on the positive power wire within 12 inches of the PSU output terminal. Insert the fuse only after all wiring is complete.
- Cut wires to length: Measure the distance between the PSU and the amplifier. Keep wires as short as possible to reduce resistance and voltage drop.
- Strip wire ends cleanly: Strip about half an inch of insulation from the ends of the power and ground wires. Avoid nicking the copper strands.
- Crimp or solder terminals: Attach ring or spade terminals to the wire ends for a secure connection to the PSU binding posts and amplifier terminals.
Warning: Never plug the PSU into the wall outlet until all wiring between the PSU and the amplifier is complete and fully tightened. Loose or stray wires can cause dangerous short circuits.
Step 2: Connect the Power Supply to the Car Amp
This is the central step in connecting a car amp to a wall plug. Pay very close attention to polarity and terminal assignments.
Verify the PSU is completely unplugged from AC power before making any low-voltage DC connections. Safety first.
- Positive (+12V): Connect the fused red power wire from the PSU +12V terminal to the amplifier +12V or BATT terminal. Tighten securely.
- Ground (GND): Connect the black ground wire from the PSU GND or – terminal to the amplifier GND terminal. Use the same gauge as the power wire.
- Remote (REM): Connect a short jumper wire from the amplifier REM terminal to the PSU +12V terminal. This acts as a switch to turn the amplifier on.
After tightening each terminal, give the wires a gentle tug to confirm they are locked in place. Loose connections create resistance, generate heat, and can damage the amplifier or cause intermittent audio dropouts.
Tip: Use your multimeter to test continuity between the PSU ground terminal and the amplifier ground terminal before plugging in power. This confirms a solid path for current flow.
Step 3: Connect Your Audio Source and Speakers
With power wiring complete, you can now route the audio signal to the amplifier and the amplified signal to your speakers.
Most home setups use a phone, laptop, or desktop computer as the source component. A simple 3.5mm to RCA adapter cable bridges the gap between consumer audio gear and the amplifier inputs.
- Connect RCA cables: Plug the RCA ends into the amplifier input jacks. Connect the 3.5mm end to your audio source headphone or line output.
- Connect speaker wires: Run speaker wire from the amplifier speaker output terminals to your passive home speakers. Maintain polarity (+ to +, – to -).
- Set the gain to minimum: Turn the amplifier gain control fully counterclockwise. This prevents distortion and protects your speakers during the initial power-on.
Using quality shielded RCA cables helps prevent alternator whine or buzzing noise, which is often more audible in a quiet home environment.
Step 4: Power On and Test the Setup Safely
You are now ready to apply power and verify the system works correctly. Follow this sequence closely to avoid damage and confirm safe operation.
- Visually inspect all wiring: Double-check every connection for tightness, correct polarity, and stray wire strands.
- Insert the main fuse: Place the correct value fuse into the inline holder near the PSU.
- Plug in the PSU: Connect the power supply to the wall outlet. The PSU cooling fan should spin up immediately.
- Test for voltage: Use your multimeter to confirm 12V DC between the amplifier power and ground terminals.
- Connect the remote jumper: Touch the remote jumper wire to the +12V terminal. The amplifier power LED should light up.
- Play audio at low volume: Start a music track and slowly increase the amplifier gain to match your listening preferences.
If the amplifier enters protect mode, immediately disconnect power. Check for speaker wire shorts, correct impedance load, and PSU voltage under load.
Common Mistakes When Connecting a Car Amp to House Power
Avoiding these frequent errors will save you time and prevent damage to your equipment during setup.
- Using a PSU with too low amperage: This causes voltage sag, clipping distortion, and potential shutdowns. Always match or exceed the amplifier total fuse rating.
- Forgetting the remote turn-on wire: The amplifier will not turn on without 12V applied to the REM terminal. A simple jumper wire from +12V solves this.
- Poor grounding technique: A bad ground connection introduces noise, heat, and voltage instability. Use a direct, heavy-gauge wire between PSU ground and amp ground.
- Skipping the inline fuse: A short circuit without a fuse can melt wire insulation and start a fire. Always fuse the main power wire near the PSU positive terminal.
- Overloading the home circuit: A 500W car amp can draw 40+ amps from the PSU, which translates to around 500 watts from the wall. Ensure no other high-power devices share the same circuit.
Important: Your home electrical circuit must handle the continuous load. Most standard household circuits are rated for 15 or 20 amps at 120V (1800-2400 watts). Stay well below the circuit breaker rating to avoid tripping.
Matching Wire Gauge to Current Draw
Using the correct power wire thickness prevents voltage drop and overheating. Thinner wire creates resistance that robs your amplifier of power.
| Current Draw (Amps) | Minimum Wire Gauge (AWG) | Max Fuse Size |
|---|---|---|
| 20 Amps | 12 AWG | 25 Amps |
| 40 Amps | 8 AWG | 50 Amps |
| 60 Amps | 6 AWG | 80 Amps |
| 80-100 Amps | 4 AWG | 100 Amps |
Selecting wire that is too thin for your current draw creates a fire hazard. When in doubt, go up one gauge size for an extra margin of safety.
Pro Tips for a Reliable Indoor Car Amp Setup
Implement these professional recommendations to get the best performance and longevity from your home-based car audio amplifier.
Ventilation is Critical
Car amplifiers and power supplies generate significant heat, especially during sustained use. Place both components on a hard, flat surface with open space around their cooling fins or fans. Never enclose them in a confined cabinet.
Consider a Line Output Converter
If you are using a car stereo head unit indoors, a line output converter (LOC) can accept high-level speaker signals and convert them to clean RCA inputs for your amplifier.
Use a Capacitor for High-Power Systems
For systems drawing over 60 amps, adding a capacitor near the amplifier helps stabilize voltage during demanding bass hits and reduces strain on the power supply.
These small additions dramatically improve the stability, sound quality, and reliability of your indoor amplifier setup.
Frequently Asked Questions
Can I plug a car amplifier directly into a wall outlet?
No, you cannot. A car amplifier requires 12V direct current (DC) to operate. A standard wall outlet provides 120V or 240V alternating current (AC).
You must use a power supply unit (PSU) to convert the voltage and current type.
What size power supply do I need for my car amplifier?
The PSU must supply at least the same amperage as the total value of the fuses on your amplifier. For example, if your amp has a single 40-amp fuse, choose a 12V DC PSU rated for 40 amps continuous output or higher.
Can I use a computer power supply to run my car amp?
Yes, a modified ATX power supply works well for low to medium power car amplifiers. You must bridge the green power-on wire to a ground wire to activate the PSU and ensure your specific model can deliver enough current on the 12V rail.
How do I turn on a car amp without a car stereo at home?
You can turn on a car amplifier at home by connecting a short jumper wire from the amplifier remote (REM) terminal to a +12V power source. This tells the amplifier to power up. Many users simply bridge the BATT and REM terminals.
Is it safe to leave a car amplifier running on a power supply all day?
Yes, it is safe if the setup includes a properly rated PSU, adequate ventilation, correct wire gauge, and an inline fuse. Ensure the amplifier and PSU have cooling airflow and are not exposed to moisture or flammable materials.
Final Thoughts
Connecting a car amp to a wall plug is a rewarding project that brings high-quality automotive audio into your home space. By selecting the correct power supply, wiring everything securely, and prioritizing safety with fuses and ventilation, you can enjoy reliable performance for years. Always double-check your connections before applying power, and never compromise on safety standards for convenience.
Products related to this article
Sponsored / affiliate links. As an Amazon Associate I earn from qualifying purchases. I may earn additional commission from eligible campaigns.