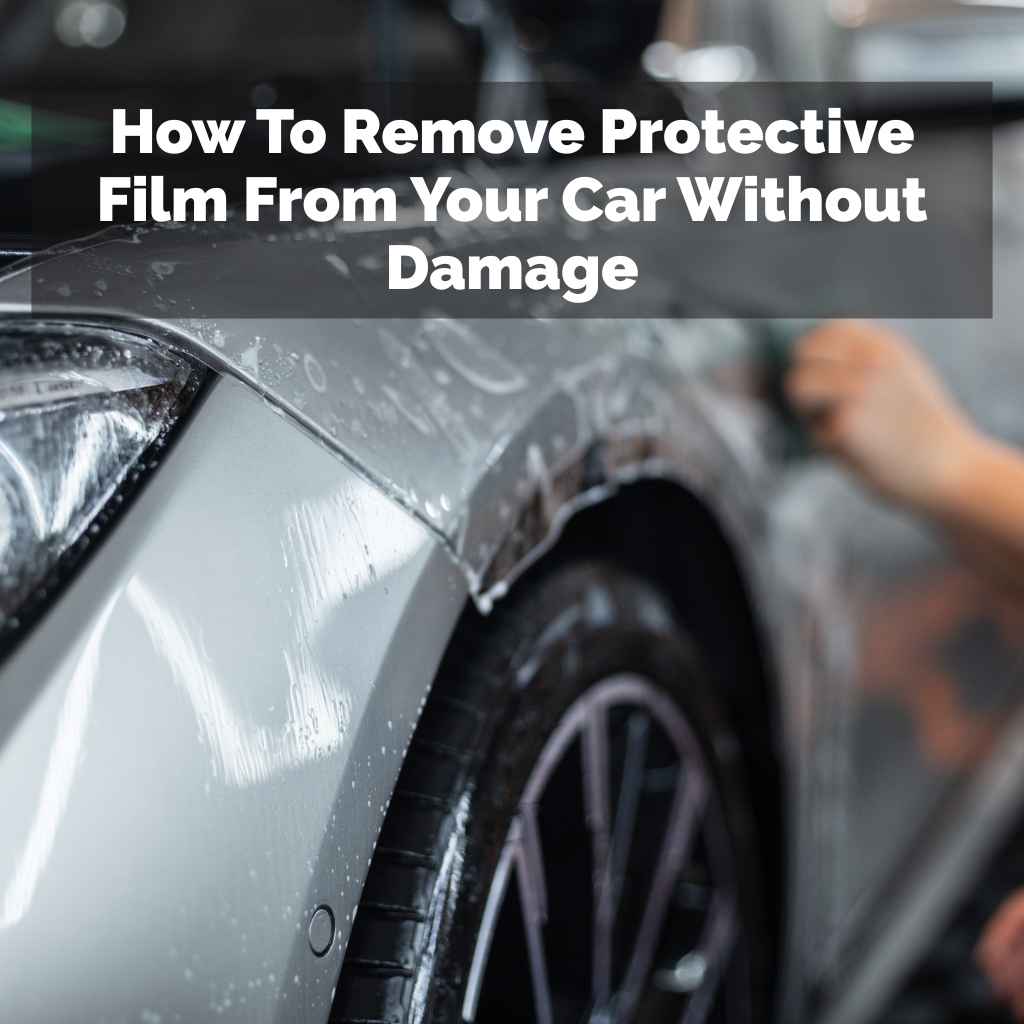
How To Remove Protective Film From Your Car Without Damage
Removing protective film from your car is usually straightforward. The key is gentle, steady work. You’ll want to use the right tools and techniques to avoid scratching the paint or leaving sticky residue behind.
We will cover the best ways to do this safely and effectively.
Understanding Protective Car Film
This film is a temporary skin. It shields your car from small scratches. It also protects against dust and debris during shipping and handling.
Most car manufacturers use it. They want your car to arrive in perfect shape. The film is usually a clear, thin plastic.
Sometimes it has a slightly matte finish. You’ll often see it on the hood, fenders, doors, and bumpers. It’s designed to peel off easily.
But sometimes, it can be stubborn.
The reason for its use is simple: buyer satisfaction. When you buy a new car, you expect it to be flawless. This film helps guarantee that.
It stops minor transport damage. This is a big deal for car makers and dealers. For you, the car owner, it’s the first step to enjoying your new ride.
Removing it is a rite of passage.
There are different types of protective films. Some are very thin and come off quickly. Others might be a bit thicker.
They could have air bubbles or creases. These can make removal tricky. Understanding what you’re dealing with helps.
Most are made of polyethylene. This plastic is soft and flexible. It clings well but can leave residue if left on too long.
My First Time Removing Car Film: A Sticky Situation
I remember picking up my first brand-new car. It was a sporty red coupe. I was thrilled!
The salesman pointed out the protective film on the hood. “Just peel it off when you get home,” he said with a smile. I drove home, giddy with excitement.
As soon as I pulled into my driveway, I went to peel the film. I grabbed a corner and pulled. It came off, but it left a sticky, gooey mess behind.
Panic set in. I thought I had ruined my new car’s paint. I spent hours scrubbing with different cleaners.
Some made it worse. It felt like a nightmare. I finally found a good cleaner online and it worked.
But the stress was immense. I learned a lot that day. It taught me to be patient.
It also showed me the importance of knowing the right way to do things.
How to Safely Remove Protective Car Film
Taking off this film is not hard. You just need a few things. Patience is key.
Taking your time prevents damage. You’ll need a clean workspace. Avoid direct, hot sun.
The sun can make the film sticky. It can also heat up your car’s paint. This makes removal harder.
It can even damage the paint.
Here’s what you’ll need:
- Clean microfiber cloths.
- A plastic razor blade or plastic scraper.
- A mild car wash soap.
- Warm water.
- An automotive adhesive remover or isopropyl alcohol (rubbing alcohol).
- A spray bottle.
First, wash your car. This gets rid of dirt and grit. You don’t want to drag dirt across the paint.
Use a gentle car wash soap. Rinse the car thoroughly. Let it drip dry or use a clean microfiber towel.
Make sure the surface is cool to the touch.
Now, find a corner of the film. Gently try to lift it. If it starts to peel easily, go slow.
Pull it at a low angle. Keep the angle consistent. Pulling straight up can stress the paint.
Pulling too fast can tear the film. This leaves small pieces behind.
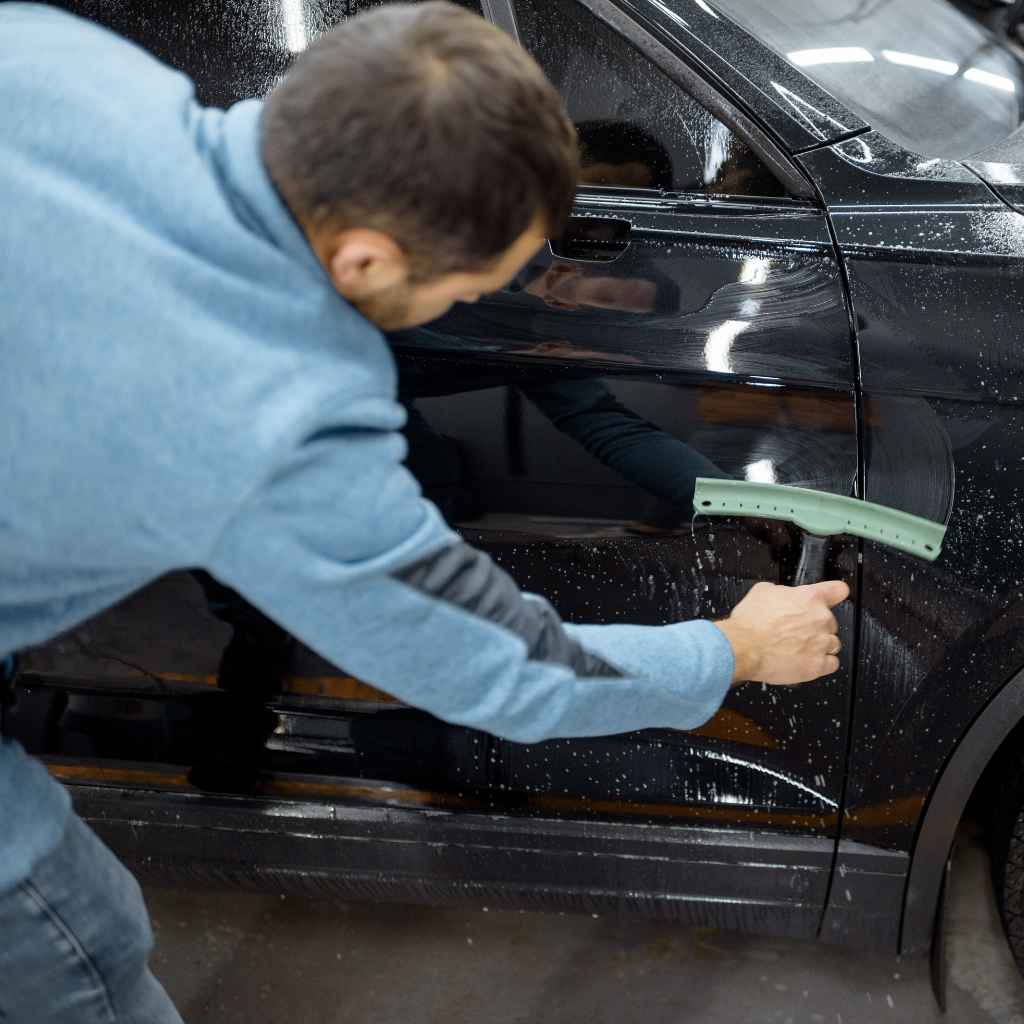
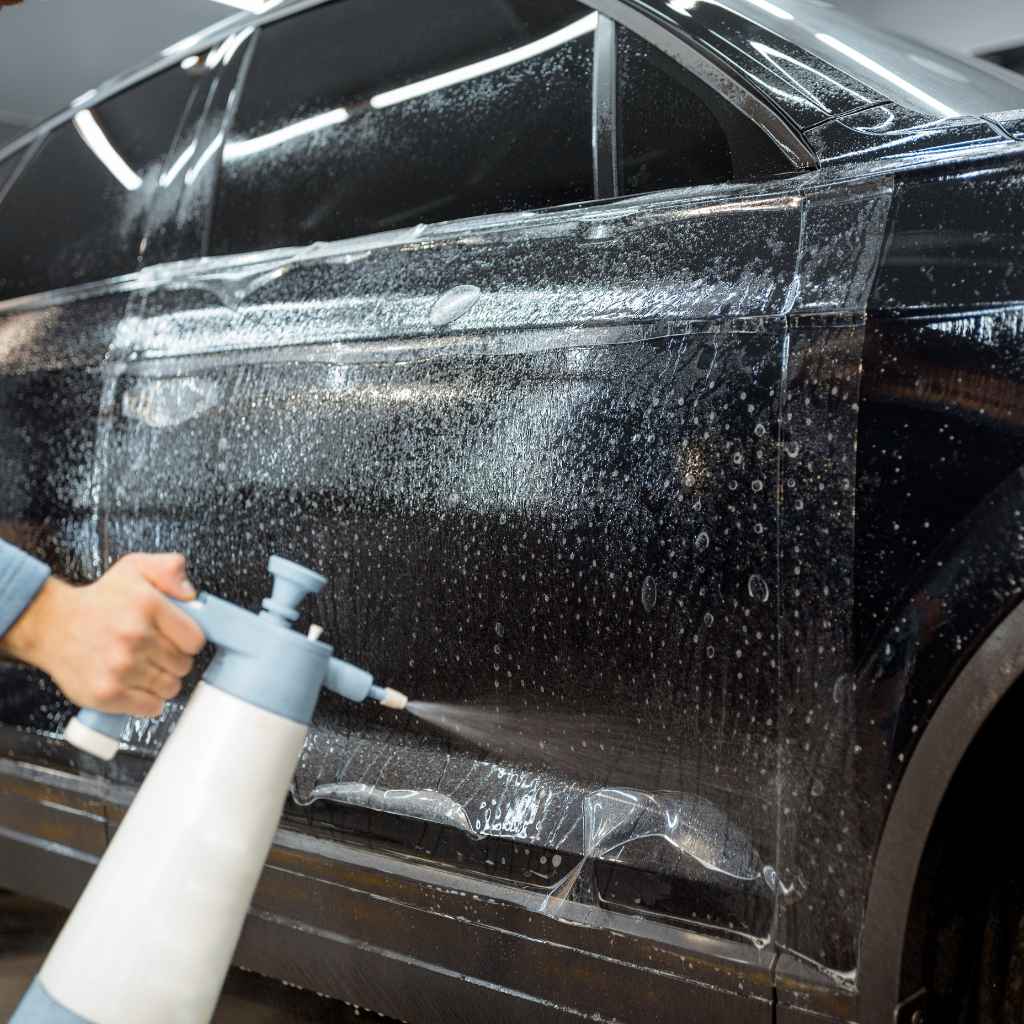
If the film is sticky or hard to lift, don’t force it. This is where your tools come in. Lightly mist the area with warm water mixed with a little soap.
This can help lubricate the edge. Then, try your plastic scraper or razor blade. Hold it at a very shallow angle.
Glide it under the edge of the film. Work slowly. Apply gentle pressure.
The goal is to lift the film, not dig into the paint. Be very careful here. The paint underneath is what you’re protecting.
As you peel, keep the film in one piece if possible. This makes cleanup easier. Work in sections.
Don’t try to remove it all at once if it’s difficult. If a section is very stubborn, you might need a little help from a cleaner. Spray a small amount of adhesive remover or rubbing alcohol onto a microfiber cloth.
Gently wipe the edge of the film. This can help dissolve the adhesive. Let it sit for a moment.
Then, try peeling again with your plastic tool.
Once the film is off, you’ll likely see some residue. This is normal. It’s the adhesive left behind.
Don’t panic. Your car’s paint is likely fine. You just need to clean the adhesive off.
Use your adhesive remover or rubbing alcohol on a clean microfiber cloth. Gently rub the residue in a circular motion. It should start to break down and lift away.
You might need to repeat this a few times. Be patient. Keep the area clean.
Use fresh parts of the cloth as needed.
After all the residue is gone, wash the car again. This removes any cleaner. Then, dry it with a clean microfiber towel.
You can then apply a coat of wax. This adds an extra layer of protection. It also makes your car’s paint shine.
You’ve successfully removed the protective film.
Essential Tools for Film Removal
Microfiber Cloths: You need many of them. They are soft. They won’t scratch paint.
Use them for cleaning and drying. Always use clean ones.
Plastic Razor Blade: This is safer than a metal one. It’s designed for car surfaces. Use it at a low angle.
Never dig it in.
Adhesive Remover: Look for one made for automotive use. Isopropyl alcohol (rubbing alcohol) also works well. Test it in an inconspicuous spot first.
Warm Water & Mild Soap: For washing the car. This removes grit. It prepares the surface.
Common Mistakes and How to Avoid Them
Many people make mistakes when removing this film. These mistakes can lead to scratches. They can also leave sticky residue that’s hard to remove.
Understanding these pitfalls helps you avoid them.
One common mistake is using metal tools. A metal razor blade or scraper will easily scratch your car’s paint. Always use plastic.
Plastic tools are much safer. They are designed for delicate surfaces like car paint. Even with plastic, use a shallow angle and gentle pressure.
Another mistake is pulling the film too hard or too fast. This can cause the film to tear. It can also pull unevenly.
This may leave small pieces stuck to the car. It can also stretch the film. This makes it harder to control.
Gentle, steady pressure is the best approach.
Working in direct sunlight is also a bad idea. Hot sun heats the film and the adhesive. This makes it extra sticky.
It can also make the paint soft. This increases the risk of damage. Always try to work in the shade.
Or work early in the morning or late in the afternoon. The surface should always be cool.
Not washing the car first is another error. Dirt and debris can get trapped under the film. When you pull or scrape, this grit can scratch the paint.
A thorough wash removes these contaminants. It ensures a clean surface to work on.
Using harsh chemicals is also a risk. Some strong cleaners can damage car paint. Always use mild soap for washing.
For adhesive removal, use products specifically made for cars. Or use isopropyl alcohol. Test any cleaner on a small, hidden area first.
This checks for any adverse reactions.
Leaving residue too long is a problem. The longer the adhesive sits, the harder it is to remove. Deal with any residue as soon as you notice it.
Don’t let it bake into the paint under the sun.
Contrast Matrix: Film Removal Dos and Don’ts
Do:
- Work in the shade.
- Use plastic tools.
- Pull film at a low angle.
- Wash car first.
- Use automotive adhesive remover.
- Be patient and gentle.
Don’t:
- Use metal tools.
- Pull film quickly or forcefully.
- Work in direct sun.
- Skip the car wash.
- Use harsh household cleaners.
- Rush the process.
Real-World Scenarios
Let’s look at different situations where you might remove protective film.
Scenario 1: Brand New Car Delivery
This is the most common. The film is fresh. It should peel off relatively easily.
You’ll typically find it on high-contact areas like the hood, fenders, and door edges. The main concern here is ensuring no scratches occur during removal. Patience and a plastic scraper are your best friends.
Scenario 2: Car Bought Used with Film Still On
Sometimes, a car owner might forget to remove the film. Or they might have applied extra protection. If you buy a used car and find film, it could be old.
Old film can be brittle. It might stick much harder. The adhesive could be baked on.
This means you’ll likely need adhesive remover. You might also need a bit more effort with the plastic scraper. Always test your cleaner first on a hidden spot.
Older film is more prone to tearing.
Scenario 3: Dealer Applied Paint Protection Film (PPF)
This is different from the temporary shipping film. Paint Protection Film is a thicker, more durable clear bra. It’s designed to stay on the car for years.
It protects against rock chips and scratches. If you mean this type of film, it’s not meant for easy removal by the owner. PPF removal is a professional job.
It requires special tools and techniques. Trying to remove PPF yourself can easily damage your paint. Always confirm if it’s temporary shipping film or permanent PPF.
Scenario 4: Film on Specific Parts (e.g., Door Sill Protectors)
Some cars come with pre-applied plastic protectors. These are on door sills or the rear bumper. They are usually stuck on with strong double-sided tape.
Removing these requires more force. You might need a heat gun on a low setting to soften the adhesive. Be very careful not to overheat the paint.
A plastic scraper and adhesive remover will be essential. Again, if it looks like a permanent add-on, confirm its purpose.
The environment you’re working in matters. A clean garage is ideal. It’s free from dust and direct sun.
If you’re outside, find a shady spot under a tree or a carport. Ensure good lighting so you can see what you’re doing. Avoid windy days if possible.
Wind can blow debris onto the wet surfaces.
Observational Flow: Removing Stubborn Film
Step 1: Assess the film. Is it brittle or pliable? Are there many creases?
Step 2: Clean the area. Wash and dry thoroughly.
Step 3: Test a corner. Try to peel gently. If it tears or sticks too much, stop.
Step 4: Apply lubricant. Mist with warm, soapy water. Or use adhesive remover on a cloth.
Step 5: Use plastic tool. Hold at a shallow angle. Gently lift edge.
Step 6: Work slowly. Peel in one direction at a low angle.
Step 7: Address residue. Use remover and microfiber cloth.
Step 8: Final wash and dry. Ensure all cleaner is gone.
What This Means for Your Car’s Paint
When the protective film comes off, it’s a moment of truth for your car’s paint. Most of the time, everything is fine. The paint underneath should look as it did when it left the factory.
When it’s normal:
You’ll see a clean, shiny paint surface. There might be a slight outline where the film was. This is temporary and usually washes off.
Any leftover adhesive needs to be cleaned. This is also normal. It means the film did its job.
It protected the paint underneath.
When to worry:
If you see actual scratches in the paint, that’s a concern. This usually happens if a metal tool was used. Or if grit was dragged across the surface.
If the paint feels unusually soft or gummy after removal, that’s also odd. It might indicate an issue with the paint itself or an overly aggressive chemical. If there are large patches of missing paint or discoloration, stop immediately.
This suggests a serious problem.
Simple checks:
After removing the film and cleaning any residue, do a thorough visual inspection. Look at the paint in good light. Run your hand over the surface.
It should feel smooth. If you notice any imperfections, try cleaning them again. If the problem persists, it’s wise to consult a professional detailer.
They can assess the paint’s condition. They can advise on any necessary corrections.
Remember, the film is meant to protect. If it causes damage, it’s usually due to improper removal. So, taking your time and using the right methods are crucial.
Your car’s paint is a valuable asset. Treat it with care. The goal is always to leave the paint looking better, or at least the same, after film removal.
Quick Tips for a Smooth Removal
Here are some quick tips to make the process easier and safer:
- Heat Gently: If the film is very stubborn, a hairdryer on a low setting can help. Keep it moving. Don’t concentrate heat on one spot. This softens the adhesive.
- Work in Sections: Don’t try to peel the entire car at once. Tackle one panel or area at a time. This keeps you focused and prevents mistakes.
- Keep it Moist: If the adhesive starts to get sticky again, re-mist with your water or cleaner.
- Clean As You Go: Wipe away any loosened adhesive immediately. Don’t let it re-stick.
- Final Polish: After everything is clean, a good polish and wax will restore shine and add protection.
- Read Instructions: If your car came with specific removal instructions, follow them.
Quick-Scan Table: Common Residue Types
| Residue Type | How it Looks | Best Cleaner |
| Sticky Goo | Tacky, oily patches | Automotive Adhesive Remover, Isopropyl Alcohol |
| Hazy Film | Cloudy, dull appearance | Mild Soap & Water, then Alcohol |
| Streaky Marks | Lines from edge of film | Adhesive Remover, followed by wash |
Frequently Asked Questions About Removing Car Film
Can I just use my fingernails to peel the film?
You can try for a very loose corner. But your fingernails aren’t ideal. They can break easily.
They can also scratch the paint if you dig in. It’s much safer to use a plastic tool.
Is it safe to use Goo Gone or WD-40?
Some people have success with these. However, they can be harsh on car paint. Always test them in a hidden spot first.
Automotive-specific adhesive removers are usually a safer bet. They are designed for car finishes.
What if the film tears into tiny pieces?
This happens. Just work on removing the small pieces one by one. Use your plastic scraper and adhesive remover.
Take your time. Small pieces can be frustrating, but they will come off.
How long can protective film stay on a car?
Temporary shipping film is best removed soon after delivery. Leaving it on for months can make the adhesive bake into the paint. This makes it much harder to remove.
Paint Protection Film (PPF) is different and designed for long-term use.
Will removing the film void my car’s warranty?
No. Removing temporary protective film is a normal part of taking ownership of a new car. It will not void your warranty.
However, if you damage the paint during removal, that damage might not be covered.
My car is older. Can I still find protective film on it?
Yes, sometimes older cars, especially during transport from dealerships, might have some protective film. Or previous owners might have applied aftermarket protection. The removal process is similar, but older film can be more challenging.
Conclusion: A Smooth Finish Awaits
Removing protective film from your car is a simple task. It needs care and the right tools. Avoid common errors like using metal scrapers.
Work in the shade. Be patient. You’ll achieve a clean, scratch-free finish.
Enjoy your car without the temporary shield. It’s now ready for the road ahead.