How to Drain Coolant from a Car: Step-by-Step Guide
Old coolant loses its ability to protect your engine from freezing, boiling over, and internal corrosion, so most manufacturers call for a full drain and refill somewhere between 30,000 and 100,000 miles (or every 2 to 5 years) depending on whether the car uses conventional green antifreeze or a longer-life extended-life formula.
Draining the old fluid yourself is one of the more forgiving DIY jobs on a car, since there’s no engine timing or torque specs to get wrong — you’re mainly working with a drain valve, a catch container, and gravity. Doing it at home also saves the labor charge a shop tacks onto what’s otherwise a $10–$20 jug of coolant, and it lets you flush out the rust-colored sediment and scale that build up in an older cooling system before they start clogging the radiator or heater core.
Below is the full process: gathering the right tools, finding the drain point, draining and flushing the system, refilling with the correct coolant type, and bleeding out the trapped air pockets that cause a lot of “I refilled it and it still overheats” complaints.
Preparation For Coolant Drain
OUR PICK – NO-SPILL COOLANT FUNNEL KIT
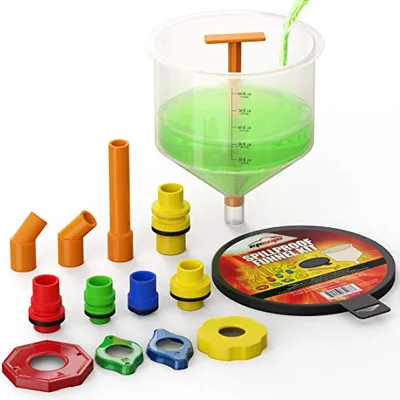 |
EPAuto Spill Proof Radiator Coolant Filling Funnel Kit – $19.68 A universal no-spill funnel adapter set that seals against the radiator neck or reservoir opening, so refilling and bleeding air after a drain job doesn’t turn into a coolant-splashed mess.
|
Lay out everything before you crack anything open: a drain pan rated for at least 2 to 3 gallons (most cooling systems hold between 8 and 18 quarts total), a wrench, pliers, or a flat-blade screwdriver depending on whether your petcock has a hex head, wing-nut, or slotted design, a funnel for the refill, a stack of shop rags, and a pair of nitrile gloves. A length of clear vinyl tubing pushed over the petcock spout is also worth having — it directs the stream straight into the pan instead of letting it run down the subframe and cross-member.
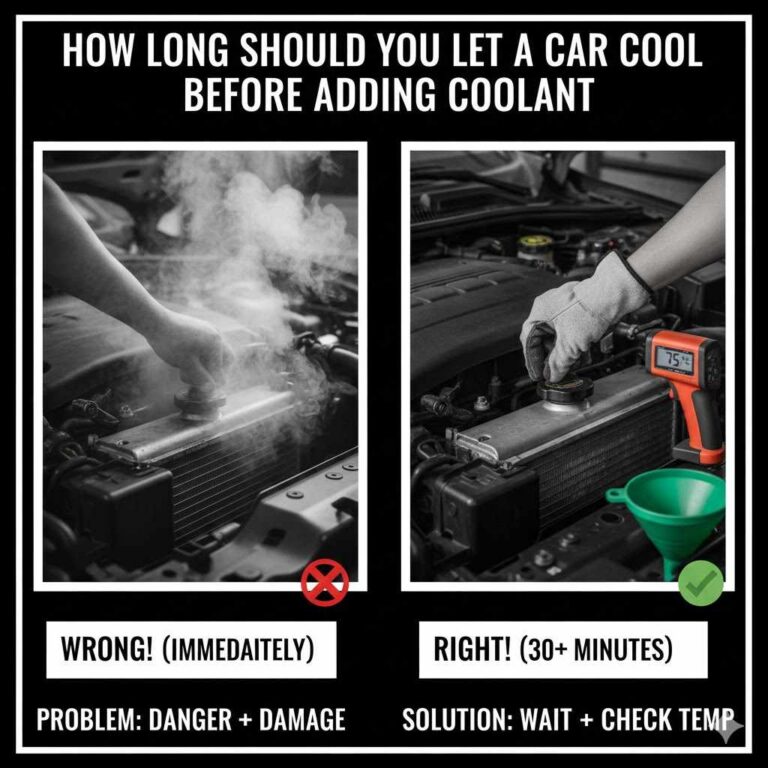
Never open a cooling system on a warm engine — it’s pressurized to roughly 14–16 psi, which raises the boiling point well above 212°F, so a cap or petcock opened too soon can spray near-boiling coolant. Let the car sit for at least 30 minutes to an hour after the last drive, then confirm the upper radiator hose feels cool and soft (not firm and hot) before you touch anything. Work on level ground so the pan catches the flow evenly, and keep pets and kids out of the garage — ethylene glycol coolant has a sweet taste that attracts animals, and as little as a few tablespoons can be fatal to a cat or small dog.
Locating The Coolant Drain Plug
Pop the hood and look for the coolant reservoir first — it’s a semi-translucent plastic tank, usually white or off-white, mounted somewhere near the radiator or against the inner fender, with “MIN” and “MAX” lines molded into the side and a cap marked “coolant” or a warning icon. This tank is not pressurized on most cars and is safe to open once the engine is cool, though it’s not where you’ll actually drain the system from.
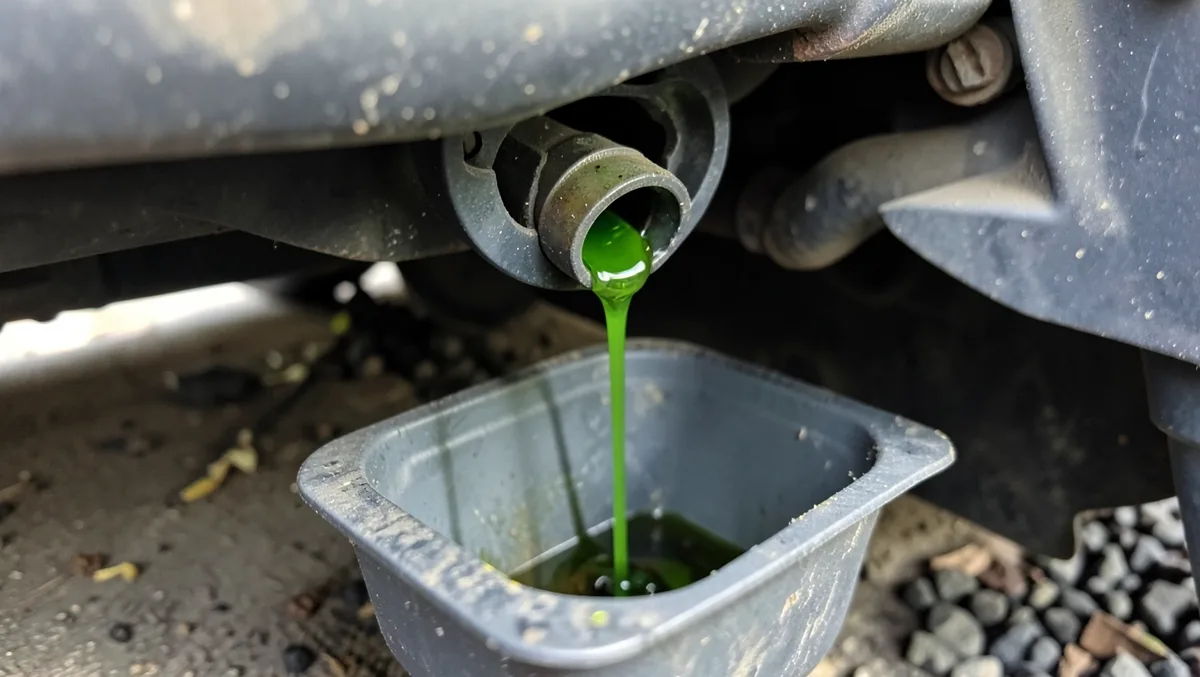
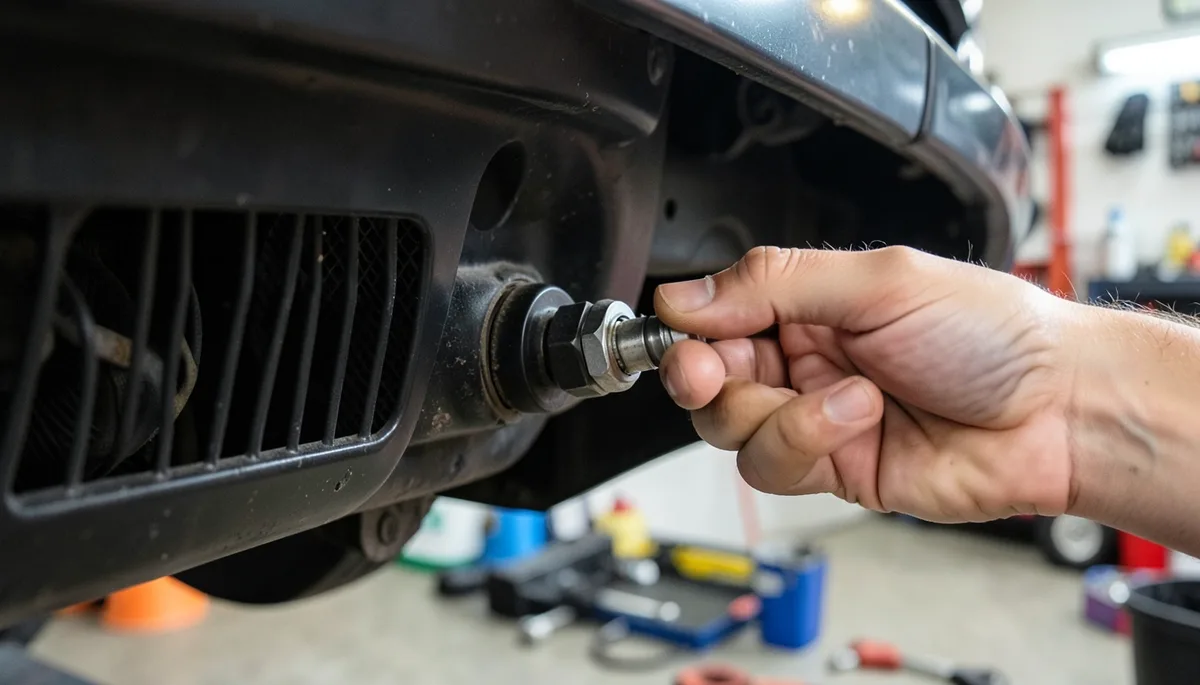
The real drain point — the petcock, sometimes called the drain cock or drain valve — is a small plastic or brass valve on the bottom tank of the radiator, usually tucked behind the front bumper cover or splash shield and easiest to spot from underneath with a flashlight or by reaching up along the lower corner of the radiator. Placement varies by make: some cars put it on the driver’s side, others on the passenger side, and a few vehicles skip a petcock entirely and route drainage through the lower radiator hose clamp instead, so it’s worth a quick look at your owner’s manual or a repair database for your specific model before you start hunting under the car.
Draining The Coolant
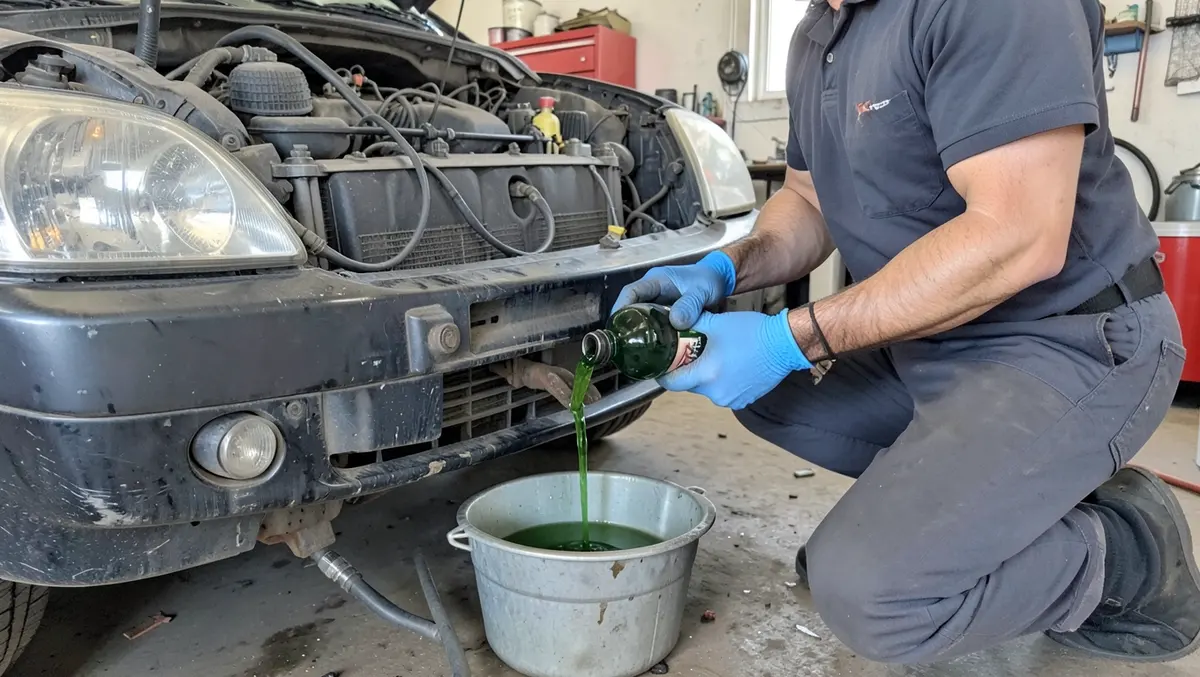
Slide a drain pan under the petcock, positioned slightly ahead of where the stream will actually land since coolant often sprays at an angle rather than dropping straight down. Loosening the radiator cap first (only once the engine is confirmed cool) helps air enter the system and lets the coolant drain faster and more evenly instead of glugging out in surges.
Turn the petcock counterclockwise by hand or with a wrench — most only need a quarter to half turn to open fully, and forcing a stubborn plastic one can snap it, turning a simple drain into a radiator replacement. Coolant will run out fast at first, then slow to a trickle as the system empties; give it a full 10 to 15 minutes so the coolant trapped in the engine block and heater core has time to work its way down. Once it stops flowing, close the petcock hand-tight (over-tightening plastic threads is a common way to crack them) and check that the pan caught it all before moving on.
Flushing The Cooling System
A straight drain only gets out what was already loose in the system — it leaves behind the rust flakes, scale, and old sealant residue that settle in the radiator tanks and engine block over the years. A flush pushes fresh liquid through the whole loop under engine pressure, carrying that sediment out before it can clog the radiator’s thin cooling tubes or the heater core.
Use A Flush Solution
With the petcock closed and the system empty, pour in a radiator flush chemical formulated for automotive cooling systems (not a generic degreaser) along with plain water, following the ratio printed on the bottle — most call for the full bottle plus water to fill the radiator. Start the engine and let it idle for the time specified on the label, usually around 10 to 15 minutes with the heater set to full hot, so the solution circulates through the block, radiator, and heater core and has a chance to loosen scale and rust before you drain it back out.
Rinse With Water
Drain the flush solution through the petcock, then refill with plain water and run the engine again for 5 to 10 minutes to chase out whatever chemical residue is left. Drain and repeat with a fresh batch of water each time until what comes out runs clear instead of rust-tinted or cloudy — on a system that hasn’t been flushed in years, that can take two or three rounds. Skipping this rinse leaves diluted flush chemical mixed into your new coolant, which can throw off its corrosion-inhibitor balance.
Refilling Coolant
Coolant chemistry isn’t universal, so check your owner’s manual before buying a jug. Older domestic vehicles typically use a green ethylene-glycol formula (IAT), many GM and newer vehicles use Dex-Cool or a similar orange/red OAT formula, and a lot of Asian and European makes use their own HOAT or hybrid blends in yellow, pink, or blue. Mixing an incompatible type with what’s left in the system can form a gel that clogs passages, so when in doubt, flush more thoroughly or buy a universal all-makes coolant designed to be compatible across chemistries. Most coolant also comes either pre-mixed 50/50 with water or as full-strength concentrate that you dilute yourself with distilled (not tap) water, since tap water’s minerals can leave scale deposits over time.
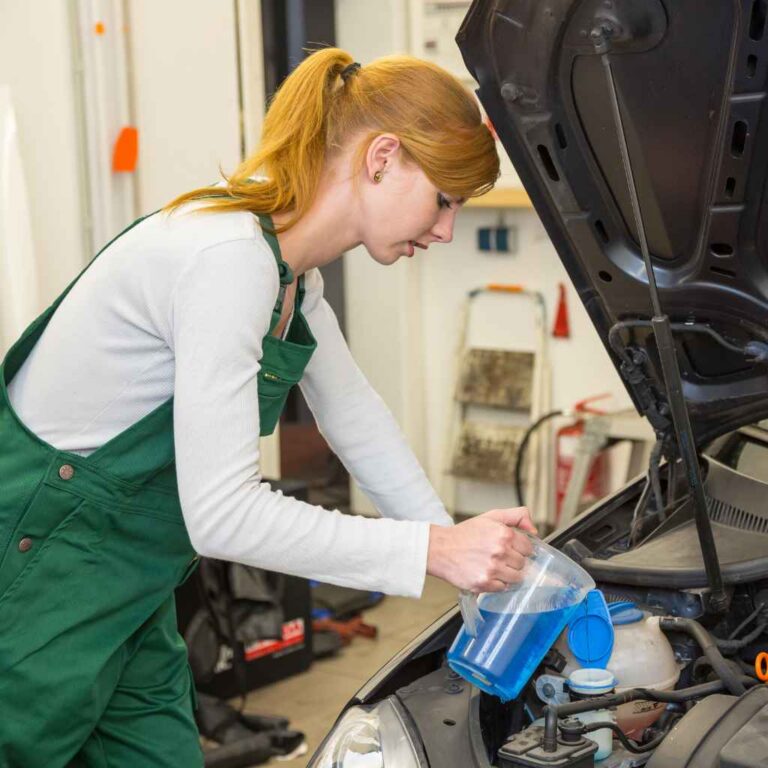
Use the funnel to pour coolant into the radiator neck first, filling it until liquid sits right at the bottom of the filler neck, then top off the reservoir tank to the “MAX” line once the radiator cap is back on. Go slowly — pouring too fast traps air pockets that won’t bleed out easily later, especially in engines where the thermostat housing sits higher than the radiator. Wipe up any drips right away, since spilled coolant left on a garage floor is both slick underfoot and appealing to pets.
Bleeding Air From The System
Trapped air is the reason a freshly refilled system can still run hot or blow lukewarm air from the vents — an air pocket sitting near the thermostat or heater core acts like insulation and blocks proper coolant flow. With the radiator cap loosely set back on (or off entirely on cars with a separate bleeder screw) and the heater turned to full hot, start the engine and let it idle. Squeezing the upper radiator hose gently by hand every minute or so helps push stubborn air pockets up and out toward the reservoir.
Watch the level in the reservoir and radiator neck as the engine warms up to operating temperature (the thermostat opening is usually what triggers a visible burp of bubbles and a coolant level drop). Top off as needed and keep running the engine, with the heater blowing hot the whole time, until the bubbling stops and the level holds steady — this typically takes 10 to 20 minutes on a system that was fully drained. Some vehicles, particularly ones with the radiator mounted lower than the engine, have a dedicated bleeder valve on the thermostat housing or a hose fitting that should be cracked open during this step to let air escape.
Checking For Leaks
Once the system is full and bled, run the engine up to operating temperature and walk around the car checking for wet spots, dried white or colored crust (a telltale sign of a slow leak that’s already evaporated), or a sweet smell near the engine bay. Catching a leak now saves you from redoing this whole job in a few weeks because the “new” coolant slowly disappeared.
Inspect Drain Plug
Check the petcock you just closed for drips — plastic petcocks are notorious for cracking around the threads if they were over-tightened, and a hairline crack can seep slowly enough to go unnoticed for days. Confirm it’s snug but not forced, and if you see any wetness or staining directly around the valve, replace it; a petcock is usually a $5–$15 part and far cheaper than the coolant loss and potential overheating from a slow leak.
Examine Hoses And Connections
Squeeze each coolant hose along its length while the engine is off and cool — a healthy hose feels firm with a little give, while one that feels mushy, overly stiff, or has visible cracking or a bulge near a clamp is close to failing. Check every hose clamp for looseness and every connection point (radiator, thermostat housing, water pump, heater core lines) for crusty white or pink residue, which marks where coolant has been weeping out and evaporating. Any hose showing damage is worth replacing at the same time, since they’re already accessible with the system drained.
Disposing Of Old Coolant
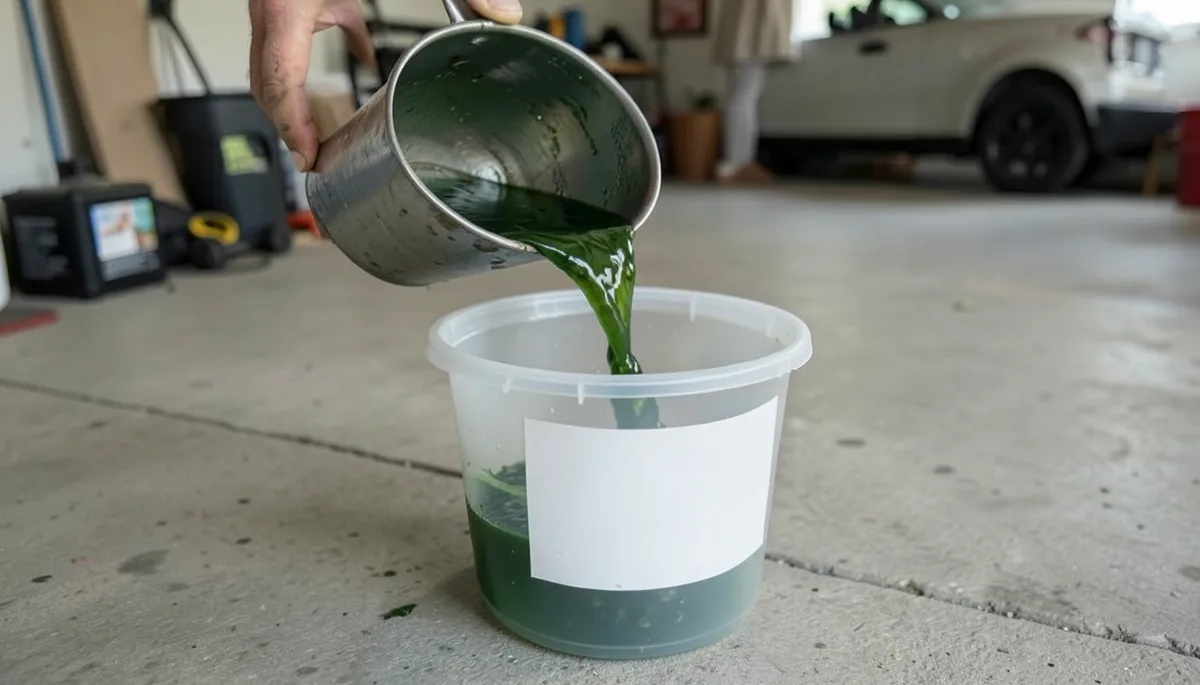
Ethylene glycol coolant is classified as hazardous waste in most states and should never go down a drain or onto the ground — it’s toxic to groundwater and dangerously appealing to pets and wildlife because of its sweet taste. Pour the drained coolant into a clean, sealed, leak-proof container (an empty jug with a tight cap works fine) and label it so it doesn’t get mistaken for something else in the garage.
Most auto parts chains — AutoZone, O’Reilly, and Advance Auto Parts among them — accept used coolant for recycling free of charge, as do many municipal household hazardous waste drop-off sites; a quick call ahead confirms your local store or facility takes it and saves a wasted trip. Never mix used coolant with used motor oil or other fluids, since that can make the batch harder or impossible for a recycler to process.
Frequently Asked Questions
How Do You Completely Drain Coolant From A Car?
To fully drain car coolant, ensure the engine is cool. Open the radiator cap and locate the drain plug. Place a container underneath, then unscrew the plug to release coolant. Close the plug after draining. Finally, dispose of the old coolant responsibly.
Always follow your car’s manual for specific instructions.
Can I Do A Coolant Flush Myself?
Yes, you can do a coolant flush yourself. Gather necessary tools and follow the vehicle’s manual instructions. Ensure proper disposal of old coolant to protect the environment. If unsure, consult a professional for assistance.
How To Remove Coolant From Car Engine?
Drain the radiator by opening the drain valve at the bottom. Catch old coolant in a container. Remove the radiator cap to speed up drainage. Dispose of old coolant responsibly. Refill with fresh coolant, then run the engine to remove air pockets.
Ensure no leaks are present.
How Do I Remove Excess Coolant From My Car?
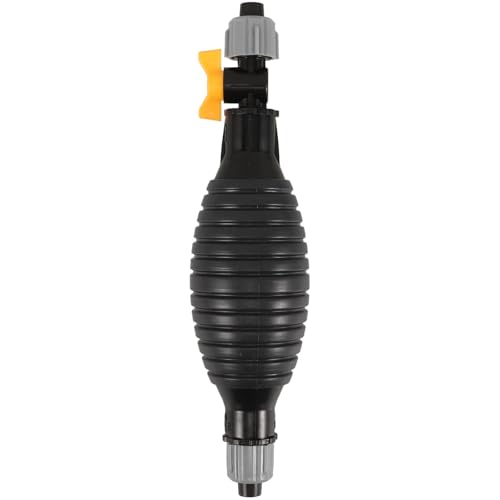
To remove excess coolant, let the engine cool. Use a turkey baster or siphon pump to extract coolant. Dispose of it safely.
Conclusion
Draining and refilling your own coolant isn’t a difficult job, but it does reward patience — letting the engine cool fully before you start, giving the old coolant time to fully drain, and taking the bleeding step seriously instead of just topping off the reservoir and calling it done. Those are the three places rushed DIY jobs usually go wrong.
Done right, a fresh coolant fill protects the radiator, water pump, and heater core from corrosion for years and heads off the kind of overheating that can warp a cylinder head or blow a head gasket. Check your level and color every few months between full changes, and you’ll get ahead of most cooling-system failures before they leave you stranded.
Products related to this article
Sponsored / affiliate links. As an Amazon Associate I earn from qualifying purchases. I may earn additional commission from eligible campaigns.