How to Fill Coolant in Car: Step-by-Step Guide
Never open the coolant reservoir cap on a hot engine. A pressurized cooling system can spray near-boiling coolant and cause serious burns, so let the engine cool for at least 30 minutes before you start.
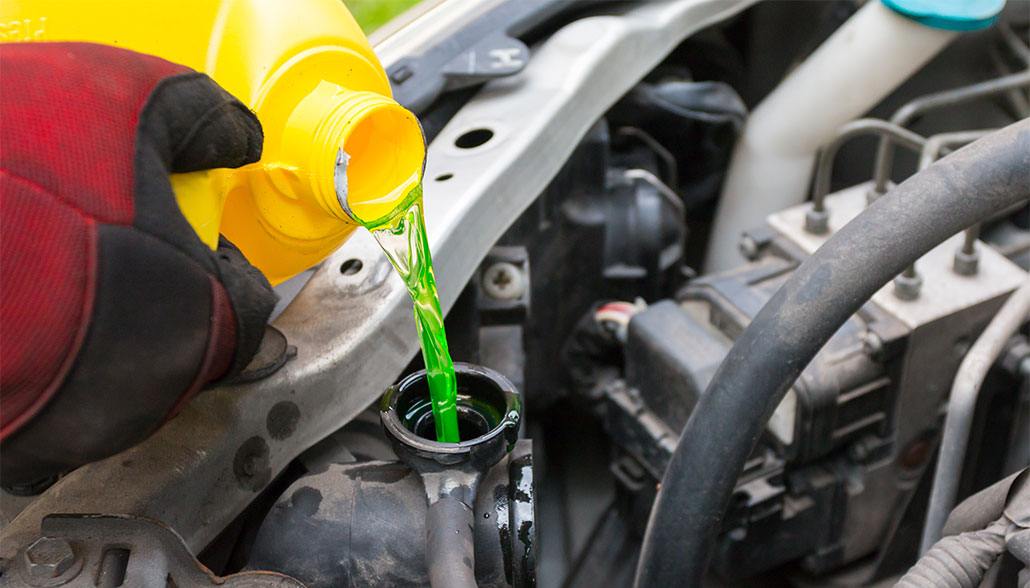
Once the engine is cool, filling coolant is quick: open the hood, find the translucent reservoir tank, and pour the correct coolant type in slowly until it reaches the “full” line marked on the side.
Below is the full step-by-step process, plus how to tell which coolant type your car actually needs and what to do after you’ve topped it off.
Quick Answer
Let the engine cool completely, open the coolant reservoir cap (not the radiator cap if your car has a separate reservoir), and pour in the correct coolant type — premixed 50/50 or concentrate mixed with distilled water — until it reaches the “full” line. Secure the cap, then start the engine and let it run with the heater on to bleed out trapped air, checking the level again once it has fully cooled.
Safety Precautions
Filling coolant in a car requires careful attention. Ensure the engine is cool before opening the radiator cap. Use gloves to protect your hands from hot surfaces. Pour the coolant slowly to avoid spills.
Wear Protective Gear
Always wear gloves and safety goggles when dealing with coolant. It protects your hands and eyes. Coolant can be harmful if it contacts your skin or eyes. Long sleeves and pants are good too. They cover your body from spills. Safety first, always.
Engine Cool Down
Let the engine cool before opening the radiator cap. Hot engines can cause burns. Steam can escape and harm you. Wait at least 30 minutes after driving. Make sure the engine is not warm. This ensures safe handling of the coolant.
Here’s why this matters: a hot cooling system is pressurized, and that pressure raises the coolant’s boiling point well above 212°F. Crack the cap while it’s still hot and that pressure release can shoot scalding coolant out fast enough to cause third-degree burns. If you’re not sure how long your specific engine needs, our guide on how long to let a car cool before adding coolant breaks it down by driving conditions.
Gather Necessary Supplies
Different cars need different types of coolant. It’s important to check your car manual. This will tell you the right type. Some common types are green, orange, and yellow. Each type works with different car engines. Choose the correct one to keep your engine safe. Using the wrong coolant can cause problems.
Having the right tools makes the job easier. You will need a funnel. This helps pour the coolant without spills. A clean cloth is useful. It cleans spills and checks for leaks. A container is needed to hold extra coolant. Finally, gloves are good to protect your hands. These tools make the task simple.
Recommended Supplies for Filling Coolant
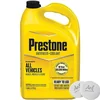
Our Pick: Prestone 50/50 Ready-to-Use Antifreeze/Coolant
Already diluted with the right water ratio, so there’s no measuring or mixing math — pour it straight into the reservoir. Good default choice when you’re not sure your exact coolant type.
View Our Pick on Amazon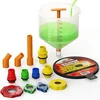 |
EPAuto Spill-Proof Coolant Funnel Kit Best for: avoiding drips down the engine bay. Seals against most reservoir necks so coolant goes in, not on the belts. Check on Amazon |
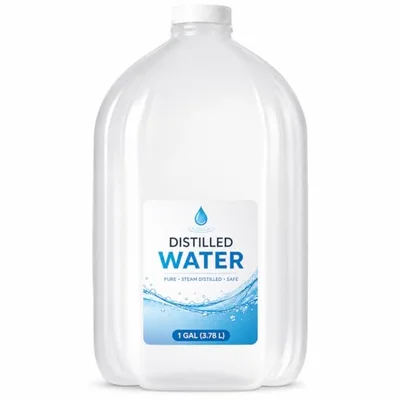 |
Distilled Water, 1 Gallon Best for: mixing your own 50/50 blend with concentrate. Tap water’s minerals can cause rust and scale inside the system — distilled water avoids that. Check on Amazon |
 |
KJE Coolant Pressure Tester Kit Best for: confirming a leak before you keep topping off coolant that keeps disappearing. Pressurizes the system to find the source. Check on Amazon |
As an Amazon Associate, The Daily Automotive earns from qualifying purchases.
Locate The Coolant Reservoir
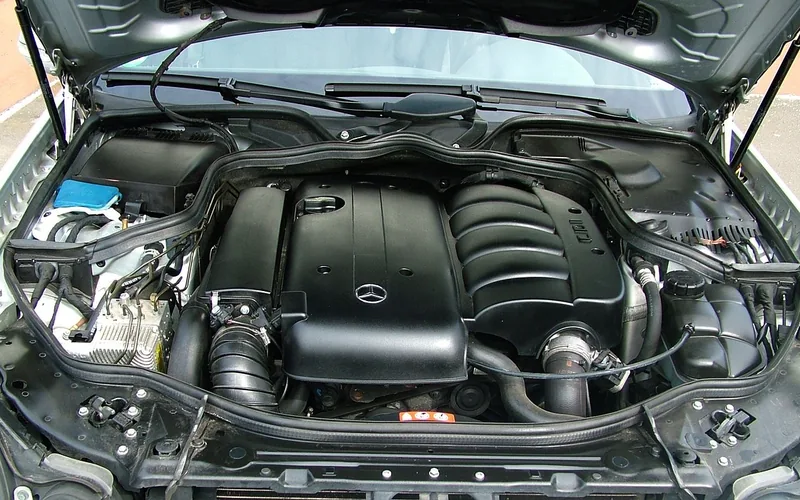
Find the coolant reservoir by opening the car hood and locating a translucent plastic tank. It often has markings indicating “coolant” or “engine coolant.” This is where you will add the coolant to keep your engine running smoothly.
Identifying The Reservoir
Open the car hood carefully. Look for the coolant reservoir. It’s a plastic container. Usually near the engine. It has a cap on top. Often marked with a coolant symbol. Some cars show “coolant” words. Check the car manual. Find its exact location.
Not sure if the tank you’re looking at is the coolant reservoir, the windshield washer tank, or the brake fluid reservoir? Our guide on where engine coolant goes in a car walks through how to tell them apart and explains the difference between the reservoir cap and the radiator cap itself.
Accessing The Reservoir
Ensure the car is off and cool. Twist the cap gently. Turn it counter-clockwise. Be careful not to spill. Use a cloth if necessary. Check the level inside. Add more if it’s low. Don’t overfill. Close the cap tightly.
Check Current Coolant Level
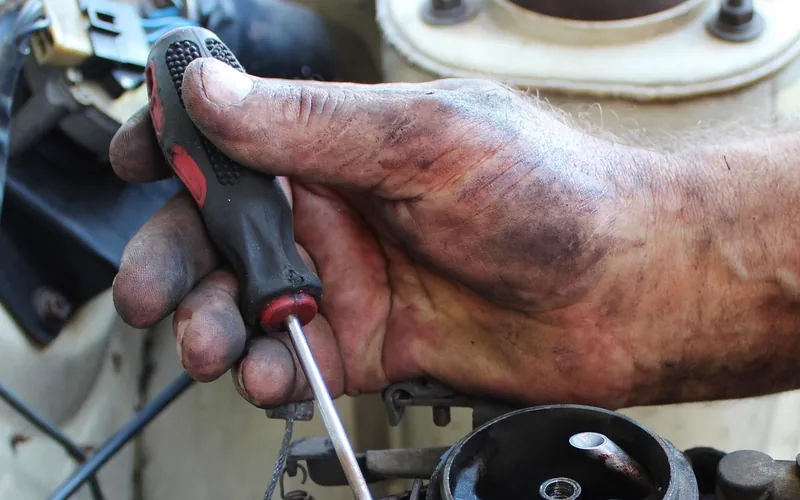
Open the hood and find the coolant reservoir. Look for the level indicator on the side of the tank. It shows the maximum and minimum levels. If the coolant is below the minimum, you need to add more.
Low coolant can cause engine overheating. The temperature gauge may show high heat. You might see steam coming from the engine. Coolant leaks can leave green or orange spots under the car. Check regularly to avoid these problems.
What Type of Coolant Should You Use? (OAT vs. HOAT vs. IAT)
Every coolant is built on the same ethylene or propylene glycol base — what changes is the additive package that fights corrosion, and that’s what actually separates the three main types. Check your owner’s manual first, since using the wrong type won’t just fail to protect the system, it can react with the old coolant and clog it with sludge.
| Type | Technology | Typical Vehicles | Change Interval |
|---|---|---|---|
| IAT (Inorganic) | Silicates and phosphates | Older vehicles, generally pre-2000 | Every 2–3 years |
| OAT (Organic) | Organic acids, no silicates | Many GM, VW/Audi, and newer imports | Up to 5 years / 150,000 miles |
| HOAT (Hybrid) | Organic acids plus a small amount of silicate | Many Ford, Chrysler, and European models | Every 3–5 years |
Never mix coolant types, even if the colors look similar. Color is just dye — it doesn’t tell you the chemistry inside, and two different-colored coolants can share the same additive technology while two same-colored ones don’t. Mixing IAT’s silicates with OAT’s organic acids is the combination most likely to cause the additives to fall out of solution and form a thick sludge inside your radiator and hoses. If you’re topping off and don’t know what’s already in the system, the safest move is a full coolant flush rather than guessing — see our step-by-step coolant flush guide for that process.
Prepare The Coolant Mixture
Use a clean container. Pour equal parts of coolant concentrate and water. Stir the mixture gently. This creates a balanced coolant. Ensure the water is distilled. Tap water can cause rust. Mix thoroughly to combine well.
Pre-mixed coolant is easy. Open the bottle carefully. Check the label for instructions. Pour the coolant into the reservoir. Fill up to the marked line. Do not overfill. Ensure the cap is tight after filling.
Filling The Coolant
Filling the coolant in your car is essential for engine health. First, ensure the engine is cool. Open the hood and locate the coolant reservoir. Pour the coolant slowly, up to the marked level. Check for leaks. Always use the recommended coolant type for your vehicle.
Keep your engine running smoothly.
Opening The Cap
Locate the coolant reservoir in the engine bay. Ensure the engine is cool before opening the cap. Twist the cap counterclockwise to open it. Listen for any hissing sound. This indicates pressure release. Be careful not to touch any hot parts. The cap should come off easily. If stuck, ask for help. Always wear protective gloves.
Pouring The Coolant
Get the correct coolant for your car. Use a funnel to avoid spills. Pour coolant into the reservoir slowly. Stop when it reaches the full line. Check for any leaks around the reservoir. Ensure the cap is securely tightened after filling. Keep extra coolant for future use. Always dispose of old coolant responsibly.
Secure The Reservoir Cap
Tighten the cap until it clicks securely. This prevents coolant leaks. If the cap is loose, coolant may spill. Check the cap’s condition. Look for cracks or damages. Replace if necessary. A good cap ensures a tight seal.
Ensuring A Tight Seal
Make sure the cap fits properly. It should be snug and firm. Press down gently. Twist until it locks. No gaps should be visible. This keeps the coolant safe inside.
Checking For Leaks
Look under the car for drips. Examine hoses for wear. Feel around the reservoir. If wet, there might be a leak. Use a flashlight for dark areas. Check the ground for puddles. Fix any leaks quickly. This prevents engine damage.
Start The Engine
With the cap secured, start the car after adding coolant, not before. Let it idle for about 10–15 minutes with the heater set to high. This circulates the new coolant through the engine and heater core, and it helps push trapped air pockets out of the system. Be sure the car is in park.
Watch the temperature gauge while it idles. It should climb to normal operating range and hold steady, not keep climbing toward the red zone. If it does spike, shut the engine off and let it cool again before checking for leaks or air still trapped in the system.
Once the engine has fully cooled back down, check the reservoir level one more time. As trapped air escapes during that first run, the level often drops slightly — top it off again if it’s below the fill line.
“The most common mistake we see with a DIY coolant top-off isn’t the pour itself — it’s skipping the recheck. Trapped air escapes as the engine warms up, so the level you saw right after filling almost never matches what it looks like after a full heat-cool cycle.” — The Daily Automotive editorial team
Dispose Of Used Coolant Properly
Used coolant can harm the earth. It’s important to follow environmental guidelines when getting rid of it. Many places offer help to recycle coolant. They make sure it doesn’t hurt nature.
Always use recycling centers for disposing of coolant. They know how to handle it safely. These centers follow rules to keep the environment safe. You can find centers near you online. Some auto shops also take old coolant.
Don’t pour coolant on the ground or in drains. This can pollute water and soil. It can harm animals and plants. Always keep coolant in a sealed container. This stops leaks and spills.
Frequently Asked Questions
Can I Just Add Coolant To My Vehicle?
Yes, you can add coolant to your vehicle. Ensure the engine is cool, and use the correct type. Check the owner’s manual for guidance. Mixing different coolants can harm your engine. Regularly check levels and top up if necessary to prevent overheating.
Always follow safety precautions while handling coolant.
What Is The Proper Way To Fill Coolant?
Ensure the engine is cool — use the hose-squeeze test to confirm it is actually safe rather than guessing off a clock. Open the radiator cap. Pour coolant until it reaches the fill line. Replace the cap securely. Check for leaks.
Can You Refill Your Own Car Coolant?
Yes, you can refill your car coolant yourself. Ensure the engine is cool before opening the radiator cap. Use the recommended coolant type for your vehicle. Follow the instructions in the owner’s manual for proper refilling and safety precautions. Regularly check the coolant level to prevent engine overheating.
Do I Need To Run The Car After Adding Coolant?
Yes, you should run the car after adding coolant, not before. It helps circulate the coolant properly, ensuring optimal engine temperature and preventing overheating. Running the engine allows the new coolant to mix with the old and pushes trapped air out of the system. Always check for leaks and re-check the level once it has cooled again.
What’s the Difference Between Filling, Refilling, and Flushing Coolant?
Filling or refilling coolant means topping off a system that’s just low — you’re adding coolant, not replacing what’s already there. A flush is a bigger job: draining all the old coolant out of the radiator and engine block and replacing it entirely with fresh coolant. If your level keeps dropping fast, the coolant looks rusty or has debris in it, or it’s simply been years since it was last changed, a flush is the better fix. See our coolant refill guide for cost and maintenance-schedule details, or our coolant flush guide if a full system swap is what you actually need.
Can I Mix Different Coolant Colors or Types?
No. Color alone doesn’t tell you the chemistry, and mixing incompatible types — especially IAT with OAT — can cause the additives to react and form sludge inside the cooling system. If you’re not certain what’s already in your reservoir, use the exact coolant your manufacturer specifies, or flush the system first and start fresh.
Conclusion
Filling coolant in your car is simple and crucial. It keeps the engine cool and prevents overheating. Follow steps carefully to avoid mistakes. Check coolant level regularly to maintain engine health. Remember to use the right type for your car.
Each vehicle may have specific requirements. Keep an eye on the temperature gauge while driving. It warns if the engine gets too hot. Regular maintenance ensures safety and longevity. Always handle car fluids with care. Proper coolant levels mean a smooth and worry-free drive.
Stay attentive to your car’s needs. Your vehicle will thank you.
Products related to this article
Sponsored / affiliate links. As an Amazon Associate I earn from qualifying purchases. I may earn additional commission from eligible campaigns.