How to Fix a Car Side Mirror That Fell Off (Snap-Fit vs. Glue)
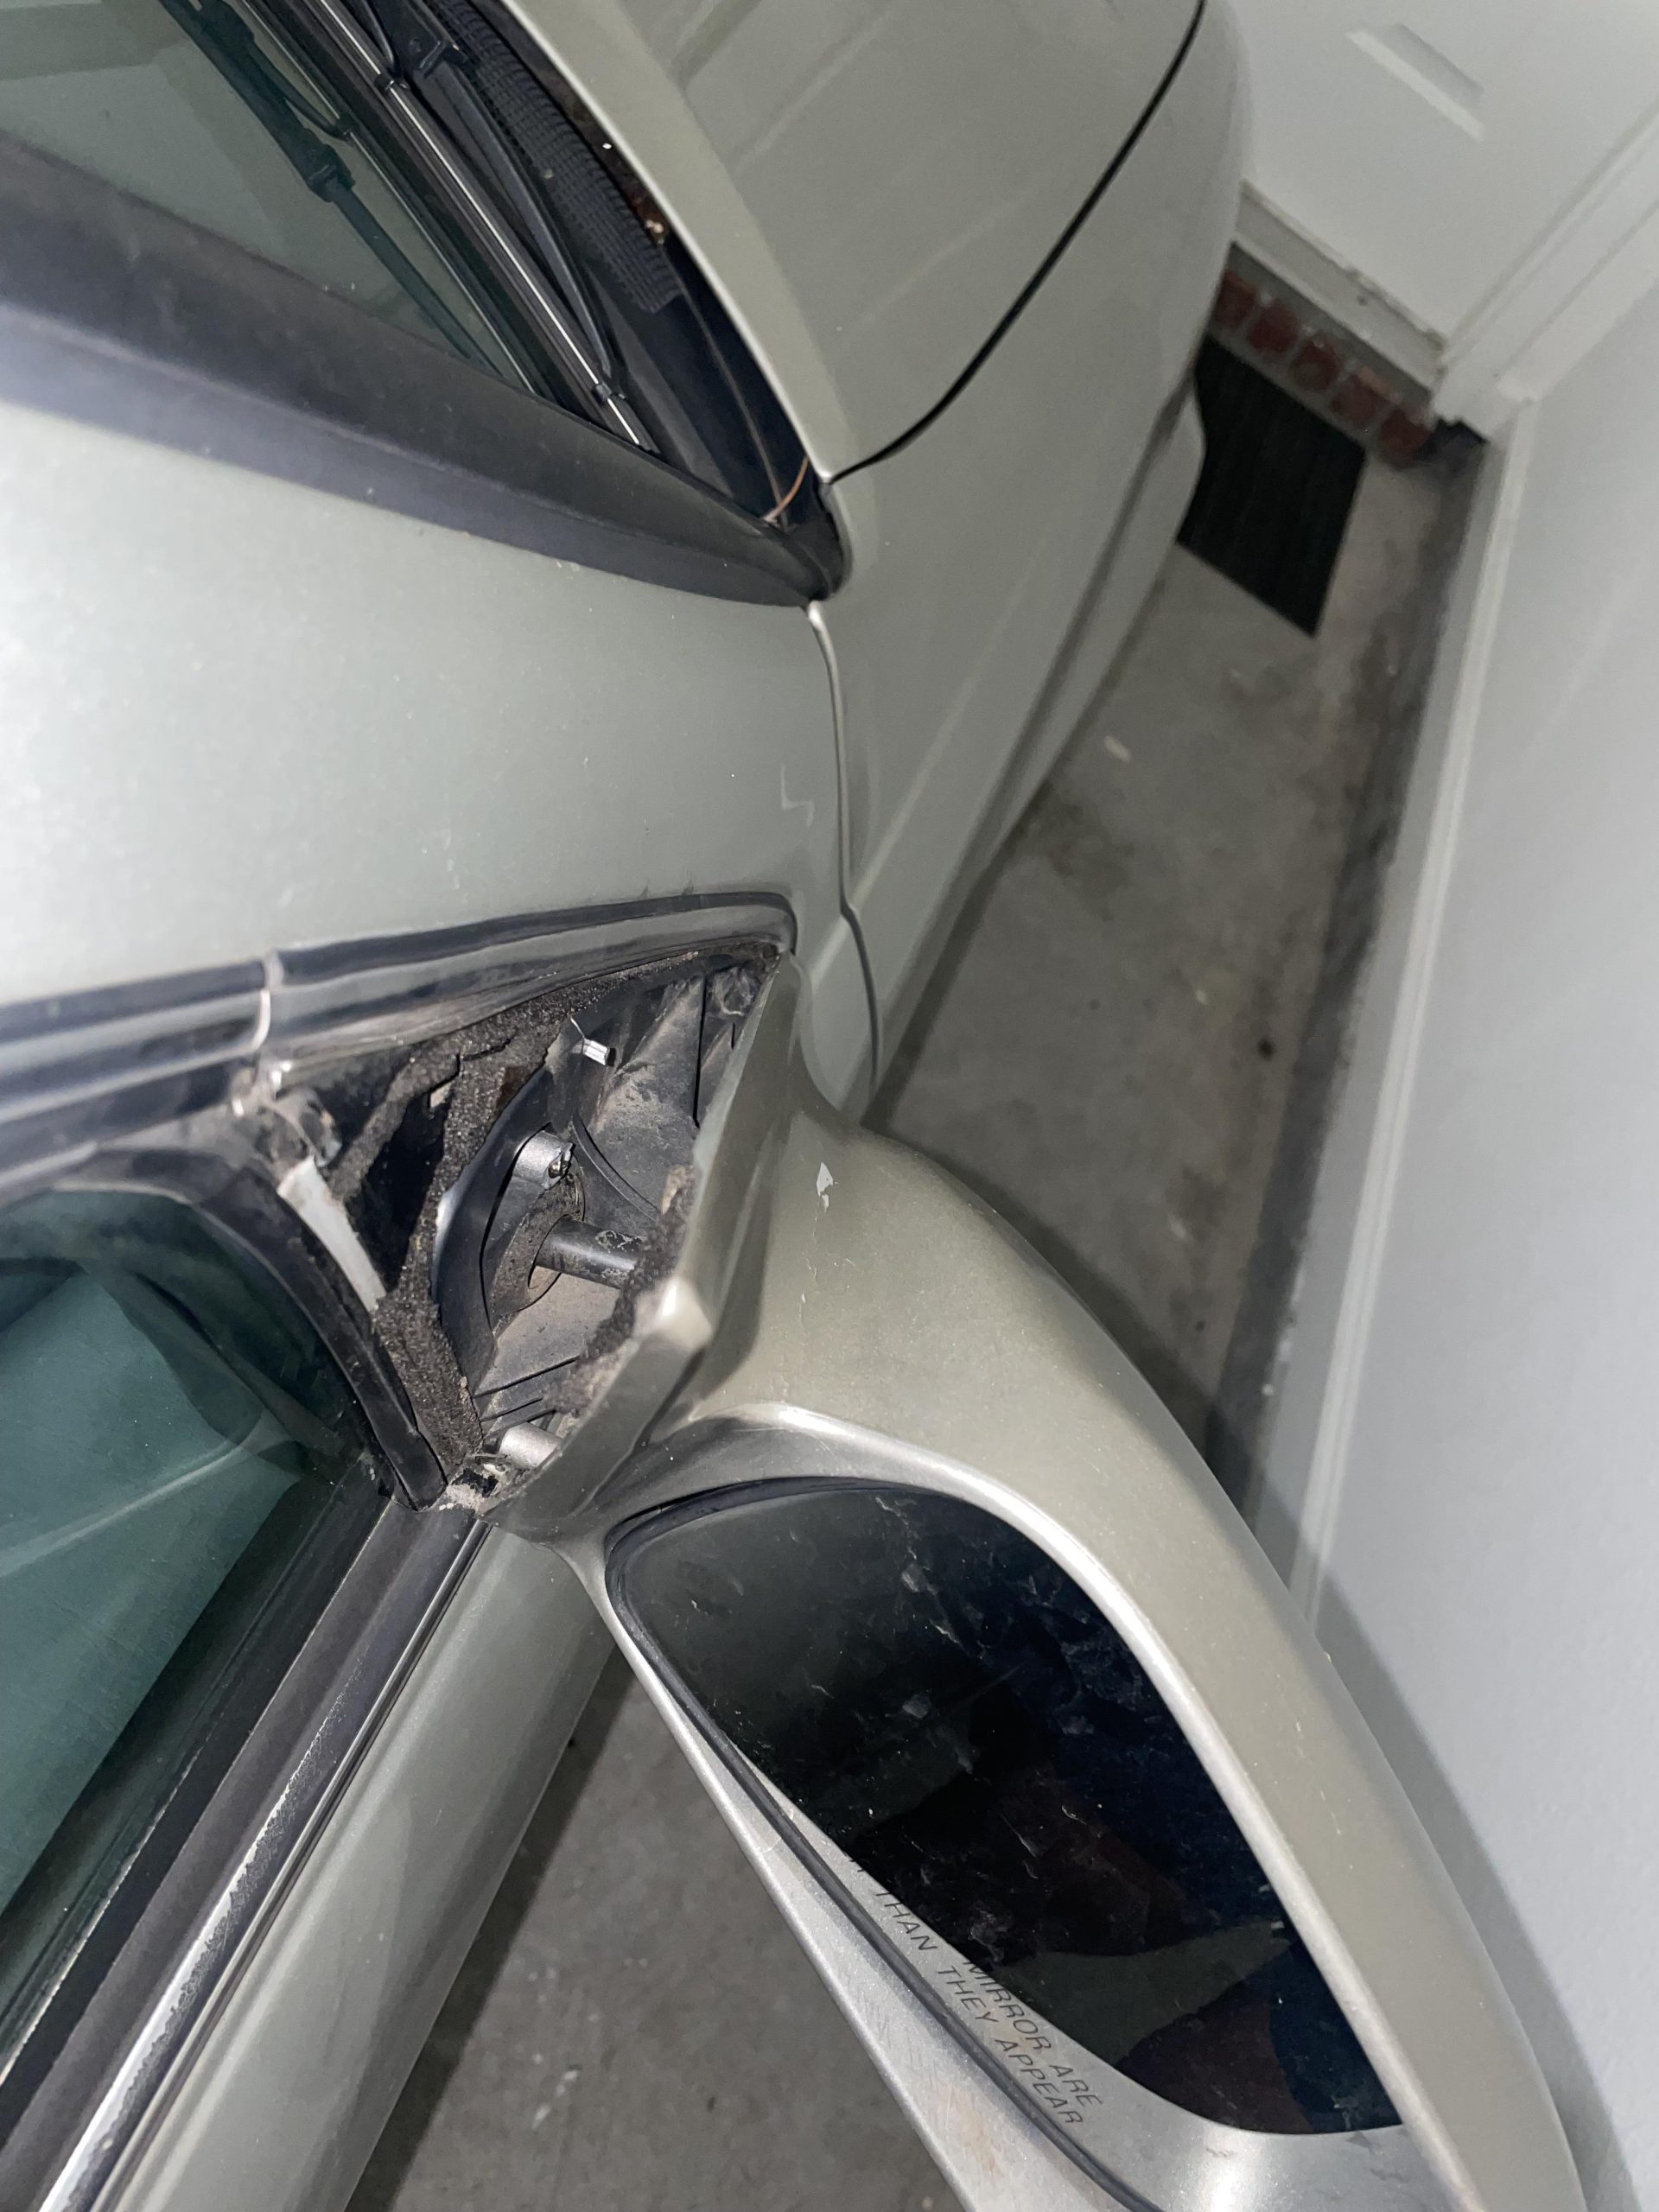
If your car’s side mirror fell off, the fix depends on how it broke. Many side mirrors sit in a snap-fit ball-and-socket base and can simply be pressed back into place — no glue needed. If the mounting clips are broken or the housing itself cracked, you’ll need automotive-grade adhesive (or, if the whole assembly wiggles even after tightening, a full replacement).
Below is how to tell which situation you’re dealing with, the step-by-step reattachment process, and what professional replacement costs if DIY isn’t an option.
Quick Answer
Check first whether your mirror popped out of a snap-fit ball socket (push it firmly back into place) or whether the clips/housing actually broke (clean the surface, apply automotive epoxy or adhesive, hold in place, and let it cure 24 hours before driving). If the housing no longer sits securely, a full mirror assembly replacement runs $139-$328 in parts plus about an hour of labor at most shops.
Assessing The Damage
Recommended for This Repair
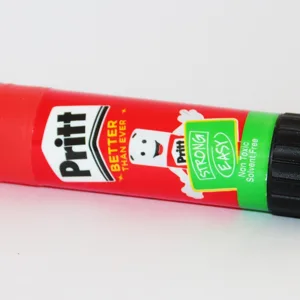
J-B Weld MirrorWeld Rear View Mirror Adhesive
Purpose-built for bonding mirrors to glass and plastic housings — the specific adhesive most side-mirror reattachment jobs call for, not generic epoxy.
View Our Pick on Amazon
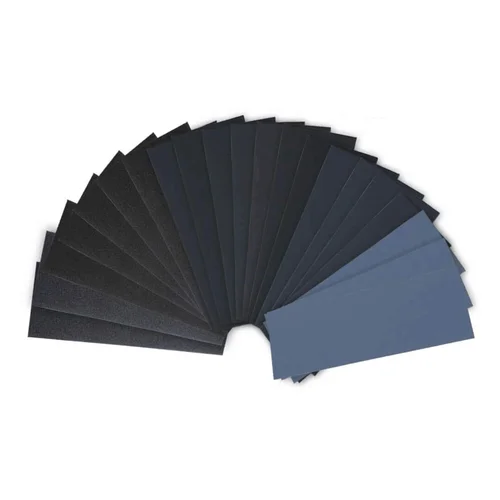 Fine-Grit Sandpaper Kit Best for: smoothing sharp housing edges before gluing. |
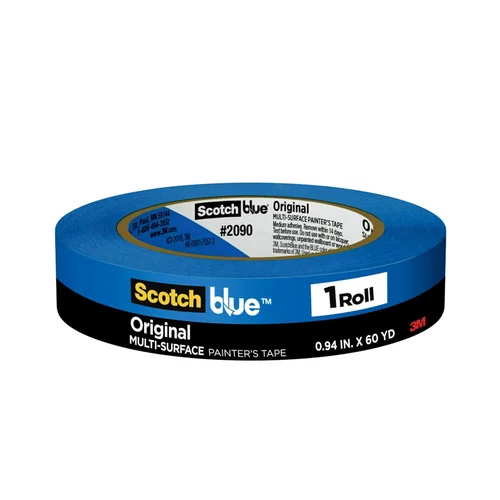 Painter’s Tape Best for: holding the mirror in perfect alignment while adhesive cures. |
 Small Torpedo Level Best for: checking the mirror sits straight before the glue sets. |
As an Amazon Associate, The Daily Automotive earns from qualifying purchases.
Check if the mirror housing is cracked or damaged. Look for missing screws or clips. Ensure the housing isn’t bent or twisted. A damaged housing needs fixing or replacing. Use a flashlight to see inside the housing. Check for loose wires or broken parts. This helps in understanding the problem better.
Examine the mirror’s surface for cracks or scratches. If the glass is intact, it can be reused. Look for any missing edges or chipped parts. Check if the mirror is securely attached to the housing. A loose mirror can fall off again. Use gentle hands to avoid further damage. Proper evaluation ensures a safe and effective repair.
Is Your Mirror Snap-Fit or Glued? Check This First
Many side mirrors mount on a plastic ball-and-socket base that simply snaps into a door bracket — no adhesive at all. If your mirror popped off cleanly and the socket looks undamaged, try pressing it firmly back into the bracket first; it may click back into place without any glue or repair. Adhesive is only the right fix when the mounting clips are actually broken, the housing is cracked, or the ball socket itself is worn out and won’t hold a snug fit anymore.
| Situation | Best Fix | Typical Cost |
|---|---|---|
| Popped out of an intact snap-fit socket | Press firmly back into the bracket — no glue needed | Free |
| Cracked housing or broken mounting clips | Clean the surface, apply automotive-grade epoxy, let cure 24 hours | $10-$25 (adhesive) |
| Glass loose inside an otherwise fine housing | Realign retaining clips, snap glass back in | Free-$15 |
| Housing wiggles even after repair, or won’t hold a fit | Replace the full mirror assembly | $139-$328 parts + ~1 hr labor |
| Advanced mirror (heated, turn signal, blind-spot sensor) | Replace with OEM assembly — DIY glass swap not usually possible | Up to $870 installed |

Gathering Necessary Tools
Adhesive is key when fixing a side mirror. Choose a strong glue meant for cars. Epoxy is a popular choice. It sticks well and lasts long. Make sure it’s waterproof. This keeps the mirror safe in rain. An adhesive tape can also help. It holds the mirror while the glue dries. Check the label for car use. Choose wisely for a lasting fix.
Having the right tools is important. A screwdriver might be needed. Check if screws hold the mirror. A clean cloth is useful. Wipe dirt from the area. Use a razor blade to remove old glue. A level helps keep the mirror straight. Gather these tools before starting. It makes the job easier and faster.
Preparing The Surface
Begin by removing any loose pieces. Use a soft cloth to wipe away dirt and dust. Make sure the area is clean. This helps the mirror stick better. Use soap and water for tough stains. Dry the area with a clean towel.
Check for sharp edges around the mirror spot. Use sandpaper to make them smooth. Smooth edges help the mirror fit well. Be gentle while sanding. Take your time to avoid scratches. After sanding, wipe again to remove dust.

Reattaching The Mirror
Clean the broken mirror spot. Use a soft cloth. Remove dust and dirt. This makes the surface ready. Choose a strong adhesive. Epoxy glue works well. Follow the instructions on the glue pack. Apply a small amount on the mirror base. Be careful not to use too much. Let it sit for a few minutes. It helps the glue become sticky.
Hold the mirror carefully. Align it with the base. Press gently but firmly. Make sure it fits well. Check from different angles. Adjust if needed. Hold for a few minutes. This helps it stick well. Wait for the glue to dry. This takes a few hours. Don’t drive until it is fully dry.
“The mistake I see most often is people reaching for glue before checking if the mirror is even supposed to be glued. A lot of newer cars use a snap-fit ball joint under that housing — press it back in first. You’ll waste an evening cleaning and re-gluing something that just needed to click back into place.”
— Md Meraj, The Daily Automotive
Securing The Mirror
After placing the mirror, let the adhesive dry. It needs time to set properly. Check the instructions on the adhesive package. This tells how long it needs to dry. Usually, this takes a few hours. Some adhesives need a whole day. Be patient. The mirror will stick better if you wait.
Gently touch the mirror to check if it’s secure. Wiggle it a bit. It should not move. If it wobbles, it needs more time. Try not to rush. Ensure the mirror is firm before driving. A stable mirror is important. It helps you see while driving. Safety first!
Preventing Future Issues
Secure the fallen side mirror by cleaning the area first. Use strong adhesive to reattach the mirror. Ensure it aligns perfectly to prevent future issues.
If the mirror fell off after a bump or a scrape rather than normal wear, check the surrounding panel too — see our guide on removing a dent from a car door if the door itself took an impact. And if road debris also chipped nearby paint, our guide on fixing rock chips on car paint covers that separately.
Regular Maintenance Tips
Check your car’s side mirror often. Make sure it’s not loose. Tighten screws if they feel loose. Clean the mirror with a soft cloth. Dirt can cause scratches. Inspect the mirror’s housing for cracks. Replace if needed. Check the wires if your mirror has heating. Make sure they are not broken. Always be gentle with the mirror. Avoid hitting it with hard objects.
Protective Measures
Park your car in a safe spot. Avoid parking too close to other cars. Use a mirror cover to protect it from bad weather. Covers keep the mirror clean and safe. Install side mirror guards. They act like a shield. Guards can stop damage from bumps. Be mindful when cleaning. Use only soft cloths. Avoid harsh chemicals. They can damage the mirror.
Frequently Asked Questions
How To Reattach A Side Mirror Securely?
To securely reattach a side mirror, clean the mounting area, apply strong adhesive, and press the mirror firmly. Ensure the adhesive is suitable for automotive use. Let it cure as per instructions. Check for stability before driving. This ensures safety and prevents further detachment issues.
What Adhesive Is Best For Side Mirrors?
Use automotive-grade adhesive for side mirrors, like epoxy or silicone. These provide strong bonds and withstand weather changes. Ensure the adhesive is specifically designed for automotive applications. Proper adhesive choice prevents mirror detachment and maintains vehicle safety and aesthetics.
Can I Fix A Side Mirror Myself?
Yes, you can fix a side mirror yourself. Gather necessary tools like adhesive, cleaning supplies, and possibly screws. Follow the reattachment instructions carefully. Ensure the mirror is secure before driving. DIY fixing saves money but requires attention to detail for safety.
How Long Does Mirror Adhesive Take To Cure?
Mirror adhesive usually takes 24 hours to cure completely. Follow the manufacturer’s instructions for specific curing time. Avoid driving or stress on the mirror during curing. This ensures a strong bond and prevents the mirror from falling off again.
Conclusion
Fixing a car side mirror isn’t too hard. Start with gathering tools. Follow each step carefully to ensure a secure fit. Double-check your work to avoid future issues. Regular maintenance keeps your mirrors safe and stable. With patience, you can do it yourself.
Save money and learn new skills. Practice makes perfect. Next time, you’ll be even faster. Keep your car safe on the road. Remember, attention to detail matters. Keep learning and improving your car repair skills. Your efforts will pay off.
Safe driving depends on clear visibility. Enjoy your newly fixed mirror!
Products related to this article
Sponsored / affiliate links. As an Amazon Associate I earn from qualifying purchases. I may earn additional commission from eligible campaigns.