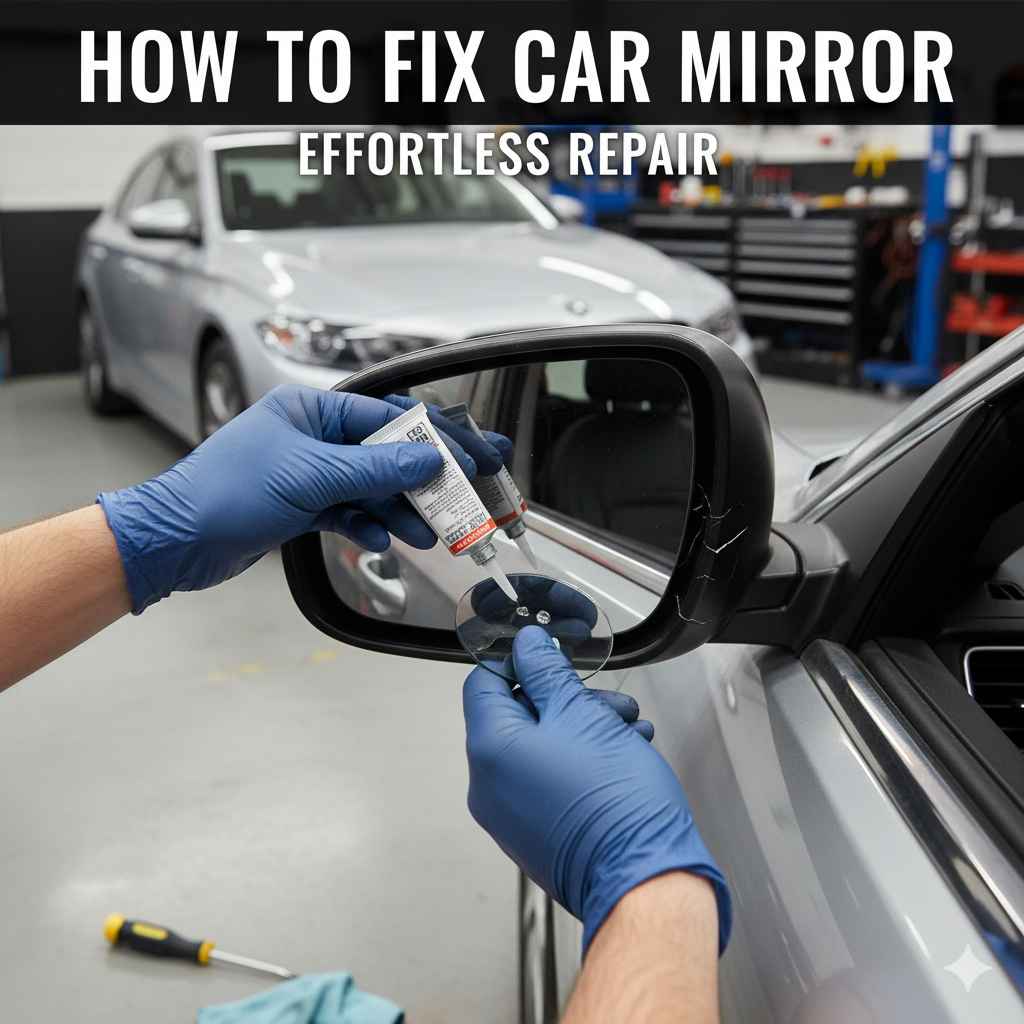
How to Fix a Car Mirror: Popped Out, Loose, or Stuck
A popped-out car mirror is usually a 30-minute adhesive fix, but a mirror that won’t adjust at all — rather than one that’s physically detached — points to a blown fuse, bad switch, or failed motor instead. Using the wrong fix for the wrong problem wastes an evening and a tube of epoxy. This guide covers both: reattaching a popped-out side mirror or rearview mirror with adhesive, and diagnosing a side mirror that’s stuck and won’t move.
Quick Answer
Clean off old adhesive with rubbing alcohol, apply automotive mirror adhesive or epoxy, press firmly for 30 seconds, and let it cure 12-24 hours before driving. If the mirror won’t adjust rather than staying detached, check the fuse and control switch first — that’s a different, non-adhesive problem.
Why Did My Car Mirror Pop Out?
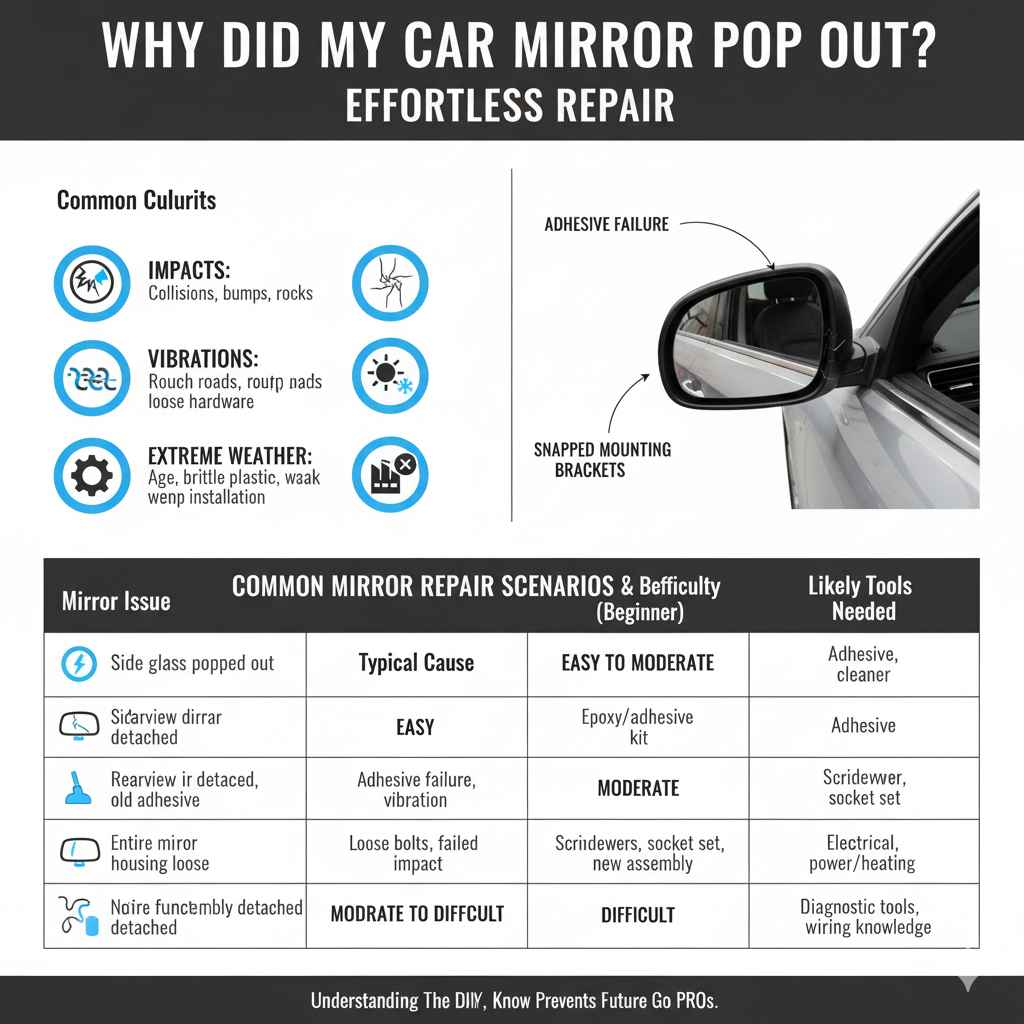
Car mirrors are designed to be sturdy, but several factors can lead to them becoming loose or popping out. Understanding the cause can help you prevent future issues and choose the right repair method.
Common Culprits Behind Mirror Malfunctions:
- Impacts: The most frequent reason is a direct hit. This could be from a minor collision, brushing against something while parking, a kicked rock, or even vandalism. A sharp impact can break the adhesive, snap mounting brackets, or loosen the entire housing.
- Vibrations: Constant vibrations from driving on rough roads or over time can gradually loosen the mounting hardware or adhesive holding the mirror in place. This is more common with rearview mirrors that are constantly jostled.
- Extreme Weather: Significant temperature fluctuations, especially intense heat followed by cold, can cause the adhesive or plastic components to expand and contract. This can weaken their bond. Heavy rain or car washes, if the seal isn’t perfect, can also contribute.
- Wear and Tear: Like any car part, mirrors and their attachments can degrade over time due to age and exposure. Plastic parts can become brittle, and adhesive can lose its grip.
- Manufacturing Defects: While less common, sometimes mirrors might have had a faulty installation or component from the factory, making them prone to detachment.
What Kind of Car Mirror Are We Talking About?
Before we get our hands dirty, let’s clarify which mirror you’re likely dealing with. The repair process can vary slightly depending on whether it’s an exterior side mirror or an interior rearview mirror.
- Side Mirrors (Door Mirrors): These are the mirrors mounted on your car’s doors. They typically consist of the mirror glass itself, a housing that encloses the glass and adjustment mechanisms, and a mounting arm that attaches to the door. If the whole unit has come loose from the door, it’s a more involved repair. However, if only the mirror glass has popped out of its housing, that’s often a simpler fix.
- Interior Rearview Mirror: This is the mirror that’s usually attached to your windshield. It usually has a metal stem that attaches to a small metal plate glued to the inside of the windshield glass. If the mirror has detached from this plate, the repair is often straightforward.
For the purposes of this guide, we’ll focus on the most common scenario: a side mirror glass popping out of its housing or an interior rearview mirror detaching from its windshield mount. Repairing the entire side mirror housing unit is usually a more complex job that might require professional help or a more extensive DIY guide.
Tools and Materials You’ll Need
The beauty of fixing a car mirror that popped out is that it rarely requires specialized or expensive tools. You likely have most of these items already, or they are very inexpensive to purchase.
If you’d rather compare adhesive options before buying, our roundup of the best car mirror adhesives covers several brands side by side.
Essential Toolkit:
- Screwdriver Set: A basic set with Phillips and flathead screwdrivers will be necessary for some models to carefully remove any retaining clips or housings.
- Putty Knife or Trim Removal Tools: A plastic putty knife or specialized trim removal tools are invaluable for gently prying open mirror housings or trim panels without scratching your car’s paint or interior. You can find these at most auto parts stores or online. For example, Harbor Freight offers affordable trim removal kits which are great for DIYers.
- Rubbing Alcohol (Isopropyl Alcohol): This is crucial for cleaning old adhesive residue and preparing the surfaces for new adhesive.
-
Adhesive:
- For Mirror Glass: High-strength, automotive-grade mirror adhesive or a strong, clear silicone adhesive is best. Look for products specifically designed for mirrors to ensure they won’t damage the reflective backing.
- For Rearview Mirror Mount: A strong, clear epoxy or a specialized windshield repair adhesive kit. Ensure it’s designed for glass and metal bonding. Some kits come with an activator and are specifically for this purpose.
- Newspaper or Paper Towels: For cleaning and wiping up any excess adhesive.
- Gloves: To keep your hands clean and protect them from adhesive.
- Optional: Hair Dryer: Sometimes, gently warming the area can help soften old adhesive or make plastic more pliable for removal, but use this with caution.
Best Rearview Mirror Adhesive Pick
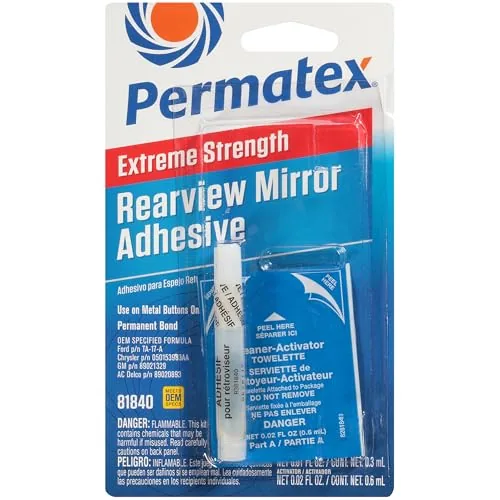
Permatex 81840 Extreme Rearview Mirror Adhesive Kit
A professional-strength glass-and-metal bonding kit built specifically for reattaching a fallen rearview mirror to its windshield tab.
- Best for: a rearview mirror that’s completely detached from its windshield mount
- Why we picked it: purpose-built for glass-to-metal bonding, not a generic all-purpose adhesive
- Main drawback: full cure takes 12-24 hours, so plan to leave the car parked
Compare more mirror repair essentials
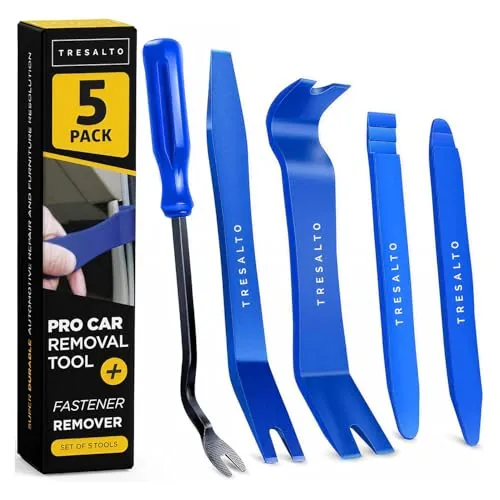 Option 1 Tresalto Trim Removal Tool Kit
|
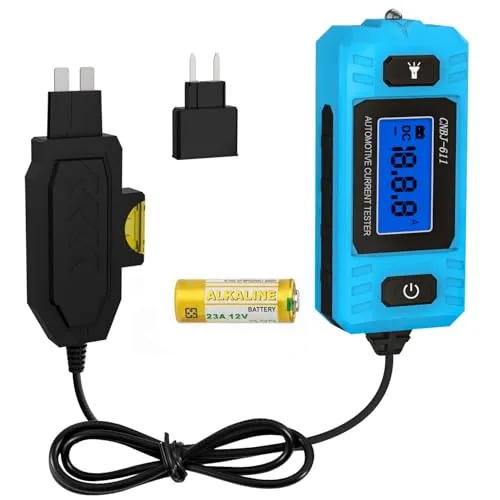 Option 2 Automotive Circuit & Fuse Tester
|
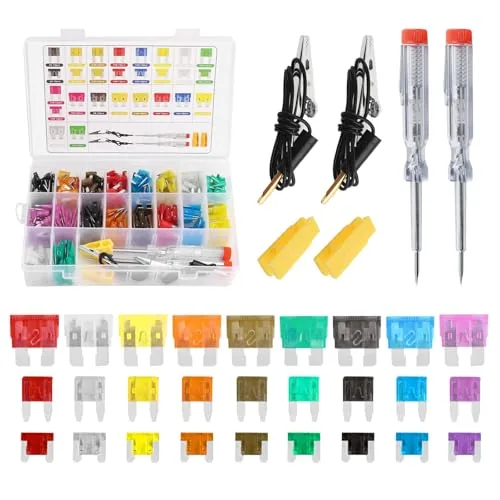 Option 3 Automotive Fuse Assortment Kit
|
As an Amazon Associate we earn from qualifying purchases.
How to Fix a Car Mirror That Popped Out: Step-by-Step
Let’s get started! We’ll cover the most common scenarios: fixing a popped-out side mirror glass and reattaching a loose rearview mirror.
Scenario 1: Fixing a Popped-Out Side Mirror Glass
This is often the most straightforward repair. Usually, the mirror glass itself has detached from the plastic backing plate or the housing it sits in.
- Assess the Damage: Carefully examine the mirror. Is it just the glass that’s loose or detached? Is the plastic backing still attached to the housing, or did that come off with the glass? Most of the time, the glass will be loose with the backing plate still attached to it. If the backing plate is broken, you may need to replace the entire mirror assembly.
- Clean the Old Adhesive: If there’s any residual adhesive on the back of the mirror glass or in the housing where it sat, it needs to be completely removed. Use rubbing alcohol and a clean cloth or paper towel. This cleaning step is critical for the new adhesive to bond properly. Be gentle not to scratch the glass.
- Prepare the New Adhesive: Follow the instructions on your chosen automotive mirror adhesive or strong silicone. These often come in tubes that require a caulk gun, or they might be small, single-use packets. If using a two-part epoxy, mix it thoroughly according to the product directions.
- Apply the Adhesive: Apply a generous amount of adhesive to the back of the mirror glass or to the plastic backing plate. Don’t be shy – you want a good, solid bond. Make sure to spread it evenly, covering most of the surface area where it will meet the housing. Avoid getting excess adhesive on the reflective surface of the mirror or the exterior of the housing, as it can be difficult to remove once set.
- Re-seat the Mirror Glass: Carefully align the mirror glass (with the adhesive applied) back into its housing. Press firmly and evenly across the entire surface of the mirror for about 30 seconds to ensure good contact. The mirror should feel snug.
- Secure the Mirror (If Necessary): Depending on the mirror’s design, you might need to temporarily secure it while the adhesive cures. This could involve using painter’s tape to hold the mirror in place against the housing. Check the adhesive’s curing time – this can range from a few minutes to 24 hours depending on the product.
- Clean Up: Immediately wipe away any excess adhesive that may have squeezed out using a damp cloth or paper towel. Once cured, it’s much harder to remove.
- Allow to Cure: Let the adhesive cure completely according to the product’s instructions before driving. This is vital for a strong, lasting bond and to prevent the mirror from popping out again. You may need to leave the car parked for several hours or overnight.
It’s worth noting that some side mirrors have a small snap-ring or clip that helps secure the glass. If you see an open gap around the edge where a clip might have been, you may need to find the original clip or a replacement to ensure the mirror stays put, even after applying adhesive.
Not every side mirror uses adhesive at all — some glass sits on plastic retaining tabs and simply clips back into place with firm, even pressure, no glue required. If your mirror was never glued in the first place, see our snap-fit vs. glue mirror guide for that specific method.
Scenario 2: Reattaching an Interior Rearview Mirror to the Windshield
The interior rearview mirror is usually attached to a small metal tab that’s glued directly to the windshield. If this tab has come loose from the glass, or the mirror has detached from the tab, here’s how to fix it.
- Gather Your Supplies: For interior rearview mirrors, you’ll want a strong epoxy designed for glass and metal. Many auto parts stores sell specialized rearview mirror adhesive kits (e.g., 3M Super Strong Windshield Repair Adhesive Kit or Permatex Rear View Mirror Adhesive).
-
Clean Both Surfaces: This is the most critical step for a strong bond.
- If the mirror stem has detached from the metal tab: Carefully remove any old adhesive from the end of the mirror stem and also thoroughly clean the metal tab attached to the windshield with rubbing alcohol.
- If the metal tab has detached from the windshield: Gently scrape off any old adhesive from the windshield where the tab was attached, and also clean the metal tab itself.
- Prepare the Adhesive: Follow the instructions on your chosen adhesive kit precisely. Many kits have a small mixing chamber or require you to apply a two-part glue. Let the mixed adhesive sit for the time specified on the package – this is often a minute or two.
- Apply the Adhesive: If the mirror stem detached (some stems have a granulated texture where they connect), apply the prepared adhesive evenly to that textured end. If the metal tab detached, apply the adhesive directly onto the tab instead. Either way, use enough adhesive to cover the contact area without excess that could spill and drip down the windshield.
- Reattach the Mirror/Tab: If the mirror stem detached, carefully align the prepared stem into the channel or slot on the metal tab bonded to the windshield. If the metal tab detached, press it firmly against the clean spot on the windshield where it was originally attached. Apply steady, firm pressure for the recommended time — for metal tabs, gently twisting the stem/tab helps spread the adhesive and create a strong mechanical lock, a mechanism common on many original mounts.
- Hold and Cure: This is where patience is key. For mirror-stem-to-tab attachment, some kits include small pieces of tape or a pressure clip; if not, hold it firmly in place for the initial setting time (usually a few minutes), then let it cure undisturbed. For tab-to-windshield attachment, painter’s tape can hold the tab in its correct position against the glass while it cures — just make sure the tape doesn’t pull the tab away from the glass as it dries. Crucially, allow the adhesive to cure fully: most rearview mirror adhesives require at least 12-24 hours before the mirror can be moved or used, and rushing this step is the most common reason the repair fails. The video below demonstrates the full process visually.
- Clean Up: Carefully remove any excess adhesive without smearing it. If it’s still wet, a damp cloth or solvent recommended by the adhesive manufacturer will work. Once cured, it’s very hard to remove.
- Test Gently: Once fully cured, gently test the mirror’s stability. It should feel secure and not wobble excessively.
Side Mirror Stuck and Won’t Move? Here’s a Different Problem
If your side mirror hasn’t popped out or detached but simply won’t adjust when you press the switch, that’s an electrical or mechanical problem, not an adhesive one — and reapplying glue won’t fix it. Start by pressing the switch for the other side mirror. If that one also fails to move, the shared control switch is the likely culprit, not the mirror itself. If only one side is affected, check your owner’s manual for the mirror fuse in the fuse box and swap it for a new one of the same amperage if it’s blown.
If you hear the motor humming when you press the switch but the glass still doesn’t move, the motor or internal gears have likely failed or stripped — at that point, the mirror assembly typically needs to be replaced rather than repaired. Debris or ice inside the housing can also jam the mechanism; removing the mirror cover to clear an obstruction and lightly lubricating the gears with silicone spray sometimes restores movement without a full replacement.
“If the switch cannot adjust the other mirror glass, the mirror control switch is likely defective.”
- Both mirrors unresponsive: check the shared control switch first.
- One mirror unresponsive, no sound: check the fuse before anything else.
- Motor sound but no movement: likely a failed motor or stripped gears — usually needs assembly replacement.
- Grinding or resistance: debris or ice in the housing — clear it and lubricate before assuming the worst.
When to Call a Professional
While many mirror repairs are DIY-friendly, there are times when it’s best to seek professional help:
📊 A full side mirror assembly replacement (versus just re-gluing the glass) typically costs $150-$870, and can exceed $1,000 on vehicles with power adjustment or heating elements. Source: RepairPal.
- Entire Side Mirror Assembly Broken: If the entire side mirror housing is cracked, broken, or detached from the door, and not just the glass; this usually involves complex wiring for power adjustments and heating elements.
- Wiring Issues: If you suspect electrical problems with your side mirrors (e.g., they won’t adjust electrically), a mechanic can properly diagnose and fix the wiring.
- Complex Side Mirror Replacement: If your car has a particularly intricate side mirror design, or if you’re uncomfortable with disassembling door panels to access mounting points.
- Windshield Damage from Repair: If during the repair process, you accidentally crack or further damage your windshield, it’s time for a professional windshield repair service.
- Lack of Confidence: If after reading this guide, you still feel unsure or apprehensive about tackling the repair yourself, it’s always better to have it done by someone with experience.
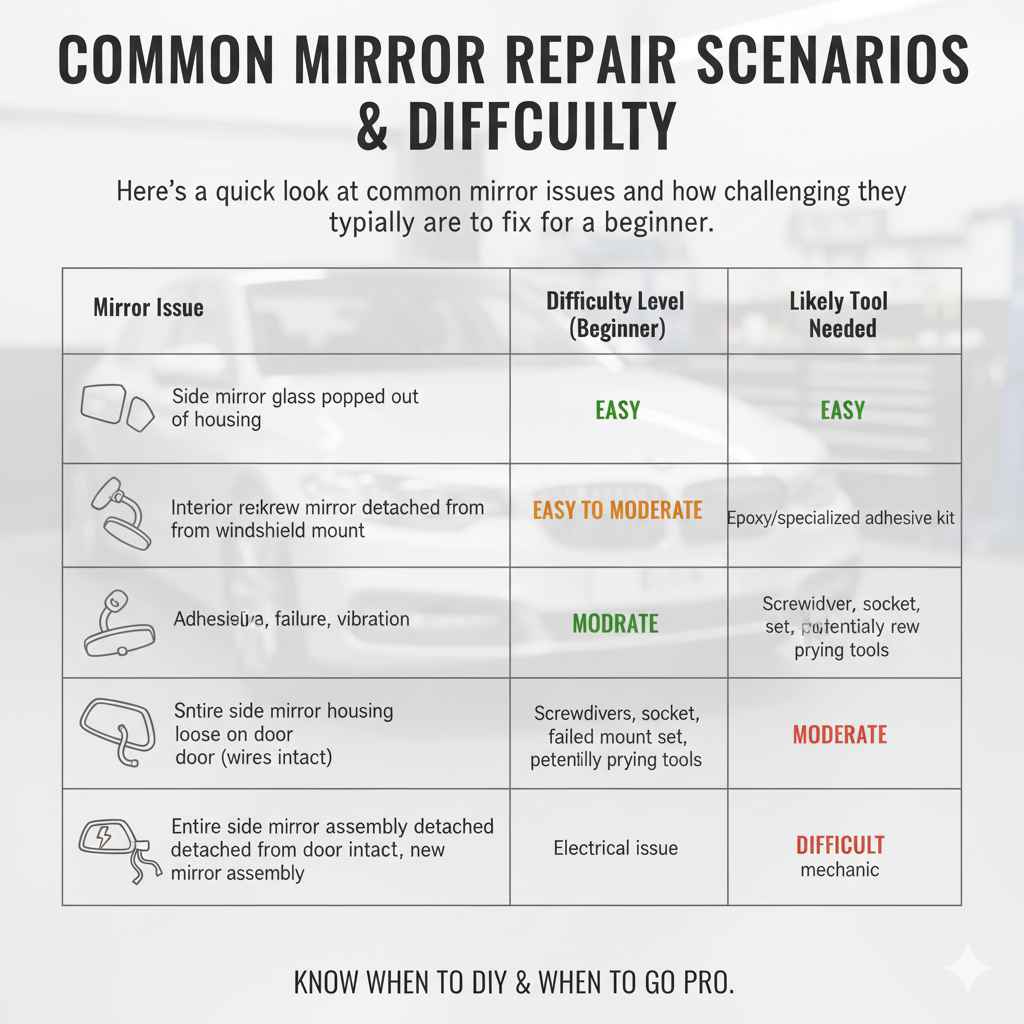
Table: Common Mirror Repair Scenarios & Difficulty
Here’s a quick look at common mirror issues and how challenging they typically are to fix for a beginner.
| Mirror Issue | Typical Cause | Difficulty Level (Beginner) | Likely Tool Needed |
|---|---|---|---|
| Side mirror glass popped out of housing | Impact, vibration, old adhesive | Easy | Adhesive, cleaning supplies |
| Interior rearview mirror detached from windshield mount | Adhesive failure, vibration | Easy to Moderate | Epoxy/specialized adhesive kit |
| Side mirror housing loose on door | Loose bolts, impact | Moderate | Screwdriver, socket set, possibly prying tools |
| Entire side mirror assembly detached from door (wires intact) | Major impact, failed mounting | Moderate to Difficult | Screwdrivers, socket set, potentially trim tools, new mirror assembly |
| Side mirror with non-functional power/heating | Electrical issue | Difficult | Diagnostic tools, wiring knowledge, mechanic |
Frequently Asked Questions (FAQ)
How long does mirror adhesive take to dry?
Drying times vary greatly depending on the product. Many automotive mirror adhesives set within a few minutes to an hour, but require 12-24 hours for a full, hard cure. Always check the product label for specific drying and curing times. It’s crucial to let it cure fully before exposing it to stress or vibrations (like driving).
Can I use super glue to fix my car mirror?
While super glue (cyanoacrylate) might seem like a quick fix, it’s generally not recommended for car mirrors. Super glue can become brittle, may not withstand vibrations and temperature changes, and can potentially damage the reflective backing of the mirror or the plastic housing over time. Dedicated automotive mirror adhesives or strong silicone adhesives are much more reliable and durable.
My side mirror glass fell off completely, and I can’t find the plastic backing. What should I do?
If the plastic backing plate that the glass adheres to is lost or broken, simply reapplying the glass won’t work. You’ll likely need to purchase a replacement mirror glass assembly for your specific car model. These usually come with a new backing plate and are designed to clip or adhere back into the existing mirror housing.
Will my car’s defogger/heating element in the side mirror be affected?
If your side mirrors have a heating element or defogger, and only the glass has detached, carefully reapplying it with the correct automotive adhesive should not affect these functions, provided the wires connecting to the heating element remain intact and undisturbed. If the wires are damaged or become disconnected during the detachment, these features might stop working, and that would require professional electrical repair.
How do I know if I need to replace the entire side mirror or just the glass?
If the mirror glass itself has popped out, but the plastic backing it attaches to is intact and still attached to the mirror housing, you likely only need to re-adhere the glass. However, if the entire mirror unit (glass, backing plate, and housing) has come loose from the car door, or if the housing is cracked, you will probably need to replace the entire side mirror assembly. Always inspect for damage to the mounting points and the housing itself.
Products related to this article
Sponsored / affiliate links. As an Amazon Associate I earn from qualifying purchases. I may earn additional commission from eligible campaigns.