How to Fix Paint Chips on a Car Hood Before They Spread
Fix paint chips on a car hood quickly to stop rust from taking hold and ruining your vehicle’s appearance. This guide walks you through a simple step-by-step process to repair chips permanently using everyday tools and supplies.
You will learn exactly what products to buy, how to prep the damaged area, and which application technique gives the smoothest results. No expensive body shop visits required.
Simply put, fixing a paint chip on a car hood requires cleaning the area, sanding down rough edges, applying touch-up primer and paint in thin layers, then finishing with clear coat and wet sanding for a seamless blend. The whole job takes about two hours of active work plus drying time.
Key Takeaways
- Fixing paint chips on a car hood early prevents rust from spreading underneath the clear coat
- You need only basic tools: touch-up paint, primer, clear coat, fine-grit sandpaper, and rubbing compound
- Thin, multiple layers of paint produce a smoother result than one thick coat
- Wet sanding and polishing after the clear coat cures hides the repair almost completely
What You Need to Fix Paint Chips on a Car Hood
Gathering the right supplies before you start saves time and prevents mid-project trips to the auto parts store. Most items are inexpensive and reusable for future chip repairs.
Essential Supplies Checklist
- Factory touch-up paint – buy the exact color code from your dealer or an online paint supplier
- Automotive primer – a small bottle of sandable primer designed for bare metal
- Clear coat – aerosol or pen style, matches the sheen of your existing paint (gloss or matte)
- Sandpaper – 600-grit, 1000-grit, 2000-grit, and 3000-grit wet/dry sheets
- Rubbing compound – fine-cut compound for final polishing
- Microfiber cloths – lint-free for cleaning and buffing
- Masking tape and paper – protects surrounding paint from overspray
- Isopropyl alcohol (70% or higher) – for degreasing the surface
- Applicator brush or toothpick – for precise paint application on tiny chips
- Clean bucket of water – for wet sanding
Important: Always confirm your vehicle’s paint code before ordering touch-up paint. The code is usually on a sticker inside the driver’s door jamb, under the hood, or in the glove box. Using a mismatched shade makes the repair obvious.
Where to Buy the Right Paint Products
Automotive touch-up paint is available from multiple sources, but quality varies significantly between brands.
| Source | Best For | Price Range | Color Match Accuracy |
|---|---|---|---|
| Dealership Parts Department | Factory exact match | $20–$40 per bottle | Excellent |
| Automotive Paint Supply Stores | Older or rare colors | $15–$35 per bottle | Very good |
| Online Retailers (AutomotiveTouchup, PaintScratch) | Convenience and selection | $25–$50 per kit | Good to excellent |
| Auto Parts Stores (AutoZone, O’Reilly) | Quick availability | $10–$25 per bottle | Fair to good |
For the best results, buy a complete touch-up kit that includes primer, base coat, and clear coat in one package. These kits are formulated to bond correctly with factory paint layers.
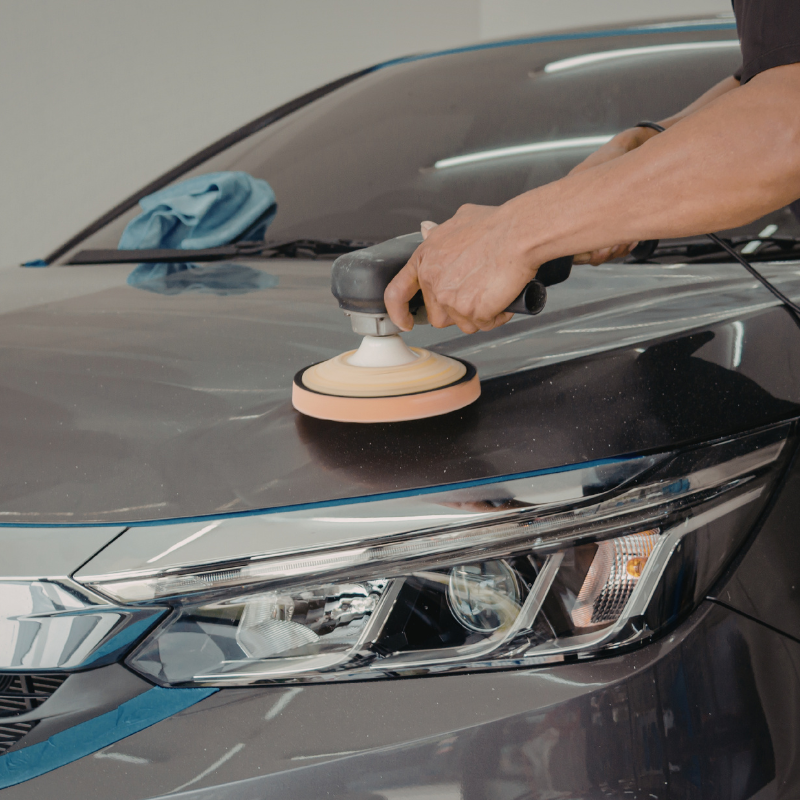
Step 1: Clean and Prep the Paint Chip Area
Proper surface preparation determines whether your repair lasts two months or two years. Dirt, wax, and grease prevent paint from adhering to the bare metal or surrounding clear coat.
- Wash the hood thoroughly using car soap and water. Dry completely with a microfiber towel.
- Apply isopropyl alcohol to a clean cloth and wipe the chip area plus a 2-inch radius around it. This removes wax, oils, and silicone-based products.
- Mask off the area with painter’s tape and paper to protect surrounding paint from accidental scuffs during sanding.
- Inspect the chip for any rust. If you see orange or brown discoloration, you must remove it completely before proceeding.
Warning: Never apply touch-up paint over rust. The rust will continue spreading underneath the new paint and cause the repair to fail within weeks. Always sand down to bare bright metal before priming.
Step 2: Sand the Edges of the Chip Smooth
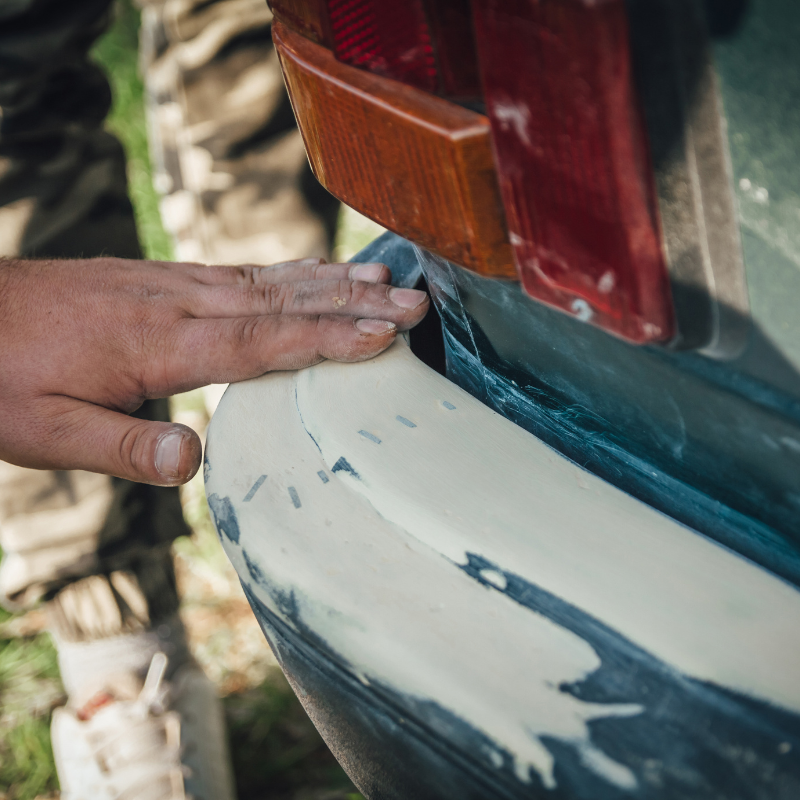
Paint chips have raised, jagged edges where the clear coat and paint layers fractured. If you apply touch-up paint over these rough edges, the repair will look bumpy and attract more dirt.
How to Sand a Paint Chip Correctly
- Start with 600-grit sandpaper wrapped around a small block or your fingertip. Dip it in water for wet sanding.
- Gently sand the chip edges using light pressure. You only want to smooth the sharp rim, not enlarge the chip.
- Sand in one direction – back and forth parallel to the hood’s length. Circular motions create visible scratches.
- Wipe away residue every few passes with a damp cloth to check your progress.
- Stop when the edges feel smooth to your fingertip and the chip looks like a shallow, even crater.
If the chip exposed bare metal and you see rust, sand until the metal is shiny and all traces of corrosion are gone. Use 400-grit for rust removal, then switch to 600-grit to smooth the surface.
Step 3: Apply Automotive Primer to the Bare Metal
Primer creates a corrosion barrier and helps the touch-up paint bond to the metal. Skipping this step leads to peeling and rust bubbles appearing under the paint within months.
According to the American Coatings Association, properly applied automotive primer improves paint adhesion by approximately 60% compared to paint applied directly to sanded metal. This makes primer an essential layer, not an optional extra.
Primer Application Tips
- Shake the primer bottle vigorously for at least 60 seconds to ensure proper mixing.
- Apply one thin coat using the built-in brush or a fine-tipped applicator. Cover only the exposed metal area.
- Let it dry completely according to the manufacturer’s instructions (usually 20–30 minutes).
- Lightly sand the primer with 1000-grit wet sandpaper after drying. This removes brush strokes and creates a smooth base.
- Wipe clean with alcohol and apply a second thin coat if the metal is still visible through the primer.
Tip: Hold the primer applicator at a 45-degree angle and use the tip to “drag” the liquid into the chip rather than dabbing. This produces a smoother surface with fewer air bubbles.
Step 4: Apply Touch-Up Paint in Thin Layers
This is the most critical step when you fix paint chips on a car hood. Applying paint correctly determines whether the final result blends in or stands out like a sore thumb.
Layer-by-Layer Paint Application
- Stir the paint thoroughly with a toothpick or the brush stem. Factory touch-up paint separates during storage.
- Load the brush sparingly – wipe excess paint on the bottle rim so only a thin film remains.
- Apply the first layer as a transparent “tack coat.” Let it dry for 15–20 minutes. This helps subsequent layers stick.
- Apply 3 to 5 thin coats, waiting 15–20 minutes between each. Build the paint up slightly above the surrounding surface level.
- Let the final coat dry for at least 24 hours before proceeding to clear coat. Rushing this step causes shrinkage and dimpling.
The paint fills the chip from the bottom up. Thin layers allow solvents to evaporate evenly, preventing the paint from shrinking back below the surface level. Thick coats trap solvent inside, leading to cracking and peeling.
| Layer Number | Thickness | Dry Time | Goal |
|---|---|---|---|
| Layer 1 (Tack Coat) | Almost transparent | 15–20 minutes | Adhesion base |
| Layer 2 | Light coverage | 15–20 minutes | Color build |
| Layer 3 | Medium coverage | 20–30 minutes | Opaque fill |
| Layer 4 (if needed) | Thin fill | 30 minutes | Level surface |
| Layer 5 (if needed) | Very thin | 24 hours final cure | Slight mound above surface |
You want the final paint layer to sit slightly above the surrounding hood surface. This slight mound allows for wet sanding and polishing later without sanding through to primer.
Step 5: Apply Clear Coat to Seal and Protect
Clear coat provides UV protection, gloss, and durability. Without it, the touch-up paint will fade, chalk, and wear away within a few months of sun exposure. If your clear coat is already lifting or bubbling rather than chipped from an impact, see our guide on how to stop clear coat from peeling off your car.
Clear Coat Application Steps
- Wait 24 hours after the final paint layer before applying clear coat. The base paint must be fully cured.
- Apply clear coat in 2–3 thin layers using the applicator brush or a small foam brush. Space applications 10–15 minutes apart.
- Build the clear coat slightly higher than the surrounding clear coat layer. This gives you material to sand flat later.
- Allow the clear coat to cure for at least 48 hours. Longer is better – 72 hours produces the hardest, most sandable finish.
According to PPG Industries, the clear coat layer accounts for roughly 40% of the total paint system thickness on modern vehicles. Matching this thickness with your repair clear coat ensures the repaired area wears at the same rate as the factory paint.
Step 6: Wet Sand the Repair Smooth
Wet sanding flattens the paint and clear coat mound down to the exact level of the surrounding paint. This step transforms a lumpy blob into an invisible repair.
Wet Sanding Sequence
- Start with 1000-grit sandpaper soaked in water for 10 minutes. Sand only the raised repair area, not the surrounding factory paint.
- Use light pressure and keep the surface wet. Sand in straight lines parallel to the hood contour.
- Wipe the area frequently to check your progress. Stop sanding when the repair feels level with the surrounding paint.
- Progress to 2000-grit sandpaper to remove the scratches left by the 1000-grit. Sand in a cross-hatch pattern (horizontal then vertical).
- Finish with 3000-grit to prepare the surface for polishing. The repair should look dull but smooth with no visible scratches.
Tip: Add a drop of dish soap to your wet sanding water. The soap lubricates the sandpaper and prevents the clear coat from gumming up the grit. Change the water frequently to keep it clean.
Step 7: Polish and Buff to Restore Gloss
After wet sanding, the repaired area appears cloudy and dull. Polishing brings back the gloss and makes the repair disappear into the surrounding paint.
Polishing Process
- Apply a small amount of fine-cut rubbing compound to a clean microfiber cloth.
- Buff the repair area using circular motions with light to moderate pressure. Work the compound for 30–60 seconds.
- Wipe off the residue with a fresh microfiber cloth. Inspect the gloss level.
- Repeat if needed – some repairs require 2–3 rounds of polishing to restore full gloss.
- Apply a coat of wax or paint sealant to protect the fresh clear coat. Wax also helps blend the repair visually.
The goal is to remove the fine scratches left by the 3000-grit sandpaper and restore the clear coat’s transparency. When done correctly, the repaired area reflects light identically to the factory paint.
Common Mistakes When Fixing Paint Chips on a Car Hood
Even experienced DIYers make errors that compromise the final result. Avoiding these five common pitfalls saves you time and frustration.
- Applying paint over wax or silicone – these contaminants cause fish-eye craters and poor adhesion. Always degrease with alcohol.
- Skipping the primer on bare metal – this guarantees rust will form under the repair within 3–6 months.
- Applying paint too thickly – thick coats trap solvents and shrink as they dry, leaving a depression in the center of the chip.
- Rushing the drying time – painting new layers over partially cured paint causes wrinkling and cracking.
- Sanding too aggressively – sanding through the clear coat and into the base paint requires starting the repair over from scratch.
Warning: Sanding through the clear coat and into the color layer creates a visible “halo” around the repair. If you see color dust on your sandpaper, stop immediately – you have gone too deep.
When to Call a Professional Instead of DIY
Not all paint chips are suitable for DIY repair. Some situations require professional equipment and expertise to achieve acceptable results.
Scenarios That Need a Body Shop
- Chips larger than a quarter – anything bigger than about 1 inch in diameter is hard to level smoothly with hand application.
- Deep scratches through multiple paint layers – damage that exposes the metal and has jagged edges often needs filler and professional spraying.
- Chips on pearl or tri-coat paints – these finishes have multiple translucent layers that are extremely difficult to match without a spray booth.
- Damage on aluminum hood panels – aluminum requires special etching primers and corrosion treatments that standard kits do not provide.
- Multiple chips clustered together – a group of chips close to each other creates a larger repair area that looks patchy when done by hand.
A professional repair for a single hood chip typically costs between $150 and $400, depending on your location and the paint type. Compare this to $25–$50 for a DIY touch-up kit to decide which option fits your budget and expectations.
How to Prevent Future Paint Chips on Your Hood
Prevention is easier and cheaper than repair. Simple protective measures significantly reduce the frequency of new chips.
Protective Strategies That Work
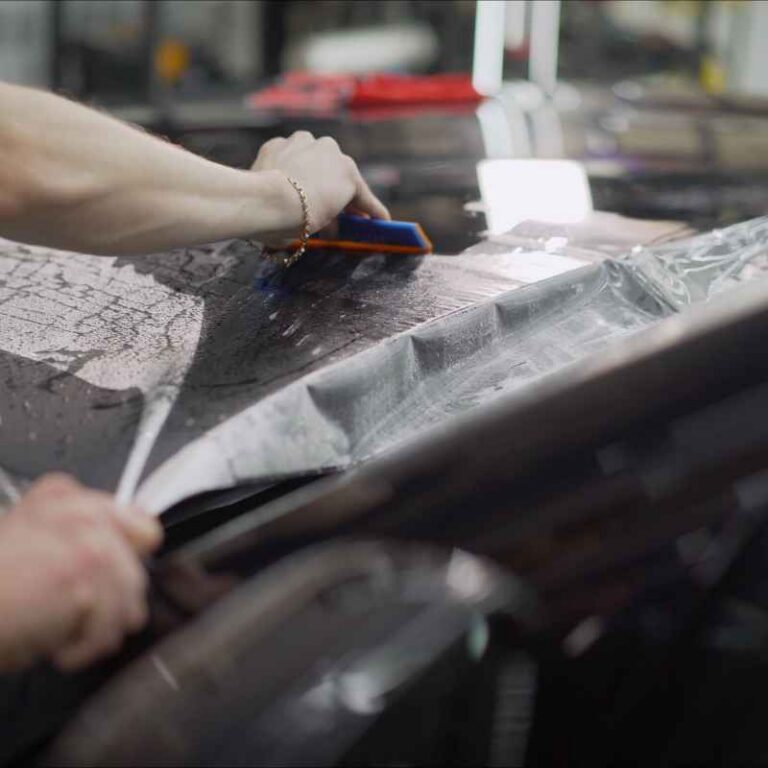
- Install a clear paint protection film (PPF) on the hood’s leading edge. PPF absorbs rock impacts and prevents chips from forming. According to 3M, PPF can reduce front-end paint damage by up to 85%. A traditional front-end cover offers similar protection at a lower cost if you would rather not commit to PPF.
- Maintain a 3-second following distance from vehicles ahead. The closer you follow, the more likely you are to catch rocks kicked up by their tires.
- Avoid driving behind trucks carrying gravel, sand, or construction materials. These vehicles routinely drop debris on the road.
- Apply a ceramic coating that adds a sacrificial hard layer over your paint. While not chip-proof, ceramic coatings reduce the severity of impacts.
- Wash and wax regularly to keep the clear coat healthy. A well-maintained clear coat resists chipping better than dried-out, brittle paint.
The National Highway Traffic Safety Administration reports that road debris causes an estimated 25,000 crashes per year in the United States alone. Even small rocks traveling at highway speed carry enough force to crack automotive clear coat.
Frequently Asked Questions
Can I fix a paint chip on my car hood without sanding?
You can apply touch-up paint without sanding, but the repair will have raised edges and will not blend visually. Sanding smooths the chip edges and allows the new paint to level with the surrounding surface. For a nearly invisible result, sanding is mandatory.
How long does car hood paint chip repair take from start to finish?
Active work time is about 2 hours, but total time including drying and curing spans 3–5 days. The longest wait is the 24-hour cure between the final paint layer and the clear coat application. Rushing the cure time compromises durability.
Will touch-up paint prevent rust on a hood chip?
Yes, touch-up paint stops rust by sealing the bare metal from oxygen and moisture. Primer acts as the primary corrosion barrier, and the base coat adds an additional seal. For complete protection, you must apply clear coat over the base paint.
Why does my touch-up paint look darker than the factory paint?
Fresh touch-up paint often appears slightly darker or lighter than the faded surrounding paint. Sun exposure and oxidation lighten factory paint over time. Polish the repair area and the surrounding paint together to blend the color.
In most cases, the difference becomes unnoticeable after a few weeks of sun exposure.
How many coats of paint do I need for a deep hood chip?
Deep chips that go through to bare metal typically require 4–6 thin coats to fill level with the surface. Apply each coat after the previous one is dry to the touch (15–20 minutes). Build the paint slightly above the surrounding surface to allow for wet sanding and polishing.
Final Thoughts
Learning to fix paint chips on a car hood saves you hundreds of dollars in body shop fees and keeps your vehicle looking its best. The process requires patience more than skill – clean thoroughly, apply thin layers, and let each coat cure fully before moving to the next step. With the right supplies and a careful approach, you can achieve a repair that is nearly invisible to the naked eye.
Tackle those chips now before rust takes over.
Products related to this article
Sponsored / affiliate links. As an Amazon Associate I earn from qualifying purchases. I may earn additional commission from eligible campaigns.