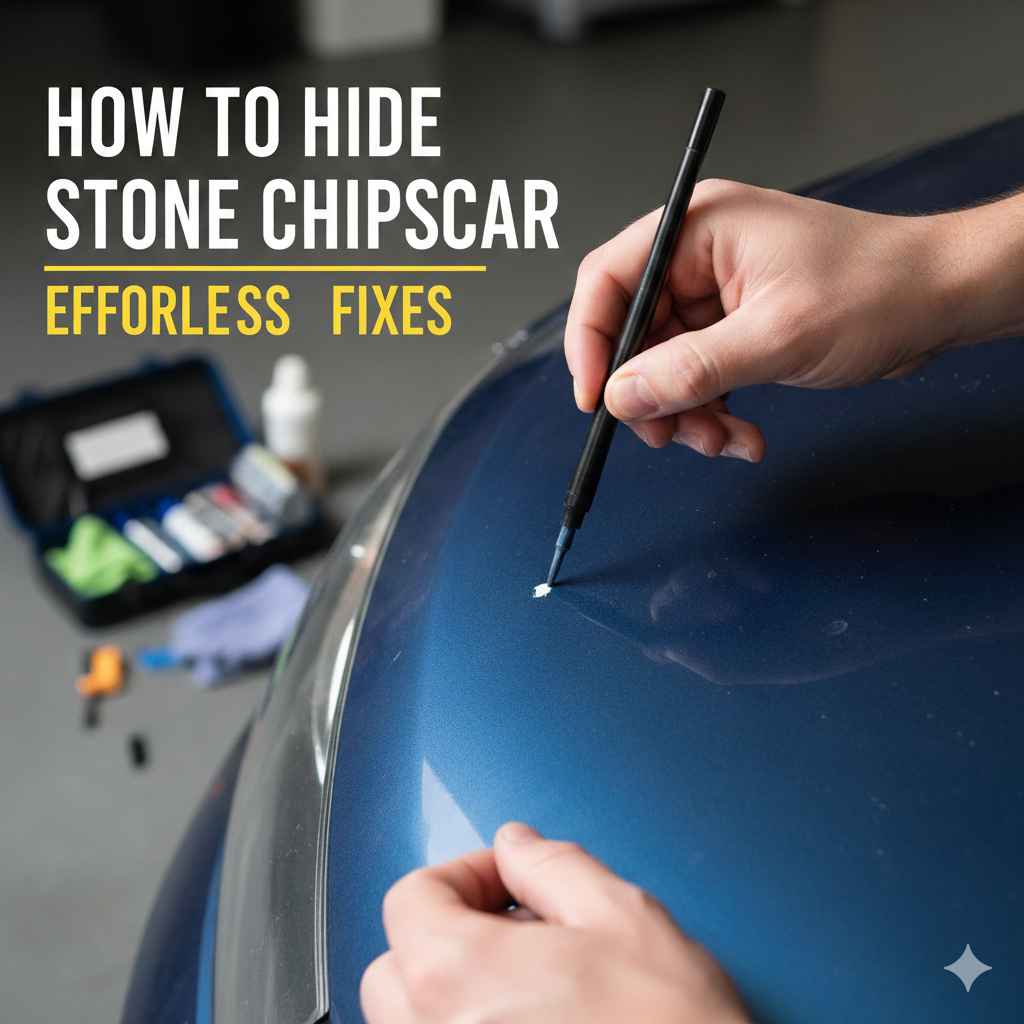
How to Hide Stone Chips on Car: Effortless Fixes
Hiding stone chips on your car is easy! Small chips can be touched up with a paint pen or kit matching your car’s color. For larger chips, a DIY touch-up kit or professional repair is best. These simple fixes protect your paint and keep your car looking great.
Seeing a tiny chip on your car’s paint can feel like a big problem. These little nicks, often caused by stones or debris flying off the road, aren’t just unsightly; they can also lead to rust if left untreated. Don’t worry, though! You don’t need to be a professional mechanic to tackle this common issue. This guide will walk you through simple, effective ways to hide those stone chips and keep your car looking its best. We’ll cover everything from simple touch-ups to more involved fixes, making car care accessible and stress-free.
Ready to give your car some TLC? Let’s dive in!
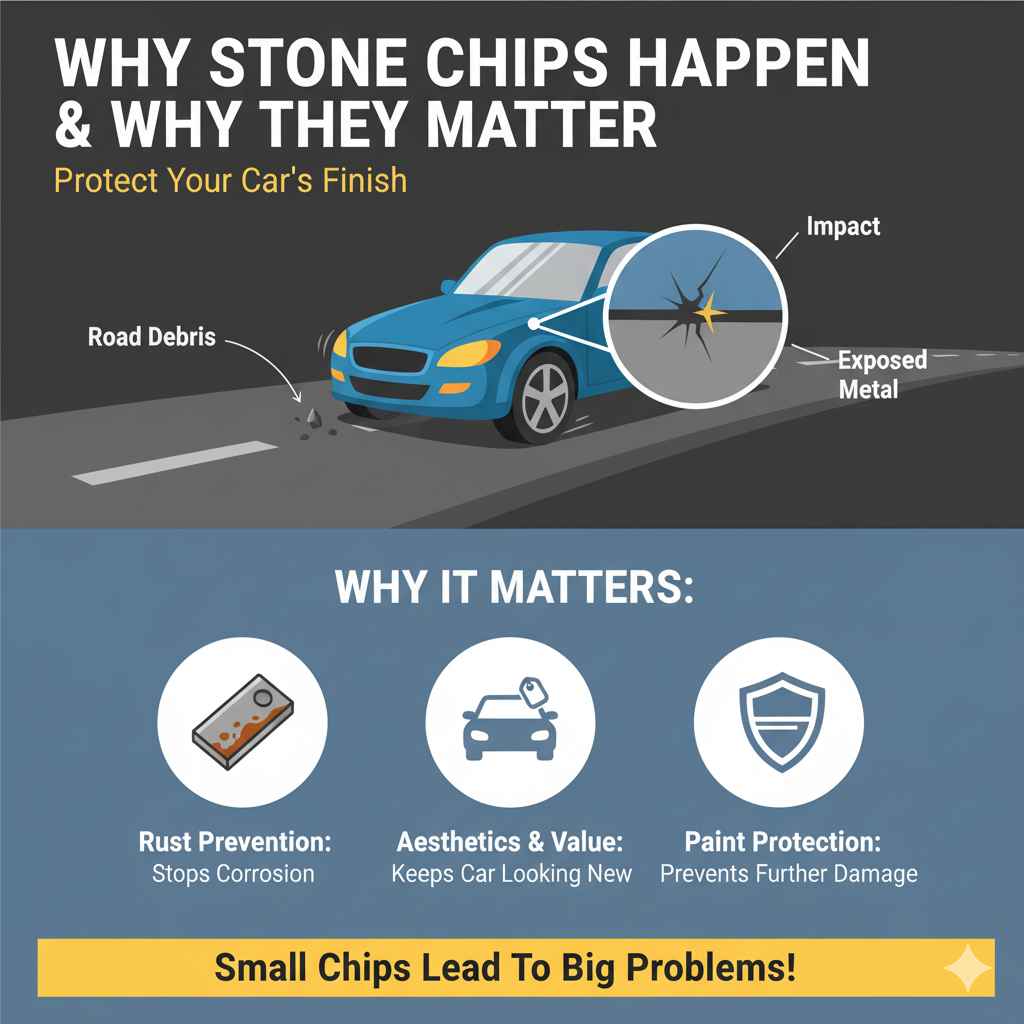
Why Stone Chips Happen and Why They Matter
Stone chips are a normal part of car ownership, especially if you drive on highways or unpaved roads. A tiny pebble or piece of gravel can be kicked up by another car’s tires or your own, hitting your car’s paintwork with surprising force. This impact can break through the protective layers of paint, exposing the metal underneath. Think of it like a tiny crack in armor; it’s an opening for trouble.
Why should you care about these small marks?
- Rust Prevention: Once the metal is exposed, it’s vulnerable to moisture. This can lead to rust, which is much harder and more expensive to fix than a simple chip.
- Aesthetics: Chips and dings detract from your car’s overall appearance. Keeping it looking sharp can help maintain its value.
- Paint Protection: Addressing chips promptly prevents them from spreading or worsening.
Assessing the Damage: How Big is the Chip?
Before you grab any tools, take a good look at the chip. The size and depth of the chip will help you decide the best way to fix it. Is it a tiny pinpoint, just through the clear coat? Or is it a deeper chip that has removed paint down to the primer or even the metal?
Here’s a simple way to categorize chips:
| Chip Size | Description | Best Approach |
|---|---|---|
| Surface Nick/Scratch | Only affects the clear coat (top protective layer). The color coat underneath is intact. | Polishing or a very light touch-up. |
| Small Chip (Pinpoint) | Breaks through the clear coat and color coat, but is very small, like a pinprick. | Paint pen or touch-up kit. |
| Deeper Chip | Goes through clear coat, color coat, and primer, possibly exposing metal. | Touch-up kit with primer, or professional repair. |
| Multiple Chips/Spiderwebbing | Several small chips clustered together, often from a larger impact. | Touch-up kit or professional assessment. |
For most common stone chips, we’ll focus on the “Small Chip” and “Deeper Chip” categories, as these are the most frequent issues DIYers face.
Your Toolkit for Chip Repair
Gathering the right supplies makes the job much easier. You don’t need a fancy workshop; most of these items can be found at an auto parts store or online. For basic touch-ups, here’s what you might need:
- Your Car’s Paint Code: This is crucial! It’s usually found on a sticker in the driver’s side doorjamb, under the hood, or in your owner’s manual. It’s a series of letters and numbers that identify your exact paint color.
- Touch-Up Paint Pen or Kit: These come with the matching paint color. Some kits also include primer and clear coat.
- Car Wash Soap and Water: To thoroughly clean the area.
- Microfiber Towels: For gentle cleaning and drying.
- Rubbing Alcohol or Wax and Grease Remover: To make sure the surface is perfectly clean and degreased for the paint to adhere.
- Fine-Tip Applicator/Toothpick: For precise application of paint to small chips.
- Optional: Clear Coat Pen/Kit: For added protection.
- Optional: Rubbing Compound or Polish: For blending the repair.
Getting your car’s paint code is essential. You can usually find this information detailed in your owner’s manual or on a sticker located on the driver’s side doorjamb. Many manufacturers also have this information available on their websites.
Effortless Fixes: Step-by-Step Guides
Let’s get hands-on! Here are the easiest ways to hide those stone chips, depending on their size.
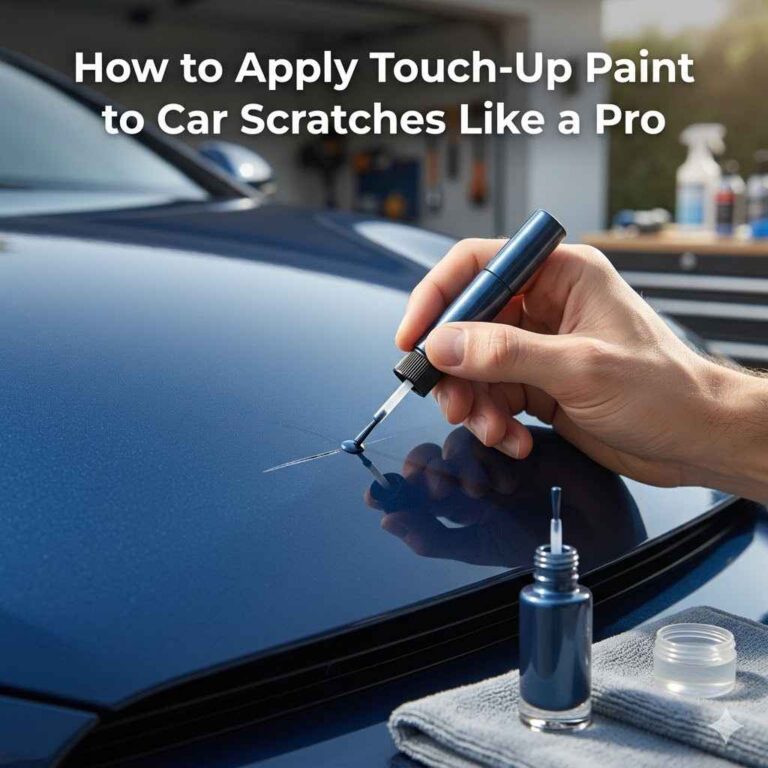
Method 1: Using a Paint Touch-Up Pen (For Small to Medium Chips)
This is the most common and effective DIY method for chips that have gone through the clear coat and color coat.
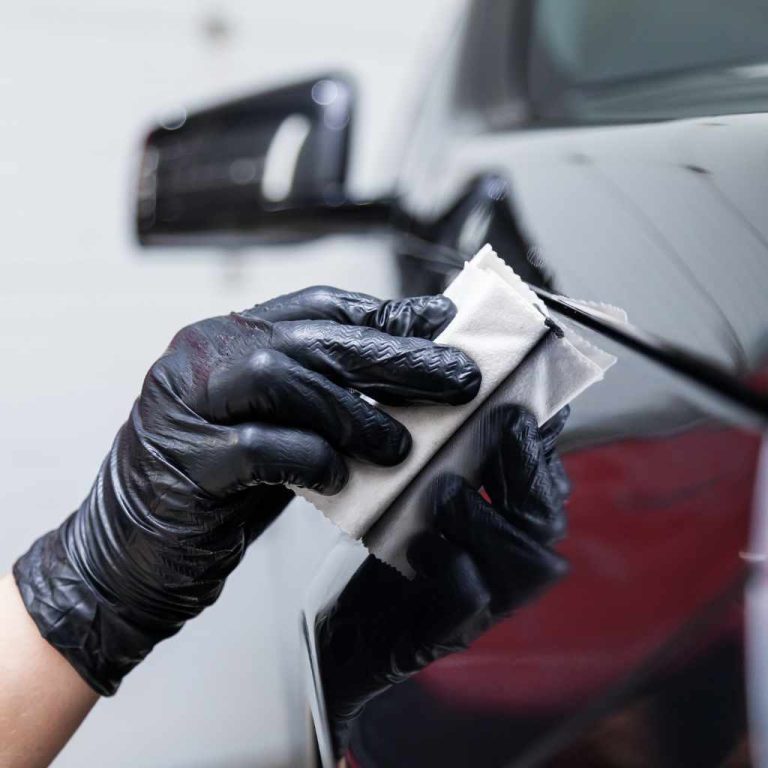
- Clean the Area: Wash the car around the chip thoroughly. Then, use rubbing alcohol or a dedicated wax and grease remover on a clean microfiber cloth to remove any wax, dirt, or debris from the chip itself. This ensures the new paint sticks properly.
- Prepare the Paint Pen: Shake the touch-up paint pen very well, for at least a minute. This mixes the pigment thoroughly. Some pens require you to press the tip to start the flow of paint; follow the manufacturer’s instructions.
- Apply Primer (If Needed): If the chip is deep and you can see gray primer or bare metal, you’ll want to apply a thin layer of primer first. Many touch-up kits include a primer pen. Apply it very carefully only inside the chip. Let it dry completely according to the product directions (usually 15-30 minutes).
- Apply the Color Coat: Using the pen’s applicator or a fine-tip brush/toothpick, carefully apply a small amount of the color paint into the chip. The goal is to fill the chip, not to cover the surrounding paint. Many hobbyists find it easier to use a toothpick for better control. Apply thin coats; you can always add more. Avoid smearing it onto the surrounding paint.
- Let it Dry: Allow the color coat to dry completely. This can take several hours, or even overnight, depending on the paint and humidity.
- Apply Second Color Coat (If Necessary): If the first coat didn’t fully fill the chip or doesn’t match perfectly, apply another thin layer. Repeat drying between coats.
- Apply Clear Coat: Once the color coat is fully dry and the chip is filled flush, apply a thin layer of clear coat over the repaired area. This protects the new paint and adds shine. Again, avoid spreading it onto the surrounding paint.
- Cure and Blend: Let the clear coat dry and cure for at least 24 hours, or preferably a few days. Once fully hardened, if there’s a slight raised edge, you can very gently buff the area with a fine-grit polishing compound or rubbing alcohol on a microfiber cloth. This helps blend the repair with the surrounding paint for a less noticeable finish.
Method 2: Using a DIY Touch-Up Kit (For Multiple or Deeper Chips)
These kits often contain primer, color coat, and clear coat in small bottles and come with fine brushes. They offer a bit more control than pens for larger chips.
- Gather Your Kit: Ensure your kit has everything needed, including primer, color, and clear coat.
- Clean and Prep: Just like with the pen, thoroughly wash and degrease the chipped area. A clean surface is paramount.
- Prime the Chip: Apply a thin, precise layer of primer to the exposed metal or primer layer within the chip using the kit’s fine brush. Let it dry completely.
- Apply Color Coat: Dip the brush lightly into the color paint. Gently dab the paint into the chip, aiming to fill it without going over the edges. It’s better to build up thin layers than to apply one thick blob. Allow each layer to dry thoroughly.
- Add Clear Coat: Once the color coat is dry and level with the surrounding paint, apply a thin layer of clear coat using the brush. This seals and protects the repair.
- Cure and Buff: Allow ample time for the clear coat to cure. For a less visible repair, you can very gently polish the area after curing.
Method 3: Clear Coat Only (For Scratches in Clear Coat)
If the chip only went through the top clear coat layer and the color underneath is intact, you might only need clear coat.
- Clean and Dry: Wash and dry the affected area thoroughly.
- Apply Clear Coat: Use a clear coat touch-up pen or brush. Carefully apply a thin layer of clear coat just into the scratch.
- Cure: Let it dry completely. You may need a second application for a smooth finish.
When to Call a Professional
While DIY fixes are great for small chips, some situations are best left to the experts. You might consider professional help if:
- The Chip is Very Large or Deep: Chips larger than a dime, or those that have deeply damaged the metal, are difficult to repair effectively at home.
- You Have Many Chips: Trying to repair dozens of chips individually can be incredibly time-consuming and may not yield a flawless result.
- You’re Dealing with Priceless or Rare Cars: If the vehicle has sentimental or significant monetary value, a professional detailer or body shop can ensure the best possible outcome.
- You’re Uncomfortable with the Process: If you’re hesitant or unsure about any step, it’s always better to seek professional advice to avoid making the problem worse.
Professional auto body shops have specialized tools and techniques, like paint blending and chip filling, that can make the repair virtually invisible. They can also ensure proper adhesion and protection against future damage. For instance, reputable body shops often use high-quality refinishing products that are designed for durability and a professional finish.
Tips for a Seamless Repair
Here are some extra tips to help you achieve the best possible results:
- Work in Good Lighting: Natural daylight is best. Avoid direct sunlight, as it can cause the paint to dry too quickly.
- Be Patient: Rushing the drying process between coats is the most common mistake. Let each layer fully cure.
- Less is More: Apply paint in thin, controlled layers. You can always add another layer, but it’s hard to remove excess paint without damaging the surrounding area.
- Practice First: If you’re nervous, practice applying paint with a toothpick on a piece of cardboard or scrap metal to get a feel for the paint flow.
- Protect Your Workspace: Lay down a drop cloth or old newspapers if you’re working in a garage to protect from any drips.
- Consider Weather Conditions: Avoid performing repairs in very humid, cold, or hot weather, as this can affect how the paint applies and dries. Ideal temperatures are typically between 60-80°F (15-27°C).
Preventing Future Stone Chips
While you can’t eliminate all stone chips, you can reduce their occurrence:
| Prevention Method | How it Helps | Best For |
|---|---|---|
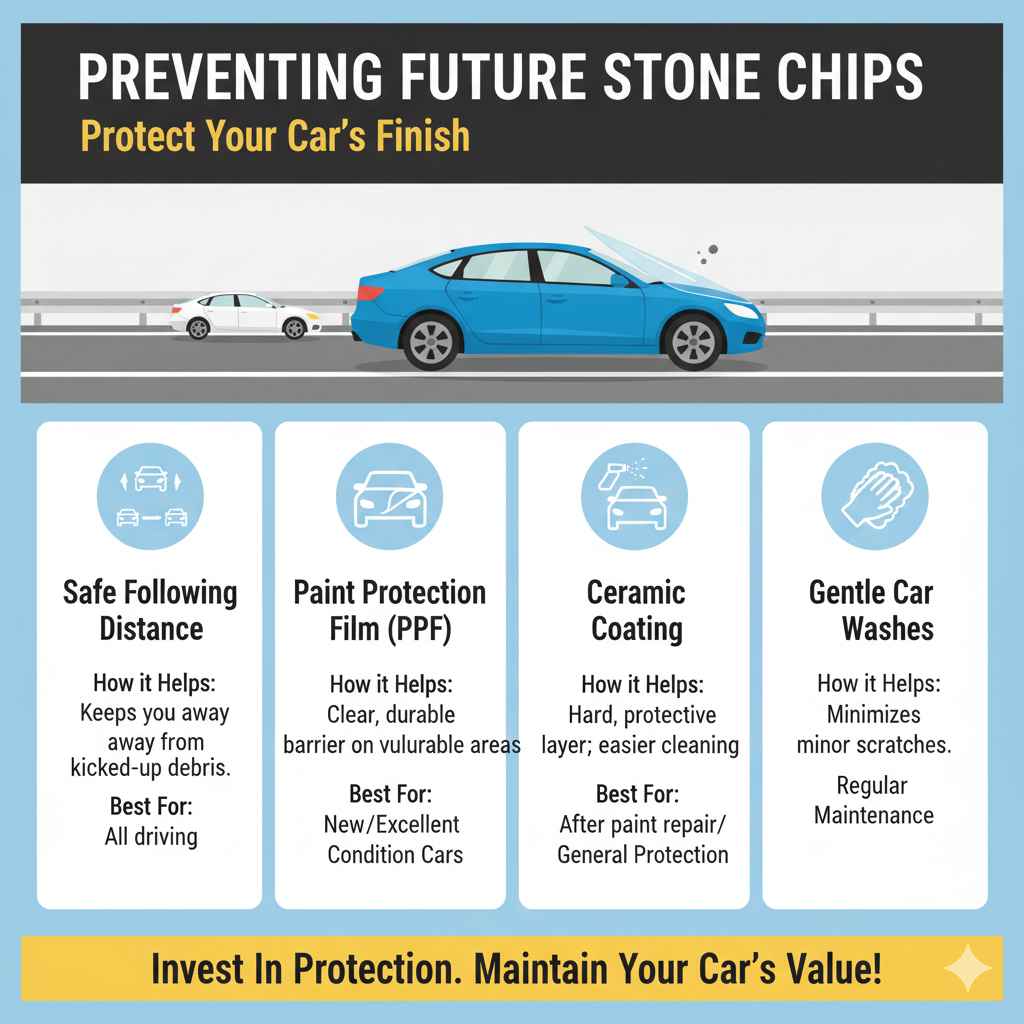
| Maintaining Safe Following Distance | Keeps you further away from debris kicked up by other vehicles. | All driving situations. |
| Driving Slower on Gravel/Construction Roads | Reduces the speed at which debris can fly. | Off-road or temporary road conditions. |
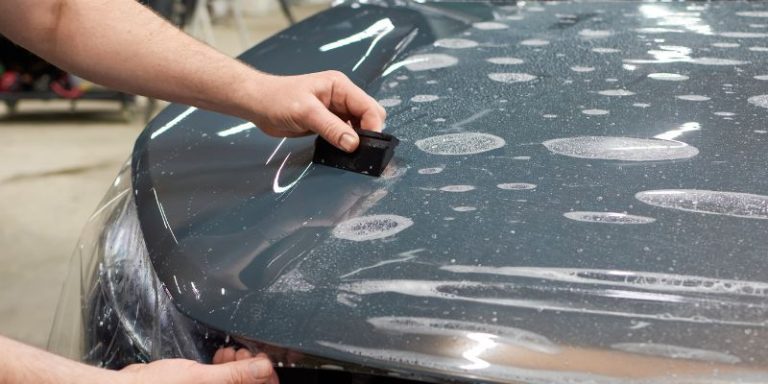
| Paint Protection Film (PPF) | A clear, durable film applied to vulnerable areas (hood, bumper, mirrors). | New vehicles or those in excellent condition. |
| Ceramic Coating | Adds a hard, protective layer that can deflect minor impacts and make cleaning easier. | After paint repair or for general protection. |
| Using Car Washes with Soft Cloths | Minimizes the risk of creating minor scratches that could worsen. | Regular maintenance. (Source: Consumer Reports on car washing best practices). |
Paint Protection Film (PPF) is a very effective, though more costly, solution. It’s essentially a clear sticker applied to the most vulnerable parts of your car. A qualified installer can apply this, offering a significant barrier against chips. For more information on PPF and its benefits, resources like XPEL (a leading PPF manufacturer) provide great insights.
Frequently Asked Questions (FAQ)
Q1: How long does it take for a stone chip to rust?
A1: The timeline varies greatly depending on your car’s paint quality, the environment (humidity, salt), and how deep the chip is. A minor chip might take months or even years to show surface rust, while deeper chips from which the metal is exposed can start to rust within weeks, especially in damp conditions. Prompt repair is always best for prevention.
Q2: Can I use nail polish to fix stone chips?
A2: While it might seem like a quick fix, using nail polish is generally not recommended for car paint. Nail polish won’t adhere properly to automotive paint, is unlikely to match your car’s color and finish, and may even damage the surrounding paint. Always use products specifically designed for automotive touch-ups.
Q3: What if I can’t find my car’s paint code?
A3: If you can’t locate the paint code on your vehicle or in your owner’s manual, your car dealership can usually find it for you using your car’s Vehicle Identification Number (VIN). You can also try contacting the vehicle manufacturer’s customer service. Sometimes, your car’s original window sticker will also list the paint code.
Q4: How do I know if I need primer?
A4: You need primer if the stone chip has gone past the paint color layer and you can see a different color underneath. This is usually white (representing the primer) or the silvery-gray/metallic color of the bare metal itself. Primer provides a surface for the new paint to adhere to and helps prevent rust from spreading.
Q5: Can I fix a chip that feels rough or uneven?
A5: Yes, for small chips, you can try to make them smoother. After applying the color and clear coats, and once they are fully cured (this might take days to a week), you can very gently use a very fine-grit sandpaper (like 3000 grit or higher) wrapped around a small, hard block, or use a polishing compound by hand or with a machine polisher. The ‘wet sanding’ technique with water is often used for this. However, this requires care to avoid damaging the surrounding original paint.
Q6: How many coats of paint should I apply?
A6: The number of coats depends on how much paint was removed. For small color coat chips, two or three thin coats might be enough to level out with the surrounding paint. Always allow ample drying time between coats. It’s always better to apply multiple thin coats than one thick one, which can sag or peel.
Conclusion
Dealing with stone chips doesn’t have to be a major headache. As you’ve seen, with a little patience and the right materials, you can effectively hide these imperfections yourself. From simple paint pens to more comprehensive DIY kits, there are accessible solutions for most common chips. Remember to always start by cleaning the area thoroughly and using your car’s specific paint code for the best match. Don’t forget that taking preventative measures, like maintaining safe distances and considering protective films, is also key to keeping your car’s finish in top condition. By following these steps, you’ll not only protect your car from rust and further damage but also keep it looking great for years to come. Happy fixing!