How to Pinstripe a Car With Paint (Brushes, Paint & Cost)
Pinstriping a car with paint means pulling a thin, continuous line with a sword-tip brush loaded with One Shot enamel — not a standard artist’s brush, which can’t hold enough paint for a smooth pull. Rushing the stroke or removing pinstripe tape too late causes jagged, uneven edges that ruin the finish. This guide covers the right tools, the 7-step painting process, real DIY vs. professional costs, and the mistakes that wreck a first attempt.
[Insert your Affiliate Disclosure reusable block here]
Quick Answer
To pinstripe a car with paint, wash and lightly sand the panel, lay down pinstriping tape as a guide, then pull a steady line with a sword-tip brush loaded with One Shot enamel. Let it cure fully before removing tape and adding an optional clear coat. DIY supplies run $25–$140; professional jobs cost $150–$600.
Understanding Pinstriping Your Car
Pinstriping is a decorative art form that adds thin, colored lines to a vehicle’s surface. These lines can highlight body contours, break up large panels, or simply add a unique flair. Historically, pinstriping was done by hand using special brushes.
Today, while professional hand-painting is still popular, advancements also offer vinyl wraps and other methods. However, for that authentic, classic look, many still choose paint.
The beauty of paint pinstriping lies in its ability to be a permanent addition that truly becomes part of the car’s finish. Unlike decals, properly applied paint pinstripes can last for years, resisting fading and peeling when cared for. This makes it a rewarding project for car enthusiasts looking to personalize their vehicles without resorting to temporary solutions.
Why Choose Paint Over Other Methods
Paint pinstriping offers a depth and character that other methods can’t quite replicate. Vinyl stripes, while easier to apply and remove, can sometimes look a bit flat or less integrated with the car’s paint. Hand-painted pinstripes, done correctly, have a subtle texture and a richness that comes from being an actual layer of paint.
This creates a seamless look that many car show enthusiasts and classic car lovers appreciate.
Furthermore, paint allows for a much wider range of colors and finishes. You can match your car’s existing color scheme perfectly, or choose a contrasting color that pops. It also opens the door to custom effects, like subtle fades or even adding a clear coat over the stripe for added protection and gloss.
How Wide Should a Car Pinstripe Be?
A pinstripe typically runs between 1/16 inch and 1/8 inch wide — thin enough to read as a fine accent line rather than a stripe. Wider designs of 1/4 inch or more shift into racing-stripe territory and usually call for pinstriping tape or vinyl rather than a single brush pull. Most beginners start at 1/8 inch, since it hides minor hand-wobble better than a hairline 1/16-inch line.
Getting Ready: Essential Tools and Materials
Before you even think about applying paint, having the right tools and materials is key. Skipping this step can lead to frustration and less-than-perfect results. Think of it like preparing a canvas before you paint a masterpiece; the better the preparation, the better the outcome.
The Best Paints for Pinstriping
For automotive pinstriping, you’ll want to use paints specifically designed for car surfaces. Acrylic enamel paints are a popular choice. They dry relatively quickly, are durable, and come in a wide array of colors.
The paint most professional pinstripers reach for by name is One Shot lettering enamel — an oil-based sign-painting enamel that lays down a glossy line in a single pass and stays workable long enough to fix mistakes before it sets. It’s a true enamel rather than a modern basecoat/clearcoat system, so most shops apply it directly over cured factory paint rather than clearcoating over the top.
📊 One Shot lettering enamel has set the professional standard for lettering, pinstriping, and auto graphics since 1948. — Source: PPG, official 1 Shot product page
Some professionals prefer specialized pinstriping enamels, which are formulated for fine lines and brush control.
Acrylic urethane paints are another excellent option, offering superior durability and resistance to chemicals and UV rays. These often require a hardener, so follow manufacturer instructions carefully. Always ensure the paint you choose is compatible with your car’s existing paint and clear coat.
Choosing Your Application Tools
This is where the magic happens, and the right tools make all the difference. For hand-painting, you’ll need specialized pinstriping brushes. These brushes have very fine, long bristles that allow for smooth, unbroken lines.
- Round Liner Brushes: Great for very thin lines and detail work.
- Script Liners: Similar to round liners but often longer and more flexible, ideal for flowing lines.
- Flat Brushes (small): Can be used for slightly wider stripes or to fill in areas.
Ask a professional what brush they actually use, though, and the answer is almost always a sword brush (sometimes called a sword striper). A #0 or #1 Mack Series 10 sword brush is the standard all-purpose size for learning long, flowing lines; the bristles run roughly 2 inches long, far longer than a typical artist’s brush, so it can hold enough paint to pull an entire line without reloading mid-stroke.
“Since arriving on the scene in 1948, 1 Shot enamel paint has set the standard for lettering, pinstriping, and auto graphics thanks to its clean, vibrant color and long-lasting finish.”
Pull the brush toward you in one smooth motion instead of pushing it away — pulling gives far more control and is the technique nearly every pinstriping guide teaches first. A mahl stick, a padded rod you rest across the car and your free hand, steadies a shaky arm on long, straight runs. It’s optional for short accent lines but genuinely useful once you’re striping a full door or hood.
Beyond brushes, consider using a pinstriping tape. This is ultra-thin, flexible tape that acts as a guide for your paint. It’s a fantastic tool for beginners to achieve straight, consistent lines.
You’ll also need painter’s tape for masking off larger areas and creating clean edges.
Best Pinstriping Paint Pick
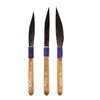
1 Shot Lettering Enamel Paint 4oz
The oil-based enamel referenced throughout this guide — the paint most professional pinstripers reach for by name, since 1948.
- Best for: brush-painting a durable, glossy pinstripe by hand
- Why we picked it: it’s the industry-standard One Shot enamel referenced throughout this guide — a single 4oz can stripes an entire car
- Main drawback: oil-based enamel needs mineral spirits for brush cleanup and has strong fumes, so work in a ventilated space
Compare more pinstriping tool options
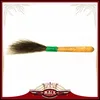 Option 1 Andrew Mack Sword Striper Pinstriping Brush Size 00
|
 Option 2 ORACAL 651 Vinyl Pinstriping Tape 1/4in Red
|
 Option 3 Excel Blades 30-Inch Aluminum Mahl Stick
|
As an Amazon Associate we earn from qualifying purchases.
DIY vs. Professional Pinstriping: What It Costs
Before you buy anything, it helps to know what you’re comparing your DIY effort against. Here’s how the four common approaches stack up on price and how long the result actually lasts:
| Method | Typical Cost | Durability |
|---|---|---|
| DIY hand-painted (brush + One Shot enamel) | $25–$140 in supplies | 8–10 years with clear coat |
| DIY pinstriping tape or vinyl | $10–$80 in materials | 3–5 years |
| Professional hand-painted | $150–$600 | 8–10 years with clear coat |
| Professional vinyl application | $50–$150 labor + tape | 3–5 years |
Surface Preparation is Non-Negotiable
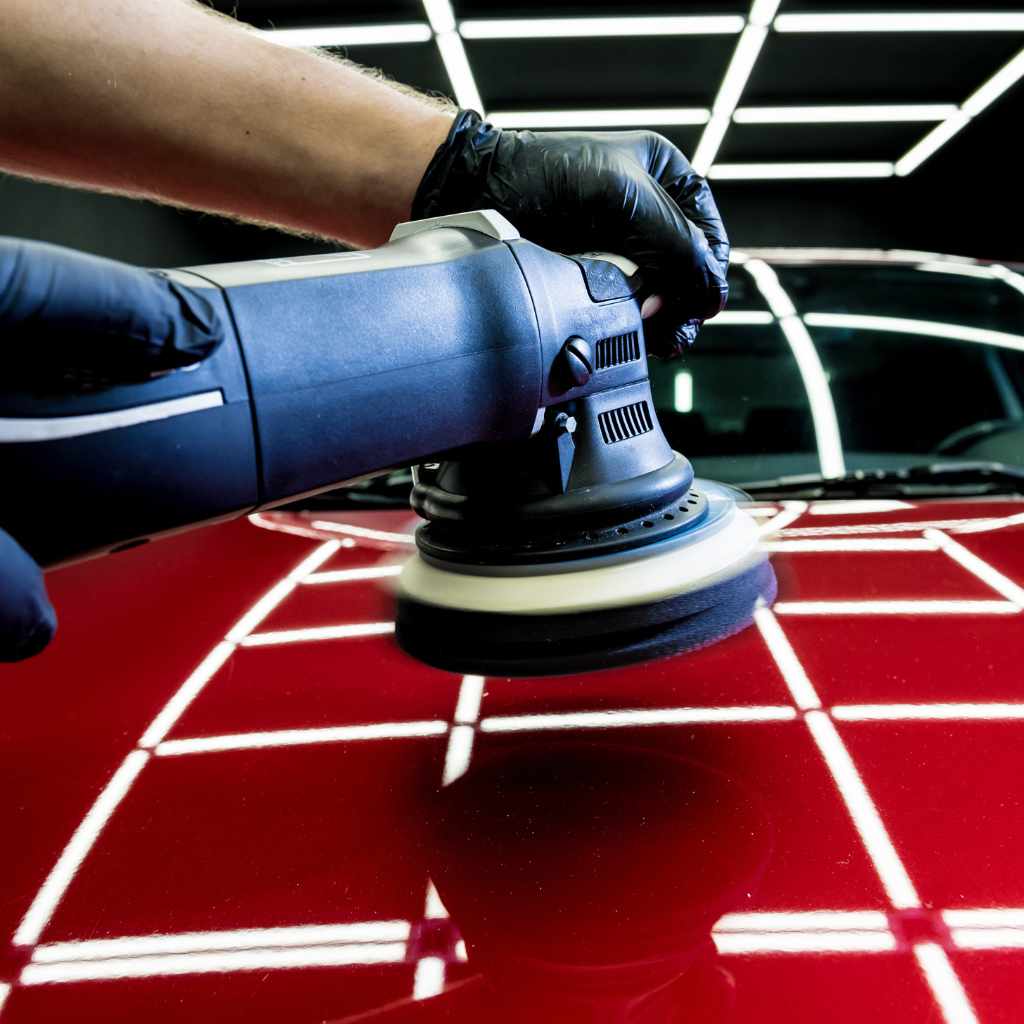
No matter how skilled you are with a brush, poor surface preparation will ruin your pinstripe. The area you plan to stripe needs to be perfectly clean, dry, and smooth. Any dirt, grease, or imperfections will show up under the paint.
Start by washing the car thoroughly. Then, use a degreaser to remove any remaining oils or residues. For best results, lightly sand or buff the area where the pinstripe will go.
Use a very fine grit sandpaper, like 1000-grit or higher, and then clean the area again. If you’re painting over an existing finish, ensure it’s in good condition. If there are any chips or scratches, you’ll need to repair them first.
The Step-by-Step Guide to Pinstriping
Now that you have your tools and your surface is prepped, it’s time to get down to business. This process requires patience and a steady hand, but by following these steps, you can achieve a professional-looking result.
Step 1: Planning Your Design
Before you touch a brush to the car, plan exactly where and how you want your pinstripe to go. Measure carefully. You can use masking tape to lay out your design on the car’s surface.
This allows you to visualize the stripe and make any adjustments before committing to paint.
Consider the lines of the car. A well-placed pinstripe can accentuate body lines, flow with curves, or create a specific visual effect. Look at other cars for inspiration, but aim for a design that complements your vehicle’s style.
Step 2: Applying Pinstriping Tape (Optional but Recommended)
If you’re using pinstriping tape, apply it now according to the manufacturer’s instructions. This tape is very thin and flexible, allowing you to follow curves. Ensure the tape is laid down smoothly with no bubbles or lifted edges.
This tape will act as a guide for your brush or as the edge of your stripe if you’re filling in an area.
If you’re creating a wider stripe by painting between two lines of tape, apply both tapes with the desired spacing between them. This creates a perfectly defined channel for your paint.
Step 3: Loading Your Brush with Paint
This is a critical step for brush painting. You don’t want too much paint on your brush, as this will lead to blobs and drips. Load your brush by dipping only the tip into the paint.
Then, gently drag the brush across the edge of the paint container to remove excess.
You want a smooth, consistent flow of paint. Practice on a piece of cardboard or scrap metal first to get a feel for how much paint you’re applying and how it flows from the brush.
Step 4: Applying the Paint
With a steady hand, begin applying the paint. For brush pinstriping, use a continuous, smooth motion. Try to keep the pressure consistent.
The key is to load the brush and apply the paint in one continuous stroke if possible. If you need to reload, try to overlap slightly with the previous stroke to avoid visible seams.
If you’re using pinstriping tape as a guide, paint right up to the edge of the tape. Work in sections, and don’t rush. It’s better to do multiple thin coats than one thick one.
If you make a mistake, stop immediately. Depending on the paint, you might be able to carefully wipe it away with a solvent before it dries. Once dry, you’ll likely have to sand and start that section over.
Step 5: Removing the Tape
This is the moment of truth! For the best results, remove the tape while the paint is still wet or at least slightly tacky. If you wait too long, the paint can adhere to the tape and peel away when you remove it, causing jagged edges.
Carefully and slowly pull the tape away from the car at an angle. If you are painting between two lines of tape, remove both layers. Inspect your work.
If there are any small imperfections or ‘tack-ups’ (where the paint bled under the tape), you can often clean these up with a fine-tipped brush and a bit of solvent, or by very carefully sanding and touching up.
Step 6: Allowing the Paint to Cure
Once your pinstripe is applied and any tape is removed, let the paint cure properly. This is crucial for durability. Follow the paint manufacturer’s recommendations for drying and curing times.
This can range from a few hours to several days or even weeks for full hardness.
Avoid washing the car or exposing it to harsh conditions during the curing period. Rushing this step can compromise the longevity of your new pinstripe.
Step 7: Applying a Clear Coat (Optional but Recommended)
For added protection and a seamless finish, you can apply a clear coat over your pinstripe once it has fully cured. This will help protect the pinstripe from UV rays, minor scratches, and environmental damage. It also blends the stripe into the overall finish of the car, making it look like an original factory option. See our clear coat quantity guide if you’re planning to clear the whole panel rather than spot-clearing the stripe.
Ensure your clear coat is compatible with the pinstripe paint. Apply thin, even coats, just as you would when painting any part of the car. Allow the clear coat to cure fully before waxing or polishing the vehicle.
Common Mistakes to Avoid
Even with a guide, beginners can stumble. Being aware of common pitfalls can save you time and frustration.
- Rushing the process: Pinstriping requires patience. Taking your time at each step is vital.
- Poor surface prep: Dirt or grease under the paint will ruin the finish.
- Too much paint on the brush: This leads to blobs, drips, and uneven lines.
- Trying to do it all in one stroke: Sometimes, short, deliberate strokes are better than one long, shaky one.
- Removing tape too late: This is a common cause of jagged edges.
- Using the wrong tools: A standard paintbrush won’t give you fine, crisp lines — that’s what a sword brush is for.
Alternative Methods and Tools
While hand-painting is the classic method, there are other ways to achieve a pinstriped look.
Pinstriping Tape
High-quality pinstriping tape is designed for this purpose. It comes in various widths and colors. You can apply it as a single line or use two strips with a gap in between, then carefully fill the gap with paint.
This method is much easier for beginners and offers a clean, consistent line. The tape is removed after painting, leaving a sharp edge.
Airbrushing Pinstripes
With the right stencils and fine-tip airbrushes, you can achieve very precise pinstripes. This method offers a high level of control but requires specialized equipment and practice with airbrush techniques.
Vinyl Pinstriping
Pre-cut vinyl pinstriping is available and is very easy to apply. It’s a great option for those who want a quick change or are not comfortable with painting. However, it doesn’t have the same depth or longevity as painted stripes — typically 3–5 years versus 8–10 for a clear-coated painted stripe. If you’re weighing vinyl against paint for a bigger project than just a stripe, our paint vs. wrap guide covers the full cost and resale picture.
Maintaining Your Pinstripes
Once your pinstripes are applied and cured, proper care will keep them looking great for years. Regular washing with mild soap and water is usually sufficient. Avoid abrasive cleaners or scrubbing directly on the pinstripes.
When waxing your car, be gentle over the pinstriped areas. Use a quality car wax and apply it with a soft microfiber cloth. If you notice any fading or damage over time, touch-ups can be made, but it’s best to address minor issues promptly.
Frequently Asked Questions
What is the easiest way for a beginner to pinstripe a car?
For beginners, using high-quality pinstriping tape as a guide is often the easiest way to achieve straight, clean lines. You can also use this tape to create a channel and fill it with paint.
Can I pinstripe over existing paint or clear coat?
Yes, as long as the existing paint and clear coat are in good condition, clean, and properly prepped. Lightly sanding the area can help with adhesion.
How do I remove a mistake if I mess up while painting?
If the paint is still wet, you can often carefully wipe it away with a clean cloth and the appropriate solvent. If it’s dried, you’ll likely need to carefully sand the area smooth and repaint.
What kind of brushes are best for hand-painting pinstripes?
You’ll want specialized pinstriping brushes — sword brushes (also called sword stripers) or script liners — which have long, fine bristles, roughly 2 inches, that hold enough paint for smooth, continuous lines without reloading mid-stroke.
How long does painted pinstriping usually last?
With proper application, preparation, and a protective clear coat, painted pinstripes typically last 8–10 years, often as long as the car’s original paint finish. Pinstriping tape and vinyl wear faster on their own, typically 3–5 years.
How much does it cost to pinstripe a car?
DIY hand-painted pinstriping runs $25–$140 in brushes, tape, and One Shot enamel, while pinstriping tape or vinyl kits cost $10–$80. A professional hand-painted job typically runs $150–$600 depending on how much of the body is striped, and professional vinyl application usually adds $50–$150 in labor on top of the tape itself.
Does pinstriping affect a car’s resale value?
A clean, well-executed pinstripe rarely hurts resale value and can appeal to buyers who want a subtle custom touch, but a sloppy or peeling one can make a car look poorly maintained. Because painted pinstripes are effectively permanent, most appraisers treat them as neutral to a car’s value — unlike loud graphics or wraps, which some buyers actively avoid.
Final Thoughts
Adding pinstripes to your car can significantly boost its appeal and give it a custom, personalized look. While the thought of painting those delicate lines might seem daunting, breaking it down into manageable steps makes it achievable. Remember that preparation is your best friend; a clean, smooth surface is the foundation for any great paint job.
Don’t be afraid to practice on scrap material first to get a feel for your chosen paint and tools.
Whether you opt for the classic hand-painting technique with a sword brush and One Shot enamel, or the more forgiving approach of using pinstriping tape, patience and a steady hand are key. Take your time, plan your design carefully, and don’t rush the drying and curing stages. The result of your effort will be a unique custom touch that reflects your style and enhances your vehicle’s appearance for years to come.
Products related to this article
Sponsored / affiliate links. As an Amazon Associate I earn from qualifying purchases. I may earn additional commission from eligible campaigns.
 Trinkrittey Car Pinstriping Tape Auto Car Pinstripe Tape PVC Car Decal Sticker Glossy DIY Stickers for Musical Instrument Motorcycle Auto Car (White)
 BOMEI PACK Painters Tape - Painting Tape for Car Paint Green - 1 inch x 60 Yards Paint Tape for Walls Painting, Automotive, Labeling, DIY Crafting, Decoration and School Projects, 6 Pack