Pinstriping Decals for Cars: Types, Costs & How to Apply
Choose pinstriping decals by area and skill: vinyl tape for quick trim work, pre-spaced kits for long straight runs, and painted stripes for more permanent jobs; expect roughly $10 to $60 for a DIY kit and about $150 to $500 or more for professional installation. Poor prep or the wrong tape can lift, wrinkle, or drift off line, wasting material and leaving visible damage. This guide compares stripe types, typical costs, and the install steps you need before buying.
Pinstriping cost matrix
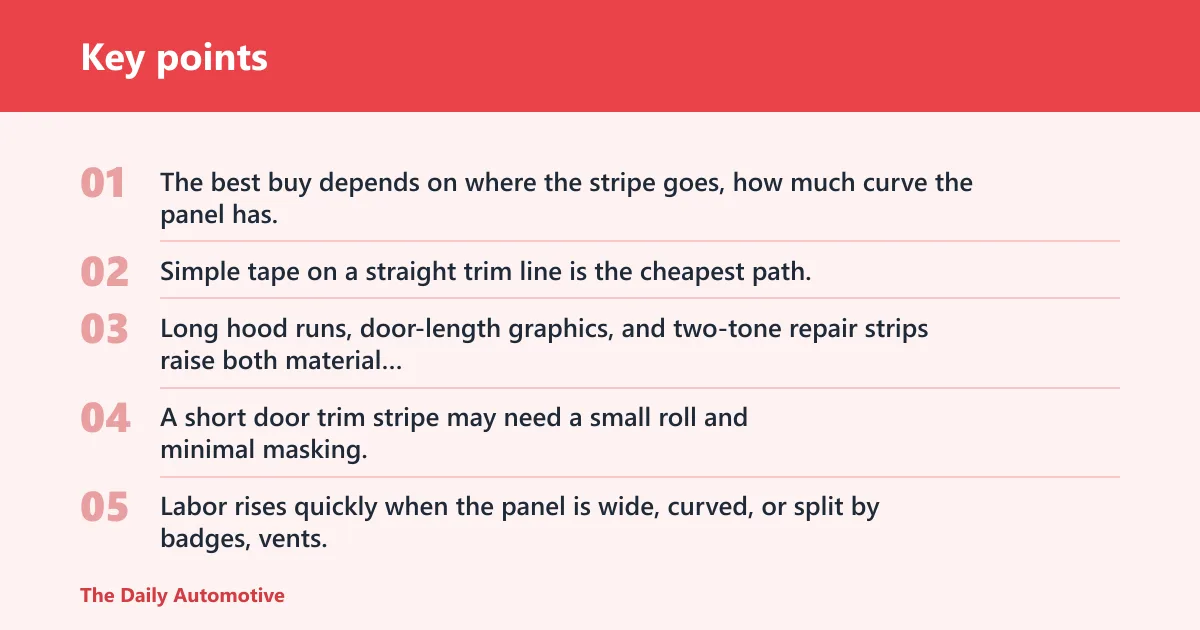


The best buy depends on where the stripe goes, how much curve the panel has, and whether you need a clean accent or a full visual change. Simple tape on a straight trim line is the cheapest path. Long hood runs, door-length graphics, and two-tone repair strips raise both material waste and labor time.
| Stripe type | Typical use case | Install difficulty | Prep level | Cost drivers |
|---|---|---|---|---|
| Single-line pinstriping tape | Simple accent stripe on cars, trucks, boats, and RVs | Low on straight trim; medium on curves | Wash plus rubbing alcohol | Width, color choice, roll length, waste on corners |
| Double-line pinstriping tape | Matched twin stripe for sport trim or body accents | Medium | Wash plus careful alignment marks | Two-color versions, spacing accuracy, longer install time |
| Multi-line pinstriping tape | Layered look with several narrow stripes on one roll | Medium to high | Thorough cleaning and layout work | More visible seam risk, more layout time, more edge trimming |
| Paint break striping tape | Hide paint break lines on two-tone trucks and vans | Medium | High, because the old line must be clean and straight | Panel length, straightness of the existing break, surface repair |
| Custom-fit racing stripe kit | Full-length stripe on a specific make and model | Low to medium if the panel is flat and clean | High, because large panels must be spotless | Vehicle-specific cutting, hood and roof size, professional alignment |
Material price is only part of the bill. A short door trim stripe may need a small roll and minimal masking, while a hood-to-trunk racing stripe can use more material, more time, and more patience. Labor rises quickly when the panel is wide, curved, or split by badges, vents, and panel gaps.
DIY can stay near the low end when the panel is small and straight. Pro installation usually makes sense when the stripe crosses a hood, wraps around a bumper edge, or needs exact centering on a specific vehicle. That extra labor buys fewer alignment mistakes, but it also raises the total above the sticker price.
Which stripe type fits your car?
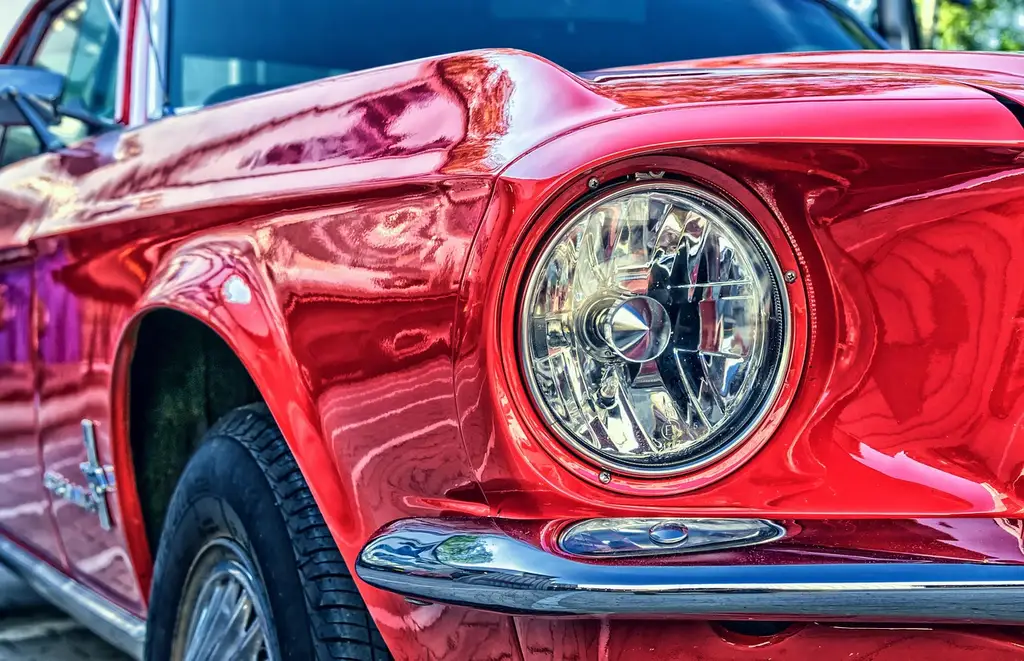
Pick the stripe for the panel, not for the catalog photo. Straight trim and rocker panels suit narrow tape. Hood stripes, roof bands, and long door runs fit pre-cut kits better. Two-tone repair lines call for paint break tape, not a random decorative stripe.
Best uses by vehicle area
Single-line pinstriping tape fits wheel arches, beltline accents, mirror caps, rocker strips, and simple trim lines. It also works on boats and RVs where the body side stays long and plain. Double-line tape adds more visual weight on doors, bedsides, and hood edges without turning the vehicle into a full graphics project.
Multi-line tape suits a busier look on side panels or bed sides, especially when the goal is to build depth with several narrow bands. Paint break striping tape belongs on trucks and vans with an old two-tone line that needs to disappear into a cleaner boundary. Custom-fit racing stripe kits are the best match for a hood, roof, or deck lid when the buyer wants a model-specific layout.
Difficulty by panel shape
Flat panels are forgiving. Slight curves raise the risk of stretch marks and edge lift. Tight curvature, badges, and sharp transitions make install time longer because the tape must follow the panel without pulling out of shape.
Say your car has a flat door section and a narrow black accent strip. A single-line tape is the easiest choice because the panel gives you a long, straight target and little edge distortion. Move that same stripe to a rounded bumper corner, and the same material becomes much harder to place cleanly.
When to choose a custom kit
Choose a custom-fit racing stripe kit when the vehicle has a very specific hood or roof shape and you want the stripe centered with minimal guesswork. These kits are pre-cut and made for a specific make and model, so layout is faster and alignment is easier than trimming a universal roll by hand.
That does not make them the right answer for every job. If the goal is a short accent on a rocker panel, a universal tape roll is cheaper and simpler. A custom kit is worth the extra money when long, visible panels leave no room for wandering lines.
What tools do you need?
You do not need a full body-shop bench, but you do need the right small tools. Clean towels, masking tape, a squeegee, a knife or pin, rubbing alcohol, and an application solution for wet installs cover most jobs. The stripe itself is only part of the purchase.
Masking tape, squeegee, and knife or pin
Use masking tape to set the stripe path before the backing comes off. A squeegee pushes out fluid and air from behind the vinyl. A sharp knife trims the ends, and a pin can release trapped air after the stripe is down.
Do not rely on your fingers alone. They leave pressure marks and do not clear air from the center of the film. A squeegee gives even pressure, which matters on long runs where a small bubble can become a visible line later.
Rubbing alcohol and cleaning supplies
Wash first, then wipe the area with rubbing alcohol to remove residue. That final wipe strips wax, polish, and road film that soap can leave behind. Dry towels should follow so the surface is clean and dry before alignment starts.
A common first-timer mistake is to wash the car and stop there. Soap residue can still reduce grip. On a pinstripe, that leftover film may not show at first, then the edge starts to lift after the vehicle sits in sun or rain.
Application solution for wet installs
The wet method uses an application solution so the stripe can move during placement. That extra slip matters when the stripe is long, the panel is wide, or the first alignment attempt may not be perfect. It cuts the risk of permanent misplacement.
For narrow trim work on a small flat area, some installers prefer dry placement because the stripe grabs sooner and stays put. For larger graphics, wet placement is safer because it gives several minutes of repositioning room before the adhesive locks down.
Can I apply pinstriping decals dry or wet?
Yes, both methods work, but they solve different problems. Wet application is better when you need time to shift the stripe into place. Dry application is better when the panel is short, the alignment is simple, and you want immediate tack without extra fluid to clear.
Why wet application helps repositioning
Wet installation helps on long stripes, curved doors, and custom kits that must line up with badges or panel edges. The fluid keeps the tape movable for up to several minutes, which gives you room to correct drift before the adhesive sets.
After the stripe lands, work the squeegee from the center outward. That pushes out fluid and air. Leave the backing or transfer layer in place until the stripe is fully positioned; lifting and re-laying too early can introduce folds.
When dry application makes sense
Dry application makes sense on short accent strips, small trim pieces, and flat surfaces where the layout is obvious. It also helps when the installer is confident in the line and wants the stripe to bond right away without dealing with solution runoff.
Dry work is less forgiving. If the first edge lands crooked, correction is harder, and repeated lifting can stretch the material. That is why dry installs suit simple shapes more than long custom runs.
Common mistakes with each method
Wet installs fail when too much solution stays under the vinyl. The stripe can skate around during placement and then trap fluid near the edges. Dry installs fail when the installer rushes the first contact point and locks in a crooked run.
Suppose a 6-foot door stripe starts on the front fender and drifts upward by a small amount. Wet placement gives you time to correct the line before it sets. Dry placement on the same panel can leave the stripe permanently off center if the first 12 inches go down wrong.
What temperature is best for applying pinstriping or decals?
The recommended application range is 50–90 degrees Fahrenheit. Below that range, adhesive becomes brittle. Above it, adhesive becomes gummy. Both extremes make placement harder and raise the chance of edge lift, distortion, or poor bond.
Why 50–90 degrees Fahrenheit matters
That range keeps the vinyl flexible enough to handle and the adhesive responsive enough to bond without acting too stiff or too soft. It is the safest window for a clean DIY install, especially on long stripes where a small handling problem can show along the entire run.
Cold-weather adhesive issues
When the panel is too cold, the material can feel stiff and refuse to settle into the body line. Adhesive that is brittle will not conform as well and can crack or fail to grip the edges properly.
Heat-related adhesive issues
Too much heat makes the adhesive gummy. That creates drag during placement and can make the vinyl move when it should stay still. Hot panels also make it easier to distort the stripe if you pull on it while aligning the ends.
How to apply pinstriping tape
The basic sequence is simple: clean the surface, map the line, place the stripe, remove fluid and air, then trim the ends. The details matter more than the order. Good prep and steady alignment prevent most of the problems that make stripes look amateurish.
- Wash the panel and dry it completely.
- Wipe the area with rubbing alcohol to remove residue.
- Mark the stripe path with masking tape.
- Apply the stripe, using wet solution if you need repositioning room.
- Use a squeegee to remove excess fluid and air.
- Trim the ends carefully at panel edges and gaps.
Wash and prep the surface
Start with a clean, dry panel. Dirt, wax, and polish keep the adhesive from bonding evenly. The alcohol wipe matters because it removes film left after washing, not just loose dust.
Pay extra attention to trim edges, door handles, and lower body lines. Those areas collect residue that is easy to miss. A stripe placed over contamination may look fine for a day, then begin to lift from one end.
Place and align the stripe
Use masking tape to guide the stripe before you commit. Long panels benefit from a reference line so the stripe stays level. On a custom kit, center marks matter because a small offset becomes obvious across a hood or roof.
Squeegee out fluid and air
Once the stripe is in position, push fluid and air outward with the squeegee. Use firm, even passes rather than short random strokes. The goal is full contact without trapping pockets under the vinyl.
Trim edges and panel gaps
Trim carefully across panel gaps so the stripe does not bridge a seam that moves. If the stripe crosses a door edge, cut it cleanly and re-seat the ends. That keeps the film from tearing or pulling when the panel opens and closes.
How do you avoid bubbles and lift?
Keep tension low, the surface clean, and the edges finished well. Bubbles usually come from trapped air or fluid. Stretch marks come from pulling the vinyl too hard. End lift often starts where the edge was cut, contaminated, or placed over a warm, dirty panel.
Stopping stretch marks and distortion
Do not pull the tape tight just to chase a straight line. Stretching changes the stripe width and can make the graphic look uneven from end to end. Curves should be guided, not forced.
If the panel bends sharply, choose a stripe type that better matches the shape. A simple single-line tape is easier to control on modest curves than a wider multi-line run that needs more surface contact.
Fixing contamination under the vinyl
If dirt gets trapped under the stripe, lift only as much as needed, clean the spot, and reapply. The longer contamination stays under the film, the more likely the edge will fail later. Tiny particles can hold a gap open long enough for water to work in.
Preventing end lift at edges
End lift usually starts where the stripe ends at a corner, seam, or cut line. Finish the edge cleanly, press it down well, and avoid leaving a long tail exposed to air and wash pressure. Heat and grit can shorten the bond at those points.
A common first-timer mistake is putting a long stripe across a door seam without trimming it. The stripe looks continuous until the door moves. Then the vinyl can tug at the seam and begin lifting from the cut edge.
How much do pinstriping decals cost?
Many DIY kits are priced around $10 to $60, while professional installation often starts around $150 and can exceed $500 depending on size and complexity. Material price, stripe length, and labor all change the final number. A short trim accent is far cheaper than a full custom hood stripe.
Single-line tape is usually the lowest-cost option because it uses less material and is easier to install. Double-line and multi-line tape cost more when spacing, length, or color changes increase setup time. Custom-fit racing stripe kits add cost because the pattern is pre-cut for a specific make and model.
The biggest hidden cost is waste. A wide hood stripe or a long rocker stripe needs more careful placement, and a mistake may force you to replace the whole section. That is why a low sticker price can still become an expensive install if the panel is large or the line is hard to hold.
How long do vinyl car decals last outdoors?
Outdoor life depends on the vinyl type and how well the surface was prepared. Standard calendered vinyl is rated for up to 5 years outdoors, premium calendered vinyl for up to 7 years outdoors, and 3M Controltac vinyl for up to 8 years outdoors. Sun, heat, and wash habits can shorten those figures.
Long life starts with clean prep and a correct temperature install. If the adhesive bonds well on day one, the stripe has a better chance of staying flat and legible. If the edges lift early, water and dirt can shorten the useful life far sooner than the label suggests.
Frequently asked questions
What are the different types of pinstriping decals for cars?
The main choices are single-line pinstriping tape, double-line pinstriping tape, multi-line pinstriping tape, paint break striping tape, and custom-fit racing stripe kits. Single-line tape comes in many sizes and colors. Double-line tape comes in single-color or multi-color versions. Paint break tape is for two-tone lines, and custom kits are pre-cut for a specific make and model.
What tools do I need to apply pinstriping tape?
Plan on masking tape, a squeegee, a knife or pin, rubbing alcohol, clean towels, and an application solution if you are using the wet method. The squeegee removes fluid and air from behind the vinyl. Rubbing alcohol after washing helps remove residue so the adhesive can bond better.
How do I avoid bubbles, stretching, or end lift when applying pinstriping?
Clean the panel well, avoid stretching the film, and press out fluid and air with a squeegee from the center outward. Keep the surface free of residue with rubbing alcohol after washing. Trim ends cleanly and do not bridge moving panel gaps unless the stripe is meant to be cut there.
Products related to this article
Sponsored / affiliate links. As an Amazon Associate I earn from qualifying purchases. I may earn additional commission from eligible campaigns.