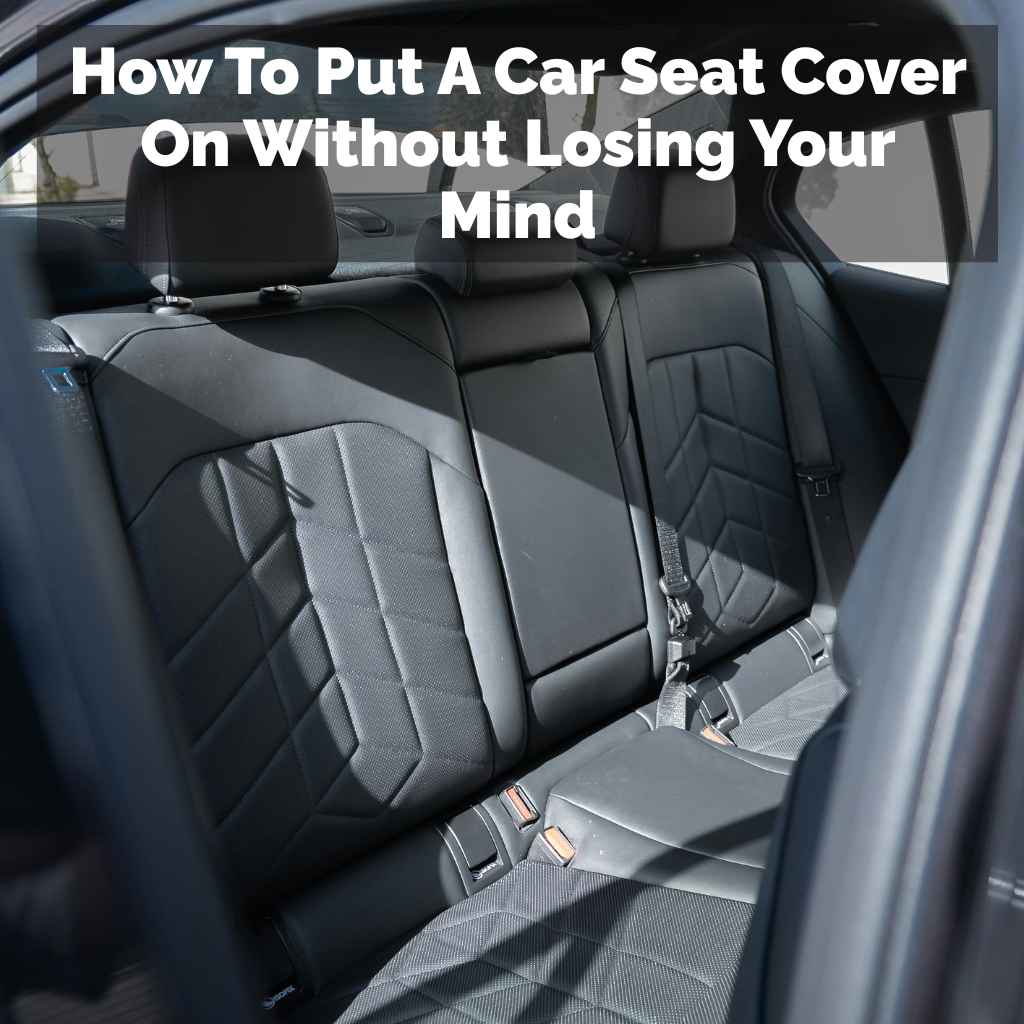
How To Put A Car Seat Cover On Without Losing Your Mind
It feels like a puzzle, doesn’t it? You have this brand-new car seat cover, all fresh and ready to protect your precious seats. But then comes the moment of truth.
You pull it out, look at your car seat, and a wave of “how on earth?” washes over you. It feels like a wrestling match is about to begin. You’re not alone in this struggle.
Many of us have been there, fumbling with fabric, trying to get that perfect, smooth fit. It can be a real test of patience.
Figuring out how to put on a car seat cover can be tricky. It takes a bit of practice to get a smooth, tight fit. Following a few simple steps can make the process much easier and faster for you.
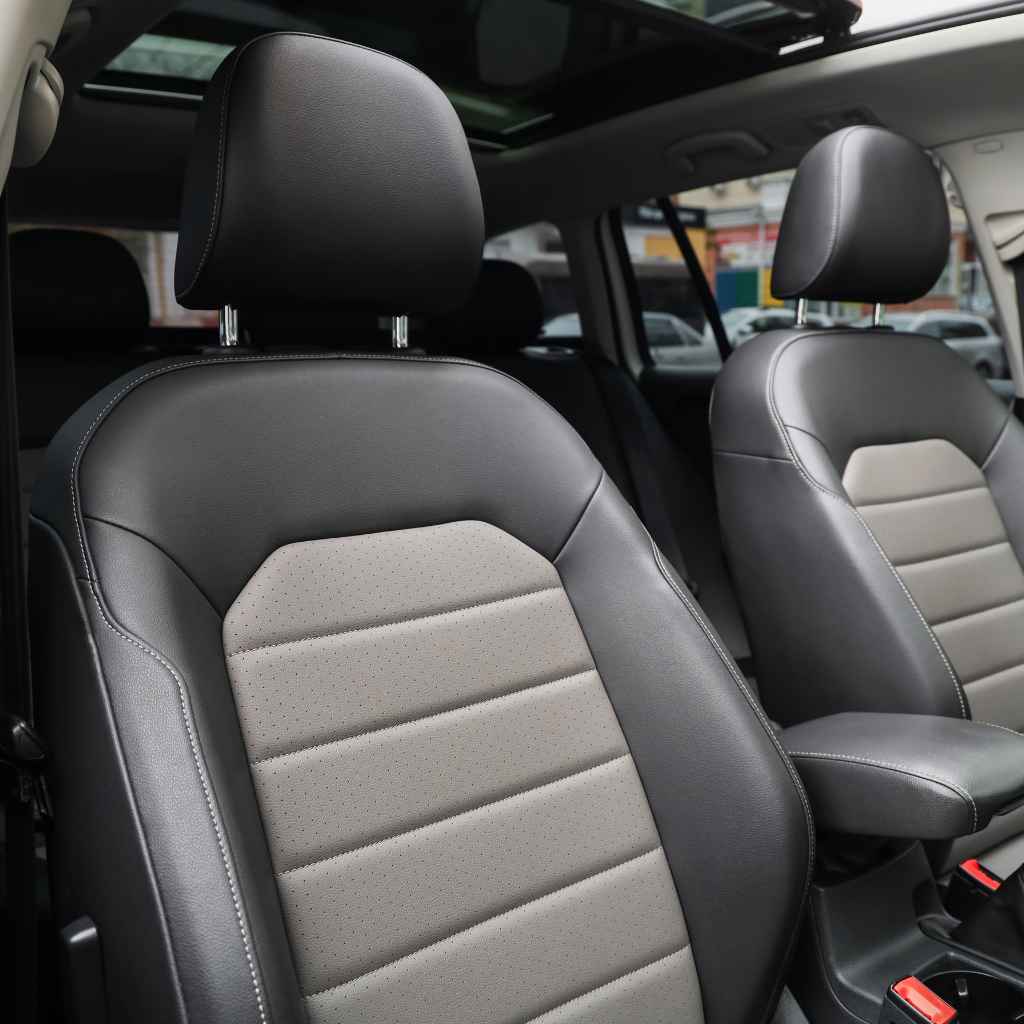
Understanding Your Car Seat Cover
First, let’s talk about what you’re working with. Car seat covers come in all shapes and sizes. Some are simple slip-on types.
Others have elaborate systems of straps and buckles. Knowing the kind you have is key. It helps you know what to expect.
Think of it like reading instructions before building furniture. It saves you from guessing.
Most covers are made from durable fabrics. These protect your original seats from spills, dirt, and wear. They also add a nice look to your car’s interior.
The fabric might be canvas, neoprene, or a synthetic blend. Each has its own feel and how it stretches or drapes. This matters when you’re trying to get it on just right.
The design is important too. Some covers are made for specific car models. These fit like a glove.
Others are more universal. They aim to fit a wider range of seats. Universal ones might need a little more adjusting.
But they offer flexibility if you switch cars.
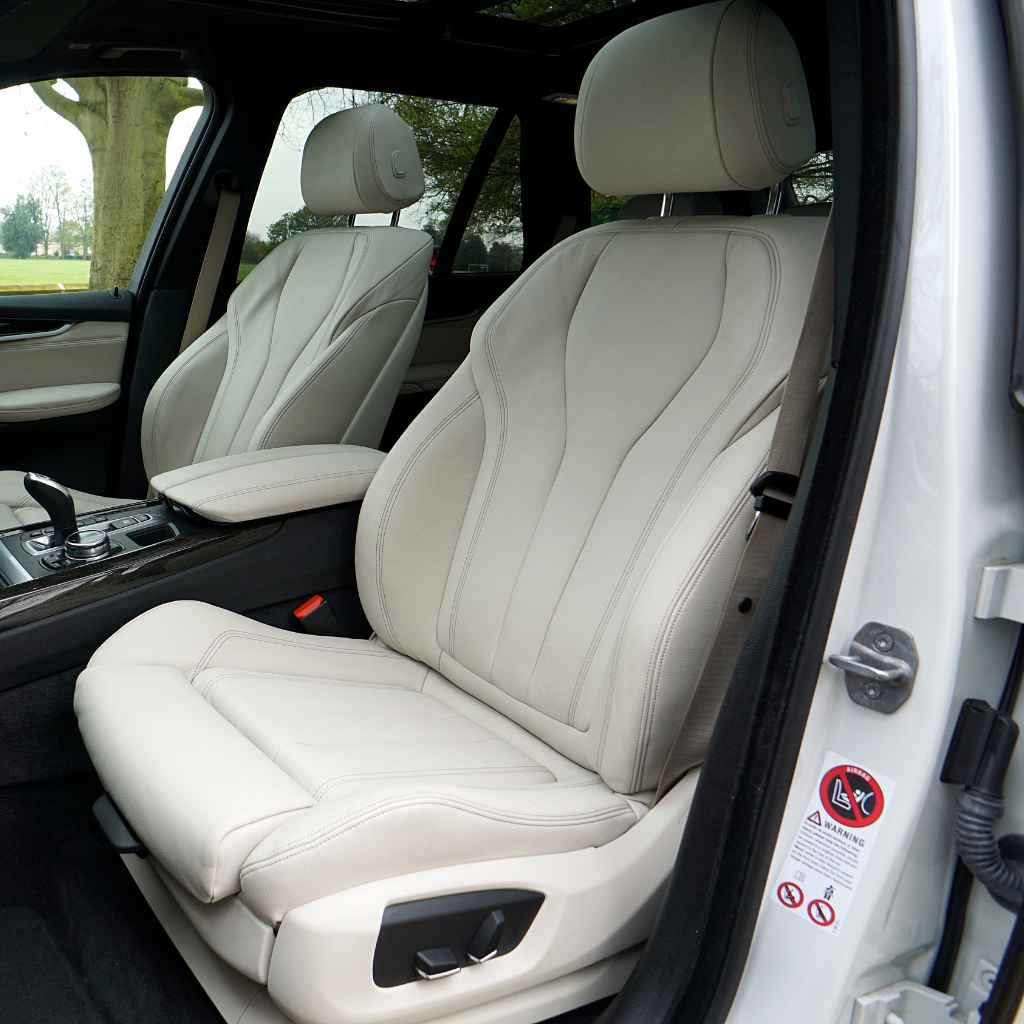
Before You Start: Prep Work Matters
Okay, before you even touch the cover, let’s do some quick prep. It makes a big difference. First, find a good spot.
You need some space to move around the car. If it’s a nice day, maybe do this outside. It gives you room to see what you’re doing.
Make sure your car seats are clean. You don’t want to trap dust or crumbs under the new cover.
Take a moment to look at your car seat. Notice its shape. Where are the headrests?
Are there levers to adjust the seat? Knowing these parts helps you see where the cover needs to go. Also, check your car seat cover’s instructions.
Even if you think you know, a quick read can help. It might have specific tips for your model.
Unpack the cover fully. Lay it out flat if you can. This lets you see all the pieces.
Some covers come in two parts: one for the seat base and one for the seat back. Others might include separate pieces for headrests. Make sure you have everything.
This prevents confusion later.
Step-by-Step: Putting On The Base Cover
Let’s start with the seat base. This is usually the bottom part of your car seat. You’ll often find an opening for the seat belt buckle.
There might also be hooks or straps underneath to secure the cover. Grab one front corner of the cover. Gently pull it over the front of the seat base.
Work your way around the sides.
As you pull, try to smooth out any wrinkles. You want the fabric to lie flat against the seat. Don’t just yank it down.
Ease it on. If your cover has a specific front or back, make sure you’ve oriented it correctly. Sometimes there’s a tag indicating this.
Now, find those securing straps or hooks. These usually go under the seat. Reach down between the seat base and the seat back.
Find the points where the straps are meant to attach. Loop them through or clip them as the instructions show. This is what keeps the cover from sliding around.
Pull the straps snug. You don’t want the cover to be loose. But don’t pull so hard that you strain the fabric.
It should feel secure. Give the cover a gentle tug in a few spots to test it. It shouldn’t shift easily.
Quick Base Cover Tips
Smooth as You Go: As you place the base cover, constantly smooth out the fabric. This prevents stubborn wrinkles.
Check for Openings: Make sure the seat belt buckle opening is clear and accessible. Don’t let the fabric cover it.
Under-Seat Straps: These are crucial. Ensure they are properly attached and tightened for a secure fit.
Tackling the Seat Back Cover
Next up is the seat back. This part can sometimes be trickier. It involves fitting it around the headrest area and the sides.
Start by draping the cover over the top of the seat back. Again, look for any tags or markings that show the correct orientation.
You might have a separate piece for the headrest. If so, put that on first. Slide it down over the headrest posts.
Then, gently pull the main seat back cover up towards the headrest. If the headrest piece is integrated, you’ll pull the whole cover up.
Now, start pulling the cover down the back of the seat. Work your way evenly down both sides. You want it to fit snugly.
If your seat has a lever to recline or adjust the seat, the cover needs to go around that smoothly. Sometimes, you’ll need to tuck the fabric into the seams of the seat.
Many seat back covers have straps that go around the back of the seat. These often attach to the base cover or to themselves. Find these straps and connect them.
This secures the back cover in place. Tighten them just enough to get a good fit. The goal is a smooth, wrinkle-free look.
Seat Back Cover Insights
Headrest First: If your headrest cover is separate, install it before the main back cover. It makes fitting the main piece easier.
Smooth from Top to Bottom: As you pull the back cover down, keep smoothing. This prevents bunching at the bottom.
Access Levers: Ensure any seat adjustment levers are free and easy to use. The cover shouldn’t impede them.
Dealing with Tricky Areas
Some car seats have unique features. These can make putting on a cover a bit of a challenge. Think about armrests.
If your seats have them, you’ll need to carefully maneuver the cover around them. Some covers are designed with openings for armrests. Others might require you to tuck the fabric neatly.
What about side airbags? This is super important. Many modern car seats have airbags built into the sides.
If your cover isn’t designed to accommodate them, it can be dangerous. Always check the product description for airbag compatibility. If it is compatible, there will be specific seams or stitching designed to break open safely in an accident.
Seat belt anchors are another spot. These are the points where the seat belts attach to the car’s frame. Make sure the cover doesn’t block access to these.
The seat belt buckles themselves need to be easily reachable. You might need to make small slits or use pre-made openings for these.
If you encounter a really tight spot, don’t force it too much. Sometimes, a slight adjustment to how you’re pulling or tucking can make all the difference. Gently pushing the fabric into seams with your fingers can help.
If a part just won’t fit, double-check the cover’s design and your car seat’s layout.
Headrest Covers: The Final Touch
Headrest covers are often the last piece of the puzzle. They might be a simple sleeve that slides over the headrest. Or they could be a more fitted shape.
If you have separate headrest covers, put them on after the main seat back is in place. This way, you can adjust the main cover first.
Slide the headrest cover over the top of the headrest. Work it down evenly. If it’s a tight fit, you might need to wiggle it a bit.
Make sure it’s pulled down as far as it can go. You want it to look neat and match the rest of the cover.
Sometimes, headrests are attached. Other times, they can be removed. If your headrests are removable, it can make putting on the cover much easier.
You can slide the cover on while the headrest is out. Then, reinsert it. Check your car’s manual to see if your headrests are removable.
Ensure the headrest cover is smooth and doesn’t have major wrinkles. It completes the look of the car seat cover. It gives everything a finished feel.
A well-fitted headrest cover makes the whole installation look professional.
Headrest Cover Quick Guide
Slide and Smooth: Put the headrest cover on, then smooth out any creases.
Removable Headrests: If yours come out, use that to your advantage for an easier install.
Matching Style: Ensure the headrest cover matches the rest of the seat cover for a unified look.
Real-World Scenarios & My Own Struggle
I remember the first time I tried to put on a full set of car seat covers. It was for my old SUV. The seats were a light beige, and I had two little kids.
Spills were inevitable. I bought a set online that promised a perfect fit for my make and model. That promise felt like a joke when I opened the package.
The fabric was thick, which was great for protection, but it felt stiff. I started with the driver’s seat. I draped the base cover over.
It didn’t quite reach the edges like the picture showed. I tugged. Then I pulled harder.
That’s when I heard a tiny ripping sound near one of the seat belt slots. My heart sank. I had only just started!
Panicked, I stopped. I took a deep breath. I looked at the cover again.
I saw that I was trying to pull it straight down. Instead, I needed to ease it on from the front and sides, letting the fabric settle into the seat’s shape. I then found the under-seat straps.
They were tucked away, and I almost missed them. Attaching those snuggly made a huge difference.
The seat back was even worse. It had to go around the lumbar support lever. The fabric just wouldn’t bend right.
I spent a good twenty minutes just trying to get that one section smooth. I was getting frustrated. My kids were in the back of the car, watching me struggle.
It wasn’t the calm, protected interior I had imagined.
I finally realized I was trying to force it. I stopped again and looked at the car seat’s construction. I saw how the original upholstery had seams and curves.
I started to gently push the cover fabric into those natural lines, rather than trying to pull it taut in a straight line. I also learned to tuck the edges into the gaps between the seat and the back. That made it look much cleaner.
The headrest cover was a simple sleeve. But even that took a bit of wiggling to get perfectly straight. By the time I finished the driver’s seat, I was sweating a little.
But it looked so much better. It felt sturdy and protective. The car felt cleaner and more personalized.
The next day, I tackled the passenger seat. It went much faster. I had learned my lesson.
It wasn’t about brute force. It was about understanding the seat and the cover. It was about being patient and working with the material, not against it.
That experience taught me that a little bit of knowledge and a calm approach go a long way.
My Learning Curve: Key Takeaways
Patience is Key: Rushing leads to mistakes and frustration. Slow down.
Understand the Seat: Look at your car seat’s shape and features. Work with them.
Find the Straps: Under-seat and back straps are vital for a secure fit.
Gentle Persuasion: Ease the fabric into place. Don’t force it.
Checking for a Snug Fit
Once you think you’re done, it’s time for a final check. This is where you make sure everything is secure and looks good. Gently pull on the edges of the cover.
Does it move a lot? If it shifts easily, the straps underneath might not be tight enough. Or perhaps you missed a securing point.
Look for wrinkles or bunching. Small wrinkles are often okay, especially with thicker materials. But major creases or sagging spots mean the cover isn’t sitting smoothly.
You might need to pull it taut in certain areas or tuck the fabric in more.
Test all the functions of your car seat. Can you adjust the recline? Are the seat belt buckles easy to access?
Can you operate any levers or switches? The cover should not interfere with these. If it does, you may need to adjust how the cover is positioned or tucked.
Think about how the cover feels. When you sit in the seat, does it feel secure? Or does it feel loose and like it might slide?
A good fit means the cover feels like a second skin for your seat. It should be smooth and uniform.
Snug Fit Checklist
- Does the cover shift when you pull on it?
- Are there major wrinkles or sagging spots?
- Are all seat functions (levers, buckles) easily accessible?
- Does it feel firm and secure when you sit down?
When to Seek Help or Re-evaluate
Sometimes, despite your best efforts, a cover just doesn’t seem to fit right. This can happen for a few reasons. The cover might genuinely be the wrong size or shape for your car seat.
Even if it’s labeled as universal, some designs are just better than others. Or perhaps the seat itself has a very unusual shape that the cover wasn’t designed for.
If you’ve followed the instructions, tried smoothing and tucking, and the cover still looks sloppy or feels insecure, don’t get discouraged. It might be time to look at the product reviews or contact the manufacturer. See if others have had similar issues with your specific car model.
Another thing to consider is the material. Some fabrics are more forgiving than others. Neoprene, for instance, often stretches well.
Canvas can be stiffer. If the fabric feels too rigid and won’t lay flat, it might be the source of the problem.
If safety is a concern, like with airbag compatibility, and you’re unsure, it’s always best to err on the side of caution. Consult the product’s safety information or contact the company directly. Your car’s safety features are designed to work in a specific way, and you don’t want to compromise them.
Quick Tips for Easier Installation
Here are some extra little tricks that can make putting on a car seat cover much smoother. Think of these as the pro moves. First, if your car seats are removable, taking them out of the car entirely can make installation a breeze.
You have all the room you need.
Using a tool like a flathead screwdriver or a plastic trim tool can help tuck the fabric edges into the seams of the seat. Just be gentle so you don’t rip the cover. This gives the cover a very clean, finished look, hiding any excess material.
If the fabric feels a bit stiff, especially in cooler weather, you can try warming it slightly. Laying it out in the sun for a bit can make it more pliable. This can help it stretch and mold to the seat shape more easily.
But don’t overheat it!
For very stubborn wrinkles, sometimes a quick burst of steam from a handheld steamer can help relax the fabric. Hold it a safe distance away and be careful not to soak the material. This works best on fabrics that can handle a little heat and moisture.
Finally, if you have a friend or family member who’s good at this sort of thing, ask for help! Sometimes a second pair of hands can make all the difference. One person can hold the cover while the other pulls and tucks.
Extra Installation Hacks
Remove Seats: If possible, take the seats out for max space.
Tuck Tools: Use a flat tool to tuck edges into seams for a clean look.
Warm Fabric: Sunlight or gentle heat can make stiff fabric more flexible.
Steam Out Wrinkles: A handheld steamer can help smooth out tough creases.
Two Pairs of Hands: An extra person can make the job much quicker.
Common Questions People Ask
Are all car seat covers universal?
No, not all car seat covers are truly universal. While many are designed to fit a wide range of vehicles, some are model-specific for a more precise fit. Always check the product description to see if it’s labeled as universal or for a specific car make and model.
How do I know if my car seat cover is installed correctly?
A correctly installed cover will be snug and smooth with no major wrinkles or sagging. It should not shift easily when you pull on it. Importantly, it should not interfere with the operation of your car’s seats, seat belts, or safety features like airbags.
Can car seat covers damage my original seats?
When installed properly, car seat covers should protect your original seats. However, if a cover is too tight or installed incorrectly, it could potentially cause wear over time, especially if debris gets trapped underneath. Always ensure the cover is smooth and doesn’t put excessive stress on the original upholstery.
What is the best material for car seat covers?
The “best” material depends on your needs. Neoprene is popular for its durability and water resistance, good for active lifestyles. Canvas offers rugged protection.
Polyester blends are common for breathability and affordability. Consider factors like comfort, durability, ease of cleaning, and intended use.
How do I clean car seat covers?
Cleaning methods vary by material. Many fabric covers can be spot-cleaned with mild soap and water or machine washed on a gentle cycle. Always check the manufacturer’s care instructions.
For leather or vinyl, use a dedicated cleaner and conditioner. Allow them to dry completely before reinstalling.
Will car seat covers affect my car’s airbags?
This is critical. If your car seats have side airbags, you must use seat covers specifically designed to be airbag compatible. These covers have special seams that are designed to tear open safely during an airbag deployment.
Non-compatible covers can obstruct the airbag and cause injury.
Final Thoughts on Fit and Finish
Putting on a car seat cover doesn’t have to be a nightmare. With a little patience and the right approach, you can get a smooth, protective layer on your seats. Remember to prep, work slowly, and understand how the cover and your seats connect.
It’s about coaxing the fabric into place, not fighting it. The result is a cleaner car interior and peace of mind.