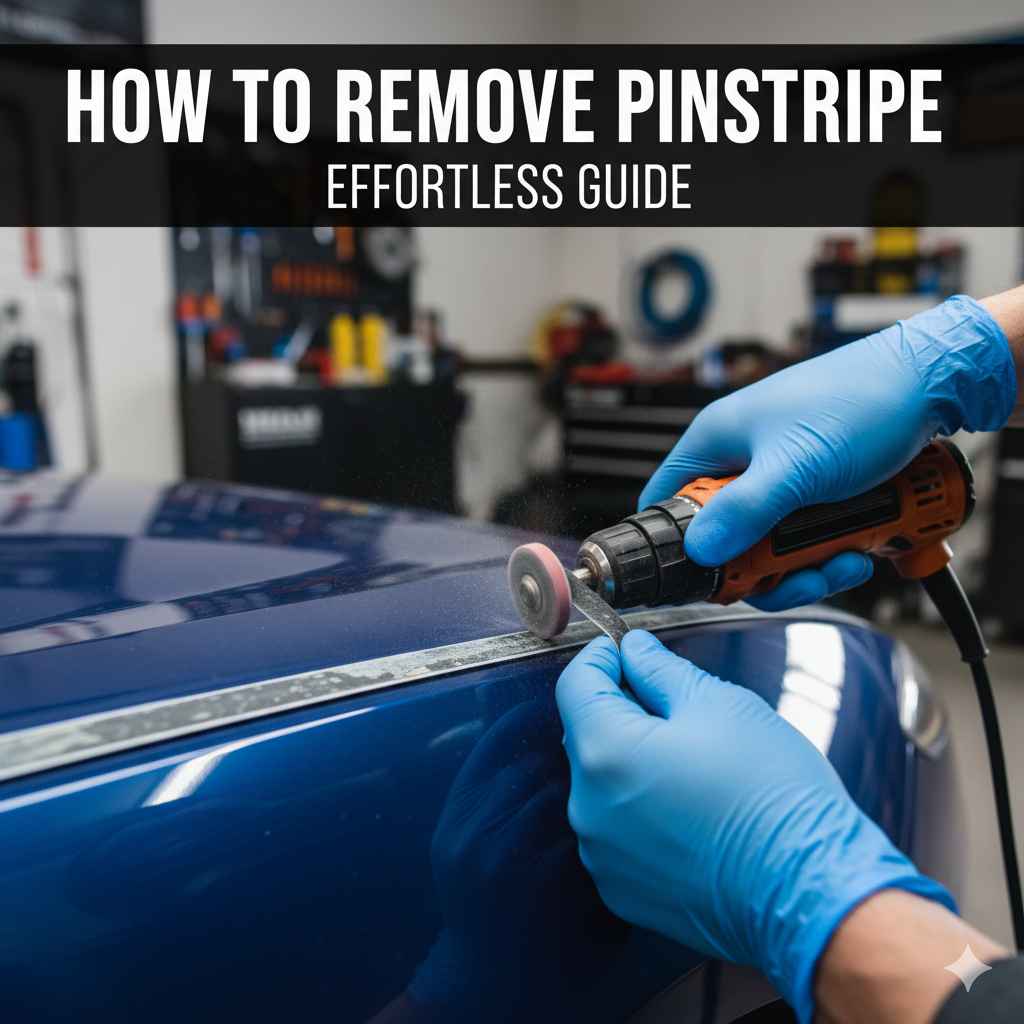
How to Remove Pinstripe: Effortless Guide
Easily remove car pinstripes using common household items and simple techniques. This guide provides step-by-step instructions to safely lift adhesive-backed decals without damaging your car’s paint, ensuring a clean finish for any DIY car owner.
Ever looked at your car and thought, “That pinstripe just isn’t my style anymore”? You’re not alone! Many car owners find themselves wanting to update their vehicle’s appearance or simply remove an old decal. The good news is, taking off a pinstripe isn’t a job for a professional mechanic. It’s a straightforward DIY task you can handle in your driveway. This guide is packed with easy-to-follow steps, making the process smooth and stress-free, so your car can get the fresh look you desire.
We’ll cover everything you need to know, from the tools you’ll need to the best methods for tackling stubborn adhesive. By the end, you’ll have the confidence to tackle this project and enjoy a cleaner, sleeker look for your ride.
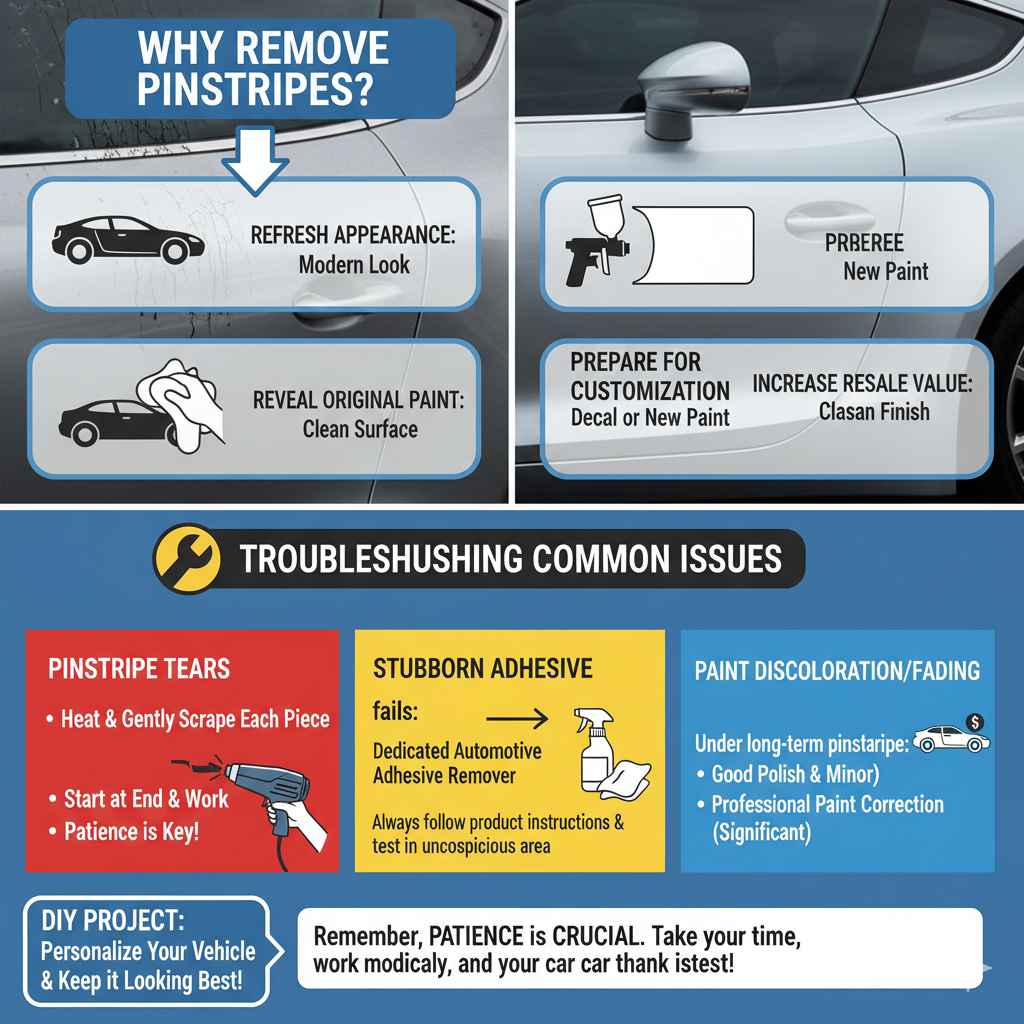
Why Remove Pinstripes?
Pinstripes can add a classic touch to a vehicle, but tastes change, and so do car styles. Perhaps the pinstripe is faded, cracked, or simply doesn’t match your current preference for your car’s aesthetic. Sometimes, pinstripes are added during a vehicle’s lifetime and might not have been part of the original design. Removing them can:
- Refresh your car’s appearance for a more modern look.
- Reveal the clean, original paint underneath.
- Prepare the surface for a new decal or custom paint job.
- Increase your car’s resale value by offering a classic, clean finish.
Whatever your reason, removing a pinstripe is a satisfying DIY project that can significantly impact your car’s look. It’s a great way to personalize your vehicle and keep it looking its best without spending a lot of money.
What You’ll Need: Your Pinstripe Removal Toolkit
Before you start, gather your supplies. Having everything ready means you can move through the process efficiently and safely. Don’t worry; most of these items are common household tools or easily found at an auto parts store.
Essential Tools and Materials:
- Heat Gun or Hair Dryer: This is key to softening the adhesive. A heat gun offers more consistent heat, but a powerful hair dryer can also get the job done. Always use the lowest to medium heat setting to avoid damaging the paint.
- Plastic Scraper or Old Credit Card/Gift Card: A plastic scraper is ideal as it’s less likely to scratch paint than metal. An old, sturdy plastic card works just as well. Avoid sharp metal objects at all costs. You can often find plastic razor blades designed for auto use.
- Rubbing Alcohol (Isopropyl Alcohol): This is excellent for removing any leftover adhesive residue. It’s safe for car paint when used as directed.
- Microfiber Towels: You’ll need these for cleaning, drying, and buffing. Microfiber is gentle on paint and effectively lifts dirt and residue.
- Car Wash Soap and Water: A thorough wash beforehand ensures you’re not dragging dirt across the paint during the process.
- Optional: Adhesive Remover (e.g., Goo Gone, WD-40): For particularly stubborn residue, a specialized automotive adhesive remover can be a lifesaver. Always test in an inconspicuous area first.
- Optional: Car Wax or Polish: To give your newly pinstripe-free area a protective shine.
Having these items on hand ensures you’re prepared for any pinstripe removal challenge. Remember, gentleness and patience are your best tools here!
Step-by-Step Guide: How to Remove Pinstripe from Car
Ready to give your car a clean slate? Follow these simple steps. Remember to work in a shaded area or on a cooler day to prevent the paint from overheating too quickly.
Step 1: Wash and Dry the Area
Start by thoroughly washing the section of the car where the pinstripe is located. Use car wash soap and water to remove any dirt, dust, or grime. This prevents you from grinding abrasive particles into the paint while you work. Rinse the area well and dry it completely with a clean microfiber towel.
Step 2: Heat the Pinstripe
This is where your heat gun or hair dryer comes in. Set your tool to a low or medium heat setting. Hold it about 6–8 inches away from the pinstripe. Move the heat source constantly back and forth along the stripe. You don’t want to overheat any one spot. The goal is to warm the pinstripe and soften the adhesive underneath, making it pliable and easier to lift.
You’ll know it’s ready when the pinstripe feels slightly warm to the touch and a bit more flexible. Avoid holding the heat source in one place for too long, as excessive heat can damage your car’s paint. A good rule of thumb is to heat a section for 15–30 seconds before attempting to lift it.
Step 3: Gently Lift the Pinstripe
Once the adhesive is warm and soft, take your plastic scraper or plastic card. Carefully insert the edge of the scraper under a corner or an end of the pinstripe. Gently begin to lift the stripe away from the car’s surface. Work slowly and steadily.
If the pinstripe starts to tear or resists, stop and apply more heat to the area you’re working on. Continue lifting, working in small sections. You can also use the scraper to gently push the stripe off as you heat it. The warmer the adhesive, the easier this step will be. Keep applying heat as needed to maintain the adhesive’s pliability.
Step 4: Remove Remaining Adhesive Residue
After the bulk of the pinstripe is off, you’ll likely have some sticky residue left behind. This is completely normal! Grab your rubbing alcohol and a clean microfiber towel. Dampen the towel with rubbing alcohol and gently rub the residue. The alcohol should break down the remaining stickiness, allowing you to wipe it away easily.
For really tough adhesive spots that the alcohol doesn’t tackle effectively, you can try a specialized automotive adhesive remover. Products like Goo Gone are designed for this purpose and are generally safe for car paint. If you use an adhesive remover, be sure to follow the product’s instructions carefully and test it on an inconspicuous area first. After using an adhesive remover, it’s a good idea to clean that area again with soap and water to remove any product residue.
Step 5: Clean and Protect the Area
Once all the pinstripe and residue are gone, clean the entire area again with car wash soap and water. This removes any lingering alcohol or adhesive remover. Rinse and dry thoroughly with a clean microfiber towel.
To restore the shine and protect the paint, apply a coat of car wax or polish to the area. This will not only make your car look great but also add a layer of protection to the paint, leaving it looking as good as new. Buff it out to a brilliant shine!
Alternative Methods and Tips for Stubborn Pinstripes
Every car and every pinstripe is a little different. If you encounter a particularly stubborn stripe, don’t get discouraged! Here are a few extra tips and methods that might help.
The Eraser Wheel Method
For very old or stubborn vinyl pinstripes, an eraser wheel can be a highly effective tool. These are typically used with a drill and are made of a soft rubber material that effectively removes vinyl and adhesive without harming the paint when used correctly.
How it works:
- Attach the eraser wheel to a drill.
- Set the drill to a low to medium speed.
- Apply light pressure and move the spinning wheel across the pinstripe.
- The friction and the design of the wheel will lift the pinstripe and its adhesive.
- Keep the wheel moving to avoid overheating any single spot.
- Clean up any residue afterward with rubbing alcohol.
You can find eraser wheels at most auto parts stores. Always follow the manufacturer’s instructions for safe and effective use.
Using Household Items Safely
Sometimes, you might not have specialized tools on hand. Here are a couple of household items that can help, but use them with extreme caution:
- Heat: As mentioned, a hair dryer is a good substitute for a heat gun.
- Plastic Tools: Old credit cards, gift cards, or even plastic putty knives can serve as scrapers. Just ensure they are made of plastic and have no sharp edges.
What to AVOID
It’s just as important to know what not to do. Some methods can cause more harm than good:
- Metal Blades: Razor blades, utility knives, or metal scrapers can easily scratch or gouge your car’s paint.
- Harsh Chemicals: Acetone, paint thinner, or strong solvents can damage your car’s paint finish. Always use products specifically designed for automotive use or those known to be paint-safe, like isopropyl alcohol or designated adhesive removers for cars.
- Excessive Heat: Overheating the paint can cause it to warp, bubble, or discolor.
- Aggressive Scrubbing: Using abrasive pads or scrubbing too hard can also damage the paint.
Sticking to gentle heat, plastic tools, and safe cleaning agents will ensure a successful and damage-free pinstripe removal.
Pinstripe Removal vs. Car Wash & Detailing
Understanding the difference between removing a pinstripe and general car washing or detailing is important. While a wash cleans the surface and detailing might involve polishing out minor scratches, pinstripe removal is a specific process targeting an applied decal’s adhesive. It requires targeted methods to break down that adhesive.
Think of it this way:
| Activity | Primary Goal | Tools Involved | When to Do It |
|---|---|---|---|
| Car Wash | Remove dirt and grime from the exterior. | Soap, water, sponges, microfiber towels. | Regularly, to keep the car clean. |
| Car Detailing | Restore and protect the paint’s appearance; remove minor imperfections. | Polishes, waxes, clay bars, buffing pads. | Periodically, for a deeper clean and shine. |
| Pinstripe Removal | Safely remove an applied stripe and its adhesive. | Heat gun/hair dryer, plastic scraper, rubbing alcohol, possibly adhesive remover. | When you want to change the car’s look or remove an old decal. |
Pinstripe removal is a more involved task that goes beyond a standard wash or a light exterior detail. It’s a targeted repair or aesthetic modification that requires specific techniques to ensure the underlying paint remains unharmed. For more in-depth information on maintaining your car’s paint, the AutoBlog guide on washing your car properly offers excellent foundational knowledge.
Troubleshooting Common Issues
Even with the best preparation, you might encounter a few bumps in the road. Here’s how to handle them:
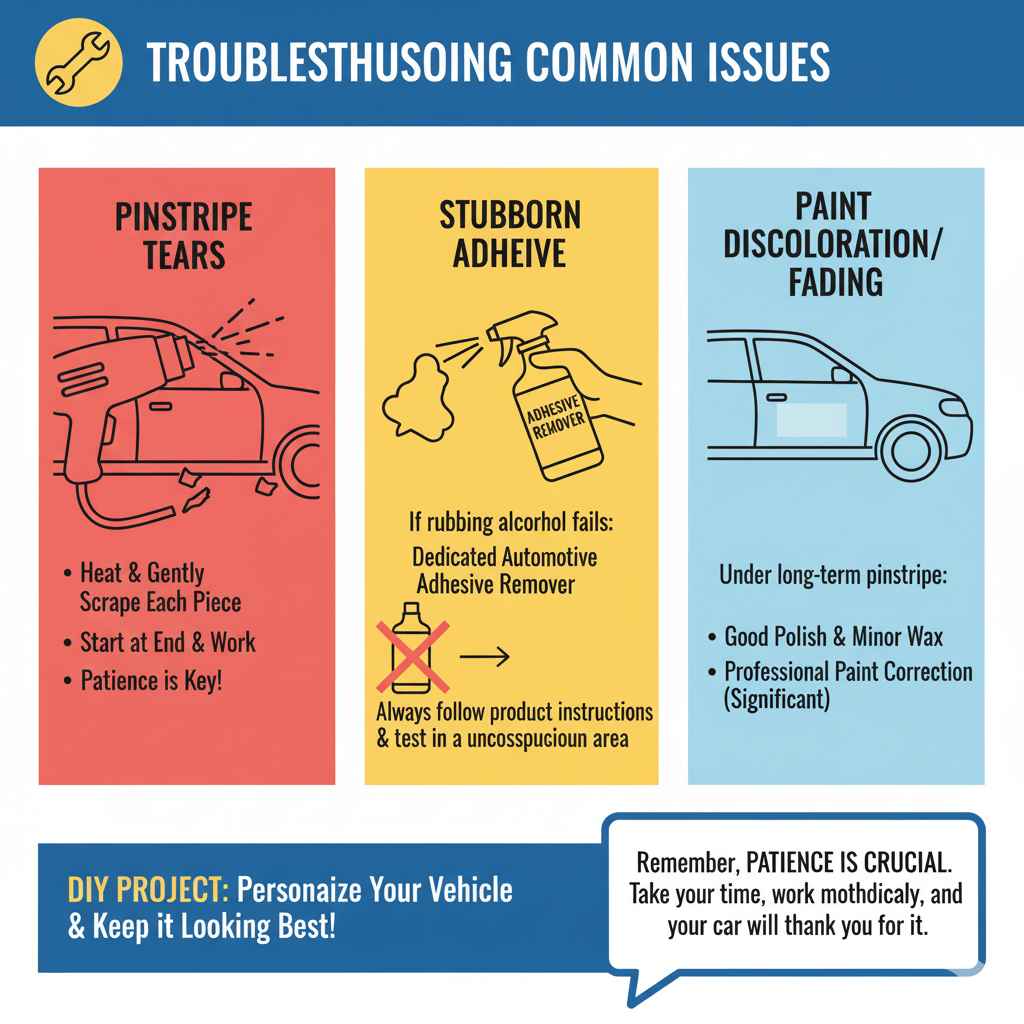
- Pinstripe Tears: If the pinstripe tears into small pieces, don’t worry. Just continue to heat and gently scrape each piece. Sometimes, starting at the end of the stripe and working in one continuous motion is best to avoid tearing, but if it happens, patience is key.
- Stubborn Adhesive: Some adhesives are more resilient than others. If rubbing alcohol isn’t cutting it, a dedicated automotive adhesive remover is your next best bet. Always follow the product’s instructions for safe use on car paint. Always test in an inconspicuous area first.
- Paint Discoloration or Fading (Under the Pinstripe): In rare cases, the paint under a pinstripe that has been on for a very long time might be slightly different in color from the surrounding paint due to UV exposure. If this happens, a good polish and wax should help blend it in. If the difference is significant, it might require professional paint correction.
Remember, patience is crucial. Rushing the process is the quickest way to cause damage. Take your time, work methodically, and your car will thank you for it.
FAQ: Your Pinstripe Removal Questions Answered
Here are some frequently asked questions to help you feel even more confident about removing pinstripes from your car.
Q1: Is it safe to use a heat gun on my car’s paint?
Yes, but with caution. Use a low to medium heat setting and keep the heat gun moving. Never hold it in one spot for too long, as excessive heat can damage your paint. A powerful hair dryer is a safer alternative for beginners.
Q2: Can I use a razor blade to remove the pinstripe?
It is strongly advised against using a metal razor blade. They can easily scratch or gouge your car’s paint. Always opt for plastic scrapers, plastic razor blades made for automotive use, or even old credit cards.
Q3: How much time does it take to remove a pinstripe?
It can vary. For simple vinyl pinstripes, it might take anywhere from 30 minutes to a couple of hours, depending on the length and complexity of the stripe, and how old and stubborn the adhesive is. Take your time to avoid errors.
Q4: What’s the best way to remove the sticky residue left behind?
Rubbing alcohol (isopropyl alcohol) is usually very effective. Dampen a microfiber cloth and gently rub the residue. For tougher spots, a dedicated automotive adhesive remover can be used, always following product instructions and testing first.
Q5: Will removing the pinstripe leave a ghost image or outline?
Sometimes, especially on older paint or if the pinstripe has been on for many years, there might be a slight difference in paint color or gloss where the stripe was. This is often due to UV fading. Polishing and waxing can often minimize this. If it’s significant, professional paint correction might be needed.
Q6: Where can I buy the best tools for pinstripe removal?
Most of the tools you need, like a heat gun or hair dryer, plastic scrapers, and microfiber towels, can be found at general stores or online retailers. Specialized automotive supplies, such as plastic razor blades or eraser wheels, are available at auto parts stores like AutoZone, Advance Auto Parts, or online.
Q7: Can I remove pinstripes from any car?
Yes, these methods are generally safe for most car paint finishes, including clear coats. The key is to use the right tools, gentle heat, and avoid harsh chemicals or sharp objects that can damage the paint’s integrity.
Conclusion
Removing pinstripes from your car is a very achievable DIY project that can give your vehicle a fresh, updated look. By following these detailed steps, using the right tools, and applying a bit of patience, you can successfully lift those old decals and leave behind nothing but clean, pristine paint. Remember to always prioritize gentleness with your car’s finish – warmth, plastic tools, and safe cleaning agents are your allies.
Whether you’re looking to customize your ride, prepare it for a sale, or simply enjoy a cleaner aesthetic, this guide empowers you to tackle pinstripe removal with confidence. So, gather your supplies, take your time, and get ready to enjoy the satisfying result of a car that looks exactly how you want it to. Happy wrenching!