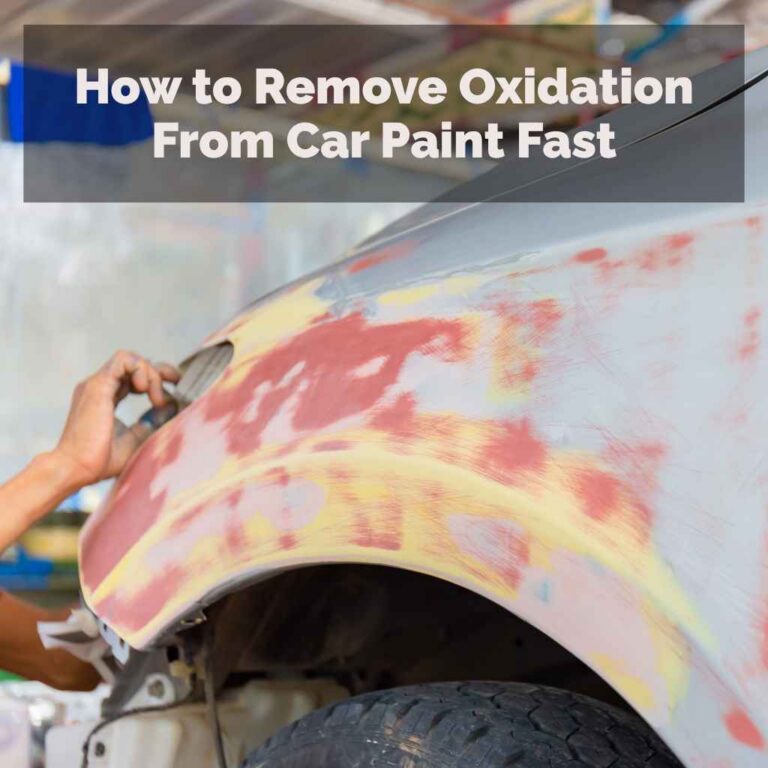
How To Repair A Fiberglass Bumper On A Car (Full Guide)
Dealing with a damaged car bumper can be a real headache. Especially when it’s made of fiberglass. It looks complicated to fix.
But don’t worry, it’s often something you can handle yourself. This guide will walk you through it all. We’ll show you the steps.
You’ll learn what you need. We’ll help you get your car looking great again.
Repairing a fiberglass car bumper involves cleaning the damaged area, filling cracks or holes with a fiberglass repair kit, sanding it smooth, and then priming and painting to match your car’s color. This can save you money compared to professional repair shops.
Understanding Fiberglass Bumpers
So, why are some car bumpers made of fiberglass? Fiberglass is a strong material. It’s made of glass fibers.
These are mixed with plastic resin. This makes it tough but also a bit flexible. It’s lighter than metal.
This helps with fuel efficiency. It also lets car makers create more complex shapes. These shapes can look really cool.
However, fiberglass can crack or break. This often happens from bumps or impacts. Think about minor fender benders or hitting a parking curb.
The damage can look bad. It might seem like you need a whole new bumper. But often, you can fix it.
This is good news for your wallet. It also feels great to do it yourself.
Assessing the Damage
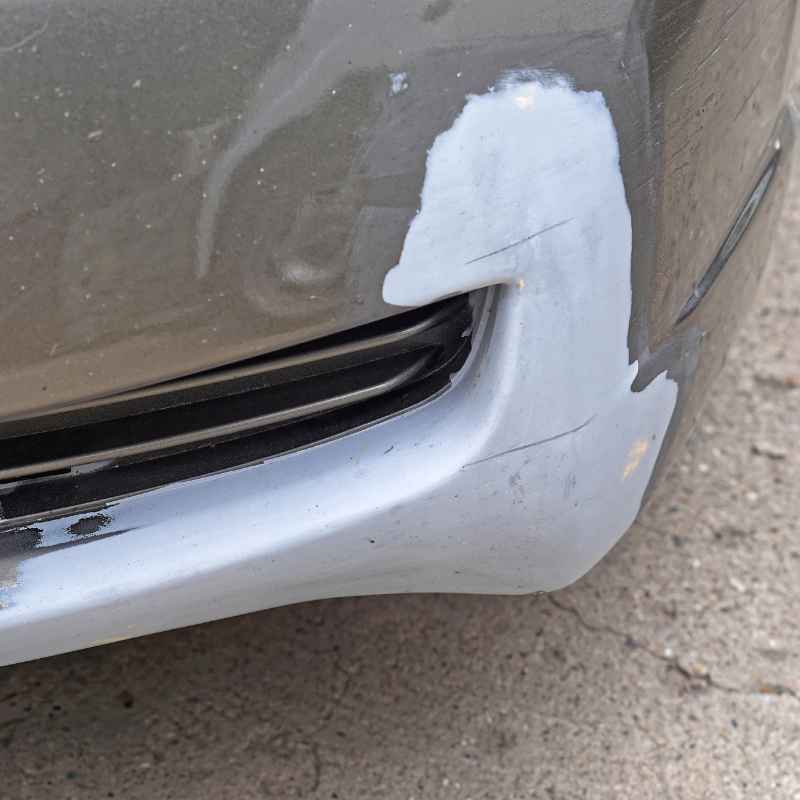
Before you grab any tools, take a good look at the bumper. What kind of damage are we dealing with? Is it a small crack?
Is it a deep gouge? Maybe a piece is missing entirely. This all matters for the repair.
A small crack is much simpler than a large hole.
Also, check the surrounding area. Is the paint chipped? Is there any underlying damage to the car’s frame?
You need to know the full story. Most fiberglass bumper repairs focus on the outer shell. But it’s smart to be thorough.
Take pictures. This helps you remember what you need. It also helps you plan your steps.
Gathering Your Tools and Supplies
To fix a fiberglass bumper, you’ll need a few things. Don’t skip any. Having them ready makes the job smoother.
You’ll need a fiberglass repair kit. These kits usually come with resin, hardener, and fiberglass cloth or mat. You can find them at auto parts stores.
They’re made for car repairs.
You’ll also need sandpaper. Get a few different grits. Start with a coarse one, maybe 80 grit.
Then move to finer ones like 180 and 220 grit. For smoothing, you’ll want a sanding block. A mask and gloves are important.
You don’t want to breathe in dust or get resin on your skin. Safety first!
Other useful items include masking tape. This protects areas you don’t want to sand or paint. A clean cloth or tack cloth is needed for cleaning.
A putty knife or spreader helps with applying filler. You might also need a small piece of plastic or metal for backing if there’s a hole. And of course, primer and paint that match your car.
Essential Repair Kit Components
Resin: This is the liquid that hardens. It binds the glass fibers.
Hardener: You mix this with the resin. It makes the resin cure.
Fiberglass Cloth/Mat: This is the fabric. It gives strength to the repair.
Mixing Cups and Sticks: For measuring and mixing the resin and hardener.
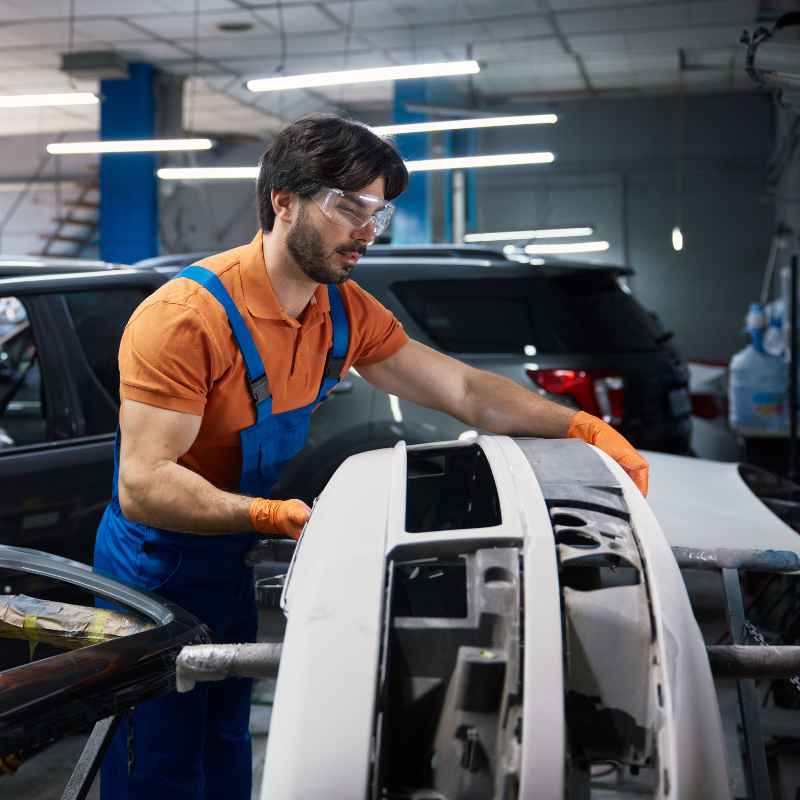
Step-by-Step Repair Process
Now, let’s get to the actual fixing. It’s a process. Take your time with each step.
Rushing will only make it harder. And the result won’t be as good.
1. Clean the Damaged Area
First, wash the bumper really well. Use soap and water. Get rid of all dirt, grease, and grime.
This is super important. If the area isn’t clean, the new material won’t stick properly. You can use a degreaser if needed.
After washing, dry it completely.
Next, you need to prep the edges of the damage. If it’s a crack, use a small rotary tool or even a sharp utility knife to create a small groove along the crack. This is called a ‘V-groove’.
It gives the new material something to grip onto. Make the groove about as wide as a dime. For holes, just clean up the edges.
2. Prepare the Area for Repair
If you have a hole, you’ll need to create a temporary backing. This stops the fiberglass resin from dripping through. You can use a piece of cardboard covered in tape.
Or a thin plastic sheet. Or even a piece of metal. Make sure it’s a bit larger than the hole.
Tape it securely to the back of the bumper. Make sure it’s snug.
Now, lightly sand the area around the damage. Use your 80-grit sandpaper. Sand a few inches around the crack or hole.
You want to remove the old paint and create a rough surface. This helps the new repair material bond. Wipe away all the dust with a damp cloth.
Then let it dry.
3. Mix and Apply the Fiberglass Resin
This is where the repair kit comes in. Read the instructions on your kit carefully. Different kits have different ratios of resin to hardener.
Mix only what you need. It hardens quickly. Stir gently to avoid air bubbles.
Too much mixing creates bubbles.
Cut a piece of fiberglass cloth or mat. It should be large enough to cover the damaged area. You might need a few layers.
Dip the fiberglass cloth into the mixed resin. Make sure it’s fully saturated. Then lay it over the damage.
Use your spreader to press it down. Smooth out any wrinkles or air bubbles.
If you have a larger hole, you’ll likely need more layers. Apply another piece of fiberglass over the first. Make sure each layer overlaps the one below.
Press it down firmly. You want a strong, solid repair. Let this first layer start to set.
It shouldn’t be completely hard yet.
Quick Scan: Fiberglass Layers
First Layer: Covers the hole/crack. Overlaps edges.
Second Layer: Adds strength. Overlaps first layer.
Third Layer (Optional): For deep damage. Adds extra support.
Smooth Gently: Press out air bubbles each time.
4. Curing and Initial Sanding
Now, you have to let the resin cure. This means letting it harden completely. Check the resin instructions.
It might take a few hours. Or it might be longer. Don’t touch it while it’s curing.
Give it plenty of time. You want it hard as a rock.
Once it’s fully cured, you can remove the backing material if you used one. Now, it’s time for the first round of sanding. Use your 80-grit sandpaper.
Start to knock down the high spots. You want to make the repaired area flush with the rest of the bumper. Sand in a wide area around the repair.
Be careful not to sand too much. You don’t want to go through the fiberglass. Just aim to get it mostly flat.
Then switch to your 180-grit sandpaper. This will smooth out the scratches from the coarser grit. Keep sanding until the area feels smooth to the touch.
And it looks even.
5. Applying Body Filler (If Needed)
Sometimes, even after the fiberglass, the area isn’t perfectly smooth. Or there might be small imperfections. This is where body filler comes in.
It’s a type of putty. It fills in tiny gaps. And makes the surface perfectly level.
Get a good quality automotive body filler.
Mix the filler with its hardener. Follow the kit’s instructions. Again, mix only what you need.
It cures fast. Use a plastic spreader to apply a thin, even layer of filler over the repaired area. Spread it thinly.
You can always add more. Don’t make it too thick at once. This makes it harder to sand.
Let the body filler cure. This usually takes less time than the resin. Check the product instructions.
Once it’s hard, start sanding again. Use your 180-grit sandpaper first. Then move to the 220-grit.
Sand until the filler is perfectly smooth and level with the bumper. You shouldn’t feel any bumps or dips. This is the key to a good paint job.
Contrast: Fiberglass vs. Body Filler
Fiberglass Repair: Adds structural strength. Fills large holes/cracks. Good for gaps.
Body Filler: Smooths out minor imperfections. Fills small dents. Perfects surface.
Order Matters: Always use fiberglass first for strength. Then filler for smoothness.
6. Priming the Repaired Area
Your bumper is now smooth. But it’s not ready for paint. You need a primer.
Primer helps the paint stick. It also covers up any minor scratches. And it gives you a uniform color to start with.
Mask off any areas you don’t want to spray. Like lights, grilles, or body panels. Use masking tape and paper.
Make sure everything is covered well. Then, apply a light coat of primer. Follow the directions on the primer can.
You might need two or three thin coats. Let each coat dry for a few minutes.
After the primer is dry, you might see some small imperfections you missed. If so, you can do a light wet sand with very fine sandpaper, like 320 or 400 grit. Wipe it clean and let it dry again.
This ensures a super smooth base for your paint.
7. Painting and Finishing
This is the exciting part! You’re ready to paint. Make sure you have paint that matches your car’s color.
You can get this from auto parts stores. They can often match it by your car’s paint code. You’ll also need a clear coat for protection.
And maybe a flex agent for the bumper paint.
Apply the paint in thin, even coats. Hold the can about 8-10 inches away from the surface. Move your hand in a steady motion.
Overlap each pass slightly. Don’t try to cover it all in one go. This leads to drips.
Allow drying time between coats. Check the paint can for recommendations.
After the base coat is applied and dry, apply the clear coat. This gives it that shiny, protective finish. Again, use thin coats.
This is very important for a smooth, professional look. Once the clear coat is dry, you can often buff it out. This removes any minor imperfections.
It makes it look like new.
Painting Tips for a Smooth Finish
Work in a Clean Space: Dust is your enemy.
Thin Coats are Key: Build up the color gradually.
Consistent Motion: Move the can steadily.
Proper Distance: Don’t hold the can too close or too far.
Ventilation: Ensure good airflow.
My Own Bumper Blunder (A Personal Story)
I remember one time, I was backing out of my driveway. It was late, and I was tired. I wasn’t paying full attention.
Suddenly, I heard a horrible scraping sound. I stopped immediately. I got out and looked.
My heart sank. I had scraped the corner of my rear bumper on a low concrete planter. It wasn’t a huge gash, but it was a jagged crack in the fiberglass.
Ugh. I felt so silly and annoyed with myself.
For a few days, I just lived with it. Every time I looked at my car, I saw that crack. I knew I needed to fix it.
I looked up repair shops. The quotes were high. Then I thought, “Maybe I can do this myself.” I started researching.
I found articles and videos. I bought a fiberglass repair kit. I gathered my sandpaper, gloves, and mask.
The first attempt wasn’t perfect. I didn’t mix the resin quite right. It was a bit tacky.
But I learned. I redid it. And this time, I took my time.
The sanding was the most tedious part. But when I finally primed and painted it, I was amazed. It wasn’t factory perfect, but it was a huge improvement.
I felt so proud. It taught me that with patience, many car repairs are doable.
Real-World Bumper Scenarios
Fiberglass bumpers are common on many types of cars. You see them on sedans, sports cars, and even some SUVs. Their flexibility and shape-making ability make them popular.
They’re designed to absorb minor impacts. But they can only take so much.
In warmer climates, like Florida or Arizona, UV rays can make the fiberglass more brittle over time. This means it might crack more easily from everyday bumps. In colder climates, like Minnesota or New York, extreme temperature changes can also affect the material.
Freezing and thawing can weaken it.
The design of the bumper also plays a role. Some bumpers have sharp angles or delicate fins. These areas are more prone to chipping or cracking.
Parking lots are a common battleground for bumpers. Low curbs, tight spaces, and other drivers’ mistakes can all lead to damage. Even a simple bump can cause a spiderweb of small cracks if not handled.
What This Repair Means for You
Knowing how to repair a fiberglass bumper can save you a lot of money. Professional body shops charge for their labor. This can add up quickly.
A DIY repair can cost a fraction of that. It’s also a great way to learn new skills. And feel a sense of accomplishment.
When is a repair normal? Minor cracks, small holes, or scuffs are usually fixable. You can usually tell if the underlying structure of the bumper is intact.
When should you worry? If the bumper is severely deformed, has large missing pieces, or if the impact seems to have damaged the car’s frame. In these cases, it’s best to consult a professional.
Or consider replacing the bumper entirely.
Simple checks you can do: Gently push on the repaired area after it cures. Does it feel solid? Does it flex appropriately?
Check for any sharp edges or uneven surfaces before painting. Also, look at the paint match. Does it blend well with the rest of the car?
These small checks make a big difference.
Quick Tips for a Better Repair
Ventilate Well: Always work in a well-ventilated area. The fumes from resin and paint can be strong.
Temperature Matters: Most fiberglass resins work best between 65-85°F (18-29°C). Check your kit for specifics. Very cold or hot temperatures can affect curing.
Patience is Key: Don’t rush the drying or curing times. This is crucial for a strong repair.
Feather the Edges: When sanding, feather the edges of your repair area. This helps the new material blend smoothly.
Practice on Scrap: If you’re new to fiberglass, practice mixing and applying it on a scrap piece of material first.
Frequently Asked Questions About Fiberglass Bumper Repair
Can I repair any type of damage on a fiberglass bumper?
Most common damage like cracks, small holes, and gouges can be repaired with a fiberglass kit. However, very large or complex damage, or damage that affects the structural integrity of the bumper or car, might require professional attention or replacement.
How long does a fiberglass bumper repair take?
The time can vary. It depends on the extent of the damage and the drying/curing times. You’ll need time for cleaning, applying the fiberglass and filler, sanding, priming, and painting.
Expect to spend at least a full day, possibly spread over two days to allow for proper curing between steps.
What if my bumper has a hole, not a crack?
For holes, you’ll need to create a backing. This can be done with cardboard, plastic, or metal taped to the back of the bumper. Then, you’ll build up layers of fiberglass cloth and resin over the hole, making sure to overlap the edges well.
Body filler can then be used to smooth the surface.
How do I match the paint color perfectly?
Most auto parts stores can help you match your car’s paint color. You’ll usually need your car’s paint code. This is often found on a sticker in the driver’s side doorjamb or under the hood.
You can also buy touch-up paint kits online.
Will the repair be as strong as the original bumper?
A properly done fiberglass repair can be very strong, often as strong as the original material. The key is using the right materials, applying them correctly, and allowing them to cure fully. The strength comes from the layers of fiberglass cloth and the resin binding them.
How do I know if I should just replace the bumper instead?
If the damage is extremely severe, with large missing pieces, deep structural damage, or if the bumper is severely warped, replacement is often the safer and more effective option. Also, if the cost and time of repair outweigh the cost of a new or used bumper, replacement might be better.
Conclusion
Fixing a damaged fiberglass bumper is totally within reach. It takes some time and effort. But the result is rewarding.
You’ll save money. And you’ll gain confidence. Follow these steps carefully.
Be patient. Your car will look great again. You’ve got this!