How To Replace A Car Fender Yourself (Beginner-Friendly)
This guide is here to help. We’ll walk through each step. You’ll learn what tools you need.
We’ll cover how to take off the old fender. You’ll see how to put on the new one. By the end, you’ll feel much more confident about tackling this car repair.
Replacing a car fender yourself is a realistic DIY project for beginners. With the right tools and clear steps, you can remove a damaged fender and install a new one, saving money and gaining valuable auto repair skills. This guide breaks down the process simply.
Understanding Your Car Fender
A car fender is the part of the car body that sits above the wheel. It curves over the tire. Its main job is to protect the car’s engine and other parts from dirt, water, and debris kicked up by the wheels.
It also plays a big role in the car’s overall look. A dented or ripped fender can make a car look neglected.
Fenders are usually made of metal, like steel or aluminum. Some newer cars use plastic or fiberglass fenders. These materials are lighter and can absorb impacts better.
The type of material affects how you’ll handle the repair. Metal fenders are more common, and that’s what we’ll focus on here.
The fender is attached to the car body in several places. There are bolts and clips holding it in. Understanding how it’s secured is key to removing it without causing more damage.
Most fenders have bolts along the edge of the hood, near the doors, and under the car. There might also be clips that snap into place.
Why DIY Fender Replacement Makes Sense
Taking your car to a repair shop for a fender replacement can get expensive. You’re paying for labor, parts, and shop overhead. For a job like a fender replacement, a significant portion of the cost is labor.
Professional mechanics are skilled, but their time is valuable.
When you do it yourself, you only pay for the parts. You can often find new fenders online or at auto parts stores for a good price. Sometimes you can even find used fenders from salvage yards.
This can save you hundreds, if not thousands, of dollars.
Plus, there’s a great sense of accomplishment in fixing your own car. You learn new skills. You become more aware of how your car works.
This knowledge can help you with future repairs or maintenance. It empowers you to take better care of your vehicle.
Gathering Your Tools and Parts
Before you start, make sure you have everything you need. This will save you trips to the store in the middle of the job. It keeps your project moving smoothly.
Here’s a list of tools you’ll likely need:
- A new car fender (make sure it’s the correct one for your car’s make, model, and year).
- A socket wrench set with various sizes.
- Screwdrivers (Phillips and flathead).
- Pliers (standard and needle-nose).
- A trim removal tool set (plastic ones are best to avoid scratching paint).
- Safety glasses.
- Work gloves.
- A jack and jack stands (if you need to lift the car for better access).
- A creeper (for comfort if working under the car).
- A helper (makes things much easier!).
- Possibly a drill with a metal drill bit if you need to remove stubborn bolts or rivets.
- Rust penetrant spray (like WD-40) for bolts that are hard to loosen.
The new fender is the main part. You can buy these online from auto parts retailers or eBay. Always double-check that the fender fits your specific car model.
Sometimes, fenders come primed and ready for paint, but check this when you buy.
It’s also a good idea to buy new clips or fasteners if the old ones look damaged. Sometimes, the bolts holding the fender can rust and break. Having replacements ready saves time.
Step-by-Step: Removing the Old Fender
This is where the work begins. Take your time. Don’t rush.
Safety first! Make sure your car is on a level surface. If you need to jack up the car, use jack stands to support it securely.
1. Locate and Remove Fasteners
Your car fender is held in place by bolts and clips. You need to find them all. Start by opening the car door.
Look along the edge where the fender meets the door. You’ll likely find a few bolts or screws here.
Next, open the hood. Look at the top edge of the fender, where it meets the engine bay. You should see bolts running along the inner lip of the fender.
Remove these.
Check the bottom of the fender. It might be attached to the bumper cover or a splash shield. You’ll need to remove any screws or clips in these areas.
Sometimes, there are small plastic clips that hold the fender liner in place. You might need to remove the fender liner to access all the bolts.
Use your socket wrench and screwdrivers for these. If a bolt is stuck, try spraying some rust penetrant. Let it sit for a few minutes, then try again.
Gentle tapping with a hammer can also help loosen it. Be careful not to strip the bolt head.
Tool Spotlight: Trim Removal Tools
Plastic trim removal tools are a lifesaver. They are designed to pry apart plastic panels and clips without scratching paint or breaking the plastic. Metal tools can easily damage your car’s finish.
Always try to use these plastic tools first when removing clips or paneling.
2. Detach the Fender from Adjacent Panels
Once most of the fasteners are out, the fender should be loose. However, it might still be attached to other parts. The fender often connects to the bumper cover at the front.
You might need to gently pull the bumper cover away slightly. Sometimes, there are hidden clips or screws connecting them.
Check the area where the fender meets the door again. There might be a hidden bolt or clip you missed. These can be tricky.
Feel around with your hand to locate them.
Pay close attention to the fender liner. This is the plastic or fabric shield inside the wheel well. It protects the engine bay from road spray.
Often, the fender is bolted or clipped to this liner. Removing the liner can give you better access to fender bolts.
If you have a helper, now is a good time for them to hold the fender steady while you work on the last few fasteners. This prevents it from falling unexpectedly.
3. Carefully Remove the Damaged Fender
With all fasteners removed, the fender should be ready to come off. Gently pull the fender away from the car body. Start at the top and work your way down.
It might take a bit of wiggling.
Be aware of any wires or hoses that might be attached. Sometimes, small sensors or light wiring can be connected to the fender. Disconnect these carefully if needed.
Once it’s free, support the fender so it doesn’t fall and get more damaged. You might want to place it on a soft surface like a blanket or cardboard. Inspect the old fender for any parts you might need to transfer to the new one.
Sometimes, mounting brackets or small clips stay attached to the car.
Contrast Matrix: What to Expect
Myth: Replacing a fender is too complex for beginners.
Reality: With clear instructions and the right tools, most DIYers can replace a fender successfully. Patience is key.
Normal: Some bolts are rusty or hard to loosen.
Concerning: Stripping bolt heads or damaging surrounding car body panels.
Installing the New Fender
Now for the exciting part: putting on the new fender! This process is mostly the reverse of removal, but it’s still important to be careful and precise.
1. Prepare the New Fender
Inspect your new fender. Make sure it’s clean and free of any shipping damage. If it came primed, you’re likely good to go.
If it needs painting, that’s a whole separate project and should be done before installation.
You might need to transfer some parts from the old fender to the new one. This could include rubber seals, clips, or mounting brackets. Carefully remove these from the old fender and attach them to the new one.
Check the mounting holes on the new fender. Make sure they line up with the holes on your car’s body. Sometimes, there’s a slight difference, and you might need to adjust or slightly enlarge a hole.
Use a drill with a small bit if needed, but be very careful not to remove too much material.
2. Position the New Fender
This is where a helper is invaluable. Have your helper hold the new fender in place. Start by aligning the top edge under the hood.
Make sure the fender lines up with the hood and the door.
Gently guide the fender into position. You want it to sit flush with the surrounding body panels. Look at the gaps.
The gap between the fender and the hood, and the fender and the door, should be even. If it’s not, you’ll need to adjust the fender’s position.
Start by loosely attaching a few bolts. Don’t tighten them all the way yet. This allows you to make adjustments.
It’s easier to move the fender around when the bolts are just snug.
Quick-Scan Table: Common Fastener Types
| Fastener Type | Description | Tool Needed |
| Bolts | Metal rods with screw threads. | Socket wrench |
| Screws | Pointed metal fasteners. | Screwdriver |
| Clips | Plastic or metal fasteners that snap into place. | Trim removal tool, pliers |
| Rivets | Permanent fasteners, often metal. | Drill, rivet gun |
3. Secure the Fender
Once you’re happy with the fender’s position, start tightening the bolts. Work in a criss-cross pattern. This helps to ensure the fender pulls evenly against the car body.
Don’t overtighten the bolts, as you could strip the threads or damage the new fender.
Go back and tighten all the fasteners you removed earlier. Reconnect any wires or sensors. Make sure the fender liner is properly reattached.
Check the alignment again. Open and close the doors and the hood. Make sure everything moves freely and looks good.
Small adjustments might still be needed.
I remember the first time I
Observational Flow: Fender Replacement
Start: Assess damage, gather tools and new fender.
Step 1: Open doors and hood. Locate all bolts and clips.
Step 2: Use appropriate tools to remove fasteners.
Step 3: Gently detach the old fender, watching for wires.
Step 4: Inspect new fender, transfer parts if needed.
Step 5: Position new fender, loosely attach bolts.
Step 6: Adjust fender for proper alignment and gaps.
Step 7: Fully tighten all fasteners.
Step 8: Test doors, hood, and fender for proper fit.
End: Clean up and admire your work!
Real-World Context: Factors Affecting Your Fender
Several things can influence how easy or difficult this job is. Knowing these can help you prepare.
Car Make and Model
Every car is designed differently. Some fenders are very straightforward to remove. Others have more hidden fasteners or complex shapes.
Luxury cars or sports cars might have more intricate body panels. Trucks and older sedans are often simpler. Always try to find specific instructions or videos for your car’s make and model if you can.
Type of Damage
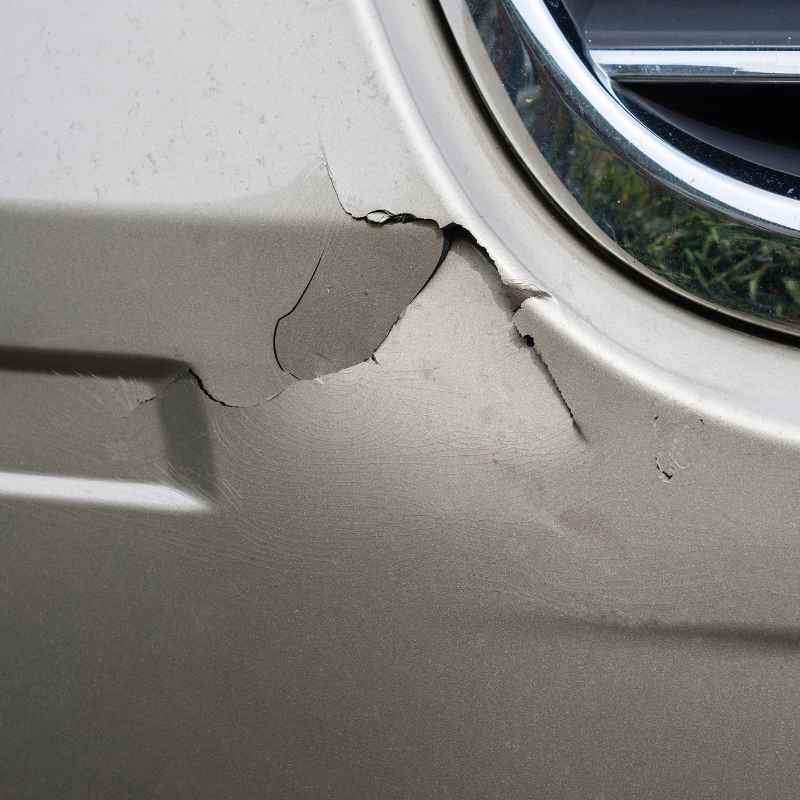
If the fender is just slightly bent or scratched, you might not need a full replacement. However, if it’s severely creased, torn, or detached from its mountings, replacement is usually the best option. Severe damage can also mean other parts nearby, like the bumper or headlights, are also affected.
Corrosion and Rust
Cars in areas with harsh winters or high humidity can suffer from rust. Bolts and mounting points can rust together. This makes them very difficult to remove.
You might need to use more penetrating oil, heat (carefully!), or even cut away rusted bolts. Be prepared for this possibility.
Paint Matching
Most replacement fenders come unpainted or primed. You’ll need to get the new fender painted to match your car’s color. This is often the most challenging part for DIYers.
You can do it yourself if you have the tools and space, or you can take it to a local body shop for painting. Factor this cost and effort into your project.
I once helped a friend replace a fender on his older Jeep. The original bolts were so rusted they just wouldn’t budge. We ended up having to drill them out.
It took hours! We learned that for older cars, it’s essential to have a drill and good metal drill bits ready just in case.
What This Means for You: When to Worry
For most people, replacing a fender is a manageable task. But there are times when it’s best to leave it to the pros.
When It’s Normal to DIY
You can likely handle this if:
- The damage is limited to the fender itself.
- Your car is relatively new and doesn’t show significant rust.
- You have basic tools and some mechanical inclination.
- You have a helper who can assist.
- You’re comfortable with potentially needing to get the new fender painted.
When to Consider a Professional
You might want to call a mechanic if:
- The damage is extensive and involves other parts like the frame, headlights, or radiator support.
- You’re uncomfortable working with car parts or lack the necessary tools.
- You want a perfect, factory-like paint match and finish without the hassle.
- Your car is a high-end or specialty vehicle where mistakes could be very costly.
- You encounter significant rust or seized bolts that you can’t handle.
It’s always better to be safe. If you feel overwhelmed at any point, it’s okay to stop and seek professional help.
Stacked Micro-Sections: DIY Fender Check
Tool Check: Have you got your socket set? Screwdrivers? Trim tools?
Part Check: Is the new fender the exact match for your car?
Helper Ready? Can someone lend a hand with holding the fender?
Workspace Clear? Is the area around the car safe and clean?
Patience Level: Are you ready to take your time and not rush?

Quick Tips for Success
Here are some extra pointers to make your fender replacement go smoothly.
- Take Pictures: Before you start, take photos of how the fender is attached. This helps you remember where bolts and clips go.
- Organize Fasteners: As you remove bolts and clips, put them in labeled bags. This keeps them organized and prevents them from getting lost.
- Watch Videos: Search for videos of fender replacements for your specific car model. Seeing someone else do it can be very helpful.
- Don’t Force It: If something feels like it’s jamming, don’t force it. There might be a hidden fastener or a piece that’s not aligned correctly.
- Clean as You Go: Wipe down the new fender and the car’s body as you work. This keeps things clean and makes it easier to see what you’re doing.
- Consider a Fender Kit: Some auto parts stores sell fender fastener kits that include all the necessary bolts, screws, and clips for a specific car model.
I learned the hard way about organizing fasteners. I once mixed up a bunch of bolts from a fender replacement. It took me ages to figure out which bolt went where!
Now, I always label everything. It saves so much frustration later.
Frequently Asked Questions
How long does it typically take to replace a car fender?
For a beginner, replacing a car fender can take anywhere from 2 to 6 hours. This depends on your car model, your skill level, and whether you encounter any stubborn bolts or rust. If you’re painting the fender, add extra time for that process.
Do I need to remove the bumper to replace the fender?
Often, you don’t need to remove the entire bumper. However, you may need to detach the very edge of the bumper cover where it meets the fender. This often involves a few screws or clips.
Check your specific car model’s design.
Can I use a used fender from a junkyard?
Yes, using a used fender is a great way to save money. Just make sure the used fender is in good condition, free of major rust or damage, and the correct part for your vehicle. Inspect it closely before buying.
What if the new fender doesn’t line up perfectly?
Minor alignment issues are common. You can adjust the fender by slightly loosening the bolts, repositioning the fender, and then retightening. If there are larger gaps or misalignments, check if you’ve missed any mounting points or if the new fender is slightly different from the original.
Is it necessary to get the new fender painted?
Yes, unless your car is already this color or you don’t mind a mismatched look. Most replacement fenders come unpainted or primed. You’ll need to have it painted to match your car’s color.
This can be done by a professional body shop or as a DIY project.
What tools are essential for fender removal?
Essential tools include a socket wrench set, screwdrivers (Phillips and flathead), and a set of plastic trim removal tools. Safety glasses and gloves are also a must. A helper can make the process much easier and safer.
Conclusion
Replacing a car fender yourself is a rewarding project. It’s definitely achievable for most beginners. With careful planning, the right tools, and a patient approach, you can remove the old fender and install a new one.
Remember to work safely. Take your time with each step. Don’t be afraid to seek help if you need it.
You’ll save money and gain a valuable skill. Happy fixing!