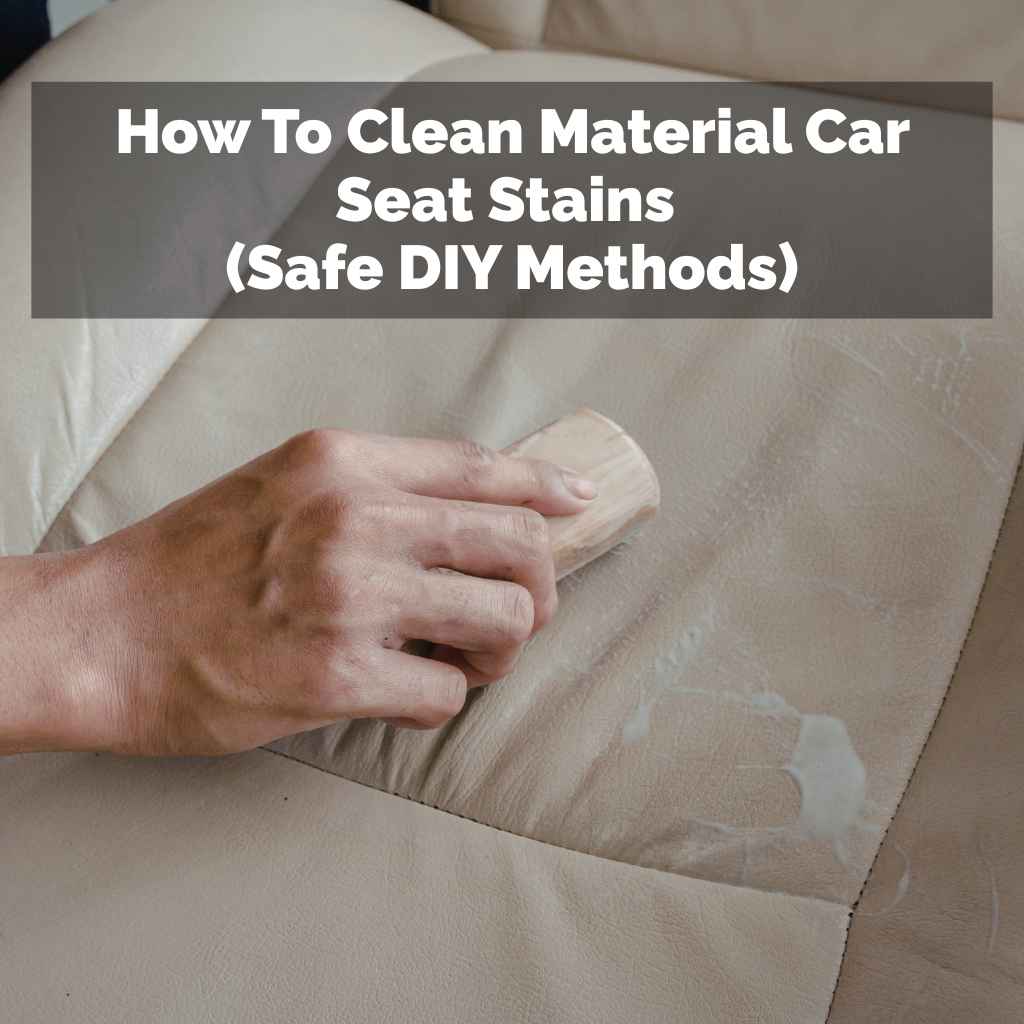
How To Clean Material Car Seat Stains (Safe DIY Methods)
Effectively cleaning material car seat stains involves identifying the stain type and using appropriate DIY solutions. Gentle blotting, mild cleaners, and proper drying are key to removing common spills and dirt without causing damage, restoring your car’s interior freshness.
Understanding Material Car Seat Stains
Car seats are usually made of cloth or fabric. This material can soak up spills quickly. It can also trap dirt and oils.
Different kinds of stains need different approaches. For example, a greasy stain is not the same as a water-based spill. Knowing what you are dealing with helps you choose the right cleaning method.
It also helps you pick the right cleaning products. Using the wrong thing can make the stain worse. Or it could even damage the seat fabric itself.
Think about common culprits. Food and drinks are big ones. Think juice, soda, ketchup, or chocolate.
Pets can also cause issues. Mud, fur, and accidents leave their mark. Kids are always a source of spills.
Crayons, pens, or just general grime can build up. Even just everyday use can lead to light wear and discoloration. Sunlight can also fade fabric over time.
So, it’s not always a single big spill. Sometimes it’s just gradual wear and tear.
Material car seats are designed to be durable. But they are not invincible. The weave of the fabric can hold onto particles.
This makes them harder to clean than smooth surfaces. Water can soak into the foam underneath. This can lead to mildew or bad smells if not dried properly.
So, a good cleaning job is about more than just removing the visible mark. It’s also about maintaining the overall health of your car’s interior. We need to be gentle yet effective.
This way, your car stays clean and comfortable for a long time.
My First Car Seat Stain Disaster
I remember it clearly. It was a sweltering July day. I had just bought a brand new, bright blue, material car seat cover.
I was so proud of it. I was driving home from the store, feeling great. Then, disaster struck.
A rogue french fry, still piping hot, fell from my son’s lap. It landed right on the pristine blue seat. I tried to grab it fast.
But some of the oily salt mixture smeared. It left a dark, greasy mark. Panic set in.
This was a new seat! I was sure I had ruined it. I tried wiping it with a wet paper towel.
That just spread the grease. It looked worse. I felt sick to my stomach.
That feeling of helplessness when you think you’ve permanently damaged something is awful. I ended up spending hours online, looking for solutions. I learned a lot that day.
Mostly, I learned that quick action and the right method are super important for car seat stains.
Common Stain Types & What They Mean
Oily Stains (Grease, Food): These are tricky. Oil repels water. You need something to break down the oil.
Things like dish soap or degreasers work well. They lift the oil from the fabric fibers.
Water-Based Stains (Juice, Soda, Mud): These are often easier. They are usually water-soluble. Water itself can often lift some of them.
Adding a bit of mild soap can help too. The key is not to let them soak in too deep.
Dye Stains (Ink, Berries): These are tough. The color from the dye gets deep into the fabric. You might need stronger cleaners.
Sometimes rubbing alcohol or special stain removers are best.
General Grime/Dirt: This is a mix of things. It builds up over time. Regular vacuuming helps a lot.
A general fabric cleaner can lift this type of dirt.
Gathering Your Cleaning Supplies
Before you start cleaning, get your supplies ready. Having everything in one place makes the job easier. You don’t want to be hunting for things mid-clean.
Most of what you need is probably already in your home. Or it’s cheap to buy at a local store. This saves you money compared to professional cleaning.
Plus, you have these supplies for future messes.
First, you will need cloths. Microfiber cloths are best. They are soft and absorb well.
They don’t leave lint behind. Have several on hand. You will use some for cleaning and some for drying.
Old, clean towels also work. Just make sure they are soft. You don’t want scratchy ones.
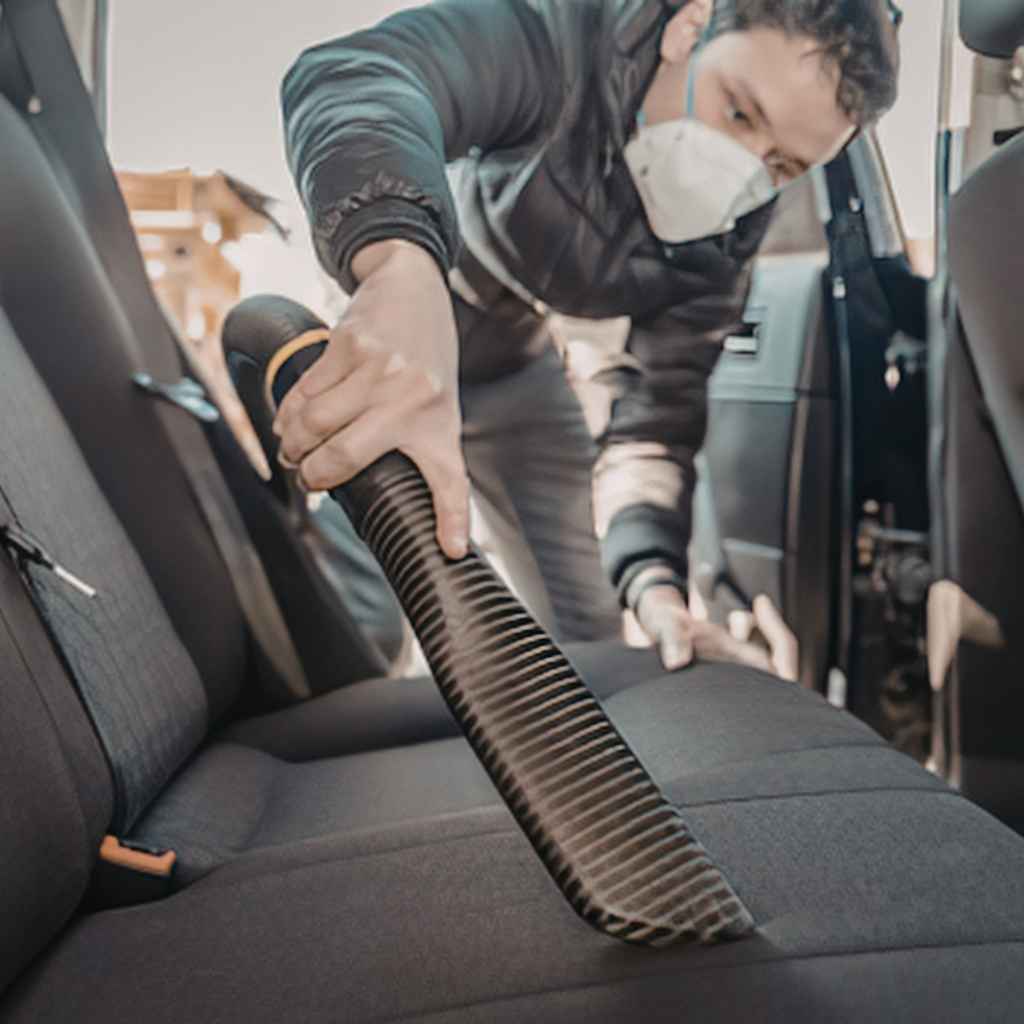
Next, you need a good vacuum cleaner. A strong vacuum can remove loose dirt and debris. This is a crucial first step for almost any stain.
A shop vac is even better if you have one.
For cleaning solutions, start simple. Mild dish soap is a great cleaner. It’s good at breaking down grease.
White vinegar is another handy item. It helps with odors and can lift some stains. Baking soda is a gentle abrasive.
It also absorbs smells. Rubbing alcohol can be useful for ink or marker stains. Water is your base for most solutions.
Distilled water is ideal. It has no minerals. This prevents water spots.
Sometimes, you might need a specific upholstery cleaner. Look for one safe for your car’s fabric type. Always test any cleaner in a hidden spot first.
Step-by-Step Guide to Cleaning Material Car Seat Stains
Cleaning car seat stains is a process. It’s best to follow a few steps. This ensures you get the best results.
And it helps avoid making the problem worse. The goal is to lift the stain. You want to avoid rubbing it deeper.
Or spreading it around.
Step 1: Assess the Stain. What kind of stain is it? Is it fresh or old? This guides your choice of cleaner.
A fresh spill is easier to remove than one that has set for days.
Step 2: Remove Excess. If there’s any solid or liquid left, remove it. Gently scrape off solids with a dull knife or spoon. Blot up liquids with a clean cloth.
Don’t rub. Rubbing pushes the stain deeper into the fabric.
Step 3: Vacuum Thoroughly. Use your vacuum cleaner. Get all the loose dirt and debris. Pay attention to seams and crevices.
This prepares the fabric for cleaning. It removes particles that could smear or scratch.
Step 4: Choose Your Cleaner. Based on the stain type, pick your cleaner. For general dirt or mild spills, a mix of water and a drop of dish soap is good. For tougher stains, you might use a vinegar solution.
For greasy spots, dish soap is a must. Always test in an inconspicuous area first. Let it dry completely to check for color changes.
Step 5: Apply the Cleaner. Never pour cleaner directly onto the seat. Dampen a clean microfiber cloth with your cleaning solution. Gently blot the stained area.
Start from the outside of the stain and work your way in. This prevents spreading. Don’t oversaturate the fabric.
Too much moisture can damage the foam or lead to mildew.
Step 6: Let it Sit (If Needed). For tougher stains, you might let the cleaner sit for a few minutes. This allows it to break down the stain. Check the cleaner’s instructions.
Some cleaners need to dwell longer than others.
Step 7: Blot and Rinse. Use a clean, damp cloth (just with water) to blot away the cleaner and the loosened stain. Rinse your cloth often. You are essentially lifting the dirt and cleaner out of the fabric.
Keep blotting until the stain is gone or much lighter. You might see the stain transfer to your cloth.
Step 8: Dry the Area. This is super important. Use a dry microfiber cloth. Blot the area firmly.
You want to absorb as much moisture as possible. You can also use a fan to speed up drying. Make sure the seat is completely dry before using the car.
Damp seats can get musty.
Quick Fix: The Dish Soap Method for Grease
Problem: Greasy food spills (fries, burgers, oily sauces).
Solution: Mild dish soap (like Dawn) is amazing for grease. It’s designed to cut through oil.
How-To:
- Mix 1-2 drops of dish soap with a cup of warm water.
- Dampen a clean cloth with the solution.
- Gently blot the greasy spot. Work from outside in.
- Let it sit for 5 minutes.
- Blot with a clean, damp cloth (water only) to rinse.
- Dry the area thoroughly with a dry cloth or fan.
Tackling Specific Stain Types
Not all stains are created equal. Some are easy. Others require a bit more effort.
Let’s look at some common culprits and how to deal with them.
Grease and Oil Stains
These are the ones that seem to sink right in. Think fast food, lotions, or even makeup. Because oil and water don’t mix, plain water won’t do much.
You need something to emulsify the oil. That’s where dish soap shines. As mentioned, a simple dish soap and water mix is often enough.
For really tough, old grease stains, you might need a dedicated auto upholstery cleaner. Some people have success with cornstarch or baking soda too. You sprinkle it on the stain, let it sit to absorb the oil, then vacuum it up.
Then, you follow with a soap and water solution.
Food and Drink Spills (Non-Greasy)
Juice, soda, coffee, tea, chocolate – these are common. They can leave colored marks. The first step is always blotting up as much as possible.
A solution of water and a little white vinegar can be very effective. Vinegar helps break down many food stains. It also helps neutralize odors.
A mix of 1 part white vinegar to 2 parts water is a good starting point. Blot with this solution. Then, rinse with a water-dampened cloth.
Baking soda can also be sprinkled on these stains before cleaning to help lift them.
Mud and Dirt
Mud is easy when it’s wet. It’s much harder when it dries. Let mud dry completely.
Then, vacuum up as much of the loose dirt as you can. This is key to preventing a muddy smear. Once you’ve vacuumed, use a mild soap and water solution.
Blot the remaining stain. If there’s a discoloration left, a vinegar and water mix can help. Rinse and dry thoroughly.
Ink and Marker Stains
These are the panic-inducing stains. Especially if kids are involved. Rubbing alcohol (isopropyl alcohol) is often the hero here.
It can dissolve ink. Dampen a cotton ball or the edge of a microfiber cloth with rubbing alcohol. Gently dab the ink stain.
You will see the ink transfer to the cotton ball or cloth. Use a fresh part of the cloth or a new cotton ball as needed. Work from the outside in.
Be patient. After the ink is gone, you might need to clean the area with a mild soap and water solution to remove any alcohol residue. Then, rinse and dry.
Pet Stains
Pet accidents can be tough. They leave stains and odors. For urine, first blot up as much as possible.
Then, use an enzyme cleaner. These cleaners are specifically designed to break down organic matter and odors. Follow the product instructions carefully.
For general pet hair and dirt, vacuuming is essential. A stiff brush can help loosen embedded hair before vacuuming. Mild soap and water can clean light stains.
For persistent odors, baking soda sprinkled on the dry seat can help absorb them.
Infographic: Stain Removal Success Rate
Stain Type | Difficulty | Best DIY Approach
Fresh Coffee/Soda | Easy | Blot, Mild Soap & Water
Dried Mud | Medium | Vacuum, Mild Soap & Water
Greasy Food | Medium-Hard | Dish Soap, Blotting
Ink/Marker | Hard | Rubbing Alcohol, Blotting
Pet Urine | Hard | Enzyme Cleaner, Blotting
Dealing with Old, Set-In Stains
Sometimes, stains are old. They have had time to really bond with the fabric fibers. These are the most challenging.
The key with old stains is patience and persistence. You might need to repeat the cleaning process several times. Don’t get discouraged if it doesn’t come out on the first try.
Start with the gentlest method. For an old, unidentified stain, try a mild soap and water solution first. Blot it.
Rinse it. Dry it. If that doesn’t work, move to a slightly stronger solution.
Maybe a vinegar and water mix. Or a specialized upholstery cleaner. Always test these stronger solutions in a hidden area first.
Old stains might have faded the fabric underneath. A strong cleaner could cause uneven lightening.
For set-in grease, you might try the cornstarch or baking soda method mentioned earlier. Let it sit for several hours or even overnight to absorb as much oil as possible. Then vacuum it up and proceed with a dish soap solution.
For old dye stains, rubbing alcohol or a specialized dye remover might be necessary. Again, extreme caution and testing are vital here.
It’s important to manage expectations. Some very old or very deep stains might not come out completely. The goal is to improve the appearance as much as possible without causing damage.
Sometimes, a lightened stain is better than a dark, noticeable one. Think about the age of the car and the material. Older materials can be more delicate.
Insight Panel: The Power of Patience
What It Means: Old stains have had more time to bond with fabric. They require more effort.
Why It Matters: Rushing can lead to scrubbing too hard or using harsh chemicals. This can damage your car seats.
Your Best Bet: Be patient. Repeat gentle cleaning steps. Test stronger solutions in hidden spots.
You may need to try multiple methods over time.
Preventing Future Stains
Cleaning is great, but preventing stains is even better. A little bit of prevention goes a long way. It saves you time and effort in the long run.
It keeps your car looking good for longer.
First, consider seat covers. They are a fantastic barrier. You can find covers for just the driver’s seat or for the whole car.
Many are easy to clean themselves. Some are waterproof. This is a lifesaver for parents or pet owners.
There are many styles and materials available. Some are designed for rugged use, while others are more stylish.
Eating and drinking in the car can be a challenge. Try to limit it when possible. If you must eat, use a tray or be extra careful.
Keep a small trash bag in your car. This helps with wrappers and crumbs. For kids, use spill-proof cups.
Pack snacks that are less messy. Wipes are your friend. Keep baby wipes or cleaning wipes handy for quick cleanups.
Regular maintenance is also key. Vacuum your car seats regularly. This removes loose dirt and crumbs before they can set in.
A quick wipe-down of surfaces can also help. For material seats, a light spray of fabric protector can offer some resistance to spills. These sprays create a barrier on the fibers.
When spills do happen, act fast. The quicker you can blot or wipe up a spill, the less likely it is to become a permanent stain. Keep a small cleaning kit in your car.
This could include microfiber cloths, a small spray bottle with water or a mild cleaner, and some paper towels. This way, you’re prepared for small accidents on the go.
Quick Scan: Prevention Checklist
- Seat Covers: Use them for extra protection.
- Limit Eating: Be mindful when food and drinks are in the car.
- Wipes Handy: Keep cleaning wipes accessible for quick spills.
- Trash Bag: Use one for wrappers and crumbs.
- Spill-Proof Cups: Essential for kids.
- Regular Vacuuming: Remove dirt before it sets.
- Fabric Protector: Consider applying a spray.
- Immediate Action: Blot spills right away.
When to Call a Professional
While DIY methods are effective for many stains, some situations call for professional help. If you have tried everything and the stain is still there, a professional detailer has access to stronger tools and chemicals. They also have more experience with different fabric types.
This can be especially true for delicate or vintage car interiors. If a stain is very large, covers a significant area, or you’re worried about causing damage, calling a pro is a wise choice. They can often restore seats that you might think are beyond repair.
Some stains, like widespread mold or mildew, or very deep, set-in discoloration, are best left to experts. These can sometimes be signs of underlying water damage that needs to be addressed. Professionals have the equipment to dry and treat these issues thoroughly.
It’s also a good idea to consult a professional if your car has special materials like leather or Alcantara, which require very specific care.
Contrast: DIY vs. Professional Cleaning
DIY Cleaning:
- Pros: Cost-effective, convenient, you learn skills.
- Cons: Can be time-consuming, risk of damage if done incorrectly, limited by available tools/chemicals.
Professional Cleaning:
- Pros: Expert results, access to specialized equipment and products, time-saving.
- Cons: More expensive, requires scheduling an appointment.
Frequently Asked Questions About Car Seat Stains
Can I use household cleaners like Windex on my car seats?
It’s generally not recommended to use household cleaners like Windex on fabric car seats. They can contain harsh chemicals that might damage the fabric, fade the color, or leave residue. Stick to mild soap, vinegar, or specialized upholstery cleaners designed for automotive use.
How do I get rid of that “new car smell” if it’s too strong?
If the new car smell is overpowering, opening windows to air out the car is the simplest method. You can also place bowls of baking soda or activated charcoal inside the car for a few days to help absorb odors. Some professional detailers offer odor removal services.
My car seat has a strange smell, what can I do?
Odors in car seats often come from spills, sweat, or mildew. Start by thoroughly vacuuming the seats. Then try cleaning with a mild soap and water solution or a vinegar and water mixture. For persistent odors, sprinkle baking soda liberally over the fabric, let it sit for several hours or overnight, and then vacuum it up. Enzyme cleaners are also effective for organic odors like pet accidents.
What is the best way to clean a coffee stain from my car seat?
For a fresh coffee stain, blot up as much liquid as possible with a clean cloth. Then, mix a solution of one part white vinegar to two parts water. Dampen a cloth with this solution and gently blot the stain, working from the outside in. Rinse the area with a clean, water-dampened cloth. Finally, blot dry thoroughly with a clean, dry towel. For older or dried coffee stains, you may need to repeat the process or try a mild upholstery cleaner.
Are there any specific precautions for cleaning leather car seats?
This guide focuses on material car seats. Leather car seats require different cleaning methods. You should use specialized leather cleaners and conditioners. Avoid using water-based cleaners or harsh chemicals on leather, as they can dry out and crack the material. Always test any leather cleaning product in an inconspicuous area first.
How often should I clean my car seats?
It’s good to give your car seats a quick vacuum at least once a month. A more thorough cleaning or spot treatment for stains should be done as needed. For example, immediately after a spill occurs. Keeping up with regular maintenance helps prevent dirt and stains from becoming permanent.
Final Thoughts on Keeping Your Car Seats Clean
Dealing with material car seat stains doesn’t have to be a headache. By understanding the types of stains and using simple, safe DIY methods, you can tackle most messes. Remember to always test your cleaning solutions.
Act fast when spills happen. And don’t forget the power of prevention. A little care can keep your car’s interior looking and smelling fresh for years to come.
Enjoy a cleaner ride!