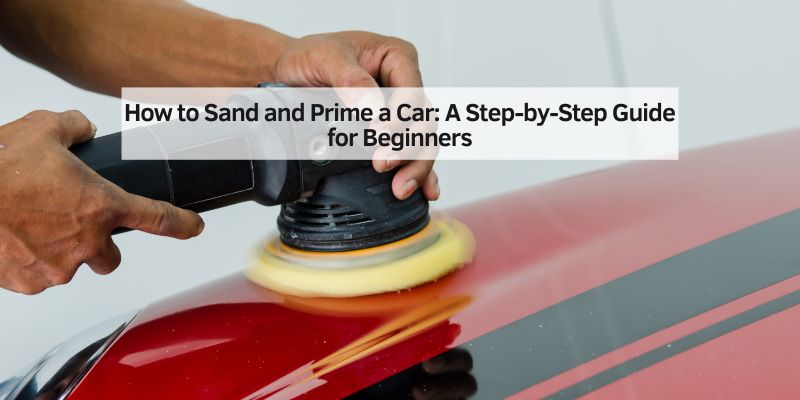
How to Sand and Prime a Car: A Step-by-Step Guide for Beginners
Hey there! If you’re looking to give your car a fresh new look or prep it for a paint job, you’ve landed in the right place. Sanding and priming a car might sound intimidating, but I’ve been through this process myself, and I’m excited to share everything I’ve learned. When I first tackled this project, I was a bit nervous, but with the right tools and a clear plan, it turned out to be a rewarding experience. Whether you’re fixing up an old classic or just smoothing out some scratches, this guide will walk you through how to sand and prime a car like a pro. Let’s dive in and make your car look amazing!
Sanding and priming are the foundation of a great paint job. They smooth out imperfections and create a surface that paint can stick to. Doing it right takes time and patience, but trust me, the results are worth it. I’ll break down each step, share some tips from my own mistakes, and make sure you have all the info you need to get it done. Ready? Let’s get started.
Why Sanding and Priming Your Car Matters
Before we jump into the how-to, let’s talk about why sanding and priming are so important. When I first started working on my car, I thought I could skip a few steps to save time. Big mistake! Sanding removes old paint, rust, and blemishes, giving you a clean, smooth surface. Priming seals that surface and helps the new paint adhere better. Without these steps, your paint job might peel, chip, or look uneven. I learned this the hard way when I rushed through and ended up with a patchy finish.
Sanding and priming also protect your car. Primer acts like a shield, preventing rust and corrosion. It’s like giving your car a solid base layer before you add the shiny topcoat. Plus, a well-prepped surface makes the paint look smoother and last longer. Trust me, taking the time to do this right will save you headaches down the road.
Tools and Materials You’ll Need
Before you start, you’ll need to gather some supplies. I remember running to the store mid-project because I forgot something, and it was such a hassle. Here’s a list of everything you’ll need to sand and prime your car. I’ve included some notes based on what worked best for me.
| Item | Purpose | My Tip |
|---|---|---|
| Sandpaper (various grits) | Smooths the car’s surface; removes old paint, rust, and imperfections | Start with 400-grit for rough sanding, then move to 800-1200 for finishing |
| Sanding block or orbital sander | Ensures even sanding, especially on flat surfaces | An orbital sander saves time on large areas |
| Primer (automotive-grade) | Prepares the surface for paint and protects against rust | Choose a primer compatible with your paint type |
| Spray gun or aerosol cans | Applies primer evenly | A spray gun gives better control, but cans work for small jobs |
| Masking tape and paper | Protects areas you don’t want to sand or prime | Use high-quality tape to avoid residue |
| Clean cloths | Wipes down surfaces to remove dust and debris | Microfiber cloths work best |
| Degreaser or wax remover | Cleans the car’s surface before sanding | Don’t skip this—it’s key for a clean surface |
| Safety gear | Protects you from dust and fumes | Wear a mask, gloves, and safety glasses |
| Body filler (if needed) | Fills dents or deep scratches | Apply in thin layers for best results |
Having these tools ready will make the process so much smoother. I found that investing in good-quality sandpaper and primer made a big difference in the final result.
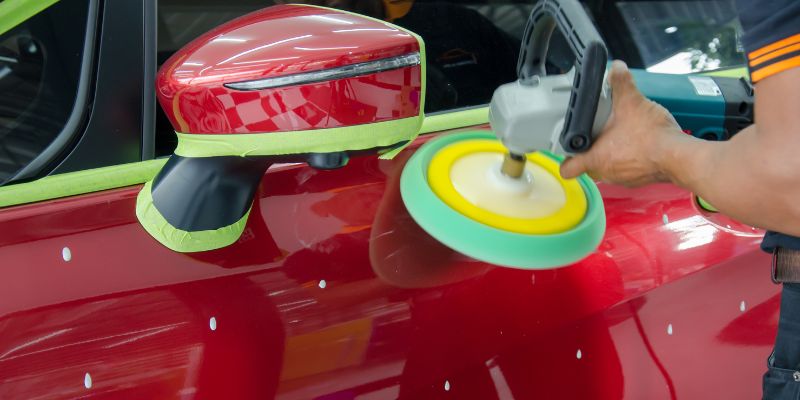
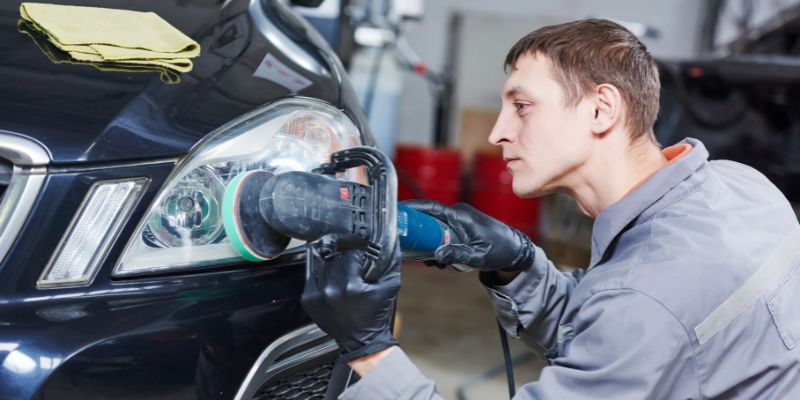
Step-by-Step Guide to Sanding Your Car
Now, let’s get into the nitty-gritty of sanding your car. This part takes patience, but it’s where the magic starts. I’ll walk you through each step based on what I did to get my car’s surface ready for priming.
Step 1: Prepare Your Workspace
First things first, find a clean, well-ventilated area to work in. I used my garage, but an outdoor space with shade works too. Lay down drop cloths to catch dust and debris. Make sure your car is clean—give it a good wash with soap and water, then dry it thoroughly. I missed a spot once, and the dirt messed up my sanding. Also, remove any parts like mirrors or trim that you don’t want to sand. If you can’t remove them, cover them with masking tape and paper.
Step 2: Clean the Surface
Before you start sanding, you need to get rid of any wax, grease, or grime. I used a degreaser and wiped the car down with a clean cloth. This step is super important because any leftover residue can ruin your paint job. Take your time and make sure every inch of the surface is clean. I learned to double-check by running my hand over the surface—if it feels slick, you need to clean it again.
Step 3: Start with Rough Sanding
For the first round of sanding, I used 400-grit sandpaper to remove old paint, rust, or minor scratches. If you’re working on a larger area, an orbital sander can save you a lot of time. Move in small, circular motions, and don’t press too hard—you want to remove the top layer without digging into the metal. I made the mistake of pressing too hard once, and it left deep scratches that were a pain to fix. If you’re dealing with rust, sand until you see bare metal.
Step 4: Fill Dents and Imperfections
If your car has dents or deep scratches, you’ll need to use body filler. I had a couple of dings on my car, and body filler worked wonders. Mix the filler according to the instructions, then apply it with a plastic spreader. Let it dry completely, then sand it smooth with 400-grit sandpaper. I found that applying thin layers and sanding between them gave me the smoothest result.
Step 5: Fine Sanding for a Smooth Finish
Once the rough sanding is done, switch to a finer grit, like 800 or 1200. This step smooths out the surface and gets it ready for priming. I used a sanding block for this part to keep everything even. Sand in straight lines or gentle curves, following the car’s contours. After sanding, wipe the surface with a damp cloth to remove dust. When I did this, I could feel how smooth the car was—it was so satisfying!
How to Prime Your Car Like a Pro
With the sanding done, it’s time to prime. Priming is what gives your car that perfect base for painting. Here’s how I tackled this step, along with some lessons I learned along the way.
Step 1: Choose the Right Primer
Not all primers are the same, and picking the right one is key. I used an automotive-grade primer that matched my paint type (I was using enamel paint, so I chose a compatible primer). If you’re not sure, check the label or ask at your local auto shop. I went with a spray gun for better coverage, but aerosol cans work fine for smaller jobs. Just make sure you have enough primer to cover the entire area.
Step 2: Mask Off Areas
Before you start priming, protect any areas you don’t want to get primer on, like windows, tires, or chrome trim. I used masking tape and paper to cover these spots. Take your time here—good masking makes a big difference. I once got primer on my car’s windshield because I rushed this step, and it was a pain to clean off.
Step 3: Apply the Primer
Now for the fun part! If you’re using a spray gun, mix the primer according to the instructions and load it up. Hold the gun about 8-12 inches from the surface and apply thin, even coats. I moved in steady, overlapping strokes to avoid drips. If you’re using aerosol cans, shake them well and use the same technique. I applied three light coats, letting each one dry for about 20 minutes. Don’t rush this—thick coats can lead to runs or uneven spots.
Step 4: Sand the Primer (If Needed)
After the primer dries (check the can for drying times), inspect the surface. If it feels rough or you see imperfections, lightly sand it with 1200-grit sandpaper. I did this to smooth out a few spots, and it made the surface feel like glass. Wipe away any dust with a clean cloth before moving on to painting.
Tips for Success from My Experience
I’ve made plenty of mistakes while sanding and priming my car, so here are some tips to help you avoid them:
- Work in a Clean Space: Dust and debris can stick to wet primer and ruin your finish. I learned to keep my garage door closed to avoid wind blowing in dirt.
- Don’t Rush Drying Times: Let each layer of primer dry fully. I tried to speed things up once, and it led to a sticky mess.
- Use Light Coats: Whether sanding or priming, go light and steady. Heavy pressure or thick primer can create more work later.
- Check Your Work: After each step, run your hand over the surface. If it doesn’t feel smooth, keep sanding or priming until it does.
- Stay Safe: Always wear a mask and gloves. Sanding dust and primer fumes are no joke, and I felt much better wearing proper gear.
Common Mistakes to Avoid
When I started, I thought sanding and priming would be straightforward, but I hit a few bumps. Here are some common mistakes I made and how you can avoid them:
- Skipping Cleaning: If you don’t clean the surface well, dirt or grease will mess up your sanding and priming. Always degrease first.
- Using the Wrong Grit: Starting with too fine a sandpaper won’t remove old paint or rust. Begin with 400-grit and work up.
- Over-Priming: Too much primer can lead to drips or uneven surfaces. Stick to thin, even coats.
- Not Masking Properly: Primer on your windows or tires is a pain to remove. Take extra time to mask everything carefully.
How Long Does It Take?
Sanding and priming a car can take anywhere from a few hours to a couple of days, depending on the size of the job and your experience. For my mid-sized sedan, it took me about 6 hours to sand and another 4 hours to prime, spread over two days. If you’re working on a smaller area, like a fender, you might finish in half a day. The key is to take your time and not rush. I found that breaking the work into manageable chunks made it less overwhelming.
Preparing for the Next Step: Painting
Once your car is sanded and primed, you’re ready for the paint job. The smooth, primed surface will make your paint go on evenly and look professional. Before you paint, double-check that the primer is dry and smooth. If you’re not painting right away, store your car in a clean, dry place to avoid dust settling on the primer. I waited a day before painting mine, and it gave the primer time to cure properly.
Conclusion
Sanding and priming your car is a big project, but it’s one you can totally handle with the right approach. I remember how proud I felt when I stepped back and saw my car’s smooth, primed surface, ready for its new paint job. It’s a process that teaches you patience and attention to detail, but the payoff is a car that looks amazing and stays protected for years. Whether you’re fixing up a classic or just refreshing your daily driver, these steps will set you up for success.
Take your time, follow the steps, and don’t be afraid to make mistakes—they’re part of the learning process. I hope this guide helps you feel confident and excited to tackle your project. Grab your sandpaper, put on some music, and get ready to transform your car. You’ve got this!
Frequently Asked Questions
Can I Sand and Prime My Car Without Professional Tools?
Yes, you can! I used basic tools like sandpaper, a sanding block, and aerosol primer cans for my first project. While professional tools like an orbital sander or spray gun make the job easier, you can get great results with affordable supplies. Just be patient and follow the steps carefully.
How Many Coats of Primer Do I Need?
I usually apply three light coats of primer. This gives good coverage without being too thick. Make sure each coat is dry before adding the next one. Check the primer can for specific drying times, as they can vary.
What If I Find Rust After Sanding?
If you spot rust after sanding, keep sanding with 400-grit sandpaper until you reach bare metal. I had this issue on my car’s hood. After sanding, apply a rust-inhibiting primer to prevent it from coming back.
Can I Skip Priming and Go Straight to Painting?
I wouldn’t recommend it. Primer helps the paint stick better and protects the metal from rust. When I tried skipping primer on a small spot, the paint peeled within months. Always prime for a lasting finish.
How Do I Know If I’ve Sanded Enough?
Run your hand over the surface. If it feels smooth and you don’t see any old paint, rust, or scratches, you’re good to go. I always do a final pass with 1200-grit sandpaper to make sure it’s perfect before priming.