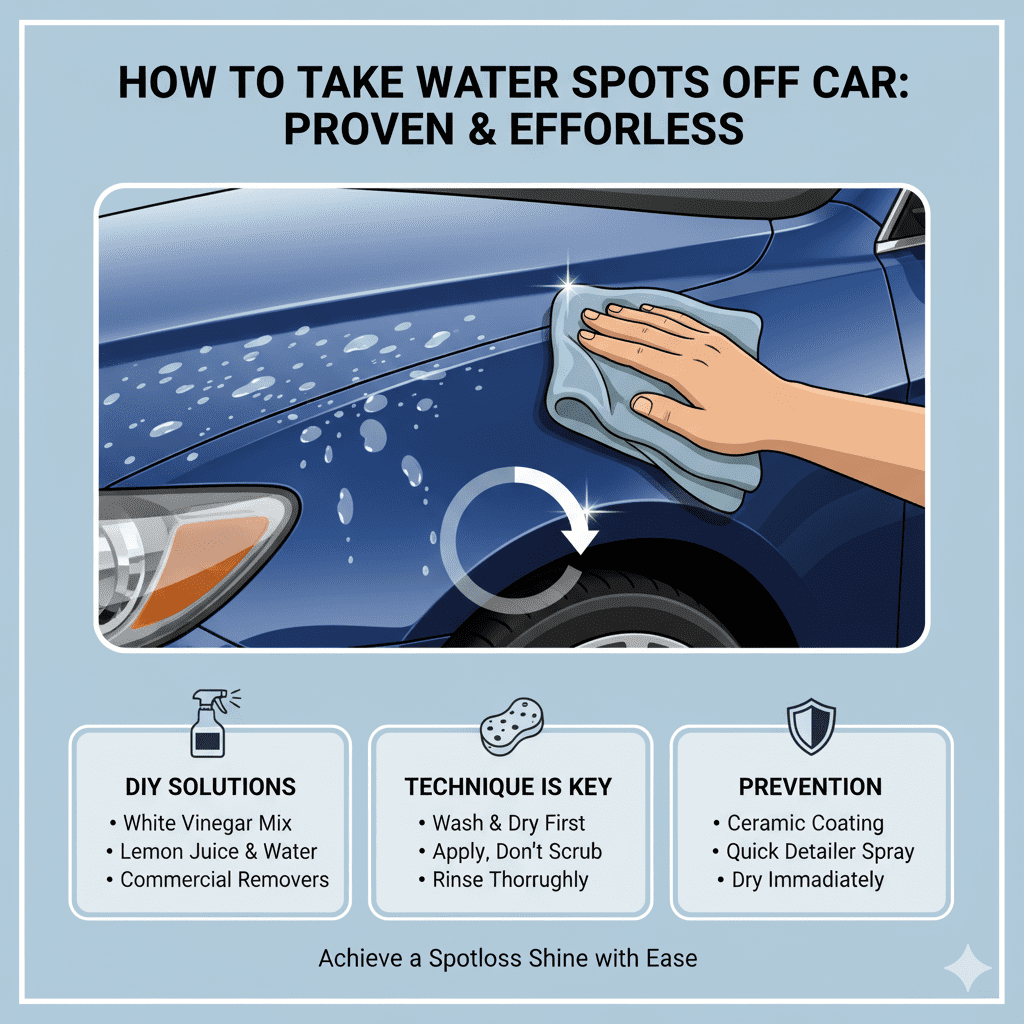
How To Take Water Spots Off Car: Proven & Effortless
To remove water spots from your car effortlessly, use a specialized water spot remover spray. For tougher spots, try a mixture of distilled water and white vinegar, or a clay bar kit, applied with gentle buffing. Always rinse thoroughly and dry with a clean microfiber towel.
Hey there, car enthusiasts! Md Meraj here. Ever wash your car and notice those stubborn, cloudy marks left behind after it dries? Those are water spots, and they can be a real headache. They happen when minerals in the water dry onto your car’s surface, leaving behind those not-so-lovely rings or splotches. Don’t worry, though! Getting rid of them is totally achievable, and you don’t need to be a pro detailer to do it. We’ll walk through simple, proven methods to make your car shine again. Get ready to say goodbye to water spots and hello to a brilliant finish!
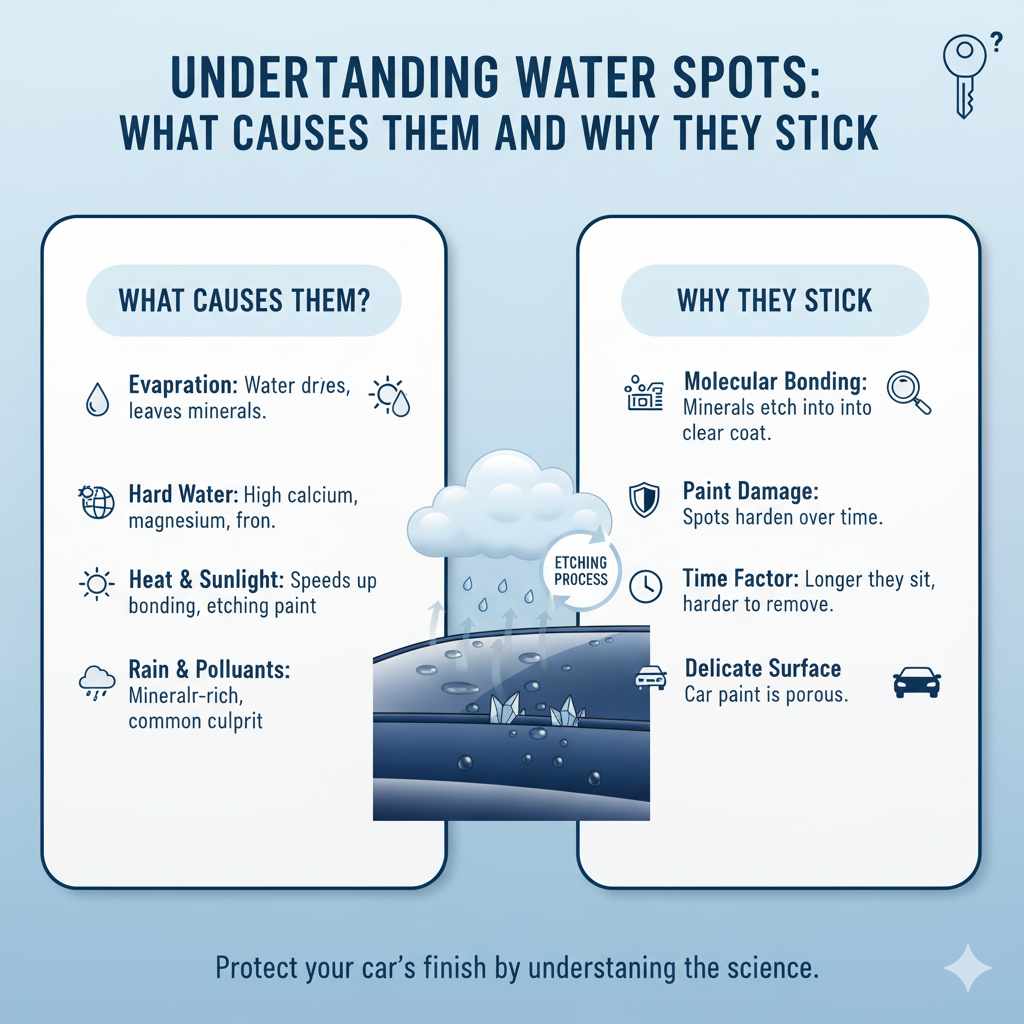
Understanding Water Spots: What Causes Them and Why They Stick
Water spots are more than just an eyesore; they’re a sign that minerals and other contaminants from water have bonded with your car’s paint. When water evaporates, it leaves behind these dissolved solids. On a molecular level, these mineral deposits can etch into your car’s clear coat, especially if the water is hard (meaning it has a high mineral content) or if your car was exposed to direct sunlight during the drying process. This is why quick drying after washing is so important. The longer these spots sit, the harder they can be to remove, leading to frustration and potential damage to your car’s finish.
Think of it like this: if you leave a glass of water out on a sunny day, you’ll see rings left behind. Your car’s paint is similar, but the surface is more delicate. The minerals are most commonly calcium, magnesium, and sometimes iron. Rainwater, especially acid rain, combined with pollutants in the air, can also contribute to etching. Even sprinkler water, which often comes from underground sources rich in minerals, can be a culprit. Understanding the cause helps us tackle the problem effectively.
The Best Tools and Supplies for Water Spot Removal
Before we dive into the cleaning process, let’s gather what you’ll need. Having the right supplies makes a huge difference and ensures you don’t accidentally scratch your car. We want to be gentle but effective.
Essential Items:
- Microfiber Towels: You’ll need several of these high-quality cloths. They are soft, absorbent, and won’t scratch your paint like regular towels can.
- Spray Bottle: For mixing cleaning solutions.
- Distilled Water: Tap water can leave more water spots. Distilled water is mineral-free, making it a safer choice for cleaning and rinsing.
- White Vinegar: A common household item that’s surprisingly effective for breaking down mineral deposits.
- Specialized Water Spot Remover: Many automotive detailing brands offer sprays specifically designed for this job.
- Clay Bar Kit: For stubborn, etched-in spots that regular cleaners can’t tackle. This includes a clay bar and lubricant.
- Car Wash Soap: Gentle, pH-neutral soap for washing your car.
- Bucket: For your wash solution.
- Optional: Car wax or sealant: To add protection after cleaning.
Method 1: The Quick Fix – Specialized Water Spot Removers
For most everyday water spots, a dedicated water spot remover is your fastest and most effective solution. These products are chemically formulated to dissolve the mineral deposits without harming your car’s paint or wax layer. They are often found in spray form, making them super easy to use.
Steps:
- Work in the Shade: Always start this process out of direct sunlight. Heat can dry the cleaner too quickly, potentially causing new spots or streaks.
- Spray Directly: Apply the water spot remover directly onto the affected area. You don’t need to drench it, just a good coating.
- Let it Dwell (Briefly): Give the product a moment to work. The label will usually specify how long. This allows the chemicals to break down the mineral deposits.
- Wipe Gently: Take a clean microfiber towel and gently wipe away the product and the dissolved water spot. Use linear motions, not circles, to avoid creating swirl marks.
- Inspect and Repeat if Necessary: Check the area. If spots remain, apply a little more product and wipe again. For very light spots, you might be able to simply buff the area with a dry microfiber towel after spraying.
- Rinse and Dry: Once the spots are gone, it’s a good idea to lightly rinse that section of the car with clean water (preferably distilled) and immediately dry it with a fresh, dry microfiber towel. This ensures no residue is left behind.
Using these specialized removers is a great way to keep your car looking its best with minimal effort. They are designed to be safe for clear coats and most existing waxes or sealants.
Method 2: The DIY Power Duo – Vinegar and Water
If you don’t have a specialized remover on hand or prefer a more natural approach, a simple mixture of white vinegar and distilled water can be surprisingly effective. Vinegar’s acidity helps to break down the alkaline mineral deposits left by hard water.
Why Vinegar Works:
Vinegar contains acetic acid. When applied to water spots, the acid reacts with the mineral deposits (which are often alkaline or neutral) and helps to dissolve them. It’s a gentle acid, making it safe for car paint when diluted and used correctly. However, it’s crucial to use distilled water to avoid introducing more minerals into the mix and to rinse thoroughly afterward.
Steps:
- Mix Your Solution: In a clean spray bottle, combine equal parts white vinegar and distilled water. A 1:1 ratio is a good starting point.
- Find a Shady Spot: Just like with the commercial removers, ensure your car is out of direct sunlight to prevent the solution from drying too fast.
- Spray the Spots: Lightly spray the vinegar-water solution onto the water spots.
- Dwell Time: Let the solution sit for about 30 seconds to a minute. You might even see the spot start to disappear or loosen.
- Gentle Wipe: Using a clean, damp microfiber towel, gently wipe away the solution and the water spot. Again, use straight lines.
- Rinse Thoroughly: This is a critical step. Rinse the area with plenty of clean, preferably distilled, water to remove all traces of vinegar.
- Dry Immediately: Use a clean, dry microfiber towel to thoroughly dry the area. Any remaining moisture could leave new spots.
Important Considerations for Vinegar Method:
- <strong>Dilution is Key:</strong> Never use undiluted vinegar on your car. Always dilute it with distilled water.
- <strong>Test First:</strong> If you’re concerned, test the mixture on an inconspicuous area of your car first (like a lower door panel or under the hood) to ensure it doesn’t affect the paint finish.
- <strong>Avoid on Trim:</strong> Be cautious when spraying vinegar mixtures on black plastic trim, as it can, over time, cause it to fade or turn white. Try to avoid direct contact or wipe it off immediately.
Method 3: The Heavy Hitter – Using a Clay Bar
For water spots that have etched deeply into your car’s clear coat, the vinegar or specialized spray might not be enough. This is when a clay bar treatment becomes your best friend. A clay bar is a synthetic material that, when used with a lubricant, glides over your paint and lifts embedded contaminants, including stubborn water spots.
What is a Clay Bar?
A detailing clay bar is a putty-like substance that contains fine abrasive particles suspended in a flexible polymer. When used with a spray lubricant, it effectively “grabs” and removes contaminants from the surface of your paintwork that washing alone cannot. This process is called paint decontamination. You can find clay bar kits from many automotive detailing brands.
Steps:
- Wash Your Car First: Before claying, your car should be thoroughly washed and dried. This removes loose dirt and debris that could otherwise act like sandpaper under the clay.
- Prepare Your Workspace: Work in the shade. Ensure you have plenty of clean microfiber towels and the clay bar kit, which includes the clay bar and a bottle of clay lubricant.
- Prepare the Clay: Take a small piece of the clay bar and knead it into a flat disc shape. Keep the rest of the clay wrapped to prevent it from drying out.
- Lubricate the Surface: Generously spray the clay lubricant onto a small section of your car’s paint. Don’t be shy with the lubricant; it’s essential to allow the clay to glide smoothly.
- Clay the Area: Gently glide the flat clay disc over the lubricated paint surface. Use light pressure and back-and-forth or side-to-side motions. You will feel the clay grab at first, then it will start to glide smoothly as it removes contaminants. You should be able to see or feel the difference.
- Inspect and Fold the Clay: As the clay picks up contaminants, it will become dirty. When it feels gritty or looks heavily soiled, fold it in on itself to expose a clean surface. If you drop the clay, discard it immediately and use a fresh piece, as any dirt picked up can cause scratches.
- Wipe Away Residue: After claying a section, wipe away the lubricant residue with a clean microfiber towel.
- Address Water Spots: Focus on the areas with water spots. You may need to go over these areas a few times with the clay bar. The clay will lift the mineral deposits that have etched into the paint.
- Full Rinse and Dry: Once you’ve finished the affected areas or the entire car, give it a light rinse with distilled water and immediately dry with a clean microfiber towel.
- Protect Your Paint: After claying, your paint is clean but exposed. It’s highly recommended to apply a coat of car wax or sealant to protect the finish and add shine.
Clay barring is an excellent way to prepare your car’s paint for waxing or sealing, leaving it exceptionally smooth and free of embedded contaminants. For a comprehensive guide on clay bar detailing, external resources like Autoblog’s guide offer more in-depth insights.
Preventing Future Water Spots: Your Best Defense
The absolute best way to deal with water spots is to prevent them from happening in the first place. A few simple habits can save you a lot of time and effort down the road.
Proactive Steps:
- Wash and Dry Quickly: The most crucial step is to wash your car in a shaded area and dry it immediately after rinsing. Don’t let water air dry on the paint.
- Use a Drying Aid: After rinsing, you can spray a drying aid or a quick detailer onto the wet surface. This helps the microfiber towel glide better and can add a bit of extra protection.
- Use Filtered or Distilled Water: If you have particularly hard water, consider using a hose filter or a dedicated rinse-off product that helps water sheet off the car, preventing spots. Some detailers even use a deionization (DI) filter for their final rinse water.
- Apply Wax or Sealant Regularly: A good coat of wax or paint sealant creates a protective barrier on your car’s paint. This barrier makes it much harder for water minerals to bond to the paint and easier to wash off. Aim to wax your car every few months, or apply a paint sealant according to product instructions.
- Park Smart: Try to avoid parking under trees where sap might drip, or in areas where sprinklers frequently spray your car.
Investing a little time in prevention will make your car’s upkeep much easier and keep it looking fantastic year-round. A well-maintained paint surface is the ultimate goal.
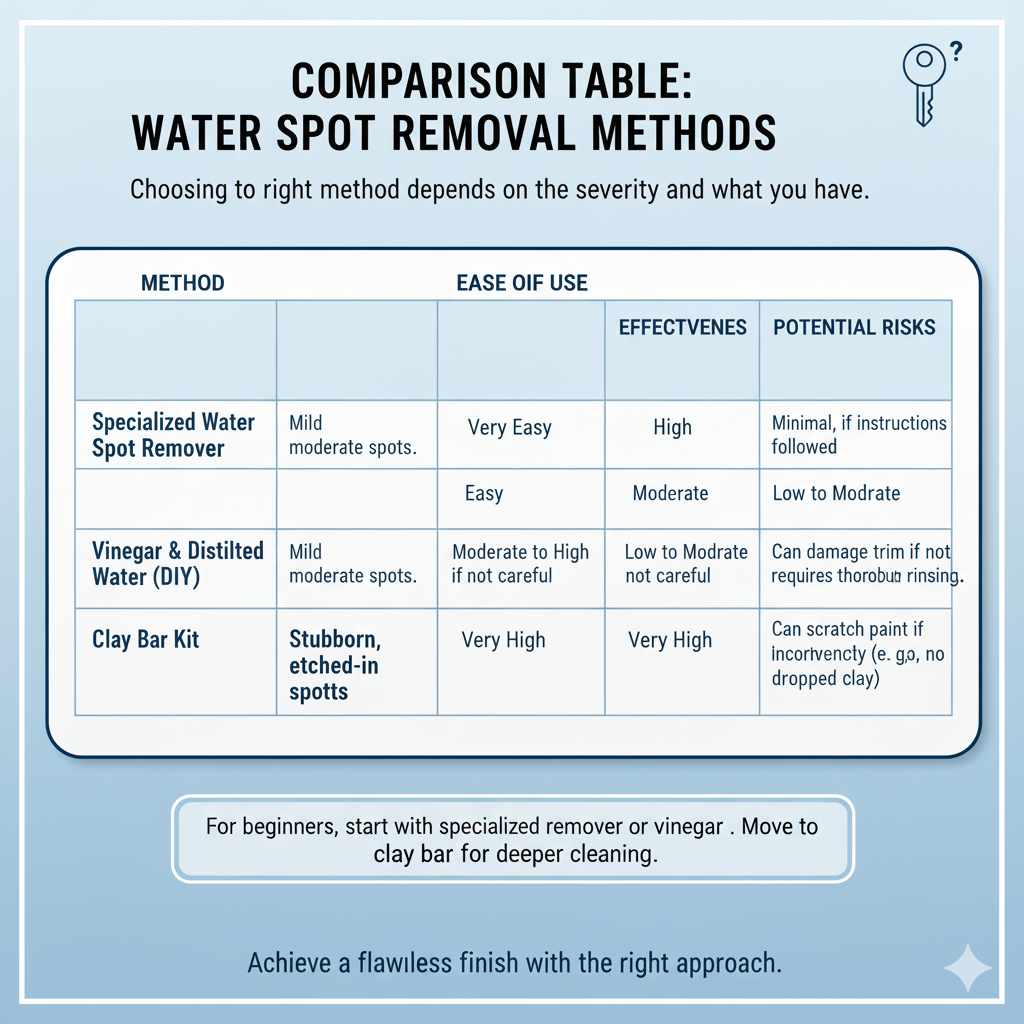
Comparison Table: Water Spot Removal Methods
Choosing the right method depends on the severity of the water spots and what you have available. Here’s a quick look at the pros and cons:
| Method | Best For | Ease of Use | Effectiveness | Effort/Time | Potential Risks |
|---|---|---|---|---|---|
| Specialized Water Spot Remover | Mild to moderate spots | Very Easy | High | Low | Minimal, if instructions followed |
| Vinegar & Distilled Water (DIY) | Mild to moderate spots | Easy | Moderate to High | Low to Moderate | Can damage trim if not careful; requires thorough rinsing |
| Clay Bar Kit | Stubborn, etched-in spots | Moderate | Very High | Moderate to High | Can scratch paint if used incorrectly (e.g., no lubricant, dropped clay) |
For beginners, starting with a specialized water spot remover or the vinegar-water solution is usually the most straightforward approach. If those don’t cut it, then move onto the clay bar for deeper cleaning.
Frequently Asked Questions (FAQ)
Q1: Can I just use Windex to remove water spots?
While Windex contains ammonia which can help break down some mineral deposits, it’s not ideal for car paint. It can strip away existing wax or sealant layers and leave streaks if not applied and wiped perfectly. It’s better to use products specifically designed for automotive paint or the DIY vinegar solution.
Q2: How long do I need to let the water spot remover sit?
Always check the product’s instructions! Most specialized water spot removers need to dwell for only 30 seconds to a couple of minutes. Leaving them on too long can sometimes cause them to dry or affect the paint. For the vinegar solution, 30 seconds to one minute is usually sufficient.
Q3: What if water spots are on my car’s glass?
Water spots on glass can often be removed with the same methods used for paint. Windex can be more effective on glass, or you can use the vinegar-water solution. For very stubborn spots on glass, a glass-specific cleaner or even a very fine grade steel wool (#0000) might be used with caution, but always test first and use plenty of lubrication.
Q4: Is it safe to use a clay bar on my new car?
Yes, it is generally safe and even recommended to clay bar a new car. Even new vehicles can have contaminants from the manufacturing and transport process. It’s an excellent way to ensure the paint is pristine before applying any paint protection, like wax or sealant.
Q5: Can I use a power buffer to remove water spots?
A power buffer is typically used with polishing compounds to remove deeper scratches and swirl marks, not just water spots. While it can be used indirectly by applying a polish that also removes water spots, it’s overkill for simple water spots and requires a good understanding of how to use it safely to avoid damaging your paint. For beginners, manual methods are much safer.
Q6: What is the difference between water spots and acid rain spots?
Water spots are primarily mineral deposits left behind by evaporated water. Acid rain spots are caused by pollutants in the atmosphere (like sulfur dioxide and nitrogen oxides) that combine with moisture to form acids. These acids can etch into the paint more aggressively than simple mineral deposits, often leaving a dull, circular mark that can be harder to remove.
The techniques for removing them are similar (specialized removers, clay bar), but acid rain spots might require more persistent cleaning or a polishing step if the etching is deep.
Conclusion
See? Tackling those pesky water spots on your car is entirely within your reach. Whether you opt for a quick spray from a specialized water spot remover, the tried-and-true method of vinegar and water, or the deep-cleaning power of a clay bar, the key is to be gentle, thorough, and always protect your car’s finish.
Remember, consistency is your best friend when it comes to car care. By incorporating regular washing, immediate drying, and periodic waxing or sealing into your routine, you’ll significantly reduce the chances of water spots forming. Moreover, you’ll keep your vehicle looking glossy and well-maintained, which not only feels great but also helps preserve its value. So go ahead, give these methods a try. You’ve got this, and your car will thank you for it with a brilliant, spot-free shine!