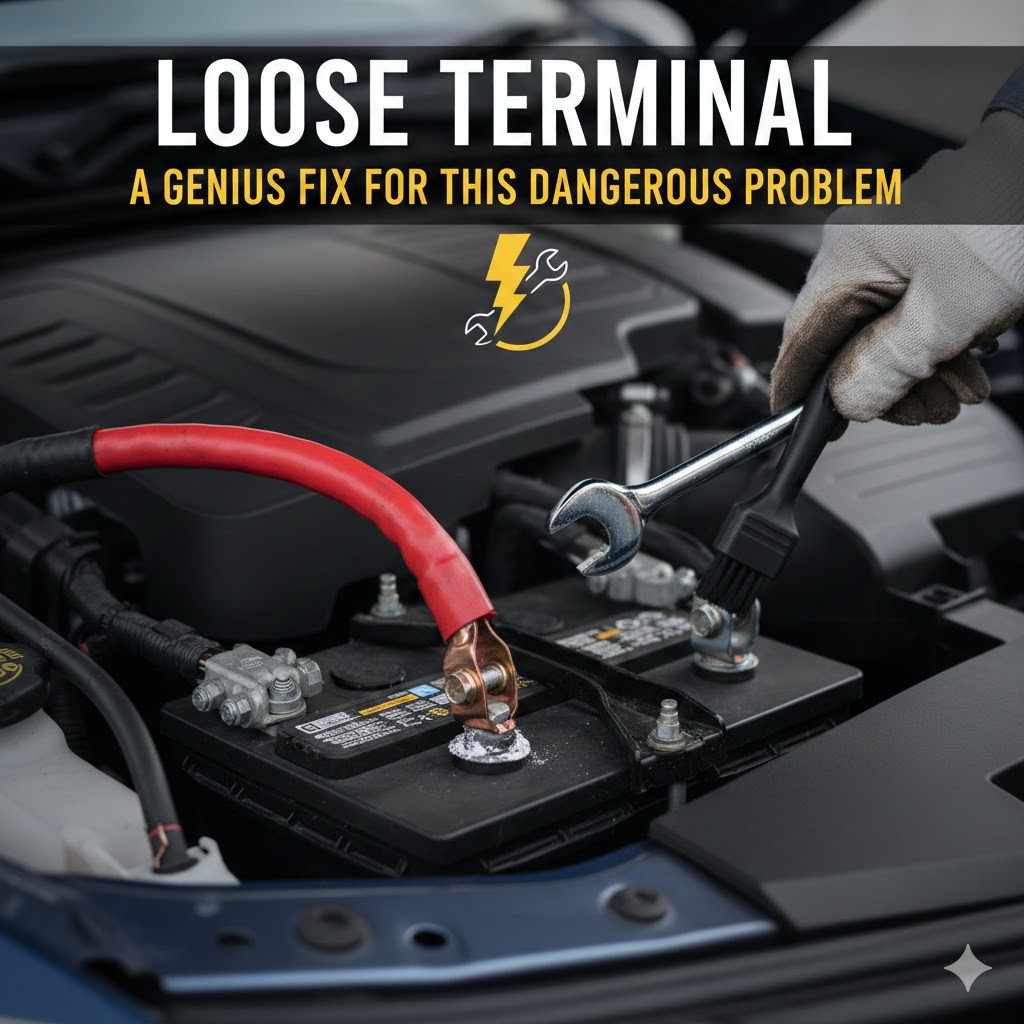
Loose Terminal: A Genius Fix for This Dangerous Problem
Yes, a loose positive battery terminal can absolutely cause the battery to run down. The loose connection prevents the alternator from properly recharging the battery while you drive. This creates a charging deficit, slowly draining the battery and eventually leaving you with a car that won’t start. Tightening it is a simple, crucial fix.
Ever turn your car key and get nothing but a sad clicking sound? Or maybe your dashboard lights flicker like a haunted house? It’s a frustrating feeling we’ve all faced. Many people immediately assume their battery is dead and start shopping for a new one. But what if I told you the problem might be much simpler, cheaper, and easier to fix?
Often, the culprit is a loose battery terminal. It’s a small issue with big consequences, but the good news is you can fix it yourself in minutes. I’m Md Meraj, and I’m here to walk you through every step. We’ll turn that car confusion into confidence. Let’s get your car running smoothly again with a simple, genius fix.
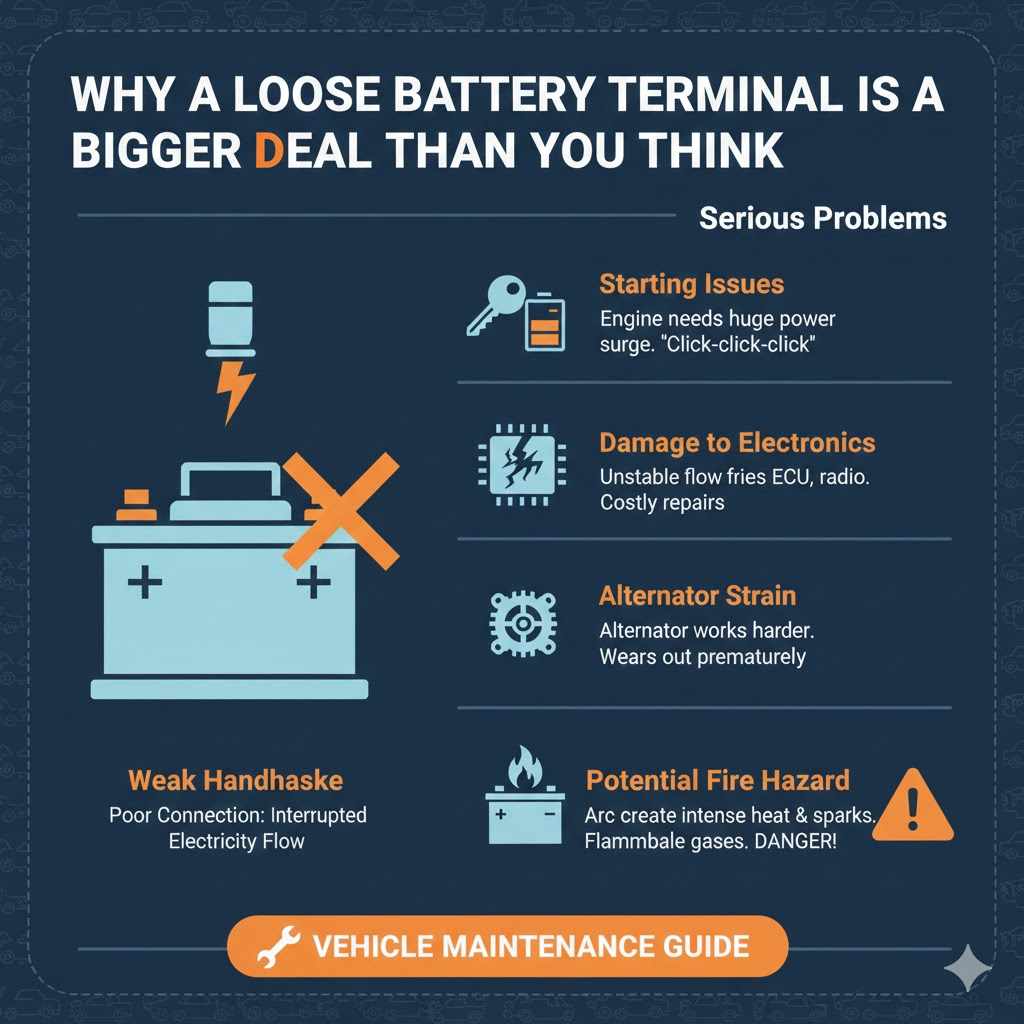
Why a Loose Battery Terminal is a Bigger Deal Than You Think
Think of your car’s battery terminals as the main handshake between your battery and your car’s entire electrical system. The battery holds the power, and the terminals deliver it. If that handshake is weak or wobbly—in other words, if a terminal is loose—the flow of electricity gets interrupted. This isn’t just an inconvenience; it can be dangerous and damaging.
A poor connection can cause a few serious problems:
- Starting Issues: The starter motor needs a huge surge of power to turn over the engine. A loose connection can’t deliver that power, leading to the dreaded “click-click-click” or a completely dead response.
- Damage to Electronics: Unstable electrical flow can create power surges. These surges can fry the sensitive electronics in your car, like the onboard computer (ECU), radio, and navigation system. A simple loose terminal could lead to repairs costing hundreds or even thousands of dollars.
- Alternator Strain: The alternator is responsible for recharging your battery and powering your car while it’s running. A loose connection makes the alternator work much harder to push a charge through, which can cause it to wear out prematurely.
- Potential Fire Hazard: This is the most serious risk. A loose connection can arc, which means electricity jumps across the small gap. This creates intense heat and sparks. With flammable battery gases and fuel vapors nearby, this is a serious fire risk. You can learn more about vehicle safety from the National Highway Traffic Safety Administration (NHTSA).
Ignoring a loose terminal is like ignoring a leaky gas pipe. It might seem small at first, but it has the potential to cause major problems. Luckily, spotting and fixing it is one of the easiest DIY jobs you can do.
Top 5 Signs You Have a Loose Battery Terminal
Your car is pretty good at telling you when something is wrong. You just need to know what to listen and look for. If you’re experiencing any of these symptoms, a loose battery terminal should be the very first thing you check.
- Trouble Starting the Car: This is the number one symptom. You might hear a single click, a rapid series of clicks, or nothing at all when you turn the key. The dashboard lights may come on, but the engine won’t crank.
- Flickering Lights: Do your headlights or interior dome lights flicker or seem dimmer than usual? This is a classic sign of an inconsistent electrical connection. The power is trying to get through but is being interrupted.
- Loss of Power While Driving: In more severe cases, your car might stall or lose all electrical power while you’re on the road. The radio might cut out, the dashboard could go dark, and the engine could shut off. This is extremely dangerous.
- Visible Corrosion Around the Terminals: Look for a white, blue, or greenish powdery substance around the battery posts. This gunk, called corrosion, prevents a solid connection and is often a sign that the terminals have been loose or leaking for a while.
- The “Wiggle Test” Fails: With the car turned completely off, try to gently wiggle the battery terminals. They should be completely solid and unmovable. If you can twist or move one with your hand, it’s too loose.
If any of these sound familiar, don’t panic! The fix is likely quick and easy. Let’s gather our tools and get it done.
Tools and Materials: Your Simple Toolkit
You don’t need a professional mechanic’s garage for this job. Most of these tools are probably already in your home, or you can find them cheaply at any hardware or auto parts store.
Essential Tools:
- Wrench or Socket Set: Most battery terminals use a 10mm or 12mm nut, but sizes can vary. An adjustable wrench or a small socket set will work perfectly.
- Wire Brush: A dedicated battery terminal cleaning tool is best, but a stiff wire brush or even an old toothbrush will do the trick for cleaning away corrosion.
- Safety Goggles: Non-negotiable. You only get one pair of eyes, and battery acid is no joke. Always protect them.
- Gloves: Nitrile or rubber gloves will protect your hands from dirt, grease, and any potential battery acid residue.
Materials for Cleaning & The “Genius Fix”:
- Baking Soda and Water: Mix a tablespoon of baking soda with a cup of water to create a fizzing paste that neutralizes battery acid and cleans corrosion beautifully.
- Clean Rag or Paper Towels: For wiping everything down.
- Battery Terminal Shims (The Genius Fix!): These are small, soft metal caps that fit over your battery post to make it slightly thicker. They are incredibly cheap and solve the problem of a stretched-out or worn terminal clamp permanently.
- Anti-Corrosion Spray or Dielectric Grease: This is an optional but highly recommended final step. It helps protect the terminals from future corrosion.
That’s it! With these simple items, you’re ready to tackle the job like a pro.
Safety First: Your Pre-Repair Checklist
Before you touch anything under the hood, let’s go over a few critical safety rules. Working with a car battery is generally safe, but electricity and battery acid demand respect. Follow these steps to ensure a safe and smooth repair.
- Park on a Level Surface: Make sure your car is on flat, stable ground.
- Turn Everything Off: Turn off the engine, remove the key from the ignition, and make sure all lights and accessories are off.
- Wear Your Protective Gear: Put on your safety goggles and gloves before you even open the hood.
- No Smoking or Sparks: Car batteries can release flammable hydrogen gas. Keep all flames, sparks, and cigarettes far away from the work area.
- Know Your Terminals: Identify the positive (+) and negative (-) terminals. The positive is usually marked with a red cap or a “+” sign. The negative is usually black or marked with a “-” sign.
- Remove Jewelry: Take off any metal rings, bracelets, or necklaces. If a metal tool touches the positive terminal and a piece of jewelry at the same time, it can cause a severe burn or a dangerous short circuit.
Safety is not about being scared; it’s about being smart. Once you’ve checked these boxes, you’re ready for the main event.
The Step-by-Step Guide to a Rock-Solid Connection
Alright, let’s get this done. Follow these steps carefully, and your car will be back in top shape in no time. I’ll be right here with you, guiding you through it.
Step 1: Locate the Battery and Identify the Terminals
Open your car’s hood and secure it with the prop rod. The battery is usually a black rectangular box located in one of the corners of the engine bay. Once you’ve found it, identify the positive (+) and negative (-) terminals.
Step 2: Disconnect the Negative (-) Terminal First
This is the most important rule of working on a car battery. Always disconnect the negative terminal first. Use your wrench to loosen the nut on the negative terminal clamp. You don’t need to remove the nut completely, just loosen it enough so you can lift the clamp off the battery post. Wiggle it gently if it’s stuck. Once it’s off, tuck the cable away to the side so it can’t accidentally touch the battery post.
Step 3: Disconnect the Positive (+) Terminal
Now that the negative cable is safely out of the way, you can do the same for the positive terminal. Loosen the nut and lift the clamp off the post. Set it aside.
Step 4: Clean the Battery Posts and Terminal Clamps
This is where your baking soda mixture comes in. Apply the paste to the battery posts and the inside of the terminal clamps. It will fizz as it neutralizes any acid and breaks down corrosion. Use your wire brush to scrub everything clean. You want shiny, bare metal for the best possible connection. Once you’re done, wipe everything dry with a clean rag.
| Cleaning Agent | Pros | Cons |
|---|---|---|
| Baking Soda & Water Paste | Very effective, cheap, and neutralizes acid. | Can be a little messy. |
| Dedicated Battery Cleaner Spray | Convenient and works fast. | Costs more than baking soda. |
| Cola or Soda | Works in a pinch due to its acidity. | Leaves a sticky residue that must be cleaned off. |
Step 5: Install the Battery Terminal Shim (The Genius Fix!)
Over time, terminal clamps can stretch out, especially if they’ve been overtightened in the past. They lose their ability to grip the post tightly. This is where the shim saves the day. A battery terminal shim is a thin lead cap that fits perfectly over the battery post, making it slightly thicker. This allows the old, stretched clamp to get a brand-new, super-tight grip.
Simply take the shim and place it over the clean battery post. It should slide on easily. This simple, inexpensive part is often the difference between a temporary fix and a permanent solution.
Step 6: Reconnect the Positive (+) Terminal First
Now we do everything in reverse. Place the positive terminal clamp over the shim-covered post. Push it down firmly so it’s seated all the way. Use your wrench to tighten the nut until it’s snug. Don’t overtighten it—just tight enough that you can’t move it with your hand.
Step 7: Reconnect the Negative (-) Terminal Last
Finally, reconnect the negative terminal clamp to its post. Tighten the nut just like you did for the positive side. You might see a tiny, harmless spark when you first make the connection—this is normal as the car’s electrical system powers back up.
Step 8: Apply Anti-Corrosion Protection (Optional)
If you have anti-corrosion spray or dielectric grease, apply a thin layer over both terminals. This will seal them from moisture and oxygen, preventing future corrosion from forming.
Step 9: The Final Wiggle Test
Try to move both terminals with your hand again. They should be rock-solid. If they are, you’ve successfully fixed the problem!
Step 10: Start Your Car!
Close the hood, get in your car, and turn the key. It should start right up with no hesitation. You might need to reset your radio presets or clock, but that’s a small price to pay for a reliable car. Congratulations, you did it!
Troubleshooting Common Issues
Sometimes, things don’t go exactly as planned. Here’s a quick table to help you solve any hiccups you might encounter during the process.
| Problem | Possible Cause | Simple Solution |
|---|---|---|
| The terminal clamp won’t come off. | It’s likely seized on due to heavy corrosion. | Gently tap it with the handle of your wrench or use a battery terminal puller tool. Don’t use excessive force. |
| The clamp is still loose even with a shim. | The clamp is severely damaged or stretched. | It’s time to replace the terminal clamp itself. This is another inexpensive part available at auto stores. |
| My car still won’t start. | The battery may be completely dead, or there’s another issue (e.g., bad alternator, starter). | Try jump-starting the car. If it starts, let it run for 30 minutes. If it won’t start again later, the battery or alternator is likely the problem. |
| The terminal nut is stripped. | It was overtightened in the past. | You may need a locking plier to remove it. Replace the nut or the entire clamp. |
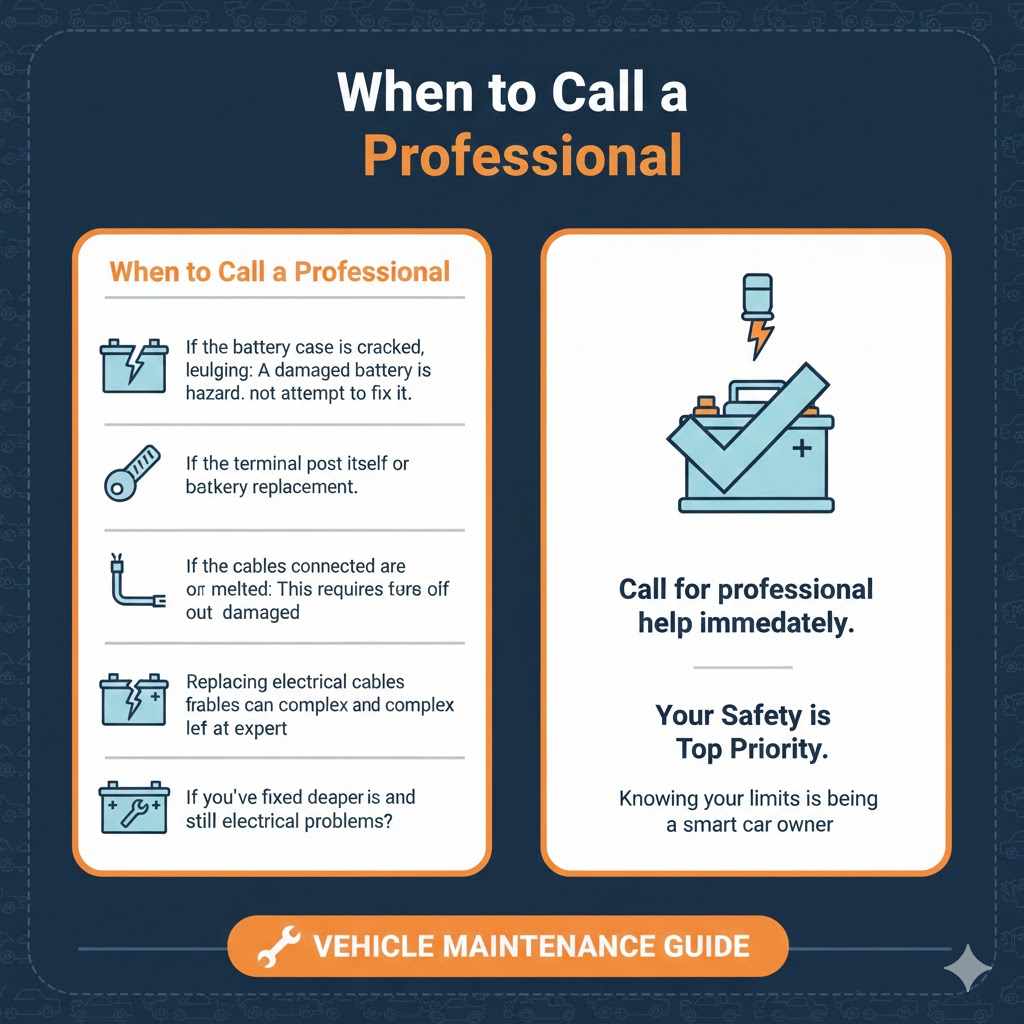
When to Call a Professional
While this is a great DIY fix, there are times when it’s best to let a professional mechanic take over. Your safety and your car’s health are the top priorities.
- If the battery case is cracked, leaking, or bulging: A damaged battery is a serious hazard. Do not attempt to fix it. Call for professional help immediately.
- If the terminal post itself is broken or melted: This requires a battery replacement.
- If the cables connected to the terminals are frayed or damaged: Replacing electrical cables can be complex and is best left to an expert.
- If you’ve fixed the terminals and the car still has electrical problems: This indicates a deeper issue with the alternator, starter, or the car’s computer system.
There’s no shame in calling for help. Knowing your limits is a key part of being a smart car owner.
Frequently Asked Questions (FAQ)
1. Could a loose connection to the positive battery terminal cause the battery to run down?
Yes, absolutely. A loose positive terminal creates a poor connection, preventing your alternator from effectively recharging the battery as you drive. This means your car is constantly drawing power without getting a full charge back, leading to a slowly draining battery.
2. What’s the difference between a loose positive and a loose negative terminal?
In terms of symptoms, there isn’t much difference. Both will cause starting problems, flickering lights, and potential stalling. However, for safety, you always disconnect the negative terminal first and reconnect it last to prevent accidental short circuits.
3. How tight should a battery terminal be?
It should be “glove-tight.” This means once it’s tightened with a wrench, you should not be able to twist or wiggle it at all with your hand. Be careful not to overtighten, as you can damage the soft lead of the terminal or the battery post.
4. Will tightening a loose battery terminal fix my car immediately?
If the loose terminal was the only problem and your battery still has some charge, then yes, your car should start right up. If the battery was completely drained because of the loose connection, you might need to jump-start the car first and let it run for a while to recharge.
5. How often should I check my battery terminals?
It’s a great idea to check them every time you get an oil change or check your fluid levels, roughly every 3 to 6 months. A quick visual inspection and a wiggle test can prevent problems before they start.
6. Can I use a regular coin as a shim?
I strongly advise against it. While people have used pennies in a pinch, they are made of the wrong materials (like zinc and copper) which can cause galvanic corrosion when in contact with the lead terminals. A proper battery terminal shim costs less than a dollar and is made of the correct material (lead) to ensure a safe, long-lasting connection.
7. What is that white powder on my battery? Is it dangerous?
That white, crusty substance is dried sulfuric acid and lead sulfate—a byproduct of corrosion. It is hazardous and can cause skin and eye irritation. Always wear gloves and safety glasses when cleaning it off. The baking soda and water mixture will safely neutralize it.
Your Car is in Good Hands—Yours!
And there you have it. You’ve just learned how to diagnose and fix one of the most common—and most misunderstood—car problems out there. That feeling of frustration when your car won’t start can now be replaced with the confidence of knowing exactly what to check and how to fix it.
You didn’t just tighten a bolt; you took control of your vehicle’s health, saved yourself a potential tow truck fee, and avoided an unnecessary trip to the mechanic. By using a simple, genius fix like a battery terminal shim, you’ve ensured a reliable connection that will keep your car starting smoothly for a long time to come.
Remember, car care isn’t about being a master mechanic. It’s about understanding the basics, respecting safety, and having the confidence to tackle small problems before they become big ones. Keep checking those terminals every few months, and you’ll be one step ahead of any electrical gremlins. Happy driving!
Products related to this article
Sponsored / affiliate links. As an Amazon Associate I earn from qualifying purchases. I may earn additional commission from eligible campaigns.