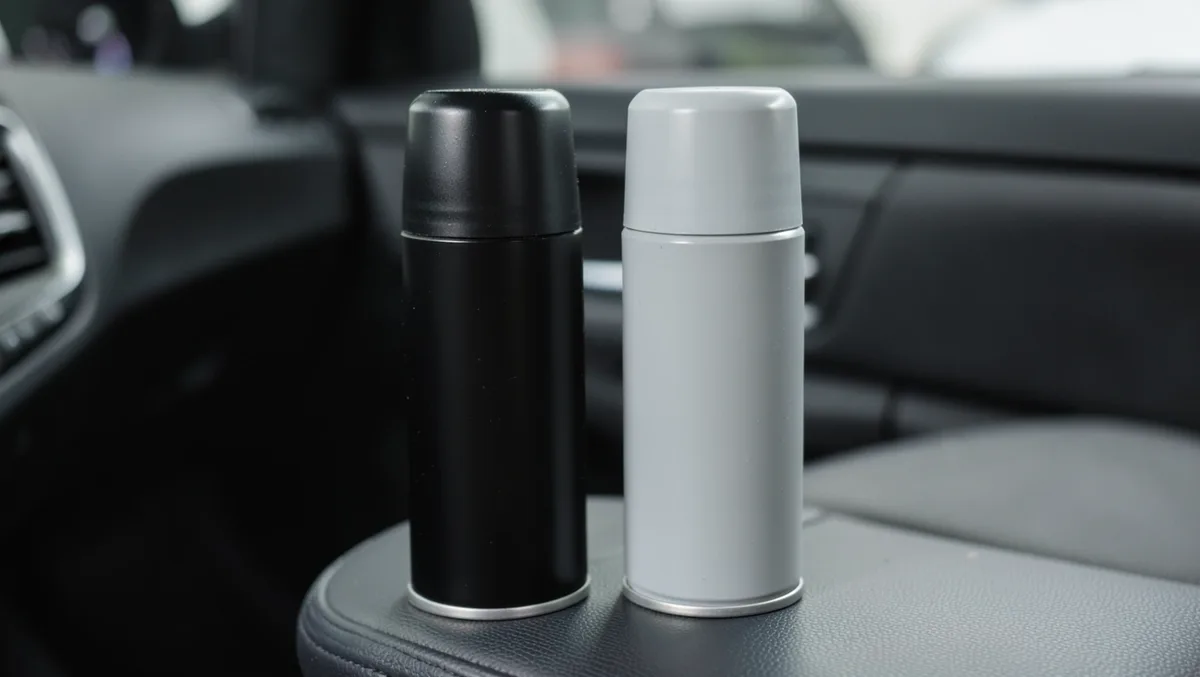
Car Interior Spray Paint: Black vs. Gray, How Many Cans
For most DIY interior trim repaints, plan on about 2–4 cans of car interior spray paint in Black or Gray; a common rule of thumb is 2 for small accent pieces, 3 for a full trim set, and about 4 if extra coverage is needed or the finish is rough or porous. Buy too little and you risk mismatched batches, thin coverage, and a half-finished interior. This guide gives a Black-vs-Gray buying formula based on surface area, coat count, and spray-loss, plus a quick can estimate for common interior parts.
| Decision factor | Black | Gray | Winner |
|---|---|---|---|
| Color matching to factory trim | Easier on dark interiors and sun-faded black panels | Easier on factory gray cabins and lighter dashboards | Tie |
| Hides minor prep flaws | Usually hides tiny scuffs and tone shifts better | Shows edge wear and patchiness sooner on mixed-tone parts | Black |
| Finish sensitivity | Sheen mismatch is very noticeable on glossy black parts | Sheen mismatch is also noticeable, but often less harsh | Gray |
| Typical can count for a small job | Often the same can count, with fewer visual touch-up passes | Often the same can count, with more care needed on fade match | Tie |
| Best fit | Dark door cards, console trim, accent pieces | Factory gray panels, full-cabin gray refreshes | Tie |
What you’ll need
- Automotive interior spray paint in Black or Gray
- Plastic adhesion promoter or plastic primer if the product system calls for it
- Degreaser or isopropyl alcohol
- Scuff pad or fine sandpaper
- Tack cloth or lint-free wipe
- Painter’s tape
- Masking paper or plastic
- Optional clear coat or satin topcoat if the paint system requires it
- Ventilated work area and basic respiratory protection rated for paint fumes
Should you choose black or gray?
Pick the color that matches the trim already in the car, not the label that looks closest on the shelf. Black fits dark interior panels best, and it usually hides small fade differences and texture changes better. Gray is the better match for factory gray dash trim, door cards, and consoles when the original tone is still close.
Match the part, not the car
Interior trim panels are usually ABS plastic, vinyl, or hard plastic, and each one can read differently after years of sun exposure. A factory “black” door panel may look charcoal in direct light, while a gray panel may have shifted warmer or cooler over time. Sheen matters as much as color.
Say your dashboard has a light charcoal top pad and darker lower trim. A true black repaint can make the lower pieces look newer, but it can also make the top pad look too sharp next to faded adjacent panels. Gray is usually the better repair color when the cabin is already mid-tone.
When to repaint only the visible panel
Use Black or Gray on one panel when the rest of the interior still looks consistent and the part is removable. If the visible surface is the only worn piece, a spot repair is usually enough. If multiple panels have faded unevenly, matching the whole set is safer than chasing one perfect shade.
How many cans do you need?
Estimate cans by part area, texture, and coat count, not by car size. Most interior sprays go on in 2 to 3 light coats, and textured plastic, edges, and masking loss can use more paint than a smooth flat panel. For most interior jobs, the can count changes more from surface texture than from the vehicle model.
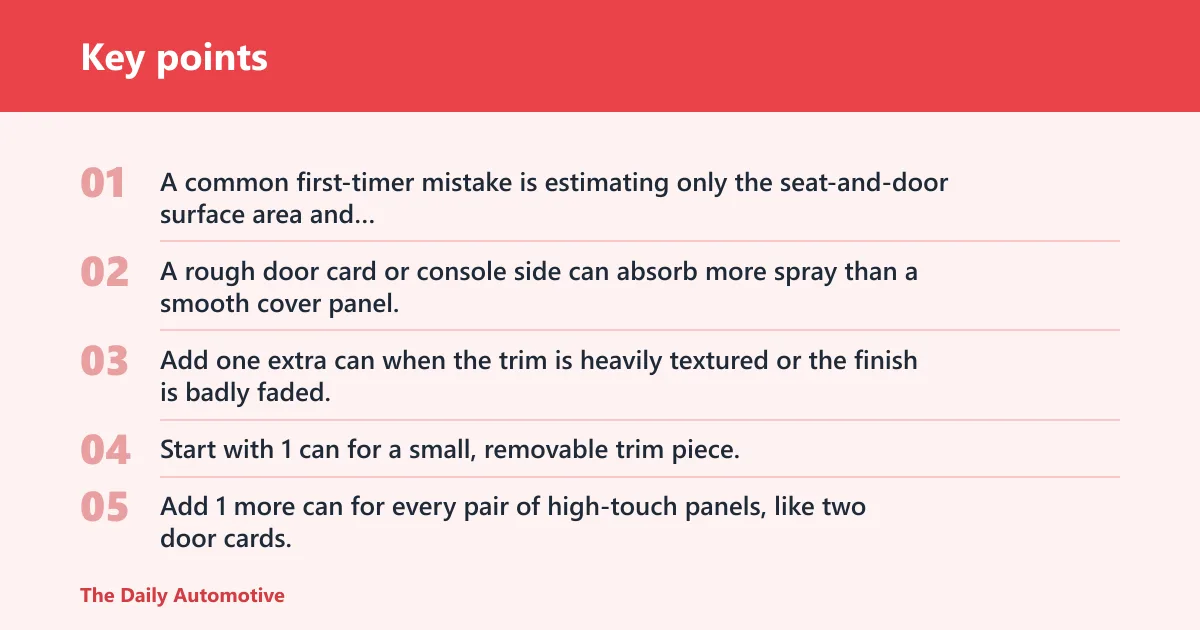
A common first-timer mistake is estimating only the seat-and-door surface area and forgetting overspray, test passes, and touch-ups. A rough door card or console side can absorb more spray than a smooth cover panel, especially if the product needs an adhesion promoter and a topcoat. Add one extra can when the trim is heavily textured or the finish is badly faded.
Interior spray paint table
| Interior job | Black cans | Gray cans | Waste allowance |
|---|---|---|---|
| Single panel, smooth trim piece | 1 can | 1 can | Add 10–15% for masking and overlap |
| Single panel, textured trim piece | 1–2 cans | 1–2 cans | Add 15–25% for edges and texture |
| Two front door cards | 2–3 cans | 2–3 cans | Add one extra can if the panels are rough or sun-faded |
| Full door set | 3–4 cans | 3–4 cans | Add 20–30% for handles, pulls, and recessed areas |
| Center console | 1–2 cans | 1–2 cans | Add 10–20% for corners, switch cutouts, and cupholders |
| Partial dash trim | 1–2 cans | 1–2 cans | Add 15–25% for vents, curves, and taped edges |
Quick buying formula
Start with 1 can for a small, removable trim piece. Add 1 more can for every pair of high-touch panels, like two door cards. Then add one extra can if the plastic is rough, the color change is obvious, or the job includes promoter, color coats, and a finish coat. That keeps you from running short midway through the last pass.
How do you prep and spray interior plastic?
Clean the part, scuff it, then spray in light passes that overlap by about half the fan width. If the finish is lifting, patchy, or peeling, the usual cause is contamination or an under-prepped surface that keeps the coating from bonding. Plastic adhesion promoter helps on slick polypropylene and ABS, and it is worth using when the panel feels glossy or slick. Thick coats run, sag, and stay soft longer; thin coats lay down cleaner and stick better.
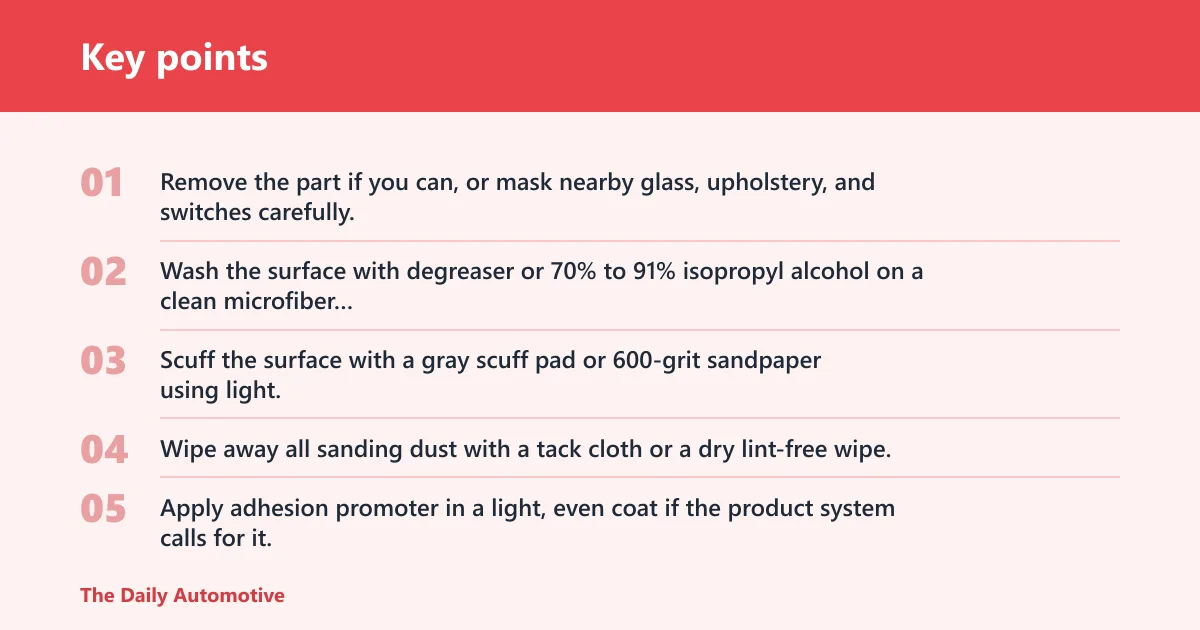
- Remove the part if you can, or mask nearby glass, upholstery, and switches carefully.
- Wash the surface with degreaser or 70% to 91% isopropyl alcohol on a clean microfiber cloth, then let it dry completely.
- Scuff the surface with a gray scuff pad or 600-grit sandpaper using light, even pressure so the paint has tooth.
- Wipe away all sanding dust with a tack cloth or a dry lint-free wipe.
- Apply adhesion promoter in a light, even coat if the product system calls for it, then let it flash according to the label.
- Spray Black or Gray from about 8 to 10 inches away with steady, overlapping passes.
- Let each coat flash for the time listed on the can before applying the next one, and stay inside the can’s recoat window.
- Add one more light coat only if the coverage still looks uneven after the previous coat has flashed, then stop and inspect the finish before spraying again.
Picture a center console with cupholder recesses and a textured side wall. The flat top may cover in two light coats, but the recesses and edges will usually need extra passes because the spray breaks up there. That is why console pieces often use the same can count as a larger-looking door piece.
Do you need primer before painting car interior parts?
Use primer or adhesion promoter when the paint system specifies it, especially on slick plastics. Many interior aerosols are built for trim and flexible coatings, but they still bond better with the right prep layer. On ABS and polypropylene, skipping this step raises the risk of flaking on high-touch surfaces.
Common mistakes
Skipping prep is the fastest way to waste paint. Door panels, center consoles, and dash trim get handled often, so any residue or gloss left behind can hurt adhesion. Poor prep usually shows up first on corners, pull handles, and button surrounds.
- Buying based only on car size instead of panel area and texture
- Using heavy coats that stay soft or sag in corners
- Ignoring overspray on glass, upholstery, and switches
- Skipping adhesion promoter on slick plastic
- Assuming touch dry means fully cured
- Forgetting that gray and black can still look wrong if sheen differs
If the finish is failing, check the causes in this order: first residue or silicone contamination, second insufficient scuffing, and third applying coats too heavily or too soon. Start with a full clean-and-reprep if the paint is fisheyeing, peeling, or looking blotchy. If the problem is only light coverage, add one more light coat after the prior coat flashes. If the part still will not hold an even finish after prep, remove the coating, clean it again, and restart rather than trying to bury the defect.
How long does interior spray paint take to dry?
Touch dry is not full cure. Most interior spray paints become dry enough to handle within a short window, but full cure usually takes longer and depends on temperature, humidity, and coat thickness. Recoat timing matters because spraying too soon can trap solvent and soften the finish.
Follow the label on the can for flash time and the recoat window. If the panel still feels tacky, stop and let it sit longer. If the cabin is cold or damp, cure time can stretch well past the point where the surface looks dry.
Will spray paint hold up on dashboards and door panels?
It can, but high-touch areas are the weak spots. Door pulls, console edges, and frequently touched dash trim wear faster than lower-contact panels because fingers, heat, and abrasion work on the finish. A flexible coating and proper prep improve the odds, but they do not make the surface bulletproof.
For those parts, keep coats thin and finish with the product system the label calls for, if any. A matte or satin topcoat can help the repair blend with the factory sheen, but only if that is part of the paint system. A glossy mismatch is often more obvious than a slight color shift.
What is the best way to match black and gray interior trim?
Match the sheen first, then the color name. Factory black and factory gray are often separated by more than tone alone, because sun fade and age can push both colors toward a different look than the original parts list suggests. If the panel sits next to unfaded trim, a close sheen match matters most.
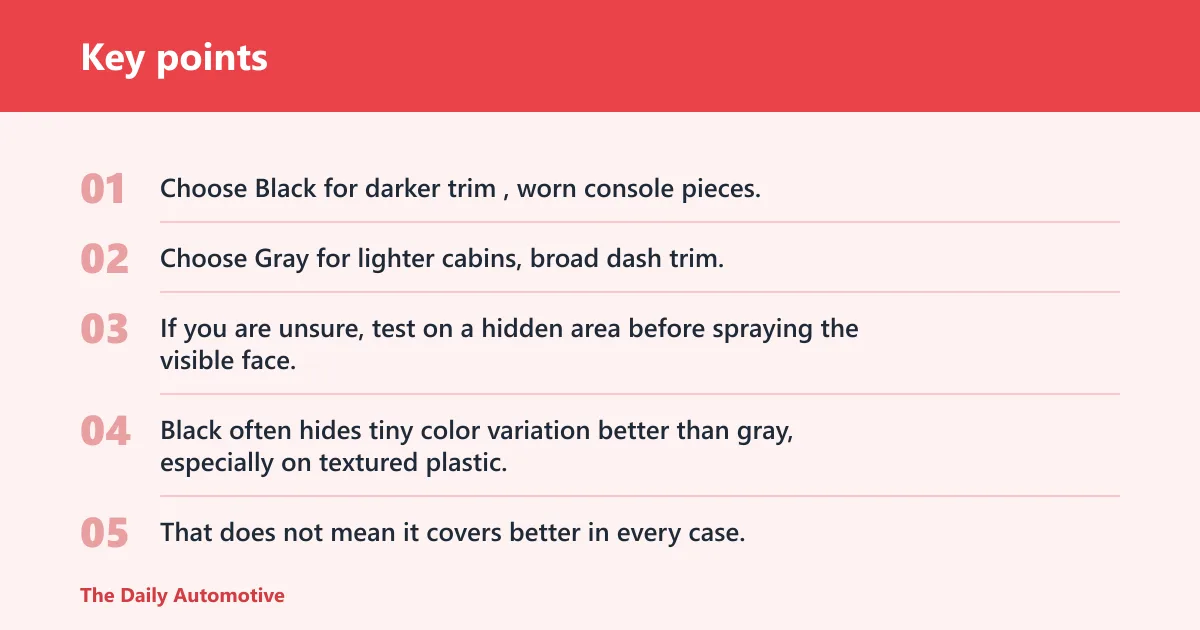
Choose Black for darker trim, worn console pieces, and parts that already read near-charcoal. Choose Gray for lighter cabins, broad dash trim, and panels where the surrounding interior still looks factory fresh. If you are unsure, test on a hidden area before spraying the visible face.
Why black can need fewer visual touch-up passes
Black often hides tiny color variation better than gray, especially on textured plastic. That does not mean it covers better in every case, but it can reduce the number of visible correction passes on old trim. Gray usually needs closer attention to shade and sheen because small mismatches stand out more on light interiors.
Verdict: Black or gray?
Choose Black if you’re repainting dark door cards, console trim, or other sun-faded black panels, because Black fits dark interiors best and usually hides small fade differences and texture changes better.
Choose Gray if you’re doing factory gray dash trim, door cards, consoles, or a full-cabin gray refresh, because Gray is the better match when the original gray tone is still close.

Frequently asked questions
How many cans of car interior spray paint do I need?
Plan on 2–4 cans for most DIY interior trim jobs. Use 2 for small accent pieces, 3 for a full trim set, and 4 if the plastic is rough, the color change is obvious, or you need extra coat coverage. Large, textured interiors can push the count higher.
How much spray paint does one can cover on interior trim?
Coverage varies by brand and coat thickness, but one can often covers a small interior panel with 2 to 3 light coats. Texture, corners, and masking waste reduce real-world coverage fast. Read the can for square-foot guidance, then discount it for edges and overlap.
Can I spray paint plastic car interior panels?
Yes, if the panel is cleaned, scuffed, and treated with the right prep for the paint system. ABS, vinyl, and hard plastic can all be painted, but slick surfaces need extra attention. Use light coats and let each one flash before adding the next.
How do I avoid overspray when painting car interior pieces?
Mask more than you think you need. Use painter’s tape, masking paper or plastic, and move switches, glass, and upholstery out of the spray path. Keep the nozzle moving and spray light overlapping passes so the paint lands on the trim, not the cabin.
Products related to this article
Sponsored / affiliate links. As an Amazon Associate I earn from qualifying purchases. I may earn additional commission from eligible campaigns.