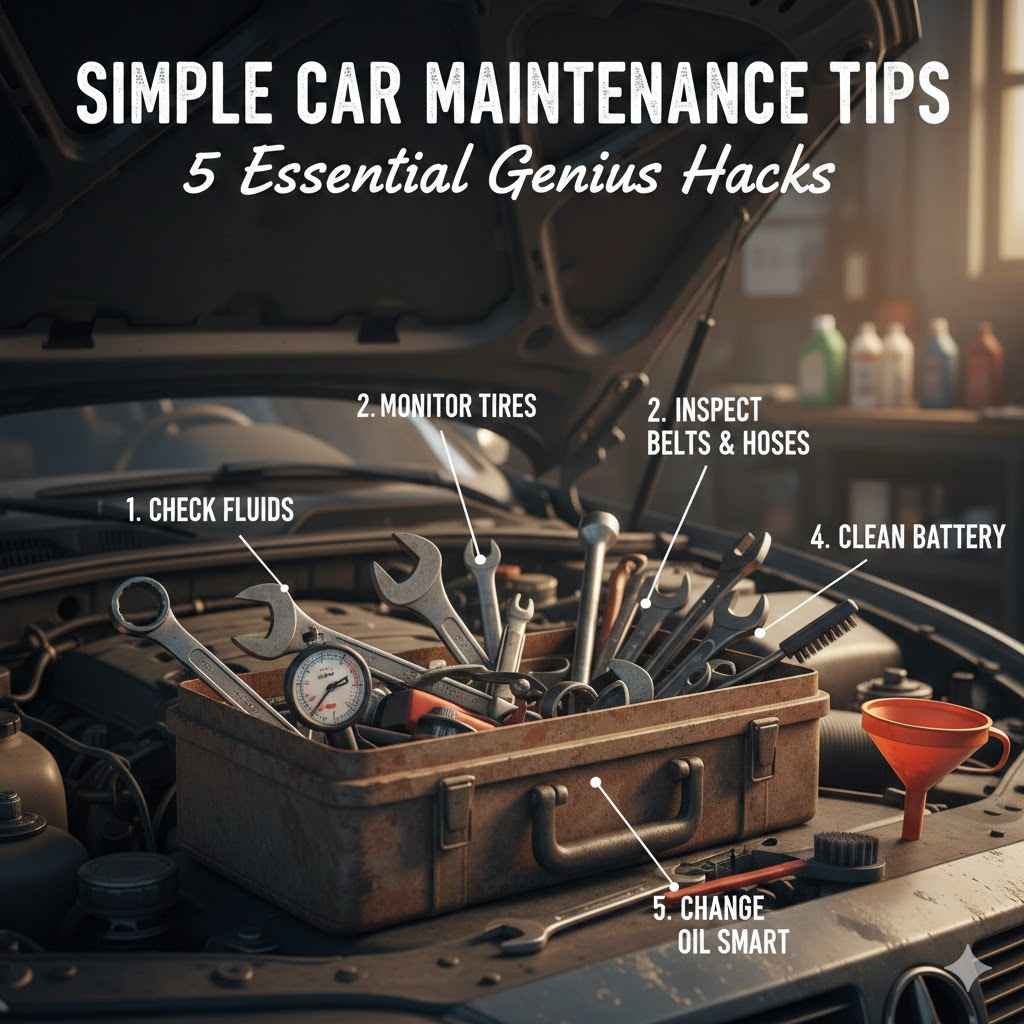
Simple Car Maintenance Tips: 5 Essential Genius Hacks
To keep your car in top shape with a busy schedule, focus on five simple maintenance tips: regularly check your tire pressure using the penny test, perform a weekly 5-minute fluid check (oil, coolant, washer fluid), listen for new sounds like squeaks or rattles, replace your own wiper blades, and build a basic car wellness kit.
Does the thought of car maintenance make you nervous? You are not alone. Many people feel that taking care of a car is complicated and expensive. They worry about talking to mechanics or doing something wrong. But what if I told you that you already have the skills to handle the most important checks? It’s true!
Taking care of your car doesn’t have to be a big, scary job. A few simple habits can keep your car running smoothly, save you money, and give you incredible peace of mind on the road. Forget the confusing jargon and greasy manuals. I’m here to show you five genius hacks that anyone can do. Let’s get you feeling confident and in control of your vehicle.
Simple Car Maintenance Tips: 5 Essential Genius Hacks
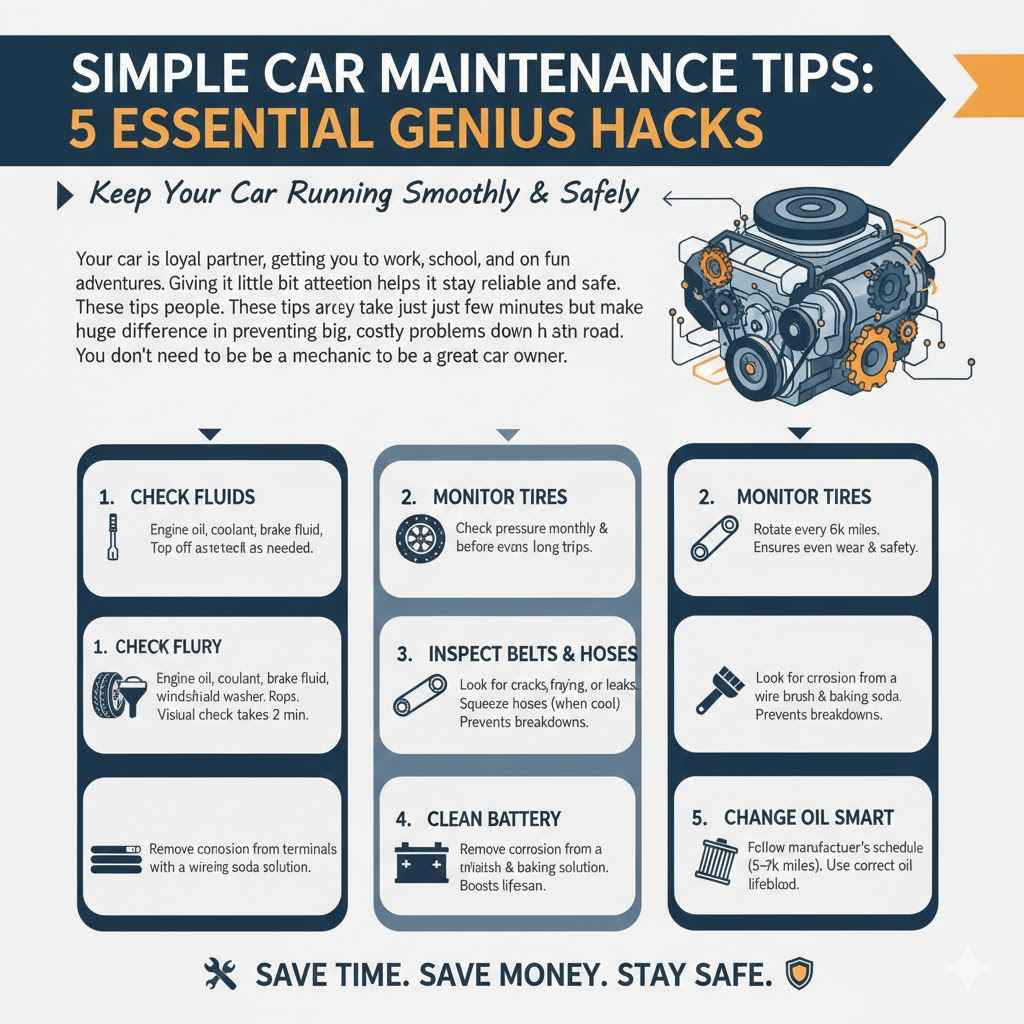
Your car is a loyal partner, getting you to work, school, and on fun adventures. Giving it a little bit of attention helps it stay reliable and safe. These tips are designed for busy people. They take just a few minutes but make a huge difference in preventing big, costly problems down the road. You don’t need to be a mechanic to be a great car owner.
Hack #1: The 2-Minute Tire Health Check (The Penny Trick!)
Your tires are the only part of your car that actually touches the road. Their health is critical for your safety, especially when braking or driving in bad weather. Ignoring them can lead to poor handling, bad gas mileage, or even a dangerous blowout. Luckily, checking on them is one of the easiest things you can do.
The Famous Penny Test
You don’t need fancy tools to check your tire tread. All you need is a simple penny! Tire tread helps your car grip the road, especially when it’s wet. Here’s how to check it:
- Take a penny and hold it so Abraham Lincoln’s head is pointing down.
- Find a groove in your tire’s tread. Place the penny into the groove.
- Look closely. If you can see the top of Lincoln’s head, your tire tread is too low. This means it’s time to start shopping for new tires.
- If part of Lincoln’s head is covered by the tread, you still have enough tread depth to be safe.
Try this test in a few different spots on each tire. Tires can wear unevenly, so it’s good to get a full picture of their condition.
Don’t Forget Tire Pressure
Tire pressure is just as important as tread. Driving with low tire pressure is like running in shoes that are too loose. It makes your car work harder, burns more gas, and causes tires to wear out faster. Most modern cars have a warning light for this, but checking it yourself is a great habit.
- Find the Right Pressure: Look for a sticker on the inside of the driver’s side door. It will tell you the correct PSI (pounds per square inch) for your front and back tires. Don’t use the number written on the tire itself; that’s the maximum pressure.
- Use a Gauge: A simple tire pressure gauge costs just a few dollars. Unscrew the cap on your tire’s air valve, press the gauge firmly onto it, and read the number.
- Add Air: Most gas stations have air compressors. Add air in short bursts, checking the pressure with your gauge until you reach the correct number.
Checking your tire pressure once a month can save you money and keep you safe. For more detailed information on tire safety, you can visit the National Highway Traffic Safety Administration (NHTSA) website.
Hack #2: Become a Fluid Master in 5 Minutes
Your car uses several different fluids to run properly. They act like the lifeblood of your vehicle, cooling, lubricating, and cleaning essential parts. Checking them sounds technical, but it’s mostly about looking at levels and colors. A quick 5-minute check once a month can prevent your engine from overheating or suffering serious damage.
Your Weekly Fluid Checklist
Before you start, make sure your car is parked on a level surface and the engine is cool (unless your owner’s manual says otherwise for a specific fluid). Pop the hood and look for the brightly colored caps and dipsticks.
Here’s a simple table to guide you:
| Fluid | What to Look For | Why It’s Important |
|---|---|---|
| Engine Oil | Honey or amber color. Check the level on the dipstick. It should be between the ‘Full’ and ‘Add’ marks. | Lubricates engine parts to prevent friction and wear. |
| Coolant (Antifreeze) | Usually green, pink, or orange. Check the level on the side of the clear reservoir. It should be between the ‘Min’ and ‘Max’ lines. | Keeps your engine from overheating in summer and freezing in winter. |
| Brake Fluid | Clear to light yellow. The reservoir is usually near the back of the engine. Check the level against the ‘Min’ and ‘Max’ lines. | Provides the hydraulic pressure needed for your brakes to work. If it’s low or dark, have a mechanic check it. |
| Windshield Washer Fluid | Usually blue. Just look at the reservoir—if it looks low, top it off. | Keeps your windshield clean for clear visibility. This is an easy one to refill yourself! |
How to Check Your Engine Oil
This is the most important fluid to check. Here’s how simple it is:
- Make sure the engine is off and cool.
- Find the oil dipstick. It usually has a brightly colored handle (often yellow or orange) and might have an oil can symbol on it.
- Pull the dipstick all the way out. Wipe it clean with a paper towel or rag.
- Push the dipstick all the way back in. Make sure it goes in completely.
- Pull it out again and look at the tip. The oil level should be between the two marks.
If the oil is below the ‘Add’ line or looks very dark and gritty, it’s time for an oil change. If it’s just a little low, you can top it off yourself. Just be sure to use the type of oil recommended in your owner’s manual.
Hack #3: Use Your Senses: The “Listen and Feel” Diagnostic
You drive your car every day, so you know it better than anyone. You know its normal sounds and how it usually feels on the road. One of the most powerful maintenance hacks is simply paying attention to changes. Catching a small issue early, before it becomes a big one, is the secret to avoiding expensive repair bills.
What to Listen For
Turn down the radio once in a while and just listen to your car. Do you hear anything new or unusual? Don’t worry about knowing what the sound means—just notice that it’s there. Here are some common sounds to watch out for:
- High-Pitched Squeal When Braking: This is often the first sign that your brake pads are wearing out. It’s a built-in safety feature telling you to get them checked soon.
- Grinding or Growling Noise: A metal-on-metal grinding sound, especially when braking, is a serious warning. It could mean your brake pads are completely gone. Stop driving and call a mechanic.
- Clicking or Ticking Sound from the Engine: A rhythmic ticking that gets faster as you accelerate could mean your engine is low on oil. Pull over safely and check your oil dipstick.
- Loud Roaring That Increases with Speed: This often sounds like a plane taking off and can point to a worn-out wheel bearing or an issue with your tires.
What to Feel
How does the car feel when you’re driving? Changes in the way your car handles are important clues.
- Vibration in the Steering Wheel: If you feel a shake or vibration, especially at certain speeds, it could mean your tires need to be balanced. It could also signal a problem with your alignment or suspension.
- Car Pulling to One Side: If you have to fight the steering wheel to keep your car driving straight, your wheels are likely out of alignment. This causes uneven tire wear and is worth getting fixed.
- Spongy or Soft Brake Pedal: If your brake pedal feels squishy or goes closer to the floor than usual, it could mean there is air in the brake lines or a problem with your brake fluid. This is a major safety issue and should be checked by a professional immediately.
Your job isn’t to be the mechanic. Your job is to be the expert on your car. When you take it to the shop, you can confidently say, “I’ve been hearing a squealing noise from the front right wheel when I brake.” That gives the mechanic a huge head start in finding the problem.
Hack #4: The Easiest DIY Fixes: Wiper Blades & Light Bulbs
Ready for a huge confidence boost? There are a couple of maintenance tasks that are so easy to do yourself, you’ll wonder why you ever paid someone to do them. Replacing wiper blades and changing a burnt-out bulb are perfect starter projects. They require minimal tools, save you money, and give you the satisfaction of fixing something on your own.
Swap Your Wiper Blades in Minutes
Wiper blades are made of soft rubber, and they wear out from sun, ice, and use. If your wipers are leaving streaks or making a chattering noise, it’s time for a new pair. Don’t wait for a downpour to find out they don’t work!
Here’s the simple process:
- Buy the Right Blades: Go to any auto parts store. There’s usually a book or a computer screen where you can look up your car’s make, model, and year to find the correct blade sizes for the driver’s side and passenger’s side.
- Lift the Wiper Arm: Gently pull the metal wiper arm away from your windshield. It should lock into an upright position.
- Find the Tab: Look at where the blade connects to the arm. You’ll find a small plastic tab or button. Press or squeeze this tab.
- Slide the Old Blade Off: While holding the tab, slide the old wiper blade down and off the hook-shaped end of the arm.
- Slide the New Blade On: Slide the new wiper blade onto the hook until you hear a solid “click.”
- Lower the Arm: Gently lower the wiper arm back onto the windshield. Repeat for the other side, and you’re done!
Change a Burnt-Out Light Bulb
A burnt-out headlight, taillight, or brake light is a safety hazard and can get you a ticket. While some modern cars make this tricky, on many vehicles it’s a very straightforward job.
Here are the general steps (always check your owner’s manual first!):
- Identify the Bulb: Your owner’s manual or the auto parts store can tell you the exact bulb number you need.
- Access the Bulb: For taillights, you may need to open the trunk and remove a small panel or a couple of screws. For headlights, you’ll open the hood and access the back of the headlight assembly.
- Twist and Remove: The bulb holder usually twists a quarter-turn counter-clockwise and then pulls straight out.
- Replace the Bulb: Pull the old bulb straight out of the holder. When handling the new bulb, try not to touch the glass with your bare fingers. The oils from your skin can cause the bulb to burn out prematurely. Use a clean cloth or gloves.
- Reinstall: Push the new bulb into the holder, insert the holder back into the light assembly, and twist it clockwise to lock it in place. Test the light to make sure it works!
Hack #5: Build Your “Car Wellness” Kit for Peace of Mind
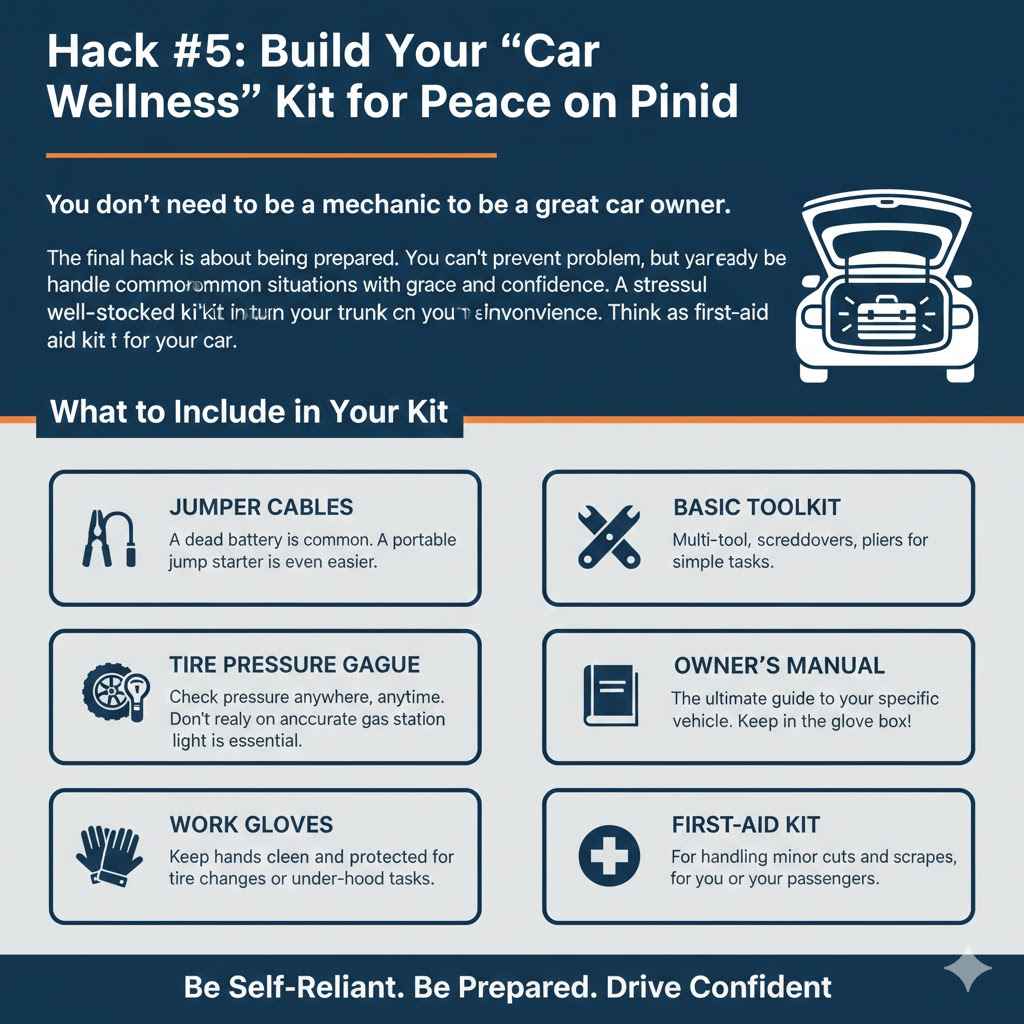
The final hack is about being prepared. You can’t prevent every problem, but you can be ready to handle common situations with grace and confidence. A small, well-stocked kit in your trunk can turn a stressful breakdown into a minor inconvenience. Think of it as a first-aid kit for your car.
What to Include in Your Kit
You don’t need a professional mechanic’s toolbox. Just a few key items can make a world of difference. You can buy pre-made kits or assemble your own.
| Item | Why You Need It |
|---|---|
| Jumper Cables or Portable Jump Starter | A dead battery is one of the most common car problems. A portable jump starter is even easier to use than cables since you don’t need another car. |
| Tire Pressure Gauge | To accurately check your tire pressure anywhere, anytime. Don’t rely on the gauges at gas stations, which can be inaccurate. |
| Flashlight (and extra batteries) | Car troubles don’t always happen in broad daylight. An LED flashlight or headlamp is essential. |
| Work Gloves | To keep your hands clean and protected if you need to change a tire or handle anything under the hood. |
| Basic Toolkit | A multi-tool, a few screwdrivers, and a pair of pliers can handle simple tasks like tightening a battery terminal. |
| Owner’s Manual | This is the ultimate guide to your specific vehicle. Keep it in the glove box! |
| First-Aid Kit | For handling minor cuts and scrapes, for you or your passengers. |
Having these items on hand provides incredible peace of mind. It means you are self-reliant and prepared for the unexpected, transforming you from a passive driver into a proactive and confident car owner.
Frequently Asked Questions (FAQ)
How often should I check my tire pressure?
It’s best to check your tire pressure once a month and before any long road trips. Temperature changes can affect tire pressure, so it’s a good habit to get into year-round.
What’s the easiest car maintenance task I can do myself?
Topping off your windshield washer fluid is the absolute easiest task. The reservoir is clearly marked, and you just pour the fluid in. After that, changing your engine’s air filter and replacing wiper blades are great beginner-friendly jobs.
Can I use water instead of windshield washer fluid?
You can in an emergency, but it’s not a good idea. Washer fluid contains special cleaning agents that cut through bugs and grime much better than water. It also contains antifreeze to prevent it from freezing and cracking the reservoir in cold weather.
What does the “check engine” light mean?
The check engine light can mean many things, from something as simple as a loose gas cap to a more serious engine problem. If the light is on, the first thing to do is tighten your gas cap. If it stays on, or if it’s flashing, you should have a mechanic scan the code to diagnose the issue.
How often should I get my oil changed?
This depends on your car’s make, model, and year. The old rule was every 3,000 miles, but many modern cars can go 5,000, 7,500, or even 10,000 miles between oil changes using synthetic oil. Check your owner’s manual for the manufacturer’s recommendation.
Is it okay to drive with a warning light on?
It depends on the light. A “check engine” light that is solid (not flashing) means you should get the car checked soon. However, if a light for your oil pressure or engine temperature comes on (usually red), you should pull over safely as soon as possible and turn off the engine to prevent serious damage.
What are the most important things to check before a long road trip?
Before a long trip, do a quick check of the “B-L-O-W-S”: Brakes, Lights, Oil, Water (Coolant), and Safety (Tires). This means checking your tire pressure and tread, all your fluids, and making sure all your lights (headlights, brake lights, turn signals) are working.
You’ve Got This! Your Journey to Car Confidence
See? Car care doesn’t have to be intimidating. By mastering these five simple hacks, you’ve already taken a massive step toward becoming a more confident and responsible car owner. You now know how to check your tires, monitor your fluids, listen for trouble, handle easy repairs, and be prepared for the unexpected.
Remember, the goal isn’t to become a master mechanic overnight. It’s about building a relationship with your car and understanding its basic needs. Start with one tip this weekend. Maybe check your tire pressure or take a look at your engine oil. Each small step will build your confidence.
Taking an active role in your car’s health will save you money, keep you safer on the road, and empower you with valuable life skills. So pop the hood, grab a penny, and get started. You’ve got this!
Products related to this article
Sponsored / affiliate links. As an Amazon Associate I earn from qualifying purchases. I may earn additional commission from eligible campaigns.