Best Electric Spray Paint Guns for Cars (2025): we compared
For car paint work, many people pick the sprayer by stage: about 1.3 mm to 1.4 mm for base and clear, around 1.8 mm for primer, and a detail gun for jambs and tight panels. Ignore wattage alone. Choose wrong, and you get orange peel, dry spray, wasted material, and extra sanding. This guide ranks the best electric spray paint guns for cars in 2025 and matches each pick to prep, primer, basecoat, and clearcoat work.
Quick comparison
| Product | Badge | Best for | Price | ||
|---|---|---|---|---|---|
 |
Graco TrueCoat 360 Airless Paint Sprayer, Single SpeedGraco | Also great | TrueCoat 360 · Airless Sprayer · Single Speed | $169.00
Price as of 10 Oct 2026
|
View |
 |
PICKITOLES Upgraded HVLP Paint Sprayer,Electric Spray GunPICKITOLES | Budget pick | HVLP Gun · 1400ML Cup · 3 Patterns | $49.99
Price as of 10 Oct 2026
|
View |
 |
Wagner Spraytech Control Spray Max Electric Corded HVLPWagner | Upgrade pick | Wagner HVLP · Corded · Two-Stage Turbine | $150.99
Price as of 10 Oct 2026
|
View |
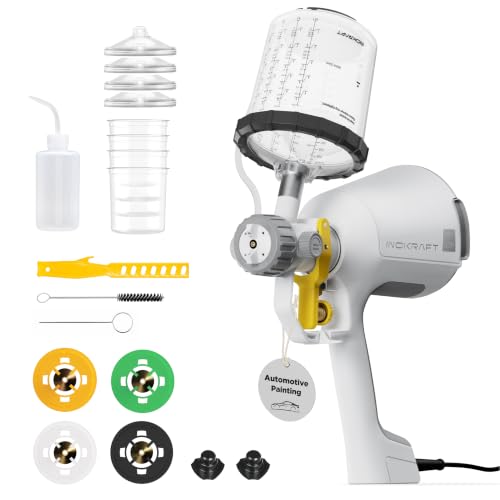 |
InoKraft Drizzle X Electric Spray Paint Gun for AutomotiveInoKraft | Our pick | Drizzle X · Automotive Spot Refinishing Gun | $118.99
Price as of 10 Oct 2026
|
View |
The right electric sprayer depends on what you are spraying. It is not about the biggest motor or the largest cup. For automotive work, atomization quality, nozzle match, and control matter more than raw output.
How we chose
We compared these sprayers with automotive-specific filters, not general paint claims. The shortlist favors tools with cleaner atomization for finish work, nozzle ranges that fit common car coatings, adjustable flow and pattern control, usable cup capacity for panels, and cleaning designs that do not turn a repaint into a clogging problem.
We also split finish work from bulk coating. Base coat and clear coat need finer droplets and less overspray, while primer and fillers can use larger nozzles and more aggressive delivery.
Quick picks
- Best overall: Wagner Spraytech Control Spray Max for most DIY panels and smoother automotive finish work.
- Best for primer: Graco TrueCoat 360 for thicker coatings and faster coverage on larger primed areas.
- Best for touch-ups: InoKraft Drizzle X for spot refinishing, jambs, and smaller repair panels.
- Best budget pick: PICKITOLES HVLP for low-cost practice, trim parts, and smaller DIY paint jobs.
Car paint sprayer decision table
| Car paint task | Best sprayer type | Useful nozzle range | Finish risk if setup is wrong |
|---|---|---|---|
| Primer on panels, repairs, or body filler spots | Airless electric sprayer | 1.8 mm to 2.5 mm | Heavy build-up, runs, and more overspray if atomization is too coarse |
| Base coat on doors, fenders, and quarter panels | HVLP electric sprayer | 1.3 mm to 1.4 mm | Dry spray, orange peel, or dull coverage if droplets are too large |
| Clear coat on full panels | HVLP electric sprayer | 1.3 mm to 1.4 mm | Texture and poor gloss if the pattern is uneven or the coat is too dry |
| Touch-up panels, jambs, mirrors, and small repairs | Compact HVLP or detail electric sprayer | 1.0 mm to 1.3 mm | Overspray, striping, and edge build-up if the fan is too wide |
Best overall: Wagner Spraytech Control Spray Max electric corded HVLP paint sprayer for most DIY car panels
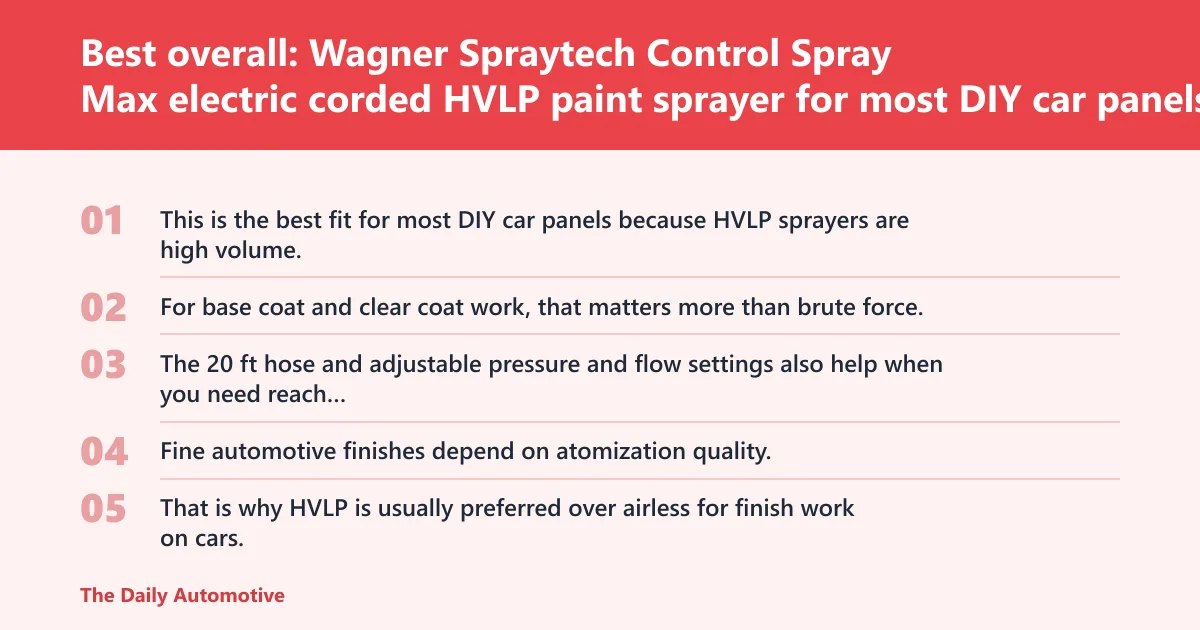
This is the best fit for most DIY car panels because HVLP sprayers are high volume, low pressure models that use paint more efficiently and leave a cleaner finish. For base coat and clear coat work, that matters more than brute force. The 20 ft hose and adjustable pressure and flow settings also help when you need reach around a hood or roofline.
The main advantage is control. Fine automotive finishes depend on atomization quality, and this type of sprayer breaks paint into smaller droplets for a smoother coat. That is why HVLP is usually preferred over airless for finish work on cars.
The drawback is speed with heavy coatings. This is not the first choice for thick primer or body-filler-heavy work, and the corded setup is less convenient than a battery tool if you only need a quick repair in a driveway.
Best for primer and fillers: Graco TrueCoat 360 airless paint sprayer
This is the better pick when thick primer is the job, not final gloss. Airless sprayers use a pump to push paint at very high pressure, and that makes them well suited to thicker materials and fast coverage on broad surfaces. If you are laying down primer on repaired metal or larger prepped sections, that output helps.
Its stainless steel piston pump and Easy Fill Funnel system fit the kind of work where material flow matters more than the last bit of finish refinement. Airless sprayers can cover large areas fast, which is useful before sanding, blocking, and respraying.
The tradeoff is finish quality. Airless sprayers often create more overspray than HVLP, so they are a poor default for base coat and clear coat if you want a factory-like result. They can also make fine finish control harder on edges and curves.
Best for touch-ups: InoKraft Drizzle X electric spray paint gun for automotive spot refinishing
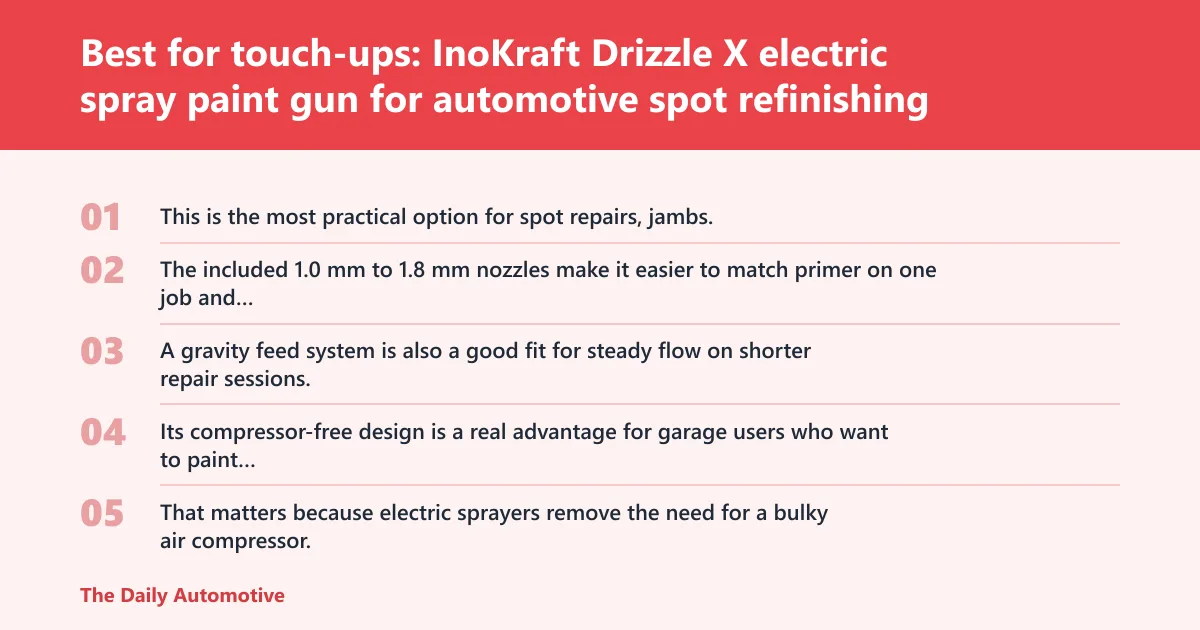
This is the most practical option for spot repairs, jambs, and smaller panels where a full-size cup and broad fan are unnecessary. The included 1.0 mm to 1.8 mm nozzles make it easier to match primer on one job and finer automotive materials on another. A gravity feed system is also a good fit for steady flow on shorter repair sessions.
Its compressor-free design is a real advantage for garage users who want to paint without building an air system. That matters because electric sprayers remove the need for a bulky air compressor, which cuts setup time and gear clutter.
The drawback is scale. This is not the first pick for an entire car, and smaller spot-refinishing guns usually ask for more refill attention on larger panels. For long hood or roof work, the cup size and runtime become limiting.
Best budget pick: PICKITOLES upgraded HVLP electric spray gun for small DIY jobs
This is the low-cost entry point for users who want to practice automotive-style spraying on trim, panels, or non-show surfaces. The 1400ML cup is useful because paint capacity affects refill frequency, and a larger cup can help when you are covering a door or fender without stopping every few minutes. The translucent cup also makes fill checks easier.
The included cleaning kit matters more than it first looks. Automotive coatings can clog equipment quickly, so a sprayer that is easier to clean has a better chance of holding its spray pattern over time.
The drawback is finish confidence, not just cost. At this price level, expect less refinement than a stronger HVLP platform, and treat it as a sensible budget tool rather than the best path to a near-factory clear coat.
What is the best electric spray paint gun for cars?
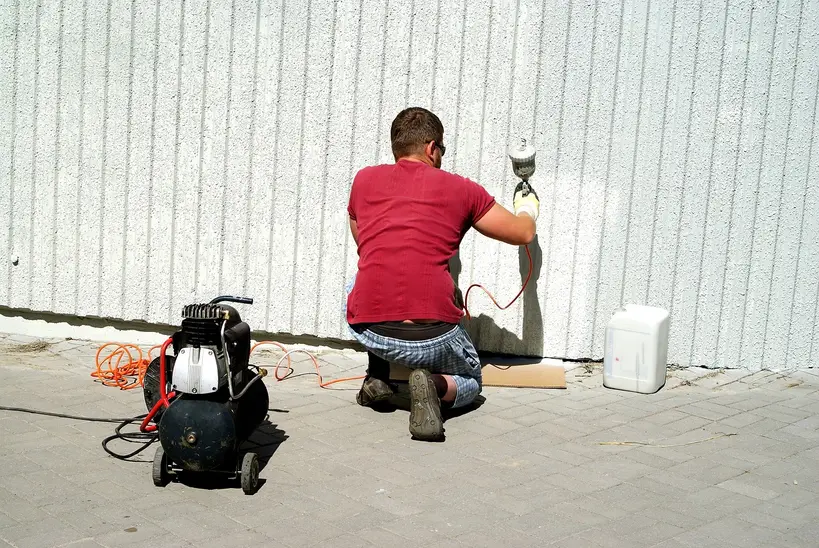
The best electric spray paint gun for cars is usually a corded HVLP unit with adjustable flow and pattern control, a nozzle around 1.3 mm to 1.4 mm for base and clear, and enough cup capacity to cover a full panel without constant refills. That setup gives smoother atomization and less overspray than airless for finish work.
For most DIY owners, the Wagner HVLP is the top pick because it fits the stage of work that matters most on a car: base coat and clear coat. If the job is mainly primer, airless makes more sense. If the job is small and mobile, a compact HVLP or cordless unit can be better.
Are electric paint sprayers good for automotive painting?
Yes, electric paint sprayers are good for automotive painting when you match the tool to the coating and the panel. They use electricity to atomize paint into tiny droplets, and atomization creates a smooth, even coat on a car. They are also easier to use than air-powered HVLP systems because they remove the need for a compressor.
That said, the finish still depends on droplet size, nozzle selection, and spray control. A good electric sprayer can produce clean automotive coverage; a mismatched one can leave orange peel, dry spray, and heavy build-up near edges.
What nozzle size is best for car paint?
For most car paint stages, 1.3 mm to 1.4 mm is a common target for base coat and clear coat, while 1.8 mm is better for primer. Nozzle size affects how a sprayer handles viscosity, and it also changes the spray pattern and defect risk on automotive panels.
If the nozzle is too small for thick primer, the gun can sputter or starve. If it is too large for clear coat, the finish can go heavy and uneven. Match the nozzle to the material, not to the biggest opening available.
A practical nozzle rule
- Use the larger end of the range for thicker primer.
- Use the tighter range for base coat and clear coat.
- Check whether the coating needs thinning before you load the cup.
- Test the fan on scrap before spraying a panel edge.
Do I need HVLP or airless for painting a car?
For most automotive finish work, HVLP is the better choice. HVLP sprayers are high volume, low pressure models that use paint more efficiently and leave a cleaner finish, which is what you want for panels, doors, and clear coat. Airless sprayers are better for thick primers and bulk coverage.
Airless units move material fast, but they often create more overspray than HVLP and are harder to tune for fine automotive work. Use airless when the goal is to lay down thick coating quickly. Use HVLP when the goal is smooth, even finish quality.
How do I avoid orange peel when spraying car paint?
Orange peel is usually a setup problem, not a mystery. Use the correct nozzle size, keep coating viscosity in range, and maintain a steady spray speed so the material lands wet enough to level. For most base and clear work, that means a finer atomization pattern and careful overlap on each pass.
If the paint is too thick, the droplets can land dry and textured. If you move too fast, the film can lose flow before it levels. If you move too slow, it can build too heavy and sag. The answer is balance, plus a test pass on a spare panel or masked sheet.
Common orange-peel triggers
- Nozzle too large for the coating.
- Paint too thick for the current setup.
- Spray speed that changes on curves and edges.
- Poor atomization from an under-tuned gun.
What features should I look for in a car paint sprayer?
The most useful features are paint delivery system, atomization quality, adjustability, nozzle size, power source, and ease of cleaning. For cars, these features matter because they affect how evenly the coat lays down, how much overspray you waste, and how much time you spend cleaning clogged passages after automotive coatings.
Also look at paint capacity. A bigger cup or tank reduces refill frequency on full panels, but it adds weight and can be awkward on detailed work. Corded power is better for long sessions and larger surfaces. Battery power is better for short jobs where portability matters more than runtime.
Can I paint a car without an air compressor?
Yes, you can paint a car without an air compressor by using an electric sprayer. That is one of the main reasons these tools are popular with DIY owners: they remove the compressor, hose stack, and extra setup that air-driven systems usually need. For many garage jobs, that is a practical and cheaper path.
Just do not confuse compressor-free with trouble-free. Finish quality still depends on atomization, nozzle match, and control. A good electric sprayer can handle primers, base coat, and some clear work, but the right tool still depends on the stage of the job.
What makes an electric sprayer easier to clean?
A sprayer is easier to clean when the fluid path is simple, the cup or funnel is easy to access, and the parts that touch paint can be rinsed quickly before coatings start to skin or cure. That matters for automotive paints because clogged passages can ruin spray consistency and leave rough texture on the next panel.
Cleaning ease is also a hidden time cost. A cheaper gun that takes forever to flush can make a short repair feel like a long maintenance job. If a sprayer includes a proper cleaning kit, wide openings, or a design that avoids dead spots, it is more likely to stay usable for the next coat.
Which one should you buy?
Choose HVLP if your goal is smoother panels and less overspray. Choose airless if you need to move thick primer fast. Choose cordless if the job is small and mobility matters more than runtime. Choose the larger cup or tank only if you are spraying broad panels and want fewer refill stops.
Say your project is a hood, two doors, and a trunk lid. An HVLP gun with a 1.3 mm to 1.4 mm nozzle is the sensible starting point because it is built for finish quality on large surfaces. Suppose the task is only repaired primer on a quarter panel. An airless unit can make more sense, as long as you accept more overspray and less refinement.
Frequently asked questions
What is the best electric spray paint gun for cars?
For most car paint work, the best electric spray paint gun is a corded HVLP model with adjustable flow and pattern control. It balances smoother atomization, lower overspray, and better finish control than airless units, which makes it the safer choice for base coat and clear coat on panels.
Are electric paint sprayers good for automotive painting?
Yes, electric paint sprayers are good for automotive painting when you match the gun to the coating stage. They are especially useful for DIY users because they remove the need for a bulky air compressor, but the finish still depends on the nozzle, atomization, and spray control.
What nozzle size is best for car paint?
A common rule of thumb is 1.3 mm to 1.4 mm for base coat and clear coat, and about 1.8 mm for primer. That range helps match viscosity to the gun and lowers the risk of orange peel, dry spray, or heavy build-up on the panel.
Do I need HVLP or airless for painting a car?
HVLP is usually the better choice for car finish work because it gives finer atomization and less overspray. Airless is better for thick primers and fast bulk coverage. For final finish coats, airless is usually the wrong default.
How do I avoid orange peel when spraying car paint?
Match nozzle size to the coating, keep viscosity in range, and spray at a steady pace with even overlap. Orange peel often shows up when the paint lands too dry or too heavy. A finer droplet pattern usually gives a smoother, more level surface.
What features should I look for in a car paint sprayer?
Look for atomization quality, adjustable flow and pattern control, the right nozzle range, a cup or tank size that fits the panel, a power source that suits the job length, and a design that is easy to clean. Those are the features that affect automotive finish quality most.
Products related to this article
Sponsored / affiliate links. As an Amazon Associate I earn from qualifying purchases. I may earn additional commission from eligible campaigns.