Dash Cam Mount Review: Best Mount Types for Stability
For a stable, discreet install, pick a 3M adhesive mount for a car that stays yours, a suction mount for a rental or shared vehicle, and avoid plain magnetic bases unless the camera still locks to a fixed bracket. A weak mount can let the camera fall in heat, shake footage on rough roads, or leave you with the wrong angle after a hard stop. This review compares suction, adhesive, magnetic, and ball-joint mounts by heat resistance, vibration control, removal speed, and the surfaces they actually fit.
This guide is part of our Car accessories for comfort and convenience series.
Verdict
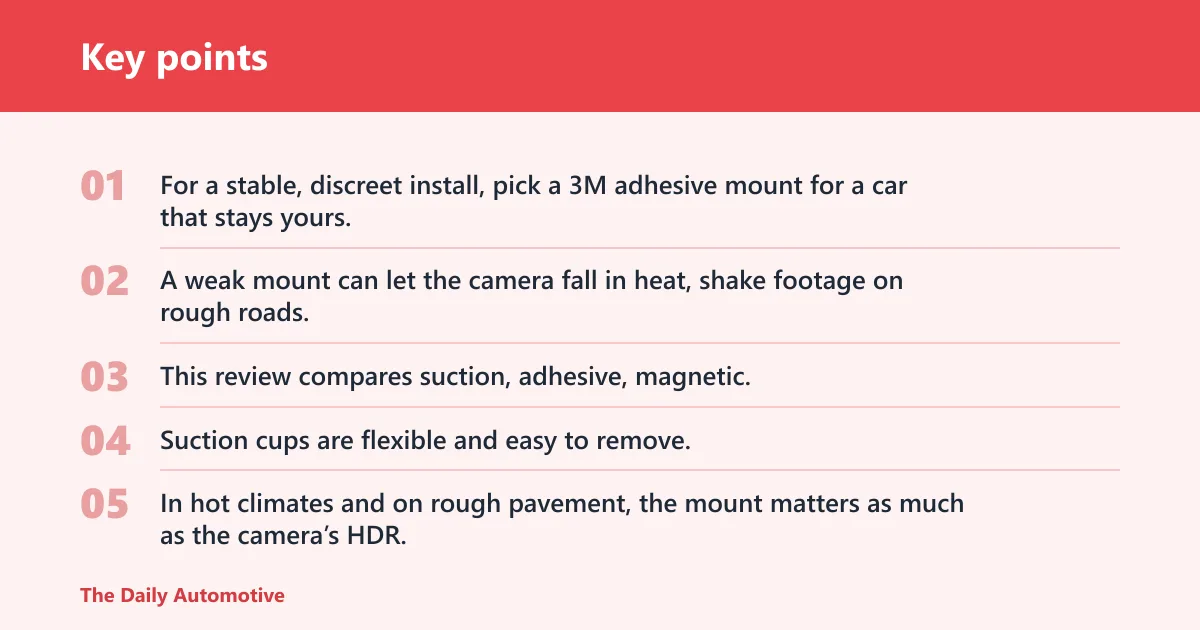

The broad trade-off is simple. Suction cups are flexible and easy to remove, adhesive mounts hold steadier and sit lower, ball-and-socket joints improve aim without much bulk, and magnetic setups come off fast but rely on a solid base underneath. In hot climates and on rough pavement, the mount matters as much as the camera’s HDR, 1080p, 1440p, or 4K recording mode.
📊 Thewearify says most mounts use the 1/4-20 UNC thread standard. Source: Thewearify.
Specs at a glance
| Mount style | Primary surface | Removal method | Heat and vibration behavior | Best power-routing match |
|---|---|---|---|---|
| Suction cup | Windshield, curved glass | Release lever or vacuum break | Good for temporary installs; can lose seal in heat | 12V adapter, USB power |
| Adhesive | Windshield, dash, some rear glass | Heat, plastic trim tool, slow peel | Best for steady hold; residue risk on removal | Hardwire kit, hidden USB lead |
| Ball-and-socket joint | Any bracket that accepts a joint | Loosen and re-aim | Better angle control; all-metal arms resist loosening better than plastic joints | Any route that avoids tugging the arm |
| Magnetic | Fixed base with vehicle-side plate | Lift camera off the base | Very fast removal; weaker fit if the base shifts on rough roads | USB power, quick-swap fleet use |
Who it is for
This category fits drivers who want the mount to solve a reliability problem, not a style preference. If cabin heat, repeated removal, vibration on rough pavement, or a clean windshield matters to you, choose the mount before you choose the camera body.
It also matters for different dash cam form factors. A single-lens front camera can sit high and tight. A dual-lens unit like the Vantrue N4, which ZDNET says offers almost 360 degrees of recording, needs a firmer bracket than a tiny interior-facing camera or a rear camera module.
Single-lens front camera
A single-lens camera works best with a small suction base or compact adhesive mount near the mirror. That keeps the lens centered without crowding the road view. A ball-and-socket joint helps fine-tune the tilt so the horizon stays level even if the glass angle is steep.
Dual-lens front and rear setup
Dual-camera systems add weight and cable tension, so a stronger adhesive mount usually beats a light suction base. ZDNET says the Vantrue N2 Pro records at 1440p and 30 fps on the front camera, with 1080p/60fps available for smoother playback. That kind of camera benefits from a mount that does not creep under load.
Interior-facing camera
Interior-facing cameras, including rideshare-focused units, need a compact mount that does not block the cabin or mirror line. TechRadar says the Garmin Dash Cam Tandem has two lenses, uses a compact ball-and-socket joint, and includes integrated GPS. That is the kind of setup where small size and precise aim matter more than arm length.
Rear camera module
Rear modules are usually more sensitive to cable routing than front units. The mount needs to stay put while the cable runs across trim, headliner, or the rear glass edge. A temporary suction setup can work during trials, but a semi-permanent adhesive base usually handles repeated door slams and temperature swings better.
What works
The best mount is the one that matches the surface and the failure mode. Suction cups suit windshield use and quick transfers between cars. Adhesive mounts suit heat exposure and long-term stability. Ball-and-socket joints suit fine angle adjustment. Magnetic mounts suit compact dash cams that are removed often.
Suction cup mount
Suction cups work best on clean windshield glass and some curved glass, where the seal can spread evenly. The release mechanism matters: a proper vacuum-break lever reduces tugging on the camera body. Thewearify says suction cups under three inches often struggle at highway speeds, so size and seal strength both matter.
Adhesive mount
Adhesive mounts are the answer when permanence is acceptable. They can work on windshield glass and, in some cases, dash tops, but textured dashboards are a poor target because contact area drops fast. The downside is removal difficulty: residue cleanup and paint-safe peeling take time, and long-term reusability is limited once the pad has been heat-cycled.
Ball-and-socket joint
This joint matters because a camera that points correctly on day one can droop later. A good ball joint gives angle adjustment without a long arm that amplifies vibration. Thewearify says all-metal arms resist loosening better than plastic joints, which matters when the cabin heats up and cools down every day.
Magnetic mount
Magnetic systems are strongest when the camera is light, compact, and removed often. They usually depend on a vehicle-side adhesive plate, so the magnet is only part of the system. The quick-swap convenience is real, but a magnetic base is not the best answer for a heavy dual-lens body or a rough-road fleet car.
What does not
Each mount type has a failure mode. Suction cups can lose vacuum as the cabin bakes. Adhesive pads can leave residue and are harder to reposition. Magnetic mounts can shift if the base is light or the camera is too heavy. Ball joints can sag if the arm and socket are low quality.
Also avoid over-trusting any mount on textured dash material. A common first-timer mistake is sticking a pad to a grained dashboard and assuming the camera will stay level. Heat, vibration, and cable tension usually expose the weak point within days.
Failure-mode decision table
| Real-world condition | Main failure mode | Best mount style | Why that style fits |
|---|---|---|---|
| Hot climate | Heat creep, suction loss, pad softening | Adhesive | Better long-term hold than suction in a heat-exposed cabin |
| Rough roads | Micro-slip, arm droop, vibration blur | Adhesive with ball-and-socket | Lower profile and less bounce than a long suction arm |
| Rental car use | Residue, slow removal | Suction cup | Easy to remove and reuse without leaving adhesive on glass |
| Fleet use | Repeated removal, re-aiming, bracket wear | Magnetic or adhesive with all-metal joint | Fast swaps help, but the bracket still has to resist loosening |
| Rear-camera installs | Cable routing strain, visibility interference | Adhesive | Stays put while cable is hidden along trim and glass edges |
| Stealth installs | Visible bulk, distraction | Adhesive or compact magnetic | Lowest-profile placement near the mirror line |
Which mount style is best for heat and vibration?
For heat and vibration, adhesive generally beats suction, and a compact ball-and-socket joint beats a long flex arm. Suction cups are convenient, but heat can weaken the vacuum seal and vibration can slowly shift the aim. Magnetic mounts are quick, though they are least convincing on coarse roads if the base is light.
Suction cup mount behavior under heat
A suction mount is strongest on clean glass with a well-seated ring and a solid release lever. Cabin heat can soften the rubber edge and reduce seal strength over time. That is why the best suction setups are usually temporary or seasonal, not permanent summer installs.
Adhesive mount behavior under heat
Adhesive mounts tolerate hot dashboards and windshield glass better than suction bases do, especially when the pad is rated for high adhesion. They are still not magic. If the surface is dusty, oily, or heavily textured, the bond can fail just as surely as a weak suction seal.
Ball-and-socket joint stability
The joint is what stops the camera from drifting after repeated bumps. A compact ball joint keeps the camera close to the glass, which lowers leverage and helps reduce droop. That is why TechRadar’s Garmin Tandem example matters: compact joint design is not a luxury; it is a stability feature.
Magnetic mount limits on rough pavement
Magnetic mounts are convenient, but they depend on the base staying fixed. If the plate is on a flexible pad or the camera is too heavy, the mount can rotate or slide under repeated vibration. They are best for compact dash cams, not bulky dual-channel bodies.
How do you mount a dash cam without blocking the road view?
Put the camera high and close to the rear-view mirror, then keep the body small and the arm short. That placement protects the road view, reduces visible hardware, and shortens the cable run. For night driving, HDR and good low-light processing matter most when the lens has a clear, centered view.
High windshield placement
Mounting high on the windshield keeps the camera out of the driver’s sightline. It also gives the lens a cleaner forward view with less dashboard reflection. A compact suction base or low-profile adhesive pad works best here because both reduce the amount of visible hardware in the glass.
Behind the mirror placement
Behind the mirror is usually the best compromise between stealth and visibility. It hides the camera body from the driver while leaving enough glass for a wide forward view. This is where compact units like ZDNET’s Garmin Mini 2, which supports up to 512GB microSD cards, can make sense.
Cable path to 12V, USB, or hardwire kit
Power routing should be planned before the mount goes up. A 12V adapter is simplest, USB power is tidy when a port is close, and a hardwire kit is the cleanest choice for parking mode compatibility. The cable should follow headliner trim and pillar edges, not hang across the glass.
Where HDR and night vision matter most
HDR helps most when the windshield sees strong contrast, such as dawn glare or tunnel exits. Night vision is only useful if the mount holds the camera still enough to avoid smearing. A clean angle and a stable bracket matter before the features do.
How to mount a dash cam on the dashboard?
Dashboard mounting works best on smooth, non-textured surfaces, and it is usually better for low-profile installs than for maximum adhesion. If the dash is heavily grained or heat-exposed, choose a windshield mount instead. A semi-permanent adhesive pad can work, but residue risk rises when the car sits in the sun.
- Clean the surface with a residue-free interior-safe cleaner.
- Dry the area fully before applying the pad or base.
- Place the mount where the wipers do not block the lens.
- Route the power cable toward a 12V socket, USB port, or hardwire path.
- Check that the camera does not tilt after a week of heat cycling.
Choose suction if… / choose adhesive if… / choose magnetic if…
Choose suction if you switch cars often, lease your vehicle, or want the easiest removal. Choose adhesive if the camera will stay in one car through summer heat and rough pavement. Choose magnetic if the camera is compact and you want the fastest on-off workflow without rebuilding the mount every time.
Choose suction if…
You need a clean windshield setup for a rental or shared vehicle. You want to remove the mount without residue. You prefer a windshield or curved-glass installation with a visible release mechanism. You are willing to re-seat the cup occasionally when heat or cold changes the seal.
Choose adhesive if…
You want the lowest-profile semi-permanent hold. You need better resistance to cabin heat and vibration than a suction cup can usually provide. You are mounting a rear camera module or a heavier dual-lens body. You can accept residue risk and slower removal.
Choose magnetic if…
You need quick removal for fleet rotation or a compact dash cam that comes down daily. You are mounting to a fixed base with a strong adhesive plate. You do not expect the system to carry a heavy body over rough roads without any bracket movement.
Alternatives
Volport Sticky Adhesive Pad Replacement

Volport’s 3M VHB replacement pad is the most directly relevant alternative if the goal is to turn a suction setup into a more heat-resistant semi-permanent mount. The main strength is adhesion, not speed. The drawback is the one that matters most for renters and frequent movers: removal is slower, and any adhesive system can leave cleanup behind.
iOttie Easy One Touch Wireless 3

The iOttie mount is not a dash cam mount, but its one-handed clamp, telescopic arm, and 260° pivot illustrate the strengths and limits of a broad arm-based design. That kind of geometry is useful when you need adjustability. It is less ideal when the goal is the smallest possible footprint on the windshield.
Should you buy it
Buy the mount style first, then buy the camera. That order keeps you from choosing a body that looks good on paper but slips, sags, or blocks the road view once the cabin heats up. For most drivers, adhesive wins on permanence, suction wins on reuse, and magnetic wins only when the camera stays small.
If you want a discreet windshield install with minimal fuss, start with a suction cup. If your car lives in the sun or sees rough roads, move to adhesive. If your use case is rental, fleet, or frequent removal, pick magnetic only when the camera body and base are genuinely built for that workflow.
Frequently asked questions
which dash cam reviews are best for a clean windshield setup?
Reviews that separate camera quality from mount quality are the most useful. Look for coverage of suction seal strength, adhesive residue, and bracket size. A clean windshield setup usually depends more on a compact mount and short arm than on the camera’s headline resolution.
which dash cam mount is best for hot weather and vibration?
An adhesive mount with a compact ball-and-socket joint is usually the safest bet. Heat can weaken suction and long arms can droop on rough roads. A low-profile adhesive base spreads the load better and keeps the camera closer to the glass.
how to mount a rear dash cam?
Mount the rear camera on the rear window or high on the glass where the cable can follow trim cleanly. Keep the lens clear of defroster lines when possible, and choose a mount that will not sag as the cable is routed across the cabin.
what is the best place to mount a dash cam?
For most cars, the best place is high on the windshield, behind the mirror line. That position keeps the view wide, the camera discreet, and the cable route short. It also avoids the heat and texture problems common on dashboards.
Products related to this article
Sponsored / affiliate links. As an Amazon Associate I earn from qualifying purchases. I may earn additional commission from eligible campaigns.