How to Paint Your Car Wheels Like a Professional
Ever look at your car and think, “Those wheels could use a serious upgrade”? You’re not alone. Dull, scratched, or just plain boring wheels can really bring down the whole look of a vehicle. But getting them professionally redone can cost a pretty penny. What if I told you that you could achieve that awesome, custom look yourself, even if you’ve never picked up a spray can before? It’s true! This guide will walk you through painting your car wheels like a pro, making it simple and totally doable for anyone.
You can paint your car wheels yourself to give your vehicle a fresh, custom look. This guide covers everything from picking the right paint and prepping your wheels to the actual painting and clear coat steps, ensuring a durable and great-looking finish without needing prior experience.
What is DIY Wheel Painting?
Painting your car wheels yourself is the process of applying a new color or finish to your existing wheel rims. This isn’t just about making them look pretty, though that’s a big part of it. It’s about giving your car a personalized touch. Think of it like giving your car new shoes!
Why would you do this? Well, old wheels can get scuffed up from curbs. Or maybe you just want a different color to match your car’s style. It’s a way to make your car stand out from the crowd. Doing it yourself saves money. It also gives you a real sense of accomplishment.
This whole project needs patience. You can’t rush it. But with the right steps, anyone can get amazing results. We’ll go through it all, from start to finish.
My First Wheel Painting Fiasco (And What I Learned)
I remember the first time I decided to paint my own car wheels. It was a sweltering summer day, and my car, a trusty old sedan, looked a bit… sad. The wheels were faded and had a few unsightly scuffs. I’d seen stunning custom wheels online and thought, “How hard can it be?” Famous last words, right?
I went to the auto parts store and grabbed a few cans of what I thought was “high-performance” wheel paint. I didn’t do much prep work, figuring a quick wash would be enough. Then, I just started spraying. Paint dripped everywhere. It looked blotchy. And by “blotchy,” I mean it looked like a toddler had finger-painted on my rims. It was a disaster. My neighbor, a seasoned car guy, took one look and just chuckled. He then spent an hour patiently explaining the whole process to me. That night, I learned a crucial lesson: prep is everything. And using the right products matters a lot. It was humbling, but it set me on the path to actually learning how to do it right.
The Essential Tools and Materials You’ll Need
Before you even think about touching a spray can, let’s gather your supplies. Having everything ready makes the job go much smoother. It’s like getting all your ingredients out before you bake.
Gathering Your Gear
Here’s a list of what you’ll need:
- Wheel Cleaner: A good degreaser is key.
- Sandpaper: Various grits, like 180, 320, and 400.
- Primer: Specifically for metal or automotive use.
- Wheel Paint: Choose a color and finish you like.
- Clear Coat: For protection and shine.
- Masking Tape & Paper: To protect tires and car body.
- Gloves: To keep your hands clean.
- Mask: To avoid breathing fumes.
- Safety Glasses: Protect your eyes.
- Clean Rags: Lots of them.
- Wire Brush (optional): For tough rust spots.
Step 1: Washing and Cleaning Your Wheels
This is the most important step, seriously. If your wheels aren’t perfectly clean, your paint job won’t stick well. It’ll peel or bubble later. So, let’s get them spotless.
Start by removing the wheels from your car. It’s much easier to work on them when they are off. Use a good wheel cleaner or a strong degreaser. Spray it all over. Let it soak for a few minutes.
Then, use a brush to scrub away all the brake dust and grime. This stuff is stubborn. Pay extra attention to nooks and crannies. Rinse them thoroughly with water. Make sure all the soap is gone. You want them looking brand new.
The Clean Wheel Checklist
- Wheels removed from the car.
- All brake dust and road grime gone.
- No oily residue left.
- Wheels completely dry.
Step 2: Sanding for a Smooth Surface
Now that your wheels are clean and dry, it’s time to sand. Sanding creates a rougher surface. This helps the primer and paint stick better. Think of it like making tiny scratches for the paint to grab onto.
Start with a coarser grit sandpaper, like 180 or 220. This gets rid of any old clear coat or deep scratches. Sand the entire wheel surface. Don’t press too hard. You just want to scuff it up, not remove too much metal.
After the coarser grit, move to a finer grit, like 320 or 400. This smooths out the marks from the coarser paper. You want the wheel to feel smooth to the touch. It shouldn’t feel gritty or rough anymore.
Once you’re done sanding, wipe the wheels down again with a clean, dry cloth. This removes all the dust.
Step 3: Masking Tape and Paper Application
This is where you protect parts you don’t want to paint. The most important parts are the tires. You also want to protect the car’s body if the wheels are still attached.
Use good quality masking tape. It needs to stick well and not let paint seep under it. Carefully tape off the entire sidewall of the tire. Make sure the tape edge is pressed down firmly. You can buy special trim masking tape that has a plastic shield to protect larger areas.
If you’re painting the wheels while they’re on the car, cover the fenders and brakes with paper or plastic. This is tedious work, but it’s worth it. A clean paint job means no paint on your tires or body.
Masking Tips
Don’t rush this step. A little extra time here saves a lot of cleanup later.
- Use high-quality automotive masking tape.
- Press tape edges down firmly.
- Overlap tape slightly to ensure a seal.
- Use paper or plastic for larger areas.
Step 4: Applying the Primer
Primer acts like a sticky base coat. It helps the paint adhere to the metal. It also hides minor imperfections. For wheels, it’s really important.
Shake your primer can well. Read the instructions on the can. Hold the can about 8-10 inches away from the wheel. Apply thin, even coats. Don’t try to cover it all in one go. This can cause drips.
Spray in a back-and-forth motion. Overlap each pass by about 50%. Let each coat dry for the time recommended on the can, usually 10-15 minutes. You might need 2-3 thin coats for good coverage.
After the last coat, let it dry completely. This usually takes about an hour. Once dry, you can lightly wet-sand it with very fine sandpaper (like 600 grit) if there are any rough spots. Then, wipe it clean.
Step 5: Painting Your Wheels
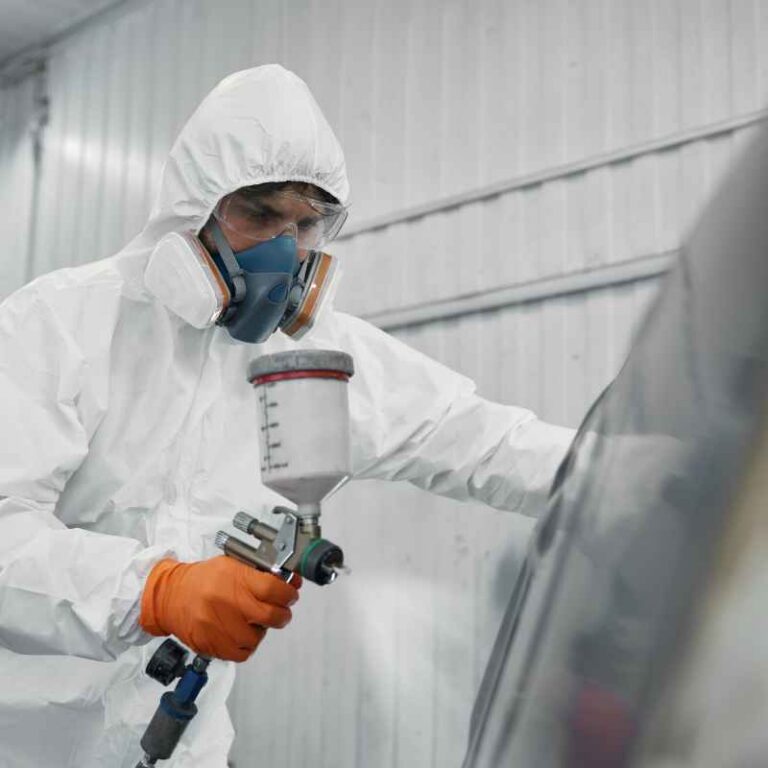
Now for the fun part – applying the color! Just like with the primer, shake the paint can very well. You’ll want to work in a well-ventilated area. Outdoors is best.
Hold the can 8-10 inches from the wheel. Use light, even strokes. Overlap each pass. Apply the paint in thin coats. This is key to a smooth finish. Too much paint at once will cause drips and runs.
Most people find 2-3 thin coats are enough. Let each coat dry for about 15-20 minutes before applying the next. Read the paint can’s instructions for specific drying times.
If you see any drips, stop immediately. Let it dry, then carefully sand down the drip. Then reapply the paint to that area. Patience is your best friend here.
Paint Application Basics
- Shake well: Always shake the can thoroughly.
- Distance: Keep the can 8-10 inches away.
- Thin coats: Apply multiple light coats instead of one heavy one.
- Even strokes: Use a consistent back-and-forth motion.
- Overlap: Overlap each pass by about half.
- Drying time: Allow proper drying between coats.
Step 6: Applying the Clear Coat
The clear coat is the protective layer. It adds shine and protects your paint job from chips and the elements. This step is super important for making your wheels last.
Make sure your color coat is fully dry. Again, shake the clear coat can well. Apply it in thin, even coats, just like you did with the primer and paint.
Hold the can the same distance away. Use the same back-and-forth motion. Overlap your strokes. Don’t try to get too much gloss in the first coat. You’re building up layers.
You’ll likely need 2-3 coats of clear coat. Let each coat dry according to the product’s instructions. This can vary, but often it’s around 20-30 minutes between coats.
After the final clear coat, let the wheels cure completely. This can take 24 hours or even longer. Don’t rush to put the tires back on.
Clear Coat Benefits
- Protection: Shields paint from UV rays, chemicals, and chips.
- Gloss: Enhances the shine and depth of the color.
- Durability: Makes the paint job last longer.
- Washability: Easier to clean and maintain.
Step 7: Curing and Reassembly
Curing is when the paint and clear coat harden fully. This is not the same as drying. Drying means it’s not wet to the touch. Curing means it’s hard and durable.
Most spray paints need at least 24 hours to cure. Some automotive finishes need several days. Check the product labels for specific curing times. Avoid driving the car or even touching the wheels too much during this time.
Once the wheels are fully cured, you can remove the masking tape. Be careful when you pull it off. If the paint seems a little sticky, you can sometimes use a hairdryer on a cool setting to help it release.
After removing the tape, inspect your work. If you’re happy with the results, it’s time to put the wheels back on your car. If you removed the tires, get them remounted.
Real-World Context: Why This Matters for Your Car’s Look
Think about how much attention your car’s wheels get. They’re the foundation of its stance. When they look good, the whole car looks good. Worn-out wheels can make even a fancy car look neglected.
In places with harsh winters, like the Midwest, salt and road chemicals can really damage wheels. Painting them with a good protective clear coat can help resist this damage. It’s a way to make your car look sharp year-round.
In sunny climates, UV rays can fade paint. A good automotive clear coat is designed to resist this. It’s like sunscreen for your wheels. It keeps them looking fresh for longer.
What This Means for You: When It’s Normal vs. When to Worry
This DIY project is great for changing a look or fixing minor cosmetic issues. It’s totally normal to have a few minor drips if it’s your first time. Or maybe a tiny bit of dust got in the paint. You can usually sand these out later.
What isn’t normal is if the paint starts peeling quickly. This usually means the prep work wasn’t done right. Or you used the wrong type of paint. Also, if the paint looks chalky after a few weeks, it might not have been protected by a good clear coat.
If you notice deep corrosion or structural damage on the wheel itself, painting won’t fix it. That’s a sign you might need to repair or replace the wheel. For cosmetic issues, though, painting is a fantastic solution.
Quick Fixes and Tips for Success
Here are some extra tips that made a big difference for me.
Work in the right conditions: Avoid painting in direct sunlight, high winds, or humid weather. The ideal temperature is usually between 60-80°F (15-27°C).
Test spray: Before spraying the wheel, test spray on a piece of cardboard. This helps you get the right spray distance and check the paint flow.
Don’t overthink the drips: If you get a small drip, don’t panic. Let it dry. Then, gently sand it down with fine-grit sandpaper (600-800 grit). You can then reapply paint to that spot.
Multiple thin coats are best: I can’t say this enough. Thin coats build up a smooth, even finish. Heavy coats lead to runs and drips.
Read the labels: Every product is different. Always read and follow the instructions on the primer, paint, and clear coat cans.
Paint Pro Tips
- Environment: Choose a calm, dry day.
- Spray technique: Steady, even passes.
- Patience: Let coats dry fully.
- Product choice: Use automotive-grade products.
- Ventilation: Always work in a well-aired space.
Frequently Asked Questions About Painting Car Wheels
Can I paint my car wheels without removing them?
Yes, you can. It requires more careful masking of your tires and car body. Removing the wheels makes the job much easier and often leads to a cleaner finish.
What type of paint is best for car wheels?
For best results, use automotive-grade spray paints designed for wheels. These are formulated to withstand brake dust, road salt, and temperature changes. Look for brands that offer wheel-specific primers, paints, and clear coats. See our full comparison of the best paint for car rims for a breakdown by rim material and durability.
How long does painted car wheel paint last?
With proper preparation and application, a painted wheel finish can last several years. Factors like driving conditions, maintenance, and the quality of products used will affect its lifespan. A good clear coat is crucial for longevity.
Should I sand between coats of paint?
You typically don’t need to sand between coats of the color paint itself. However, if you notice a drip or a rough spot, you can lightly sand it after it dries and then reapply paint. Light sanding with very fine grit (600+) might be done after primer before painting, and sometimes lightly after the last color coat before clear coat for an ultra-smooth finish.
What if I mess up and get paint on my tires?
If you catch it while the paint is still wet, you can often wipe it off with a clean rag and some paint thinner or degreaser. If it’s dried, you’ll need to carefully sand it off. This is why meticulous masking is so important!
Can I use Plasti Dip instead of traditional paint?
Yes, Plasti Dip is a popular alternative. It’s a flexible rubber coating that can be peeled off later. It’s easier for beginners and offers a matte finish.
You still need to clean and prep the wheels well for it to adhere properly.
Conclusion: Your Wheels, Your Style
Painting your car wheels yourself is a really rewarding project. It transforms your car’s appearance and can save you a lot of money. By following these steps carefully, focusing on preparation, and taking your time with each coat, you can achieve a professional-looking finish. It’s all about patience and using the right materials. Now go ahead and give your car the custom look it deserves!
Products related to this article
Sponsored / affiliate links. As an Amazon Associate I earn from qualifying purchases. I may earn additional commission from eligible campaigns.