How to Buffer a Car: Machine vs. Hand Buffing Guide
Buffering removes light scratches, swirl marks, and oxidation from a car’s clear coat, restoring the deep, mirror-like shine the paint had when it left the factory.
A professional buff-and-polish job at a detail shop typically runs $150 to $400, but the same result is well within reach of a first-time DIYer. All it takes is a dual-action polisher, a set of foam pads matched to the job, and a cutting compound or polish — plus a few hours of patience. The technique itself is straightforward mechanical abrasion: leveling out the top few microns of clear coat until the surface is flat and consistent again.
That leveling is what separates buffing from washing or waxing. A wash removes dirt sitting on top of the paint; a buff removes the damaged layer of clear coat itself, so scratches and hazing disappear instead of just being covered up. Once the surface is smooth again, a coat of polish or wax seals it back up and slows the next round of UV damage. None of this requires professional training — just the right pad for the right stage of the job, and a light touch with the machine.
Preparation Steps
BEST DA POLISHER FOR BEGINNERS
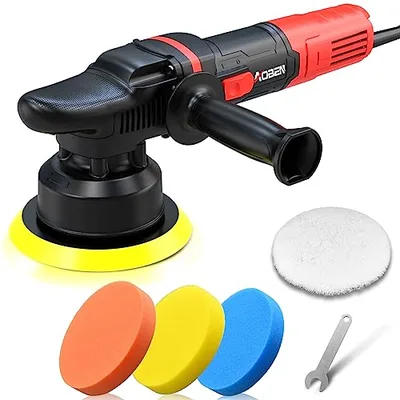 |
AOBEN 6-Inch Dual Action Car Polisher Kit – $49.99 This kit pairs a random-orbital dual-action polisher with four foam pads, so you can go from cutting compound to final polish without buying tools separately.
|
Before you start, gather everything in one place: a dual-action polisher, foam pads sized for it (a cutting pad, a polishing pad, and a finishing pad cover most jobs), a cutting compound, a finishing polish, and several clean microfiber towels. Painter’s tape is worth having too, for masking off trim, rubber seals, and badges the pad could catch on.
Work in the shade if you can, ideally somewhere between 60 and 80°F. Direct sun heats the paint and dries compound almost instantly, which turns easy leveling into hard scrubbing and raises the odds of leaving swirl marks behind. Give yourself enough room to walk fully around the car — you’ll be repositioning constantly as you move from panel to panel.
Understanding Car Paint
Car paint finishes fall into three broad categories: gloss, matte, and metallic. Gloss finishes are the smoothest and reflect the most light, which is exactly why they show swirl marks and scratches so clearly. Matte finishes are intentionally flat and should never be machine buffed — compound and polish will cut into the textured clear coat and leave shiny patches that can’t be undone without a repaint. Metallic finishes suspend tiny aluminum flakes in the base coat, which is what gives them their sparkle in direct light, and they buff the same way a gloss finish does.
Most of what buffing fixes falls into four categories. Swirl marks are the fine, circular hairline scratches left by washing with a dirty cloth or an automatic car wash — they’re shallow but numerous, and a light polish usually clears them right up. Oxidation is the chalky, dull haze that forms when UV light breaks down the resin in clear coat over years of sun exposure; it takes a cutting compound to remove the damaged layer underneath. Deeper scratches that catch a fingernail have usually gone through the clear coat into the base coat or primer, and buffing alone won’t fix those — they need touch-up paint first. Chips from rocks or road debris are missing paint entirely, which is something a buffer can’t level out at all.
Selecting The Right Buffer
Four main types of buffers show up in most garages. Rotary buffers spin in a single direction at speeds up to 3,000 RPM and cut fast, but they generate enough heat to burn through clear coat in seconds if the pad lingers in one spot — they’re mostly a professional’s tool. Dual-action (DA) polishers spin and oscillate at the same time, which spreads out the heat and pressure and makes them far more forgiving for a first attempt. Electric buffers of either type do the work for you; manual buffers rely on your own arm strength and are realistically only useful for small touch-ups. If you’re buffing your own car for the first time, a DA polisher is the safer choice by a wide margin.
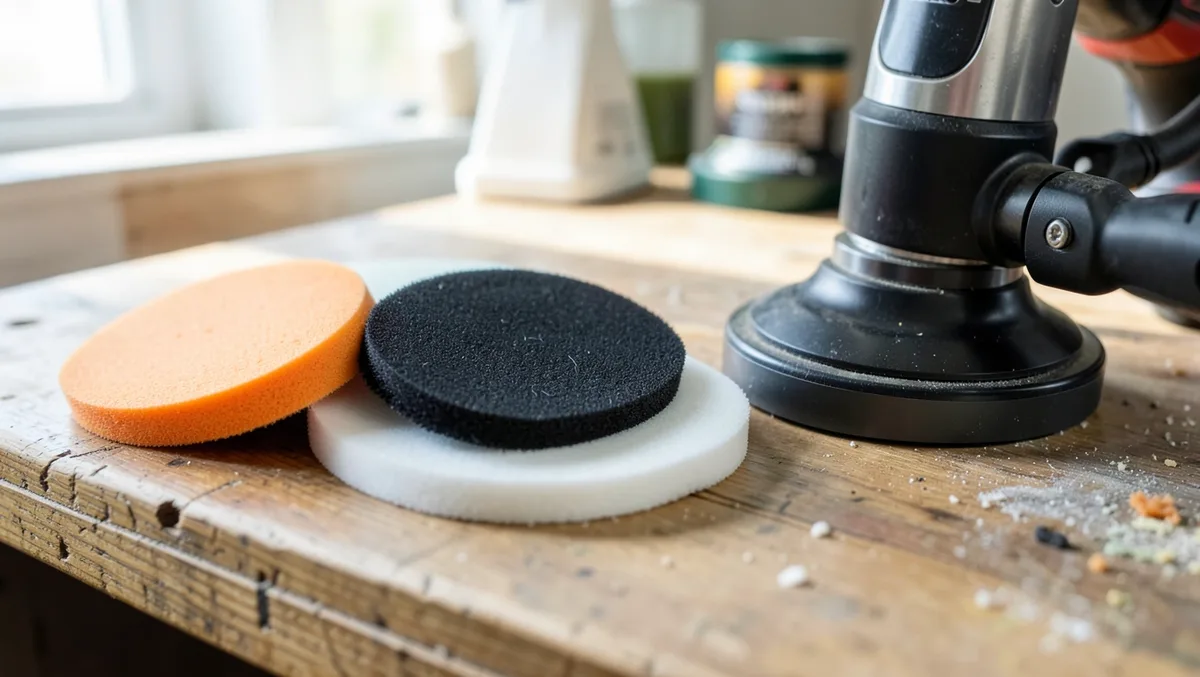
Pads matter almost as much as the machine. Foam cutting pads (usually orange or yellow) are firm and aggressive, built to pair with compound on heavier oxidation and scratches. Foam finishing pads (black or white) are softer and meant for polish, refining the surface after the cutting stage is done. Wool pads cut fastest of all but leave behind their own fine marring — known as holograms — so a finishing pad and polish always have to follow them. Microfiber pads sit in between, cutting almost as well as wool with less marring, which makes them a solid one-pad option for moderate correction jobs.
Buffering Techniques
Let the machine do the cutting instead of your arm. With a dual-action polisher, extra downward pressure doesn’t add correction — it just generates heat and can stall the pad’s oscillation, which actually reduces how much work it’s doing. Keep pressure light and even, and move the pad in overlapping circular or crosshatch passes so no single area gets worked more than the rest.
Start on a low speed setting (1 to 3) to spread the product across the panel without flinging it everywhere, then step up to a working speed (4 to 6) to do the actual leveling. Keep the pad moving the whole time — pausing in one spot, especially near a body line or edge where the clear coat is thinner, is how you burn through paint. Wipe the section with a clean microfiber towel every few passes to check your progress before moving on.
Using Compound And Polish
Cutting compound is an abrasive, rated by micron size the same way sandpaper is graded by grit, and it works by removing a thin layer of damaged clear coat rather than filling scratches in. A pea-sized amount on the pad is enough for a two-foot-by-two-foot section; spread it at low speed first, then work it at a higher speed until it turns clear and starts to haze. Wipe with a microfiber towel and check the finish under direct light — if scratches or oxidation are still visible, go over the section again rather than pressing harder.
Polish follows compound, and its job is different: it’s a finer abrasive (or sometimes no abrasive at all, just fillers and gloss enhancers) that removes the fine marring compound leaves behind and brings out maximum shine. Match a polish to your paint color if the label calls for it, since some formulas are built specifically to fill in micro-scratches on dark colors. Apply it the same way as compound, in thin sections, and don’t overload the pad; too much polish just smears around and takes longer to buff off clean.
Safety Precautions
Nitrile gloves keep compound and polish off your skin — both can be mildly irritating with repeated contact. Safety glasses matter more than people expect, since a spinning pad can fling small droplets of compound off its edge. A dust mask is worth wearing if you’re doing any wet-sanding before the buffing stage, and hearing protection is a reasonable extra for long sessions with a rotary buffer.
The most common rookie mistake is dwelling in one spot too long, which is exactly how clear coat gets burned through — especially with a wool pad or rotary buffer. Keep the machine moving in overlapping passes and never let it sit still while it’s spinning. Check your pad between panels, too: once it’s caked with dried compound, it stops cutting evenly and starts adding its own fine scratches, so swap it out or clean it before continuing.
Finishing Touches
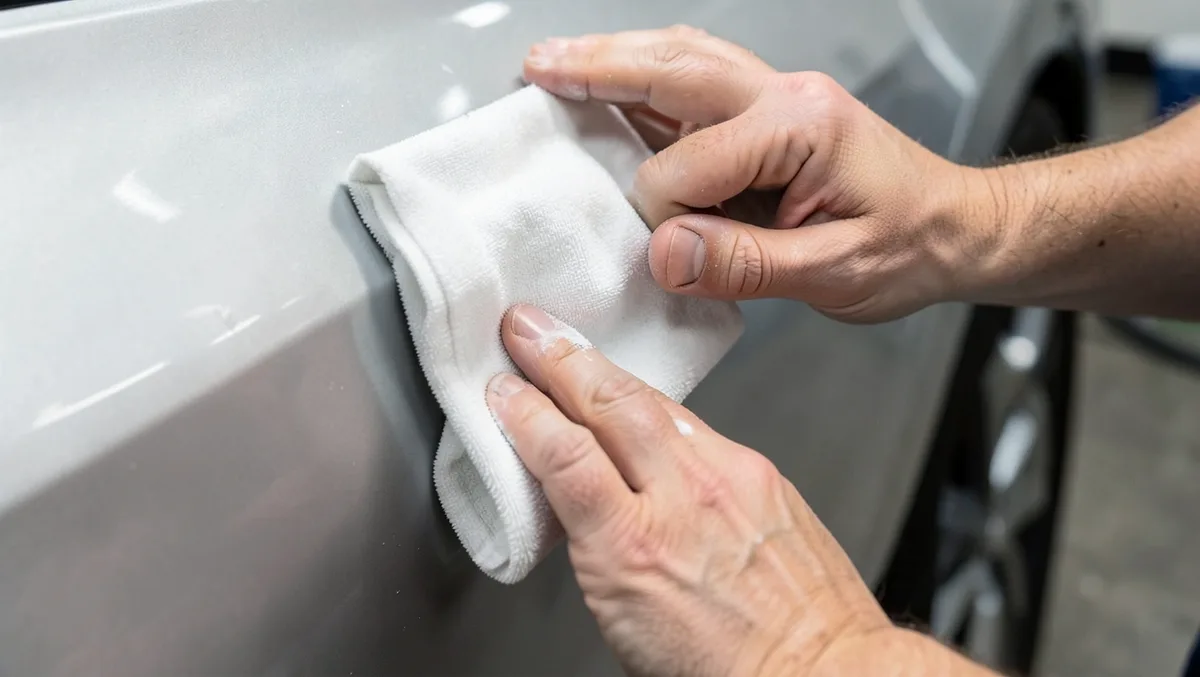
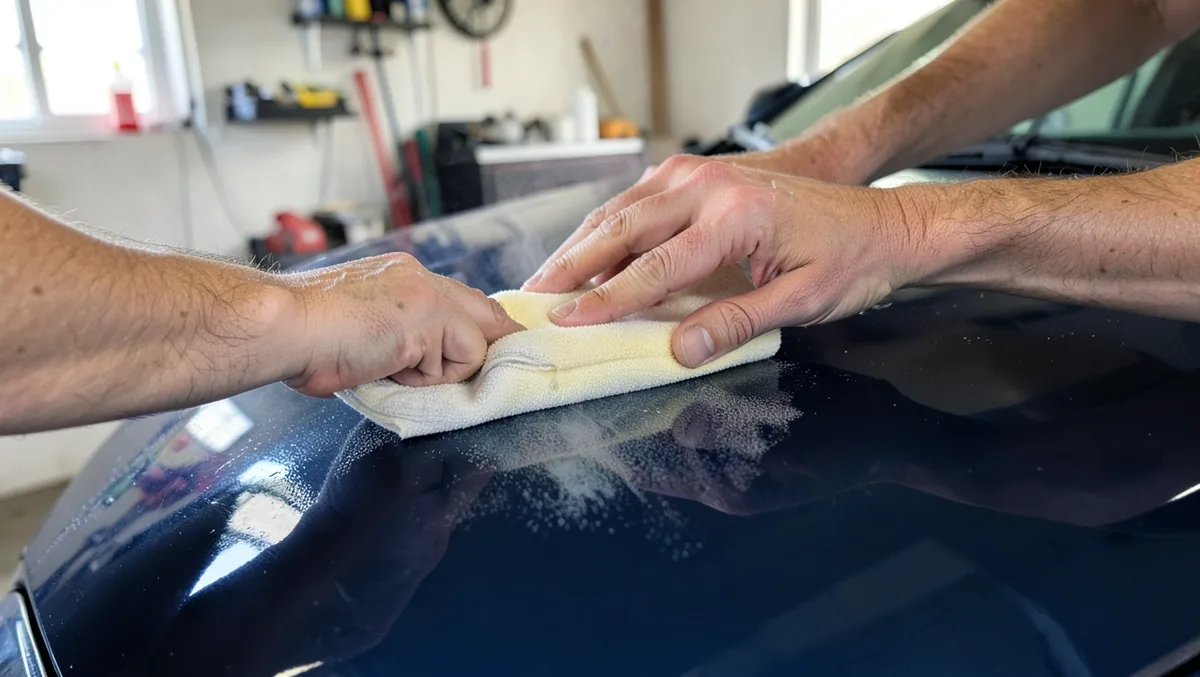
Getting to a glossy finish comes down to sequence more than any single trick: wash and fully dry the car first so grit doesn’t get dragged into the paint, work compound across each section with the machine, then follow with polish using a clean pad, and finish by wiping everything down with a microfiber towel. Each stage undoes the marring the previous one left behind, which is why skipping straight to polish on heavily oxidized paint rarely gets the same result.
Waxing The Car
Wax is the last layer, and it’s a sacrificial one — its job is to take the UV and environmental damage so your clear coat doesn’t have to. A carnauba wax gives the deepest, warmest gloss but only lasts about two to three months; a synthetic paint sealant looks slightly more uniform and holds up for four to six months. Apply a dime-sized amount per panel with a foam applicator, spread it thin, let it haze for the time the label specifies (usually 10 to 15 minutes), then buff it off with a clean microfiber towel. Two to four applications a year keeps the paint protected without ever needing a full compound-and-polish redo.
Final Inspection
Check the finish in direct sunlight rather than shade — full sun shows up any holograms or missed spots that softer light hides completely. Run a finger along trim and rubber seals for white compound residue, since it collects in gaps and looks obvious once it dries. Give the wheels, glass, and mirrors a separate pass, since they’re easy to forget after focusing on body panels for an hour. A finish that looks clean under a garage light can still have flaws that only show up outdoors, so don’t skip this step.
Maintaining The Shine
Regular washing is what keeps buffed paint looking new. Use a pH-neutral car shampoo instead of dish soap, which strips wax and sealant along with the dirt. Rinse thoroughly and dry with a soft microfiber or waffle-weave towel rather than letting the car air-dry, since evaporating water leaves mineral spots on the clear coat.
Wash weekly if you can, and give the wheels their own bucket and mitt — brake dust is made of abrasive iron particles that can scratch paint if the same mitt touches both wheels and body panels. It’s a small habit, but it’s the single easiest way to avoid reintroducing swirl marks right after you just removed them.
Reapply wax or sealant every two to four months to keep that sacrificial layer intact. It’s the layer doing the actual work of repelling water and blocking UV, so letting it wear off means the bare clear coat starts taking the damage again.
Ceramic coatings are the longer-lasting option. A professionally applied coating can hold up for one to three years, while consumer spray-on versions typically last six to twelve months. They bond to the clear coat instead of sitting on top of it the way wax does, which is why they hold up to washing so much better — though they still don’t replace an occasional wax top-up for best results.
Frequently Asked Questions
How Do You Buffer Your Car?
To buffer your car, wash and dry it thoroughly. Apply a small amount of polish to a buffer pad. Use circular motions to buff the car, maintaining even pressure. Work in sections for best results. Finish by wiping with a clean microfiber cloth for a glossy shine.
Is Buffing Good For The Car?
Buffing is beneficial for a car. It removes surface imperfections, enhances shine, and protects the paint. Regular buffing maintains the car’s appearance and can increase its resale value. Use quality products and tools for best results. Avoid over-buffing to prevent damage to the car’s paint.
Do You Buff A Car Wet Or Dry?
Buff a car when it’s dry for optimal results. Dry surfaces ensure the compound adheres properly. This prevents streaks and enhances shine. Use a clean, soft pad for best outcomes. Always follow product instructions for specific guidelines.
What’s The Difference Between A Buffer And A Polisher?
A buffer smooths surfaces by removing scratches and imperfections. A polisher enhances shine by applying wax or polish. Buffers focus on surface leveling, while polishers focus on surface gloss. Both tools improve finish quality but serve distinct purposes in detailing.
Conclusion
Buffing works because it’s a leveling process, not a cover-up: wash the car first, cut with compound where oxidation or scratches are heaviest, polish to bring back the gloss, and keep the pad moving the entire time to avoid burning through the clear coat.
Wipe everything down with a clean microfiber towel once you’re done, and check the finish in direct sunlight before calling it finished. The first full buff on a neglected car takes patience, but every wash after that gets easier to keep looking right.
A couple of hours with the right pads and products gets most cars back to a finish that rivals a professional detail — for a fraction of what a detail shop would charge.
Products related to this article
Sponsored / affiliate links. As an Amazon Associate I earn from qualifying purchases. I may earn additional commission from eligible campaigns.