Headlight Restoration vs Headlight Replacement: Which Wins?
Restore cloudy headlights when the lens is yellowed, hazed, or lightly pitted; replace the assembly when the housing leaks, the reflector is burned, the tabs are broken, or the lamp no longer meets output. Bad calls reduce night visibility, waste money, and can leave you with unsafe light. This guide compares safety, beam output, parts condition, and total cost so you can choose the right fix.
Headlight restoration vs headlight replacement: the real trade-off
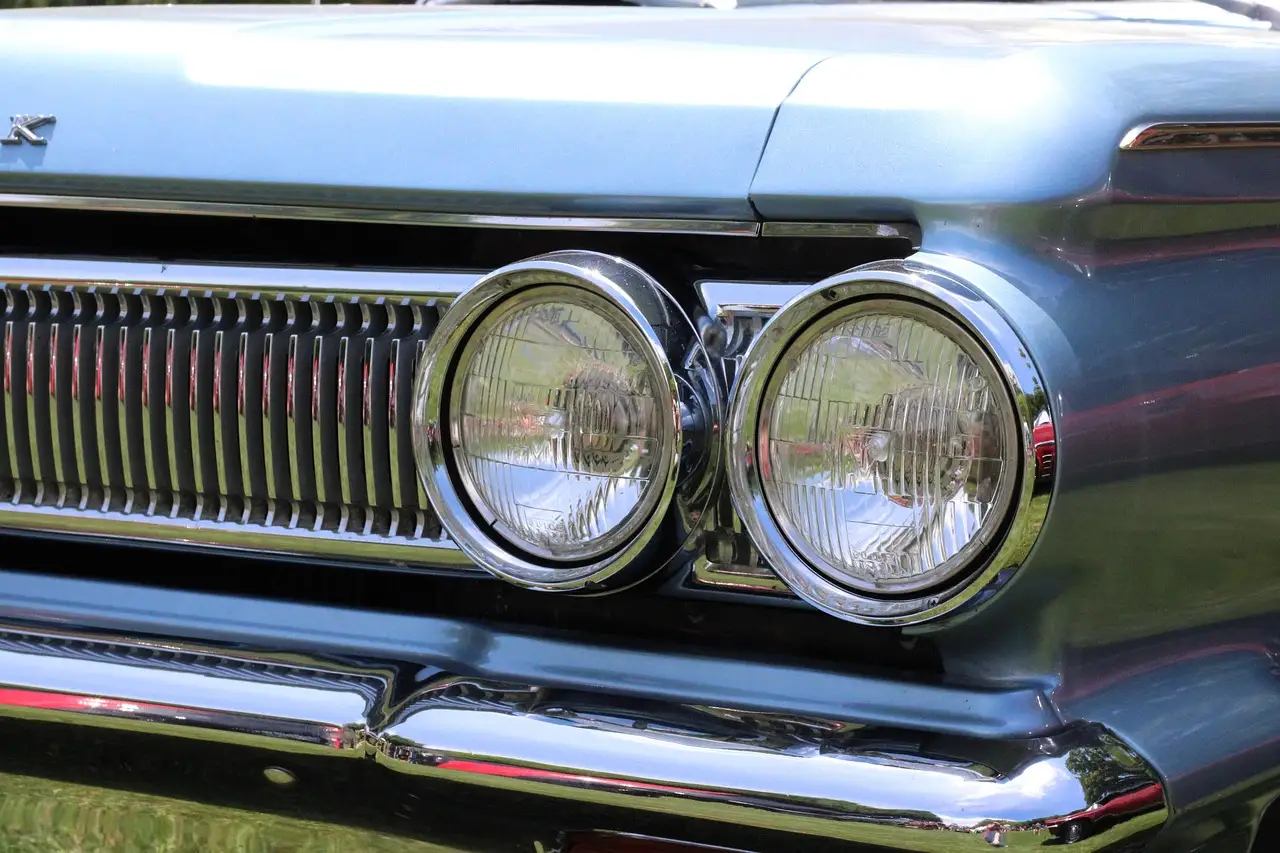
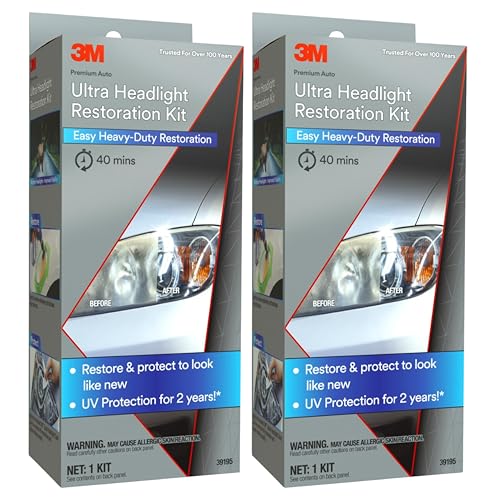

Restoration is the right move when the problem sits on the outside of a polycarbonate headlight lens: UV oxidation, haze, yellowing, and light pitting. Replacement is the right move when the headlight housing, seals, reflector, projector, LED module, or wiring has failed. The question is not which looks cleaner. It is which one restores safe light for the least total cost over how long you plan to keep the car.
| Decision factor | Headlight Restoration | Headlight Replacement | Winner |
|---|---|---|---|
| Up-front cost | Lowest cost if the lens is only oxidized or hazy | Higher cost because you buy a full assembly and may pay labor | Headlight Restoration |
| Fixes leaks, cracks, broken tabs, internal failure | No | Yes, when the assembly is damaged or worn out | Headlight Replacement |
| Night output and beam pattern recovery | Good when haze is the main issue and the optics are otherwise intact | Best when the reflector, projector, LED, or optics are compromised | Headlight Replacement |
| Total value over ownership time | Best for short ownership or a clean lens-only problem | Best when repeated restoration would cost more over time | Tie |
Up-front cost
Restoration usually wins on first cost because you are paying for sanding, polishing, and a UV hardcoat or sealant, not a full assembly. Headlight restoration kits often include sandpaper, polish, and sealant; some kits require a drill. Replacement can be far more expensive, and full replacement on some vehicles is listed at $200-$800+ per side.
Damage coverage
Replacement wins once the problem moves past the lens surface. Cracks, failed seals, broken mounting tabs, condensation inside the housing, and internal reflector or electronics damage are generally not issues that polishing can fix. A headlight housing must be intact and sealed for restoration to make sense.
Light output and beam shape
Restoration can recover usable light when oxidation is scattering the beam through a cloudy lens. It cannot fix a burned reflector, fogged projector lens, or failed LED driver. If one headlight throws a weak, scattered pattern on a wall while the other stays sharp, the issue may be deeper than surface haze.
Total value over ownership time
If you plan to keep the car only a short time, restoration can often give the better return as long as the housing is sound. For a vehicle you expect to keep for several years, replacement can start to make more sense when the lens keeps hazing, the seal is aging, or the assembly already shows internal wear. The longer you keep the car, the more repeated restoration cost matters.
How to decide: the 3-part inspection scorecard
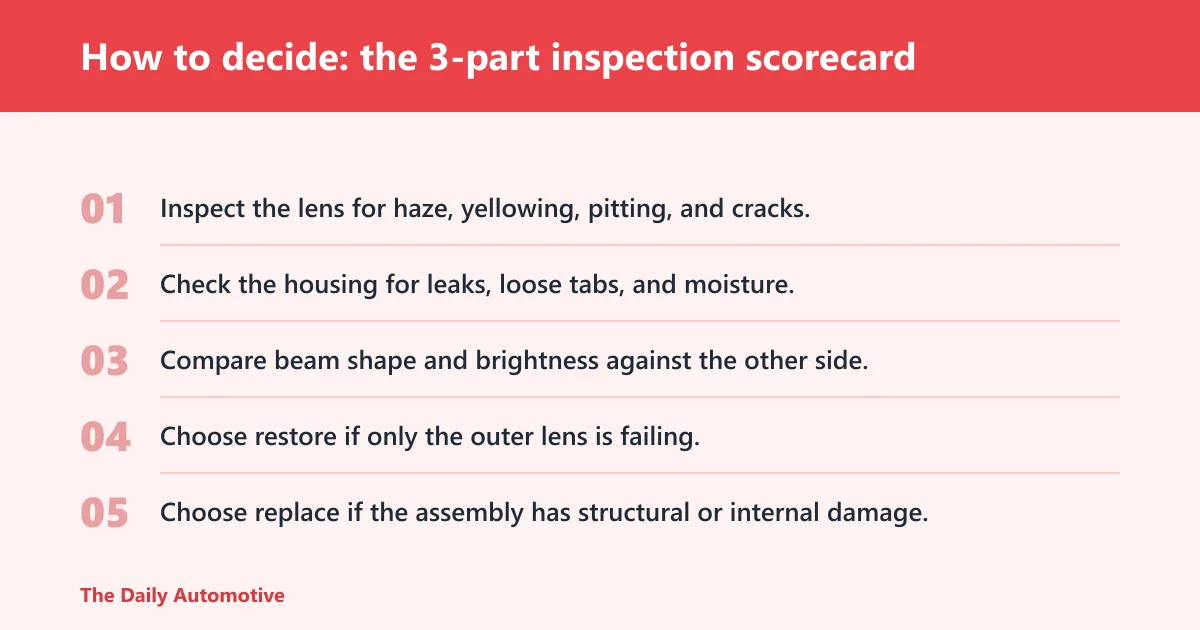
Use three checks before you buy parts: lens surface condition, housing integrity, and light output. That separates cosmetic wear from a failed assembly. If any one of those checks points to internal damage, replacement gets much harder to avoid.
Lens surface condition: haze, oxidation, pitting, cracks
Polycarbonate headlight lenses commonly yellow and haze from UV oxidation. That outer film can feel rough or gritty, and light surface pitting can often be corrected. Deep pitting, spider cracks, or a cracked lens are different problems. Those usually push you toward replacement.
Housing integrity: seals, tabs, leaks, and moisture
The housing must stay dry and closed. Cracks, broken tabs, or moisture intrusion mean the unit is failing as an assembly. Condensation inside the lamp is a strong clue that polishing the outside will not solve the real issue.
Light output: beam pattern, scatter, and night-time usefulness
Check both headlights at night or against a wall. Look for beam cutoff, even shape, and similar brightness side to side. If the beam is scattered, uneven, or dim even after lens cleaning, the lens may not be the only problem.
- Inspect the lens for haze, yellowing, pitting, and cracks.
- Check the housing for leaks, loose tabs, and moisture.
- Compare beam shape and brightness against the other side.
- Choose restore if only the outer lens is failing.
- Choose replace if the assembly has structural or internal damage.
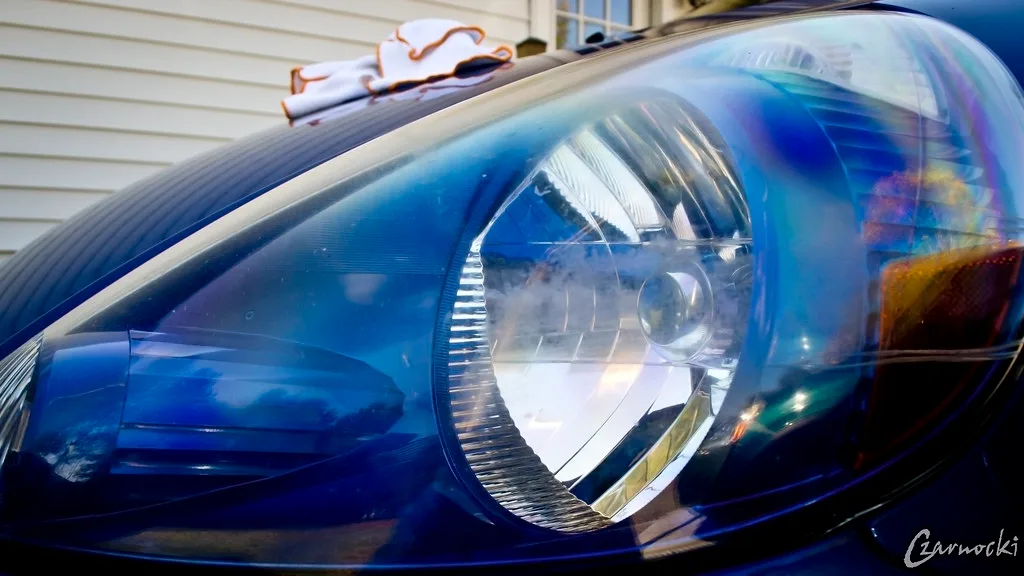
When should I restore headlights instead of replacing them?
Restore headlights when the outer lens is the only problem and the housing is dry, sealed, and intact. A restoration kit is enough when oxidation, haze, yellowing, or light pitting is reducing output but the reflector and electronics still work normally. Professional restoration still makes sense when you want better prep, better sealing, or no DIY risk.
Best-case signs for restoration
The lens looks cloudy, but the housing is dry. The beam pattern is still even. There are no cracks, no broken tabs, and no inside fog. That is the cleanest restoration case, because the issue is surface damage rather than assembly failure.
When a restoration kit is enough
A DIY kit tends to work best on a halogen reflector headlamp with moderate UV haze and no internal damage. Results depend on prep, sanding, polishing, and a proper UV sealant or hardcoat. If the lens is only fogged on the outside, a kit can return a lot of usable light.
When professional restoration still makes sense
Choose a pro when the lens is badly oxidized but the assembly is still sound, or when you want the work done without buying tools. A good service is still limited by the same physics: it can clear the lens, but it cannot fix broken optics, moisture, or bad electronics.
When is headlight replacement the better call?
Replacement is the better call when the assembly has structural damage, internal failure, or recurring leaks. If condensation, cracked lenses, damaged reflectors, broken tabs, or dead electronics are present, polishing the outside will not restore safe output. That is an assembly problem, not a surface problem.
Cracked lenses and failed seals
A crack or bad seal lets water and dirt enter the lamp. Once that happens, moisture can damage reflectors, bulbs, connectors, and control modules. Replacement is usually the only durable fix because the housing can no longer protect the lighting parts.
Condensation or moisture inside the housing
Moisture inside the housing can point to a failed seal, a vent issue, or a crack. Polishing does not dry the inside or stop the leak. If fog returns after drying, the lamp is telling you the assembly itself is not healthy.
Internal reflector, projector, LED, or wiring damage
Modern headlights may contain projectors, LED boards, drivers, or other electronics inside the housing. If the beam is weak, patchy, or one side is dead, the fault may be internal. In those cases, a replacement assembly may be the only repair that brings the lamp back to proper output.
What does each option cost over time?
Restoration is cheaper up front, but replacement can be the better value if the lamp is already failing in more than one place. DIY restoration kit costs are usually the lowest path, professional restoration costs more, and replacement assembly cost rises fastest once labor and modern electronics enter the picture. The right answer depends on how long you plan to keep the car.
| Cost path | Headlight Restoration | Headlight Replacement | Winner |
|---|---|---|---|
| DIY parts/materials | Kit with sandpaper, polish, and sealant | Not applicable | Headlight Restoration |
| Professional service | Moderate cost, but still tied to the lens condition | Higher because the assembly must be removed and swapped | Headlight Restoration |
| Long-term repeat cost | Can rise if the UV coating fails and haze returns | Often lower if the old unit keeps failing or leaking | Tie |
DIY restoration kit cost versus professional restoration
DIY is the least expensive route when the lens only needs surface correction. Professional restoration adds labor, but it can be worth it if you want stronger prep or a better sealant application. Still, neither option solves a cracked housing or internal lamp failure.
Replacement assembly cost versus labor
Replacement cost climbs because you are buying more than a lens. A full headlight assembly may include built-in electronics, projectors, or LEDs, and that changes labor and parts price fast. For some vehicles, replacing one side is a major spend even before coding or aiming work.
How ownership length changes the value equation
If you are selling soon, restore the lens only if the rest of the assembly is healthy. If you are keeping the car for years, the math shifts toward replacement when the same headlight has already oxidized again or the seal is weak. Repeated restoration after poor sealing can become false economy.
How long does restoration last, and what shortens it?
Restoration can last well enough to be worthwhile, but it is not permanent. Durability depends on whether the lens gets a proper UV hardcoat or sealant after sanding and polishing, and on how much sun the vehicle sees. Poor prep and weak UV protection are the main reasons haze comes back.
Why UV hardcoat or sealant matters
After sanding removes the damaged layer, the fresh polycarbonate surface needs protection. Without a UV hardcoat or sealant, the lens is exposed again and oxidation returns faster. That is why the finishing step matters as much as the polishing step.
Why poor prep leads to repeat haze
Leftover oxidation, uneven sanding marks, or skipped sealant make the finish fail early. Layton Car Care notes that hazing can return, often after only a year. That makes cheap, incomplete work a poor value if you expect the car to stay in service.
Why some headlights age faster than others
Sun exposure, heat, road grime, and cleaning habits all affect how fast a polycarbonate lens turns cloudy again. Some headlights also wear faster because the coating is thin or already degraded. Older designs and poor aftermarket parts can age much sooner than a well-sealed original assembly.
Choose Headlight Restoration if… / Choose Headlight Replacement if…
Choose restoration when the lens is the only failing part. Choose replacement when the assembly is failing as a unit. That simple split keeps you from paying for polish work on a headlight that already needs a new housing, optics, or electronics.
Choose headlight restoration if…
Choose it if the lens is yellowed, hazed, or lightly pitted, the housing is dry, and the beam pattern is still even. It also fits a short ownership horizon, a halogen reflector lamp with surface oxidation, or a case where the cost of a new assembly is hard to justify.
Choose headlight replacement if…
Choose it if the lens is cracked, the housing leaks, the tabs are broken, condensation keeps returning, the reflector is burned, or the LED or projector electronics have failed. Replace one side if the other is healthy and still matches output. Replace both if the pair is aging together and you want even brightness and color.
Frequently asked questions
headlight restoration vs replacement
Restoration fixes lens surface damage, while replacement fixes assembly problems. If the issue is haze, yellowing, or light pitting, restoration usually wins on cost. If the lamp leaks, the reflector is damaged, or electronics have failed, replacement is the safer and more durable choice.
is headlight restoration worth it
It is worth it when the housing is intact and the lens is the only weak point. That is especially true for a car you plan to keep for a short time, or when both headlights still throw a clean, even beam after the outer haze is removed.
can headlights be restored
Yes, many can. Polycarbonate headlight lenses with UV oxidation, haze, and yellowing are common restoration cases. The fix works best on surface damage. It does not cure cracks, failed seals, moisture inside the housing, or internal reflector and electronics problems.
How much does headlight restoration cost compared with replacement?
DIY restoration is usually the lower-cost option because you buy a kit instead of a full assembly. Professional restoration costs more but still usually less than replacement. Full replacement can run far higher, and Headlight Restore US lists it at $200-$800+ per side.
Will restoration fix cloudy headlights with moisture inside?
No. Moisture inside the housing points to a leak, failed seal, or crack. Restoration can clear the outside lens, but it will not remove internal condensation or fix the path that lets water in. That situation usually calls for replacement.
How long does headlight restoration last before it turns cloudy again?
It depends on the prep and the UV protection applied after sanding and polishing. A proper UV hardcoat or sealant improves durability, while weak sealing can let haze return fairly fast. Layton Car Care notes that hazing can return, often after only a year.
Products related to this article
Sponsored / affiliate links. As an Amazon Associate I earn from qualifying purchases. I may earn additional commission from eligible campaigns.