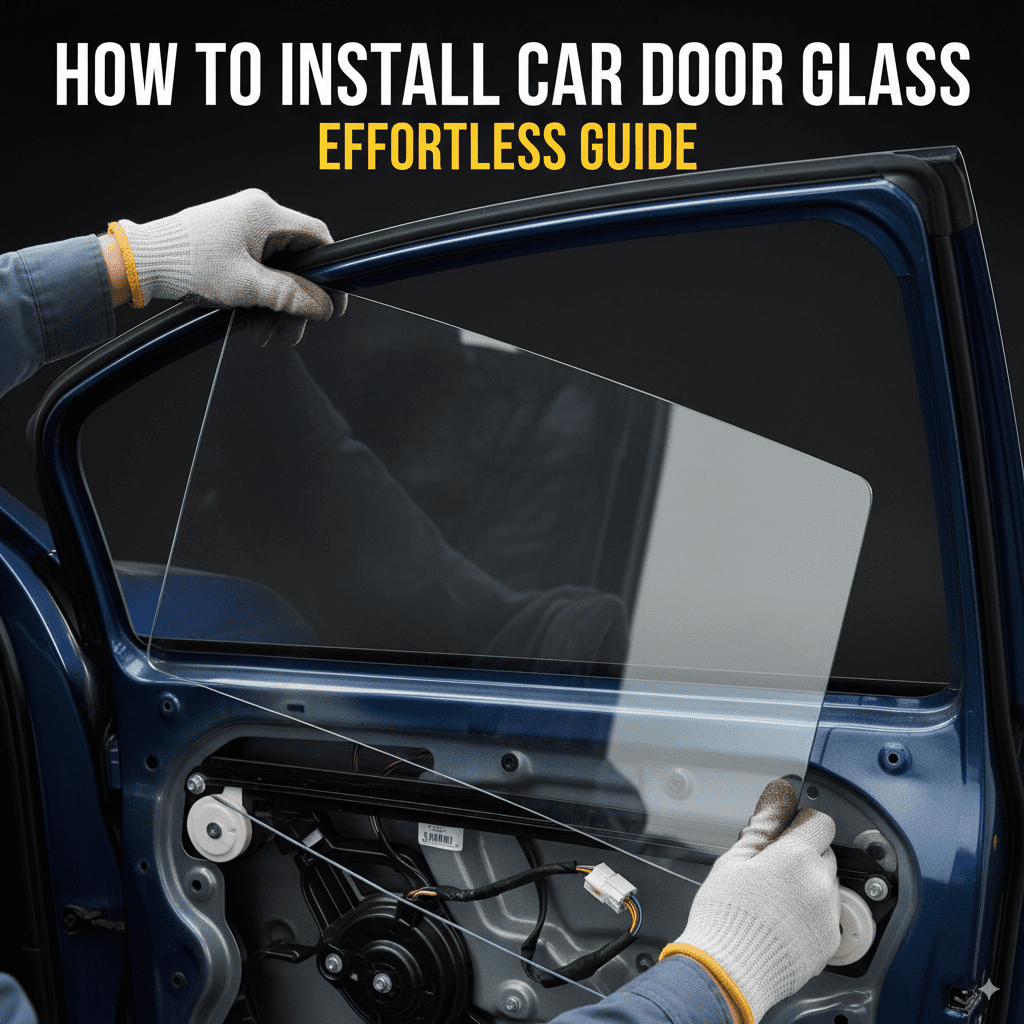
How to Install Car Door Glass: Effortless Guide
Learn how to install car door glass yourself with this easy-to-follow guide. We break down the process into simple steps, helping you save money and gain confidence in basic auto repair. Get your car door window back in place safely and effectively.
Hey there! Ever had your car door glass break or get damaged? It’s a real hassle, I know. Whether it’s from an accident, a break-in, or just wear and tear, a missing or cracked window can make your car feel less secure and comfortable. Driving with a damaged window isn’t just annoying; it can let in weather, noise, and even affect your car’s security. But here’s the good news: replacing car door glass doesn’t have to be a super expensive trip to the mechanic. With the right tools and a little patience, you can handle this job yourself! This guide is made to make it simple and stress-free, perfect for anyone new to car repairs. We’ll walk through every step, making sure you feel confident and ready to get your car back to perfect. Let’s dive in and get that window back where it belongs!
Why Replace Your Car Door Glass Yourself?
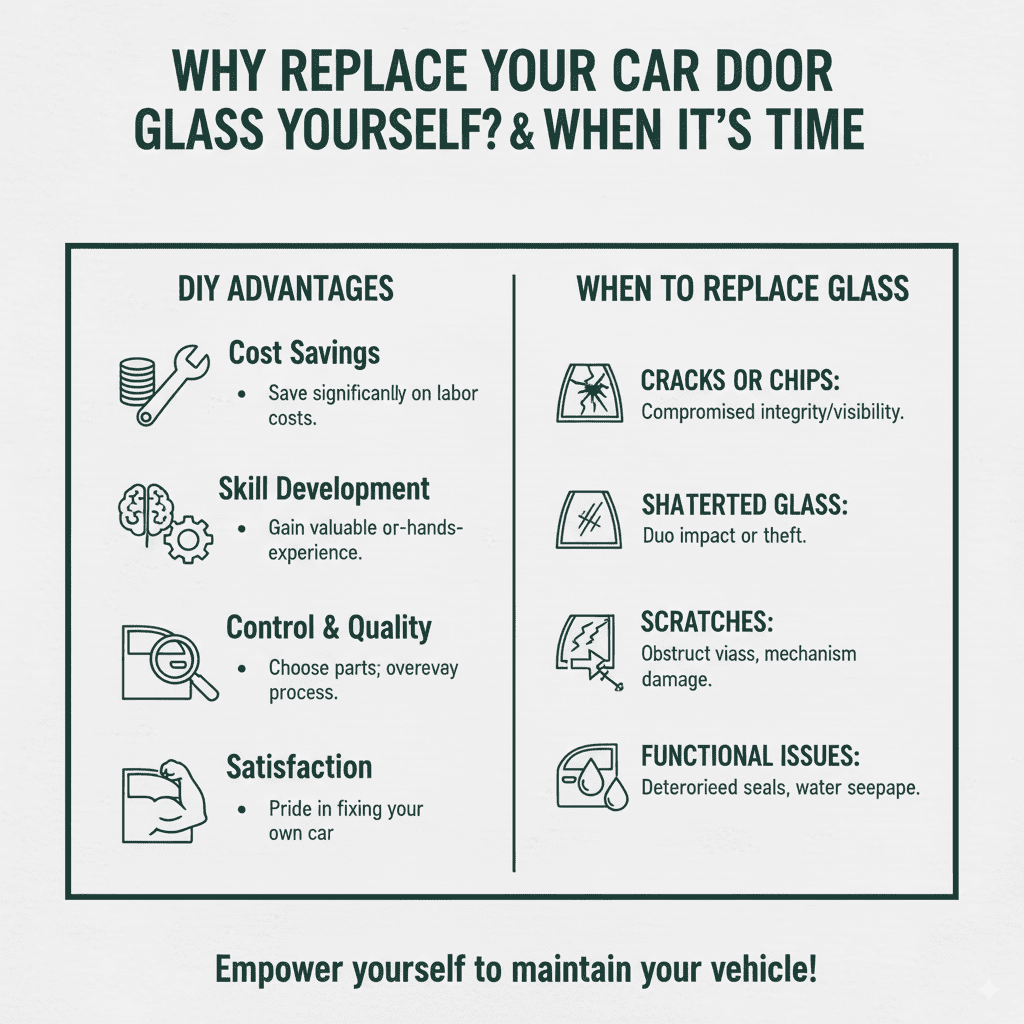
Taking on the task of replacing your car door glass might seem a bit daunting at first, but it offers some fantastic benefits, especially for budget-conscious car owners and DIY enthusiasts. The most obvious advantage is the significant cost savings. Professional auto glass shops charge for their labor, which can add a substantial amount to the total bill. By performing the installation yourself, you’re essentially cutting out that labor cost altogether, leaving you with just the price of the replacement glass and perhaps a few new tools.
Beyond the financial aspect, there’s immense satisfaction and confidence that comes from successfully completing a repair on your own vehicle. It’s a great way to learn more about your car’s mechanics and build practical skills that can be used for future maintenance and repairs. Plus, you have complete control over the process and the quality of the parts used. When you’re done, you’ll have the pride of knowing you fixed your car yourself, which is a powerful feeling!
When is it Time to Replace Your Car Door Glass?
Several situations might call for replacing your car door glass. The most common reasons include:
- Cracks or Chips: Even small chips can spread over time, compromising the structural integrity of the glass and your visibility.
- Shattered Glass: This often happens due to impact from accidents or attempted theft.
- Scratches: Deep scratches can obstruct your view and make the glass look unsightly.
- Functional Issues: Sometimes, the mechanisms that raise and lower the window can damage the glass, or the glass itself might be loose and not stay in place.
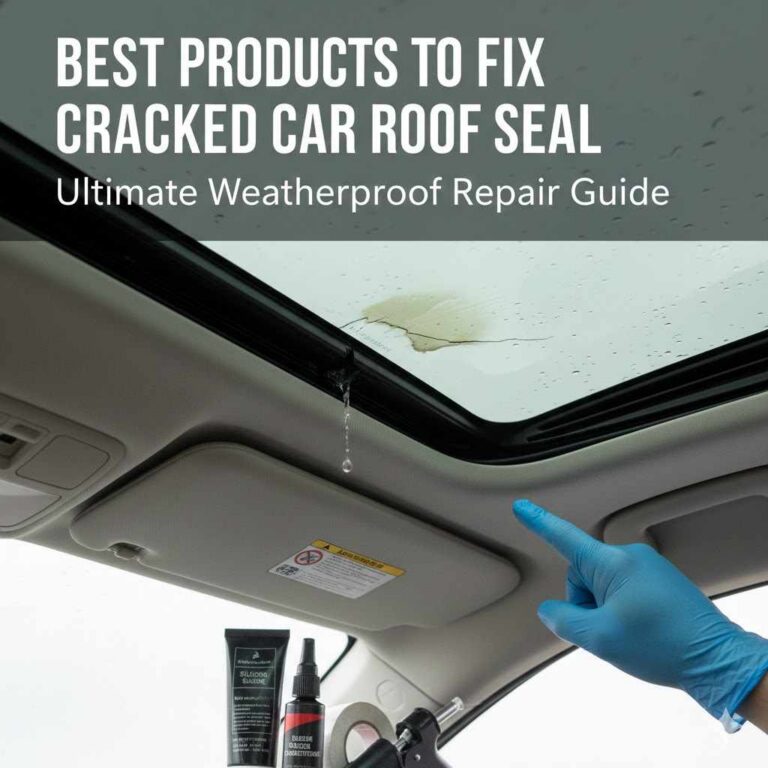
- Leaks: If the seals around your door glass have deteriorated, water can seep in, potentially damaging your car’s interior and leading to the need for glass removal and resealing.
Gathering Your Tools and Supplies
Before you start, ensure you have everything you need. Having all your tools and materials ready will make the process smoother and prevent frustrating interruptions. Think of this as your car door glass installation toolkit!
Essential Tools You’ll Need:
- Safety Glasses: Absolutely crucial to protect your eyes from any flying glass shards.
- Work Gloves: Thick, durable gloves will protect your hands from sharp edges.
- Panel Removal Tools: These plastic tools are designed to pry open door panels without damaging them.
- Screwdrivers: A set of Phillips and flathead screwdrivers, possibly including a long one for hard-to-reach screws.
- Wrenches or Socket Set: You’ll likely need these for bolts connected to the window regulator or motor.
- Pliers: For gripping and manipulating small parts.
- Utility Knife or Scraper: To carefully remove old sealant or adhesive.
- Caulking Gun: If you need to apply new adhesive or sealant.
- Shop Vacuum: To clean up any broken glass fragments afterwards.
- Duct Tape: Useful for temporarily securing panels or holding parts in place.
Replacement Parts and Materials:
- New Car Door Glass: Ensure it’s the correct make, model, and year for your vehicle.
- Window Sealant/Adhesive: A specialized automotive U-channel urethane adhesive or a strong, flexible automotive sealant designed for glass. Reputable brands like Permatex or 3M offer suitable products. Always check product specifications to ensure it’s compatible with automotive glass.
- New Weatherstripping (Optional but Recommended): If your old seals are brittle or damaged, now is the time to replace them for optimal sealing.
- Clean Rags or Microfiber Cloths: For cleaning surfaces.
When selecting replacement glass, it’s essential to get the exact part for your car. You can usually find this information in your car’s owner’s manual or by looking up your vehicle’s specifications online. Many auto parts stores and online retailers offer a wide selection of car glass. For finding the right glass and compatible sealants, resources like HowStuffWorks’ article on car glass can provide helpful background information. Always make sure to order from a reputable supplier to ensure quality.
Step-by-Step Guide: How to Install Car Door Glass
Replacing car door glass involves removing the interior door panel, accessing the window assembly, replacing the glass, and reassembling everything. Follow these steps carefully for a successful installation.
Step 1: Prepare Your Work Area and Vehicle
Park your car on a flat, level surface. Engage the parking brake. Open the door you’ll be working on. It’s often a good idea to have a clean bucket or container ready to hold screws and small parts so you don’t lose them. Lay down a drop cloth or old towels inside and outside the car to catch any glass fragments and protect your paintwork.
Step 2: Remove the Interior Door Panel
This is often the most intricate part. The exact method varies by car model, but here’s a general approach:
- Locate Screws: Look for screws hidden behind small plastic caps, in the door handle recess, or along the edges of the panel. Your panel removal tools will be handy here.
- Pry Off Trim Pieces: Use your plastic panel removal tools to gently pry away trim pieces around the door handle, window crank (if manual), and door lock. Be patient; you don’t want to break these.
- Disengage Clips: Once screws are removed, carefully insert a panel removal tool between the door panel and the metal door frame. Gently pry outwards to unclip the fasteners. Work your way around the panel, releasing all clips.
- Disconnect Wires and Cables: Once the panel is loose, carefully pull it away from the door frame. You’ll likely find wires connected to the power window switch, door lock actuator, and interior light. There might also be a cable for the door handle. Disconnect these electrical connectors and cables. You may need a small screwdriver or pliers to release locking tabs on the connectors.
- Remove the Panel: Once everything is disconnected, you should be able to lift the door panel up and off the door frame.
Pro Tip: Take pictures or notes as you go, especially of where screws came from and how wires were connected. This makes reassembly a breeze!
Step 3: Access the Window Mechanism
With the door panel removed, you’ll see the internal workings. There’s often a metal or plastic backing plate behind the door handle, and you might need to remove this. You’ll also see the window regulator (the mechanism that moves the glass up and down) and the window motor (if it’s a power window). The glass is typically held in place by the regulator. You might need to:
- Lower the Glass Slightly: If the old glass is intact, you may need to carefully lower it to a position where the mounting clamps holding it to the regulator are accessible. If you have power windows, you might need to temporarily reconnect the battery to operate the motor briefly. If it’s a manual crank, you can just turn the crank.
- Loosen Window Clamps: The glass is usually secured to the regulator arms by clamps or bolts. Loosen these bolts, but don’t remove them completely yet.
- Remove Old Sealant (if applicable): If the glass was glued in (less common for side doors but possible), carefully use a scraper or utility knife to cut through the old adhesive.
Step 4: Remove the Old Door Glass
Once the clamps are loose and the glass is in a suitable position:
- Carefully lift or slide the glass out of its tracks. If it’s broken, you’ll need to carefully remove all the pieces, making sure no shards are left behind. Use your shop vacuum to suck up any tiny fragments.
- Inspect the window tracks and seals. Clean them thoroughly. If the old weatherstripping is damaged or brittle, it’s highly recommended to replace it now.
Safety Alert: Handling broken glass requires extreme care. Always wear heavy-duty gloves and eye protection during this step.
Step 5: Install the New Car Door Glass
This is the reverse of removal, but with new glass!
- Position the New Glass: Carefully place the new piece of glass into the door frame. Align it with the window regulator clamps.
- Secure the Glass: Gently lower or raise the glass until the mounting points align with the regulator clamps. Re-insert the bolts or screws for the clamps and tighten them securely. Don’t overtighten, as this could crack the new glass.
- Test the Movement: If you disconnected the battery, reconnect it. Test the power window switch or manual crank to ensure the glass moves up and down smoothly without binding. Adjust the clamps as needed.
Step 6: Apply New Sealant (If Necessary)
If your glass is adhered with an adhesive, or if you are replacing seals, apply the new automotive-grade window sealant. Follow the instructions on the sealant product carefully. Typically, this involves applying a bead of sealant around the perimeter where the glass meets the frame or sits in its channel, ensuring a watertight seal.
Step 7: Reinstall the Interior Door Panel
This is the “reassembly is the reverse of disassembly” part:
- Reconnect Wires and Cables: First, reconnect all electrical connectors for the window switch, door locks, and any other components. Re-attach any cables for the door handle and lock mechanisms.
- Align the Panel: Carefully position the door panel back onto the door frame, aligning the clips with their corresponding holes.
- Secure the Panel: Gently tap or push the panel into place, ensuring all the clips snap in securely. Re-install all the screws you removed earlier. Reattach any trim pieces.
Step 8: Final Checks and Cleanup
Once the door panel is back on, test all the functions again:
- Operate the power windows (or manual crank) to ensure smooth movement and a good seal.
- Test the door locks and the exterior door handle.
- Close the door and check for any unusual noises or gaps.
Finally, use your shop vacuum to clean up any stray glass fragments from inside and outside the car. Dispose of broken glass safely and responsibly.
Understanding Window Regulators and Motors
The window regulator is the heart of your car’s window system. It’s the mechanical arm or scissor-like mechanism that lifts and lowers your glass. The window motor (in power windows) provides the force to move this regulator.
Common Issues with Window Regulators and Motors
- Mechanical Failure: The arms can bend, gears can strip, or springs can break, leading to windows that won’t move or get stuck.
- Motor Burnout: The electrical motor can fail, often with a distinct clicking or grinding sound.
- Glass Support Failure: The clamps or channels that hold the glass to the regulator can break or loosen, causing the glass to tilt or even fall into the door.
If you suspect these parts are failing, it’s best to address them while replacing the glass. Replacing a faulty regulator or motor often involves similar steps to glass replacement, as you need to access the same internal door components. For more in-depth information on diagnosing and replacing these parts, you can refer to guides like those found on the U.S. Department of Transportation’s website, which often discusses vehicle safety and maintenance standards (NHTSA.gov).
Table: Troubleshooting Common Car Door Glass Problems
Here’s a quick guide to help you identify and potentially fix common issues:
| Problem | Possible Cause | Solution |
|---|---|---|
| Window won’t move up or down. | Blown fuse, faulty motor, broken regulator, bad switch. | Check fuses. Test motor and switch for power. Inspect regulator for damage. Replace faulty component. |
| Window moves slowly or makes grinding noises. | Stretched or broken regulator cables, weak motor, obstruction in tracks. | Inspect regulator for wear. Lubricate tracks. Consider replacing motor or regulator. |
| Glass is loose or tilted. | Loose window clamps, worn regulator. | Tighten glass clamps. Inspect regulator for damage and replace if necessary. |
| Window gets stuck halfway. | Obstruction in tracks, bent regulator arm, failing motor. | Clear debris from tracks. Inspect regulator. Test motor. |
| Water leaks into the car when it rains. | Damaged or old weatherstripping, faulty seal along the glass edge. | Inspect and replace weatherstripping. Reapply automotive sealant around glass perimeter. |
Pros and Cons of DIY Car Door Glass Installation
Deciding whether to tackle this yourself or hire a professional is a big choice. Weighing the advantages and disadvantages can help you make the best decision for your situation.
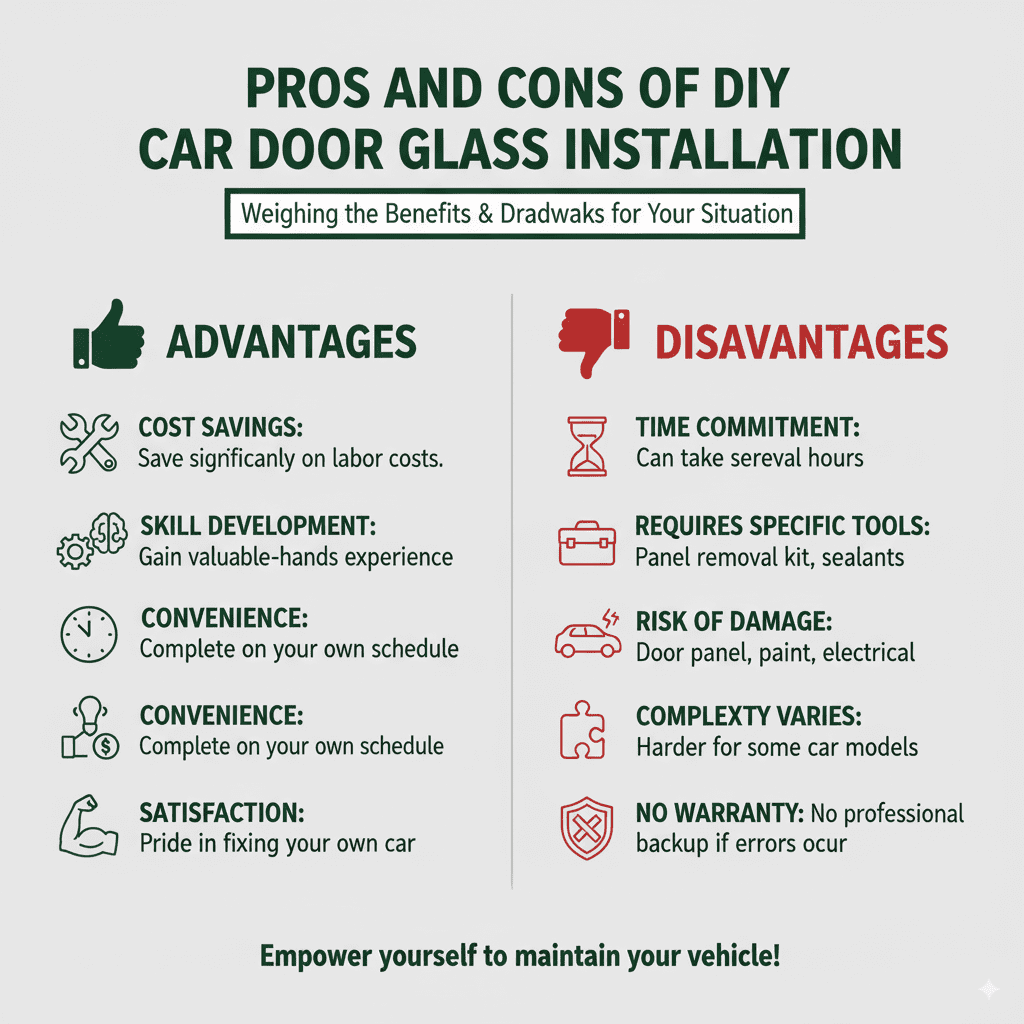
Advantages of DIY Installation:
- Cost Savings: As mentioned, you save significantly on labor costs. The price of the glass and a few basic tools is much less than a professional installation fee.
- Skill Development: You gain valuable hands-on experience with car repair, boosting your confidence for future projects.
- Convenience: You can often complete the job on your own schedule, without needing to book an appointment or wait at a shop.
- Satisfaction: There’s a real sense of accomplishment in fixing your own car.
Disadvantages of DIY Installation:
- Time Commitment: The process can take several hours, especially if it’s your first time.
- Requires Specific Tools: You need specialized tools like panel removal kits and quality sealants, which can add to the initial cost if you don’t already own them.
- Risk of Damage: If not done carefully, you could damage the door panel, paint, or electrical components. Incorrect installation can also lead to leaks or a poorly fitting window.
- Complexity Varies: Some car models have much more complicated door panel designs and internal mechanisms, making the job harder.
- No Warranty: If something goes wrong after your DIY installation, you won’t have a professional shop’s warranty to fall back on.
For many, the benefits such as cost savings and the learning experience outweigh the potential drawbacks, especially for simpler door panel designs. However, if you’re uncomfortable with mechanical work or lack the necessary tools, seeking professional help might be the safer and more efficient option.
Frequently Asked Questions (FAQ) about Installing Car Door Glass
Q1: How long does it typically take to install car door glass?
A1: For a beginner, expect it to take anywhere from 2 to 4 hours. Experienced DIYers or mechanics can often do it in 1 to 2 hours. The complexity of your car’s door panel design can also affect the time needed.
Q2: Can I use regular household adhesive to install car door glass?
A2: No, absolutely not. You must use a specialized automotive U-channel urethane adhesive or a strong, flexible automotive sealant designed for glass. Regular adhesives won’t provide the necessary durability, flexibility, and weatherproofing required for automotive glass.
Q3: Is it safe to drive with a broken car door window?
A3: It’s not recommended. A broken window can compromise the structural integrity of the door and vehicle in certain impact scenarios. It also exposes the interior to the elements, theft, and flying debris. It’s best to get it replaced as soon as possible.