How to Install Car Radiator: Proven Effortless Guide
Quick Summary: Learn how to install a car radiator with this easy, step-by-step guide. We break down the process to make it simple for beginners, helping you save money and get your car back on the road safely.
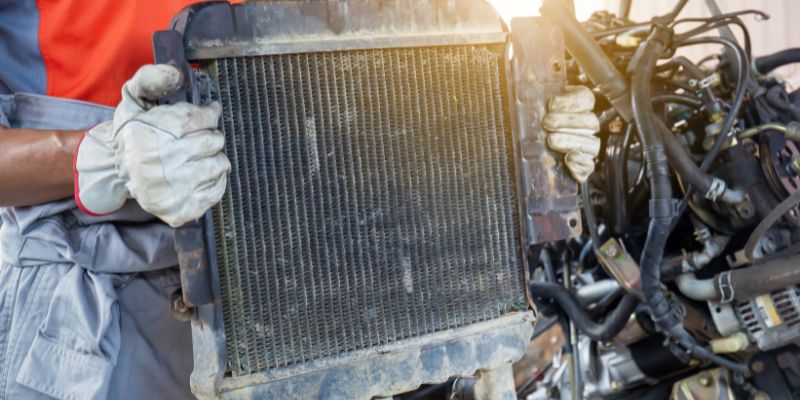
Experiencing Overheating? How to Install a Car Radiator with Confidence
Is your car’s temperature gauge creeping into the red zone? A faulty radiator is often the culprit. While it might sound daunting, replacing your car radiator is a manageable DIY project that can save you a lot of money compared to a professional repair. Many car owners feel intimidated by automotive tasks, but with the right guidance, you can tackle this yourself. This guide will walk you through each step, making the process clear and straightforward, so you can get your car cooling properly again.
We’ll cover everything from gathering the necessary tools and preparing your workspace to safely draining the old radiator and installing the new one. By the end, you’ll have the confidence and knowledge to perform this essential car maintenance task. Let’s get started on making your car run cooler!
Why Replacing Your Radiator is Important
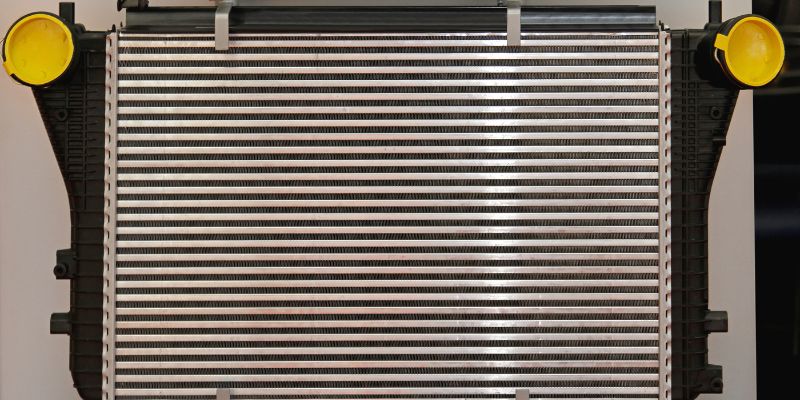
Your car’s radiator is a vital part of its cooling system. Its main job is to dissipate heat from the engine coolant, preventing your engine from overheating. When a radiator fails, it can lead to serious engine damage, including warped cylinder heads or seized engines. These repairs can be astronomically expensive. Regularly checking your radiator for leaks, damage, or blockages is crucial.
Signs of a failing radiator include:
- The temperature gauge consistently reading high.
- Coolant leaks under your car (often greenish, pinkish, or yellowish fluid).
- A sweet smell from the engine bay, indicating a coolant leak.
- Rust or debris visible in the coolant reservoir.
- Reduced heating capability in your car’s cabin.
Tools and Materials You’ll Need
Before you start, gather all the necessary tools and materials. Having everything ready will make the process smoother and safer. We’ve compiled a comprehensive list to ensure you’re well-prepared.
Essential Tools:
- New Radiator (ensure it’s the correct one for your car’s make and model)
- New Coolant (check your owner’s manual for the correct type and quantity)
- Drain Pan or Bucket (large enough to hold all the coolant)
- Pliers (for hose clamps)
- Screwdrivers (various types and sizes, often Phillips and flathead)
- Socket Set and Wrench Set (common sizes for radiator mounting bolts and hoses)
- Funnel (for adding new coolant)
- Gloves (to protect your hands from hot coolant and chemicals)
- Safety Glasses (to protect your eyes)
- Shop Rags or Paper Towels
- Jack and Jack Stands (if you need to lift the vehicle for access)
- Wheel Chocks (always use for safety when lifting a vehicle)
- Hose Removal Pliers (specialized tool for stubborn hoses)
- Flush Kit (optional, but recommended for a thorough cleaning)
Important Note on Coolant:
Always use the coolant specified in your vehicle’s owner’s manual. Mixing coolant types can damage your cooling system. Most modern cars use a 50/50 mix of antifreeze and distilled water. You can buy pre-mixed coolant or a concentrate that you mix yourself. Using distilled water prevents mineral buildup in the cooling system, which can cause corrosion.
Step-by-Step Guide: How to Install a Car Radiator
This section will guide you through the entire process of replacing your car radiator. Follow these steps carefully for a safe and successful installation.
Step 1: Prepare Your Workspace and Vehicle
Park your car on a flat, level surface. Engage the parking brake securely. If you need extra room, use wheel chocks to prevent the vehicle from rolling. Allow the engine to cool down completely. Never attempt to drain or work on the cooling system when the engine is hot, as the coolant can cause severe burns.
Step 2: Locate and Drain the Old Coolant
Open the hood and locate the radiator. It’s usually at the front of the engine bay, behind the grille. Find the radiator drain plug or petcock at the bottom of the radiator. Place your drain pan directly underneath it. Slowly open the drain plug. If your radiator doesn’t have a drain plug, you’ll need to disconnect the lower radiator hose. Use pliers to loosen the clamp, then carefully pull the hose off the radiator. Be prepared for the coolant to flow out quickly. Once drained, close the drain plug or reattach the hose carefully.
Safety Tip: Old coolant is toxic. Dispose of it properly according to your local regulations. Never pour it down the drain or onto the ground. Many auto parts stores accept used coolant for recycling.
Step 3: Disconnect Hoses and Electrical Connections
Once the system is drained, you’ll need to disconnect everything attached to the radiator:
- Upper and Lower Radiator Hoses: Use pliers to loosen the clamps on both ends of these hoses and detach them from the radiator.
- Transmission Cooler Lines (Automatic Transmissions): If your car has an automatic transmission, there will be two small lines running into the radiator’s transmission cooler. Carefully disconnect these using the appropriate tools. Be ready to catch any residual transmission fluid.
- Electric Fan (if applicable): If an electric cooling fan is mounted to the radiator, disconnect its electrical connector.
Step 4: Remove the Radiator Mounting Hardware
Radiators are typically held in place by mounting brackets or bolts. Remove any bolts, nuts, or clips securing the radiator to the vehicle. You might also need to remove the radiator fan shroud or the fan itself if it obstructs removal. Keep track of all bolts and parts, as you’ll need them for reinstallation.
Step 5: Remove the Old Radiator
With all hoses and mounting hardware disconnected, you can now carefully lift the old radiator out of the engine bay. It might be heavy, so get help if needed. Be cautious not to damage any surrounding components.
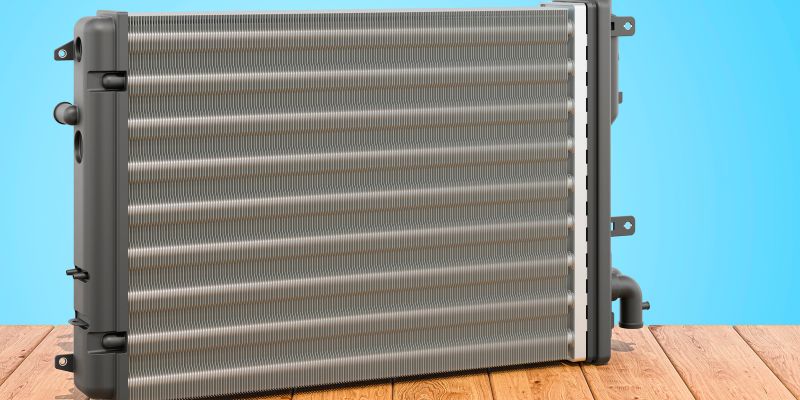
Step 6: Prepare the New Radiator
Before installing the new radiator, transfer any necessary components from the old one to the new one, such as the transmission cooler fittings or mounting brackets. Ensure the new radiator’s inlet and outlet ports are clean. If your new radiator didn’t come with new rubber isolation mounts or grommets, transfer them from the old radiator.
Step 7: Install the New Radiator
Carefully lower the new radiator into position, ensuring it aligns correctly with the mounting points. Reinstall any mounting hardware (bolts, nuts, brackets) to secure it in place. Don’t overtighten bolts, just make them snug.
Step 8: Reconnect Hoses and Transmission Lines
Attach the upper and lower radiator hoses to the new radiator, ensuring the clamps are tightened securely. If you disconnected transmission cooler lines, reconnect them to the new radiator. Make sure all connections are firm to prevent leaks.
Step 9: Reinstall the Fan and Shroud
If you removed the radiator fan or shroud, reinstall them now. Connect the electric fan’s electrical connector.
Step 10: Fill the Cooling System
Using your funnel, slowly add the correct type and amount of coolant to the radiator until it’s full. You’ll also need to fill the coolant reservoir. Check your owner’s manual for the exact coolant capacity.
Step 11: Bleed the Cooling System
This is a critical step often overlooked by beginners. Air trapped in the system can cause overheating. Start the engine and let it run. As it warms up, the thermostat will open, allowing coolant to circulate. Keep an eye on the coolant level in the radiator and reservoir, topping them up as needed. Some vehicles have bleed screws that need to be opened to release air. Consult your car’s manual for the specific bleeding procedure. You can find detailed information on bleeding cooling systems at resources like the U.S. Department of Energy’s Fuel Economy website, which offers general vehicle maintenance advice.
Step 12: Check for Leaks
With the engine running and the system filled, thoroughly inspect all hoses, connections, and the radiator itself for any signs of leaks. Let the engine reach operating temperature and check again. Shut off the engine and allow it to cool slightly, then re-check for leaks. Top off coolant if necessary.
Here’s a table summarizing the stages of the installation:
| Phase | Key Actions | Important Considerations |
|---|---|---|
| Preparation | Gather tools, ensure vehicle is cool and stable. | Safety is paramount; never work on a hot engine. |
| Drainage | Safely drain old coolant. | Proper disposal of coolant is essential. |
| Disconnection | Remove hoses, lines, and electrical connectors. | Keep track of all parts. |
| Removal | Unbolt and remove the old radiator. | Radiators can be heavy. |
| Installation | Position and secure the new radiator. | Ensure proper alignment. |
| Reconnection | Attach hoses, lines, and fan. | Tighten clamps securely. |
| Filling & Bleeding | Add new coolant and remove air. | Crucial for preventing overheating. |
| Testing | Check for leaks and proper operation. | Monitor temperature gauge. |
Common Issues and Troubleshooting
Even with careful work, you might encounter a few hiccups. Here’s how to handle them:
- Stuck Hoses: If radiator hoses are stuck, use hose removal pliers or gently twist the hose around the fitting to break the seal. Avoid forceful pulling that could damage the fitting.
- Leaking New Radiator: Ensure all clamps are tight and hoses are seated properly on the radiator necks. Check the drain plug on the new radiator if it has one.
- Overheating After Installation: This most commonly indicates trapped air in the system. Revisit the bleeding process, ensuring you’ve removed all air pockets.
- Transmission Fluid Leak: If you have an automatic transmission, leaks from the transmission cooler lines are common if they weren’t reconnected properly. Double-check these connections and the seals.
When to Call a Professional
While this guide empowers you to handle radiator replacement, there are times when it’s best to seek professional help. If your vehicle is particularly complex, if you encounter rusted or seized bolts that you can’t loosen, or if you’re uncomfortable at any stage, don’t hesitate to contact a qualified mechanic. Some more modern vehicles have complex systems and tight engine bays that make DIY repairs extremely challenging. You can also check with reputable automotive repair shops about their cooling system services to get an idea of costs and procedures.

Frequently Asked Questions (FAQ)
Q1: How long does it typically take to replace a car radiator?
A1: For a beginner, this job can take anywhere from 2 to 5 hours. Experienced mechanics can often do it in under an hour. Patience and careful work are key for your first time.
Q2: Can I reuse my old radiator hoses?
A2: It’s generally not recommended. Radiator hoses degrade over time and can become brittle or swollen. Replacing them with new ones is a smart preventative measure, especially if they look worn. It’s a relatively inexpensive part that can prevent future leaks and roadside breakdowns.
Q3: What happens if I don’t bleed the air out of the cooling system?
A3: Trapped air creates air pockets in the cooling system. These pockets impede the flow of coolant, leading to uneven heating and cooling. The most common result is that your engine will overheat, even with a new, properly installed radiator.
Q4: How do I know if my radiator is leaking?
A4: You might notice puddles of coolant (typically green, pink, or orange) under your car when it’s parked. You might also smell a sweet, syrupy odor, especially when the engine is warm, and see steam or a fine mist coming from under the hood.
Q5: What kind of coolant should I use?
A5: Always refer to your vehicle’s owner’s manual! There are different types of coolant (e.g., IAT, OAT, HOAT) that are not always compatible. Using the wrong type can cause corrosion and damage to your cooling system components. If unsure, your local auto parts store can help you find the correct coolant based on your car’s make and model.
Q6: Is it okay to simply top off the coolant instead of replacing the radiator if it’s low?
A6: If your coolant level is consistently low, it indicates a leak somewhere in the system, often starting with the radiator. While topping off can be a temporary fix, it doesn’t solve the underlying problem. It’s essential to find and fix the leak to prevent serious engine damage.
Conclusion
Replacing your car radiator might seem like a job for a seasoned mechanic, but as you’ve seen, with the right preparation and a methodical approach, it’s a very achievable DIY project. You’ve learned about the tools you’ll need, the step-by-step process to safely remove the old radiator and install the new one, and how to ensure your cooling system is properly filled and bled. Taking on this task not only saves you money but also builds your confidence in maintaining your vehicle. Remember to always prioritize safety by working on a cool engine and using proper safety gear. Enjoy the satisfaction of a job well done and a cooler-running car!