
How to Open Car Hood With Broken Cable: 4 Methods + Cost to Fix
A hood release lever that goes limp does not always mean the cable snapped. In the vehicle maker service bulletins we read for this guide, the stories are more varied: a cable end that popped out of its bracket, a lever that ran out of travel before the latch let go, and a hood that was simply waiting on its secondary latch. This guide helps you work out which one you have, then covers four ways to get the hood up, each tied to a maker procedure, plus the points where a shop is the safer call.
Quick Answer
Pull the interior lever once, smoothly, and note how it feels. A slack lever means the cable has likely snapped or slipped off its end; a lever that stops hard means it is binding. Then use the route your vehicle allows: reach the latch from the front, pull the cable by hand at the lever end, or reach the cable junction near the front wheel well. Never pry or force a painted hood, and check your owner’s manual or a dealer for the route your model uses.
What a Broken Hood Release Cable Really Looks Like
Match the feel of the lever to the likely cause before you touch anything else. The table below pairs each symptom with the cause named in maker bulletins and the method on this page to try first.
Best Inspection Mirror Pick for Hood Latch Access |
|
 |
General Tools 80560 Telescoping LED Lighted Inspection Mirror Before you choose a method, you need to see where the latch lever or cable end actually is. A lit, swiveling mirror lets you look behind the grille without removing anything.
|
As an Amazon Associate we earn from qualifying purchases. This is a spec-based pick from the listing, not a hands-on test.
| What you feel | Likely cause | Try first |
|---|---|---|
| Lever is slack, no tension, nothing moves at the latch | Cable snapped, or one end slipped out of its bracket or junction box (Acura service bulletin 18-067 and Kia SA431 both describe displaced cable ends) | Method 1 (front access), then Method 2 or 3 |
| Lever stops short or feels very stiff, hood does not move | Cable binding at a bad routing point, or the lever reaching the end of its travel before the latch lets go (Volvo trucks and Land Rover Discovery bulletins) | Stop pulling. Method 1 or Method 3 |
| Lever works, hood rises a little, then will not lift | Secondary latch still engaged, which is normal design (FMVSS 113) | Method 4 |
| Hood-ajar message or electric release buttons do nothing on a car with a powered latch | Latch actuator, switch or connector fault, not the cable (GM Corvette bulletin 21-NA-094) | Use the manual release if the car has one, then a shop |
| Lever pulls, you hear the latch click, hood stays locked | Latch seized or misaligned, cable may be fine | See our guide on fixing a car hood latch |
Why Pulling Harder Makes It Worse
An Acura service bulletin (18-067) for the 2019 RDX lists the symptom as a hood that will not open with the lever, and the cause as over-extending the lever, which dislodges the cables from the junction box. The fix was a new rear cable and lever, and the bulletin notes the hood cable is made of a front and a rear cable. A Land Rover bulletin for the 2017 to 2018 Discovery describes a lever that reaches its limit of travel while the hood may not release. The takeaway: one smooth pull to the normal end of travel tells you what you need to know. Repeated hard yanks add risk and no new information.
How to Open a Car Hood With a Broken Cable: 4 Methods
There is no universal route. Makers publish vehicle-specific procedures, and the examples below show the range. Work through them from least to most disassembly, and treat each one as a model of what to look for, not as instructions for a different vehicle.
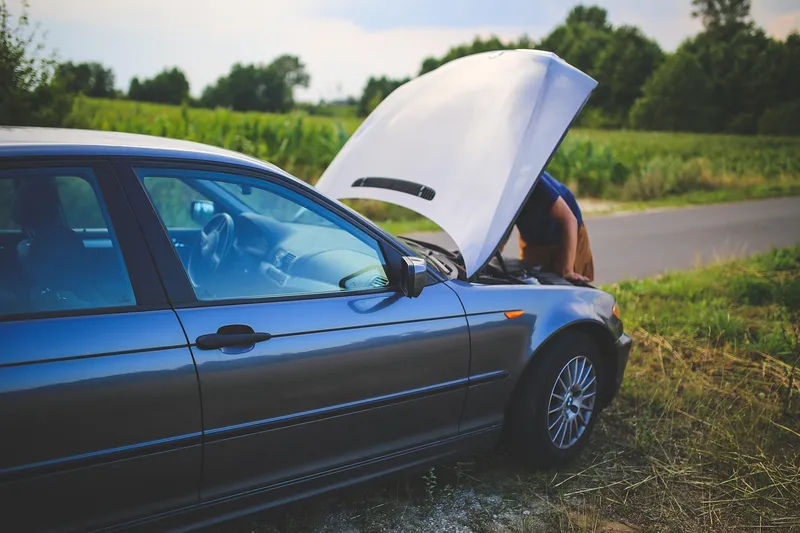
Method 1: Release the Latch From the Front
For the 2010 to 2015 Chevrolet Equinox and GMC Terrain, a GM bulletin (PI1043B) describes an emergency tool made from a #2 Phillips screwdriver about 320 mm (22 in) long, bent 90 degrees at 63 mm from the tip. Masking tape is placed about 130 mm from the bend to show insertion depth and to protect the paint on the hood edge. The tool goes in under the hood and above the grille, turns down into the center of the latch, rotates counterclockwise to push the release lever, then rotates toward the driver’s side to release the hood lock. GM writes these bulletins for technicians, and the geometry belongs to that vehicle.
What transfers to any car: find where your latch release lever actually sits before you probe, protect the hood edge with tape, and never pry a painted hood panel. A lit inspection mirror, like the pick above, is how you confirm the lever location without removing the grille.
Method 2: Pull the Cable by Hand at the Lever End
When the cable is intact but has come loose, the maker route is to reach the cable itself. Kia’s 2021 K5 service action SA431 puts the release lever on the lower left kick panel. The procedure partly lifts the door weather strip, removes the scuff trim, the lever and the kick panel, removes the release bracket, unclips the cable from the bracket, and then pulls the hood release cable by hand to release the hood. The same bulletin checks that both cable ends are fully inserted in their brackets and that the coupler clicks into place.
This only works if there is still a cable to pull. If it snapped inside the sheath, you will pull nothing, and you should go to Method 1 or 3. Use plastic trim tools on interior panels so you do not crack the clips.
Method 3: Reach the Cable Junction Through the Wheel Well
On the Acura RDX, the bulletin’s repair starts with the vehicle on a lift, the front driver-side wheel removed and the front driver-side inner fender removed as needed, which exposes the cable junction box. It warns to disengage the inner fender clips with a small screwdriver, because prying on them deforms the mounting brackets. For a broken cable on a Volvo truck, the maker procedure removes the wheel arch liner, then unlatches and raises the hood manually.
Raising a car to remove a wheel carries its own risk. Only do it with the vehicle on level ground and supported on rated jack stands as your owner’s manual describes, never on a jack alone. If that is more than you want to take on, this is the point to hand the car to a shop.
Method 4: Clear the Secondary Latch
Federal rule 49 CFR 571.113 (FMVSS 113) requires a front-opening hood that, in any open position, partly or completely obstructs the driver’s forward view to have a second latch position or a second latch system (official text on eCFR). That is why a hood often rises only a little after the primary latch lets go: the second stage is holding it. Its release lever is usually reached under the front edge of the hood, but where it sits and which way it moves varies by vehicle, so look before you push.
This rule is also the reason not to drive with a hood that is not fully latched. A hood that can come up while moving can block your view.
Safety Before You Reach In
- Support the hood fully. Once it is free, use the prop rod or struts your owner’s manual shows, and keep your head and hands out from under the edge until it is locked in place.
- Let a hot engine cool. Exhaust parts and the radiator area stay hot well after driving.
- Mind the battery. If your reach goes near the terminals, do not let a metal tool touch a terminal and any grounded metal at once.
- Do not pry or hammer. Forcing a painted hood bends the panel and can damage the latch and the radiator support behind it.
- Keep hands clear of the latch. A released latch can snap closed on fingers.
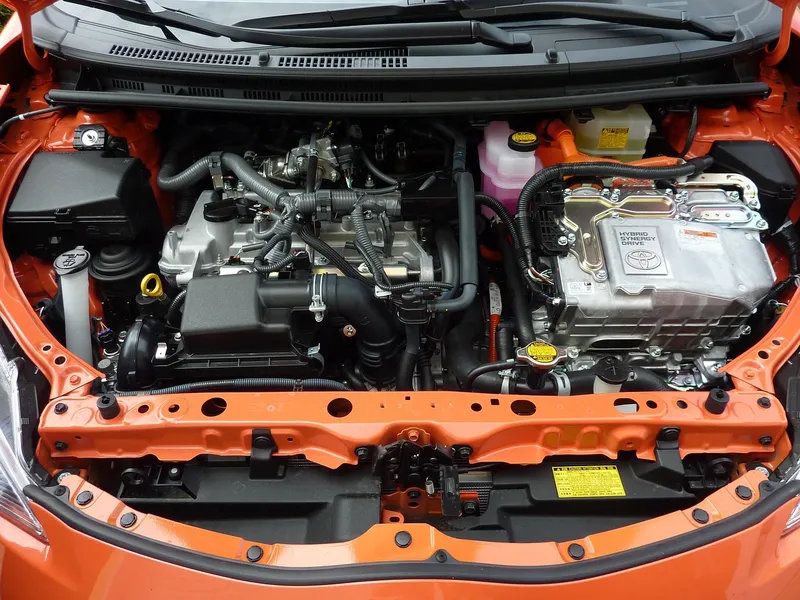
When the Problem Is Not the Cable
Some failures look like a broken cable and are not. A GM bulletin (21-NA-094) on the 2020 to 2021 Corvette covers a hood-ajar message where the hood may not open with any of the electrical release buttons but will open using the manual release cable. The listed causes are water intrusion and terminal corrosion at a connector, water in the latch actuator, or a failed auxiliary release switch. A Jaguar I-PACE bulletin (H207NAS2) covers a latch where the hood state reports as open.
If your latch itself is the suspect, read our guides on opening a car hood with a broken latch and opening a stuck car hood. If you are locked out of the cabin, see how to open a car hood from outside.
When to Stop and Call a Shop
- The cable is snapped inside its sheath and your model needs wheel, fender or dash panels removed.
- You cannot find the latch release lever with a mirror and a light.
- The hood moves but binds, bends or will not drop back into the first latch position.
- You see damage, rust-through or a bent radiator support around the latch.
- The car has a powered latch, a hood-ajar warning, or the hood does not respond to the manual release.
On cost, we did not find a published average for a cable alone. For a related job, RepairPal’s hood latch replacement estimates ranged from about $103 to $120 on a 2000 Infiniti G20 to about $221 to $260 on 2021 and 2024 Nissan Rogues, before taxes and fees. A cable can cost more or less depending on how much trim has to come off, so get two quotes for your exact vehicle and ask whether the quote includes the latch inspection.
Fixing It for Good
Once the hood is open, check the cable end and routing before you buy parts. In the maker bulletins above, the fixes were a seated cable, a rerouted cable, or a new cable and lever. Kia’s check is a good model: both cable ends fully inserted in their brackets and a click when they seat. Test the release several times with the hood open before you close it, and keep one hand on the hood for the first closing.
Frequently Asked Questions
How To Open Car Hood With Broken Release Cable?
First tell whether the cable snapped or just slipped off its end. Then use the route your vehicle allows: reach the latch from the front, pull the cable by hand at the lever end, or reach the cable junction through the front wheel well. Maker procedures vary, so check your owner’s manual or ask a dealer for your model.
Can I Fix A Broken Hood Release Cable Myself?
Sometimes. Where the cable only slipped out of its bracket, as in Kia’s SA431 bulletin, reseating it until it clicks is the fix. A snapped cable needs replacing, and on some models that means removing a wheel, inner fender or dash panels, which is shop work for many owners.
Why Won’t My Hood Open Even Though the Lever Works?
Most cars have a secondary latch that holds the hood after the primary latch releases. Under FMVSS 113, a front-opening hood that can block the driver’s view needs that second latch position. Look under the front edge of the hood for its release lever.
Is It Safe To Force Open A Car Hood With A Broken Cable?
No. Prying or hammering bends the hood panel and can damage the latch and radiator support. Find the release point first, protect the paint with tape, and stop if you cannot see what you are releasing.
How Do You Open a Car Bonnet When the Cable Is Broken?
Bonnet and hood are the same part, and the methods are the same. Locate the latch from the front with a light and mirror, reach the cable at the lever end, or reach the junction through the wheel well, depending on the vehicle.
How Much Does It Cost to Replace a Hood Release Cable?
We found no published average for the cable alone. RepairPal’s hood latch estimates, a related job, ranged from about $103 to $260 across the vehicles we saw, before taxes and fees. Get two quotes for your exact vehicle.
Conclusion
A limp lever is a clue, not a verdict. Feel the lever, match it to the table, pick the least invasive route your vehicle allows, and stop when the next step needs jack stands, dash panels or force. Replace or reseat the cable before you drive on, since a hood that cannot be opened is also a hood you cannot check fluids under.
Products related to this article
Sponsored / affiliate links. As an Amazon Associate I earn from qualifying purchases. I may earn additional commission from eligible campaigns.