How to Remove Dealership Decals from Car: Easy Steps
Removing dealership decals from your car is a straightforward process. You can do it yourself with the right tools and a bit of patience.
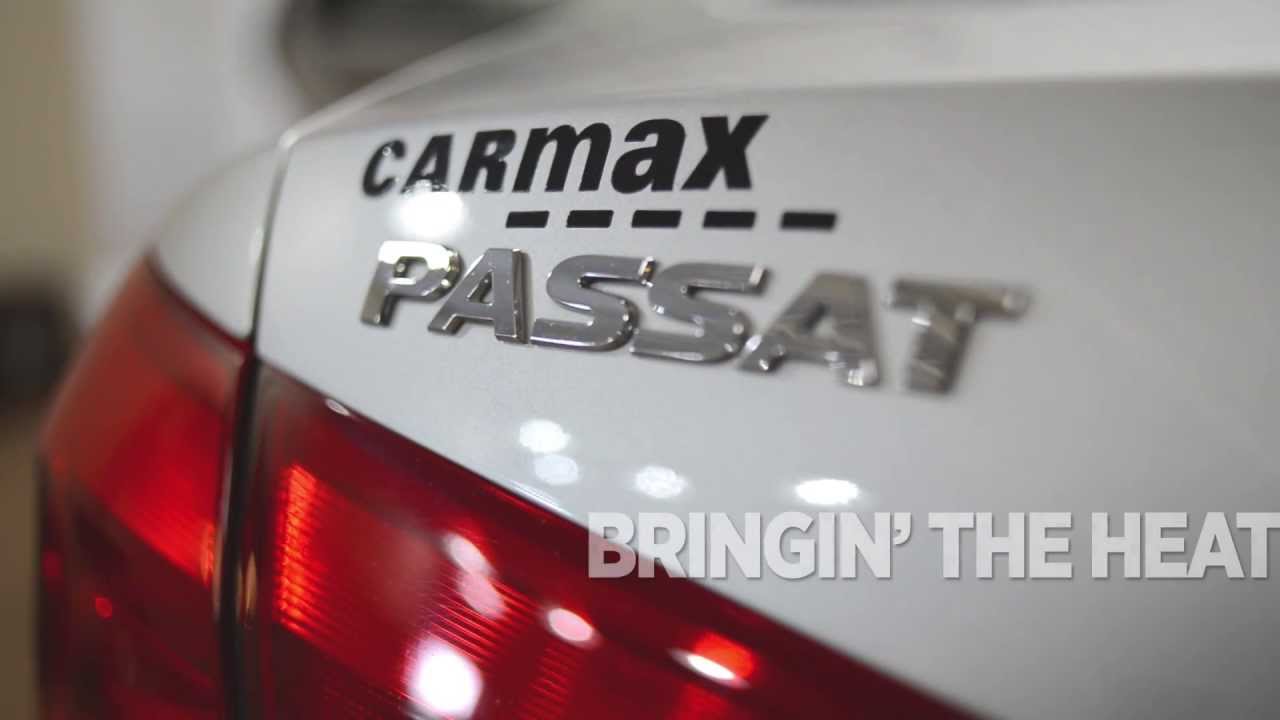
Dealership decals can be an eyesore on your car’s sleek exterior. Whether you want to sell your car or just prefer a clean look, getting rid of these stickers is a must. In this guide, we will walk you through easy steps to remove those unwanted decals.
No need for professional help; with basic tools you likely have at home, you can restore your car’s appearance. Stay tuned to learn how to safely and efficiently remove dealership decals from your car.

Credit: www.reddit.com
Preparation Steps
Start by collecting all needed items. Soft cloth, hairdryer, and scraper are essential. A cleaning solution helps remove sticky residue. Ensure you have a bucket filled with warm water. Sponge and soap are also useful. A plastic card or old credit card can work as a scraper. Double-check your list before beginning. This saves time and effort.
Pick a spot that is well-lit and spacious. Ensure it is safe and clean. Avoid places with high wind or dust. Garage or driveway are good options. Shade helps protect paint from sun damage. Ensure you have enough room to move around. Working in a comfortable environment makes the task easier.
Assessing The Decal
The first step is to look closely at the decal. Is it peeling? Is it cracked? If the decal is old, it might come off easily. New decals can stick more. Check if the surface is clean and smooth. Dirt might make it hard to see the decal’s edges. It’s important to note if there are any scratches. Scratches can trap the edges of the decal. Decals on windows might be different than on paint. Always check carefully.
Decals come in different types. Some are stickers. Others are vinyl. Vinyl decals are thicker. Stickers are usually thinner. Vinyl might need more effort to remove. Stickers could peel off with fingers. Know what you’re dealing with. This helps in choosing the right tools. Each type needs a different approach. Be sure to look at the edges. The edges can show what type it is. Understanding this is key.
Warming The Decal
A hair dryer helps to soften the decal. Plug it in and turn it on. Hold it close to the decal but not too close. Warm the decal gently. Heat makes the glue less sticky. This helps you remove it easily.
Touch the decal after warming. It should feel soft. If it is still hard, keep warming. Be careful not to overheat. Too much heat can damage the car paint. Use your fingers to test. When it’s soft, try peeling it off. Use a plastic card if needed. This is safer than metal tools.
Peeling Off The Decal
Edge peeling is the first step. Use your fingers gently. Pull the decal slowly. This will help to loosen it. Patience is key here. Don’t rush the process.
A plastic card works well. Credit cards are perfect. Slide the card under the decal. Move the card side to side. This helps lift the decal. Repeat if necessary. Avoid sharp objects. They scratch paint.
Removing Adhesive Residue
Use an adhesive remover to soften the sticky stuff. This makes it easy to clean. Pour a little on a soft cloth. Make sure the cloth is clean. Apply it gently over the residue. Let it sit for a few minutes. This helps to break down the glue.
Grab a clean cloth to wipe away the loosened glue. Rub it gently. Do not scrub hard. This can scratch your car. Wipe until the surface feels smooth. Sometimes you may need to apply more remover. Repeat the steps if needed. Always use a clean part of the cloth.
Cleaning The Surface
First, gather a bucket of water and some mild soap. Use a soft sponge to wash the area around the decal. This helps remove dirt and grime. Rinse the spot with clean water. Make sure no soap remains on the surface. This step is important for safe decal removal.
Next, dry the area thoroughly with a soft towel. Moisture can make decal removal harder. Pat the area gently to avoid scratches. Ensure no water is left on the car surface. A dry area is best for the next steps.
Inspecting For Damage
First, look closely at the car’s paint near the decal. Make sure there are no scratches or damage. Scratches might appear from tools or rough materials. Use a soft light to see better. A flashlight can help find small scratches. Feel the surface with your fingers. This can reveal hidden rough spots. Finding damage early keeps it from getting worse.
Next, check the surface around the decal. Is it smooth or bumpy? A smooth surface is easier to clean. A bumpy one might need extra care. Watch for peeling paint or cracks. These can cause problems later. Knowing the surface helps choose the right tools. Make sure the car is clean. Dirt can hide damage. Clean surfaces make removal easier.

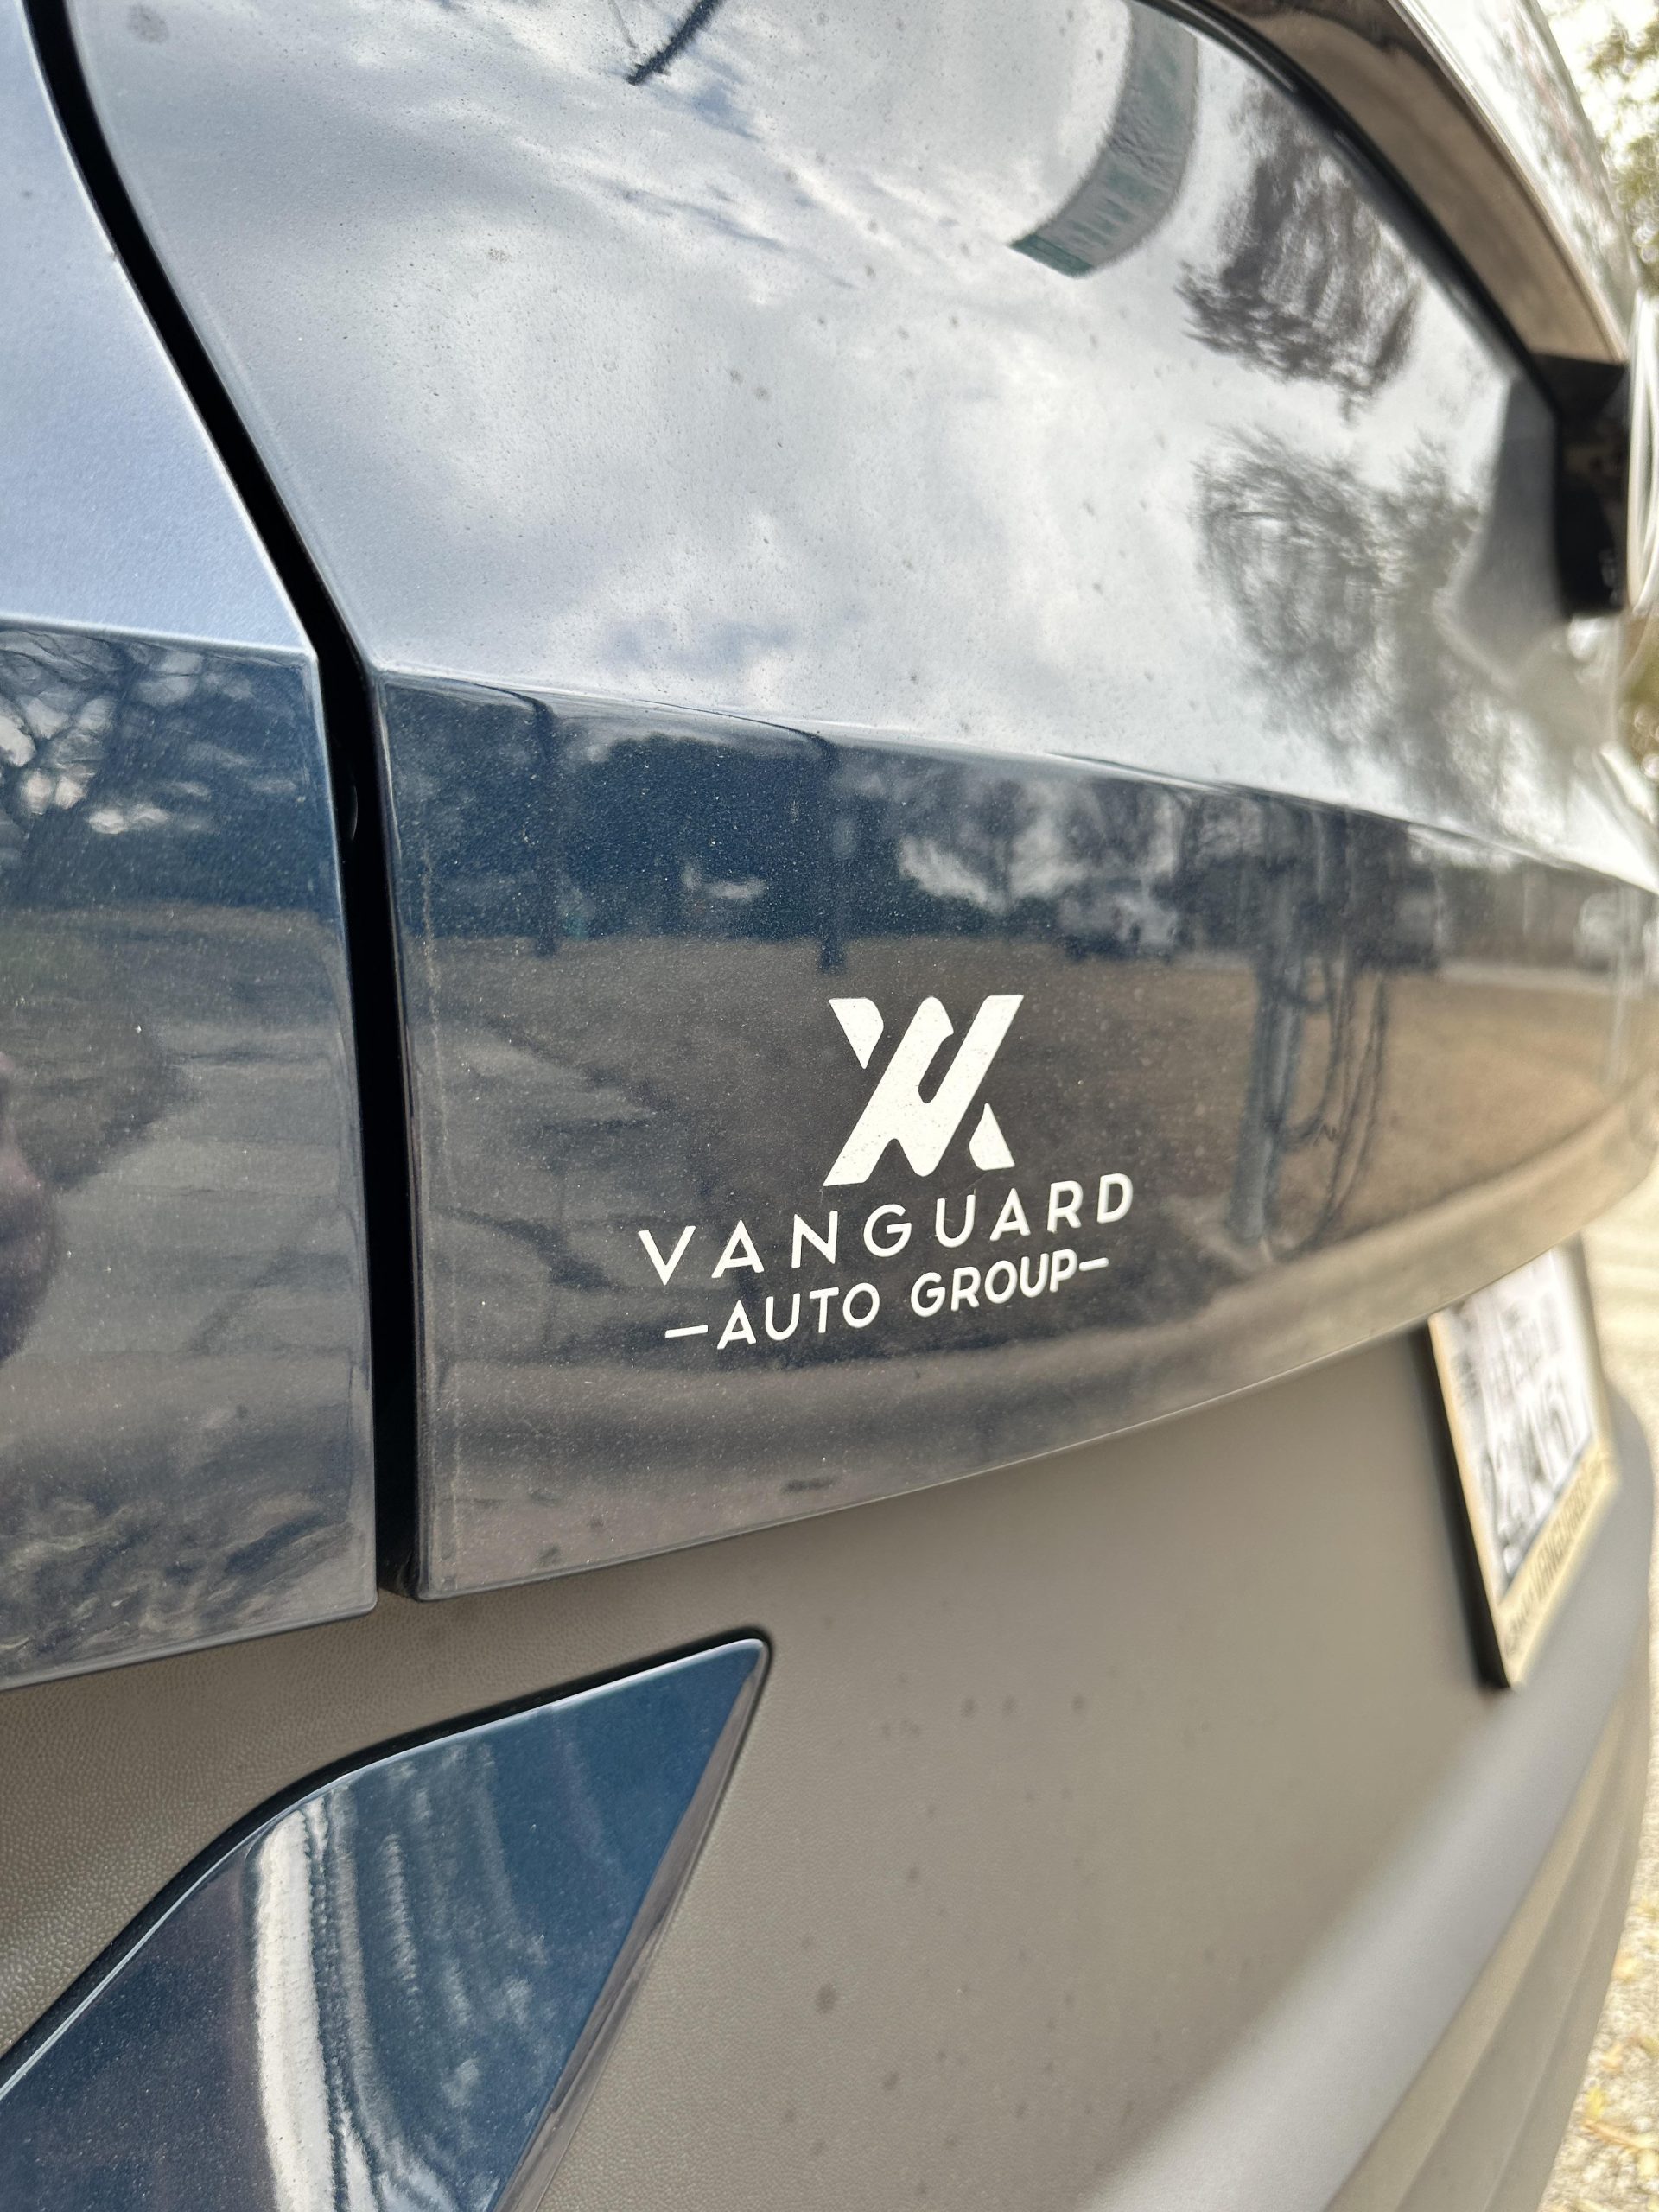
Credit: www.reddit.com
Finishing Touches
Removing dealership decals from your car enhances its sleek appearance. Start by gently heating the decal with a hairdryer. Once warm, peel it off slowly using a plastic scraper to avoid scratches. Clean the area with a mild adhesive remover for a polished finish.
Apply Car Polish
Car polish makes your car shiny. It also protects the paint. Use a soft cloth for this job. Put a small amount of polish on the cloth. Rub it gently on the car’s surface. Make sure to cover all the areas evenly. This helps the car look smooth and bright.
Ensure Even Finish
Check the surface for missed spots. Use more polish if needed. Look for any uneven areas. Rub the polish in small circles. This helps the polish spread well. Keep the cloth clean. A clean cloth works better. Take your time for a perfect finish.
Credit: m.youtube.com
Frequently Asked Questions
How Do You Remove Dealership Decals Without Damaging Paint?
Gently heat the decal with a hairdryer to loosen the adhesive. Peel it off slowly using a plastic card. Clean any residue with soapy water or adhesive remover. Rinse and dry the area thoroughly to protect the paint.
Can You Remove Dealership Branding From A Car?
Yes, you can remove dealership branding from a car. Use a heat gun or hairdryer to loosen the adhesive. Gently peel off the branding, then clean the area with soapy water to remove any residue. Always follow with a polish for a smooth finish.
How Do You Remove Professional Car Decals?
Gently heat the decal with a hairdryer to loosen the adhesive. Peel it off slowly using a plastic scraper. Clean any residue with a mild adhesive remover or rubbing alcohol. Wash the area with soap and water. Dry with a clean cloth for a smooth finish.
How To Remove Dealer Marker From Car?
To remove dealer markers, use adhesive remover or rubbing alcohol. Apply with a cloth and gently rub. Wash the area with soap and water, then dry with a soft towel. Repeat if necessary until the marker is fully removed.
Conclusion
Removing dealership decals is simple with the right steps. Start by cleaning the area. Warm the sticker using a hairdryer. Gently peel it off with a plastic card. Use adhesive remover for leftover glue. Finish by cleaning again with soap and water.
Keep your car’s paint safe. Take your time during the process. You can now enjoy a clean car look. Follow these steps for best results. Say goodbye to unwanted decals. Enjoy your car’s sleek appearance.